Skinny Coconut Shrimp

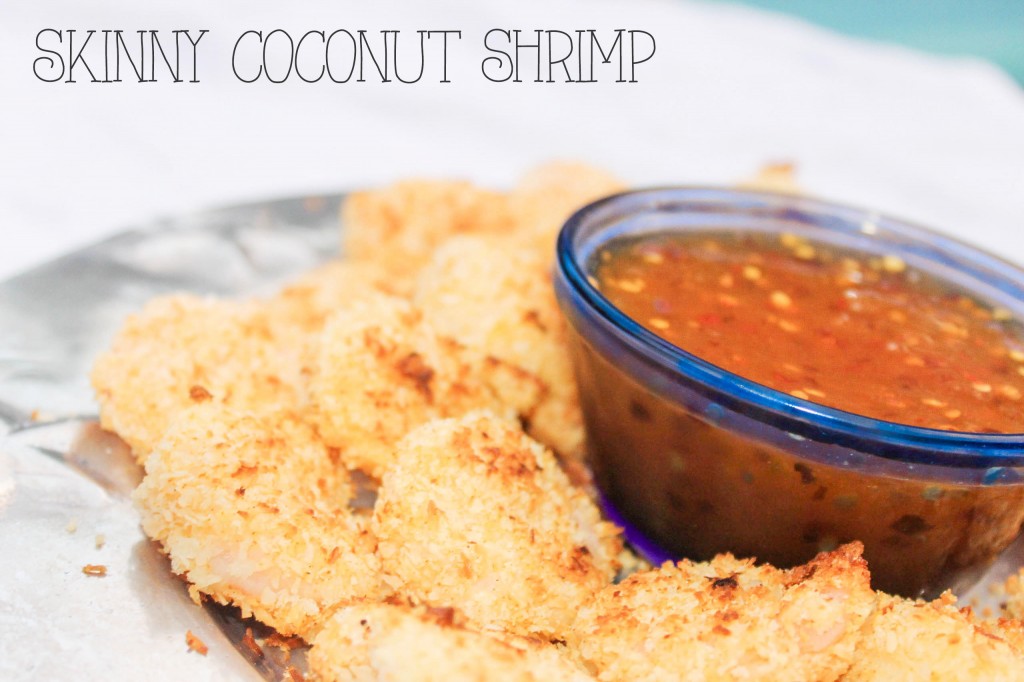
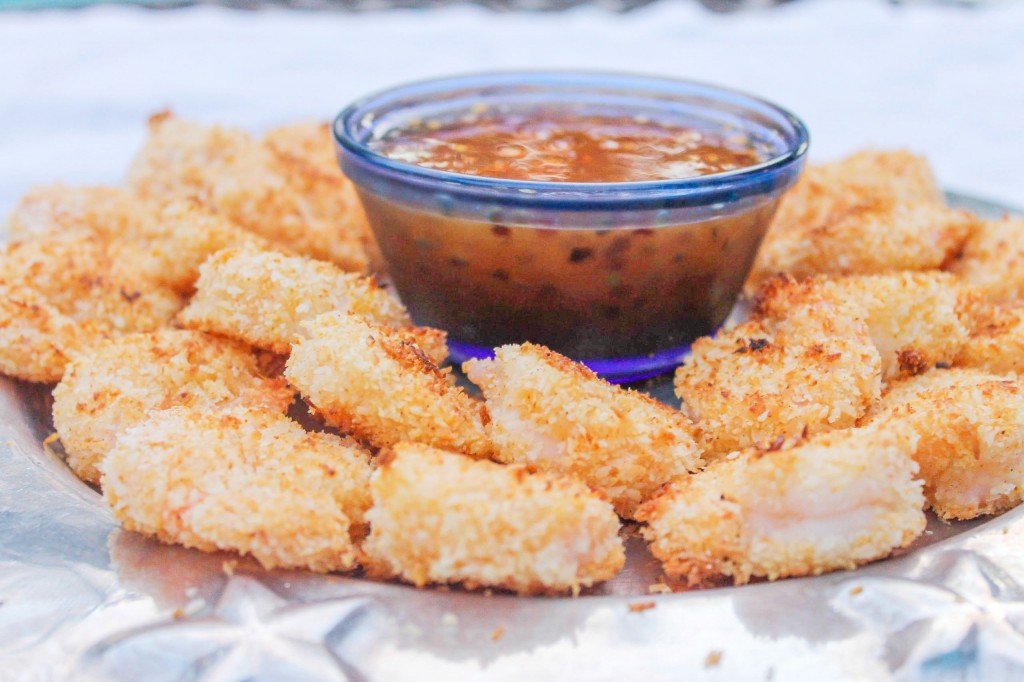
Skinny coconut shrimp_title2Looking for a fun appetizer or dinner recipe that’s both delicious AND healthy? Want to make all of your friends think you spent HOURS making dinner without the effort? Well, have I got a recipe for you! At 328 calories per serving, these tasty Skinny Coconut Shrimp will make your friends question if you stole them from a celebrity chef. 

If you’re wondering what makes this typical comfort-food soo healthy, let me tell you my secret. My recipe uses Japanese style breadcrumbs mixed with shredded coconut flakes cooked in the oven instead of coconut infused batter fried in a grease pit. 

Skinny Coconut shrimp_6

You’ll need 24 TAIL ON large (jumbo or butterfly) shrimp for this recipe. It doesn’t matter if they’re pre-frozen or not, but you’ll save some major prep time if you buy your shrimp already peeled and de-veined. If you elect to buy fresh shrimp, the fishmonger at the grocery store will usually do this chore for you, free of charge, if you ask! 

skinny coconut shrimp_plate

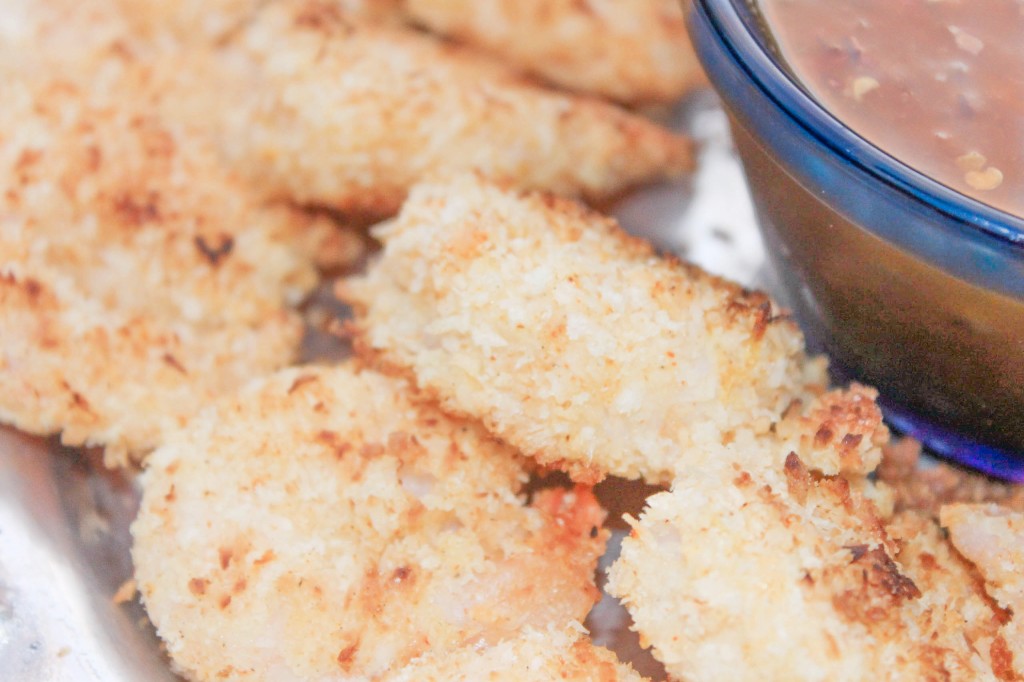
Set your oven to 425 degrees F so you can prepare your shrimp while things are heating up. To do this, arrange three plates in the following order: one plate of flour, one plate with a whisked egg, and one plate with your coconut/panko mix. One by one cover each individual shrimp in flour, then egg, then coconut/panko mix. Arrange seasoned shrimp on a foil lined cookie sheet, sprayed with cooking spray. Continue doing this until all shrimp have been prepared, then place in the oven for 8 minutes. 

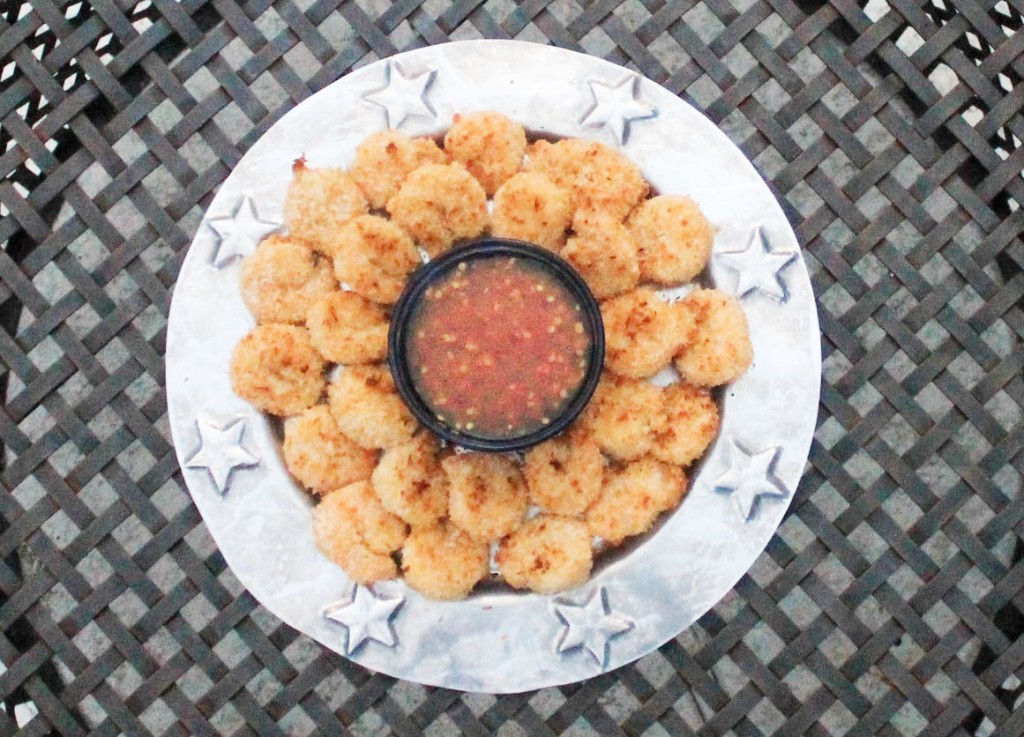
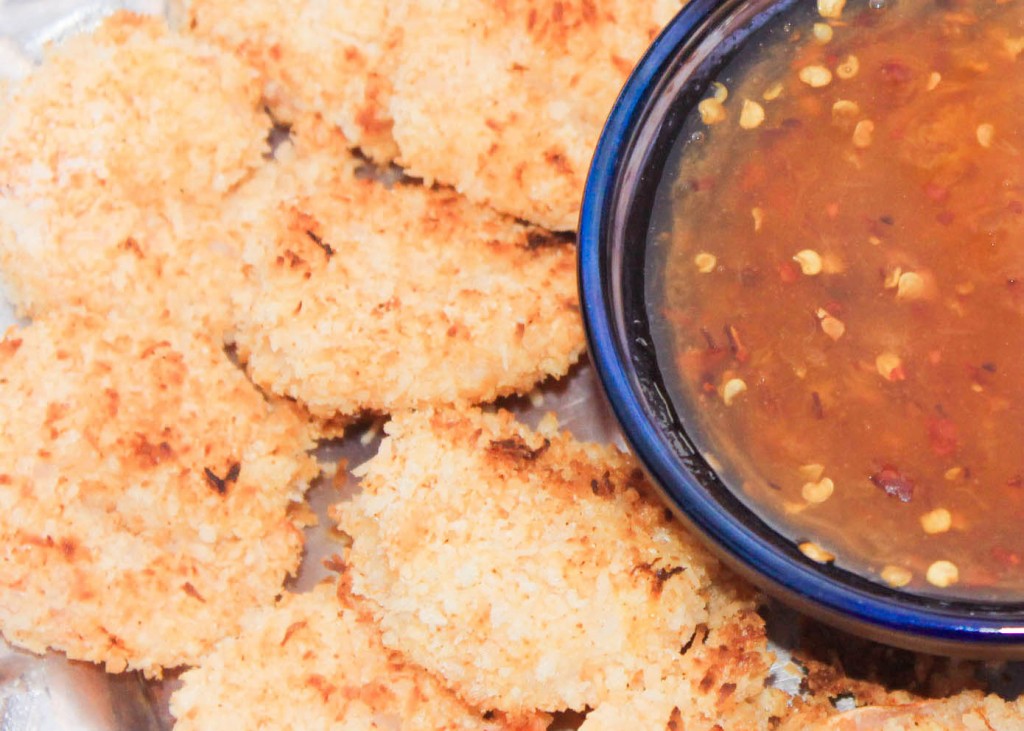
Skinny Coconut Shrimp_2While you shrimp are cooking, make your apricot dip. This is seriously the EASIEST thing to make! All you have to do is stir your apricot preserves, crushed red pepper flakes, and rice wine vinegar in bowl until they’re combined, and place it in the oven until your shrimp are ready. 

Skinny Coconut Shrimp_4After 8 minutes, grab a spatula and flip over your shrimp so the other side can cook. You only have to wait 6 more minutes or until your shrimp turn golden brown before you can enjoy them! When time’s up, remove from the oven, serve with the apricot dipping sauce and enjoy! 

[yumprint-recipe id=’26’]If you come back for seconds… or thirds I promise I won’t tell! 🙂 

Fabulous recipes by Mandi at godsavethequinoa.com

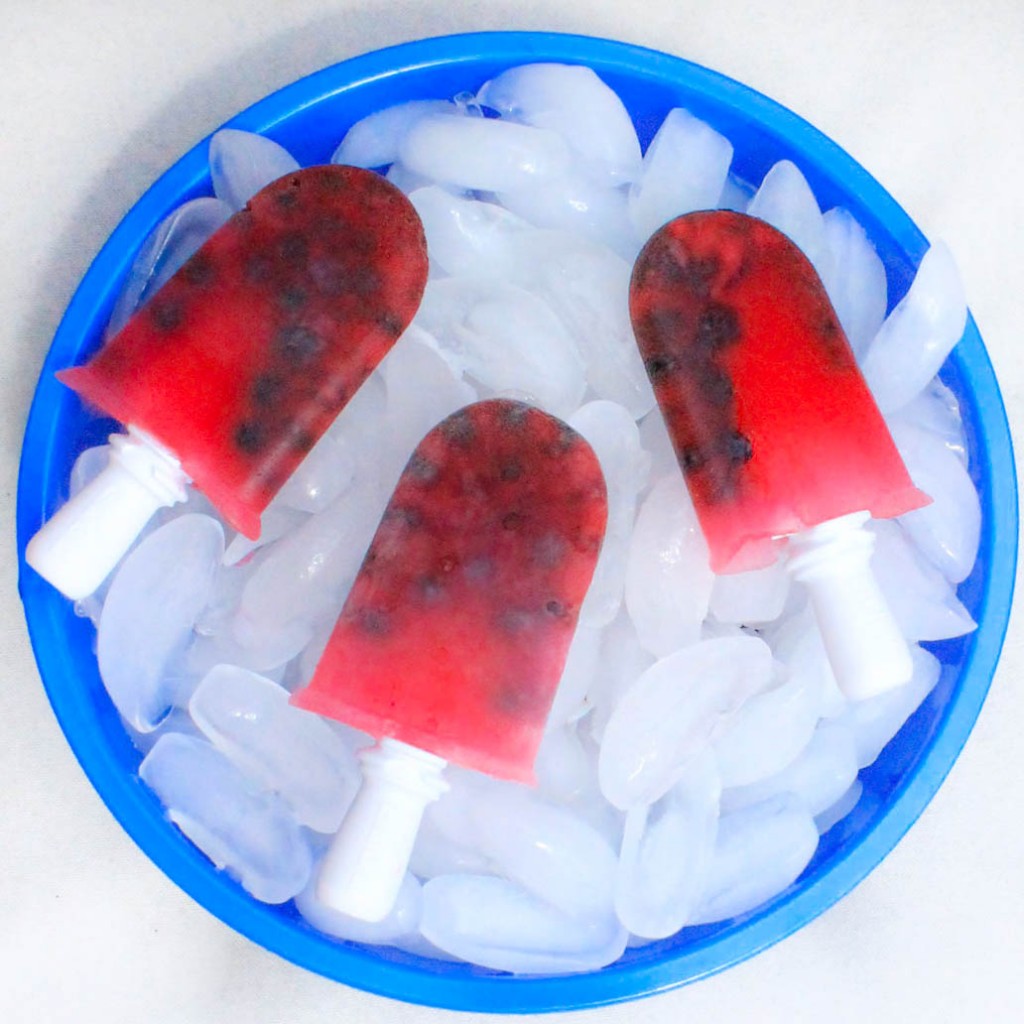
Cocozia Blueberry Lemon Pops

Cocozia Lemon Blueberry pops_title

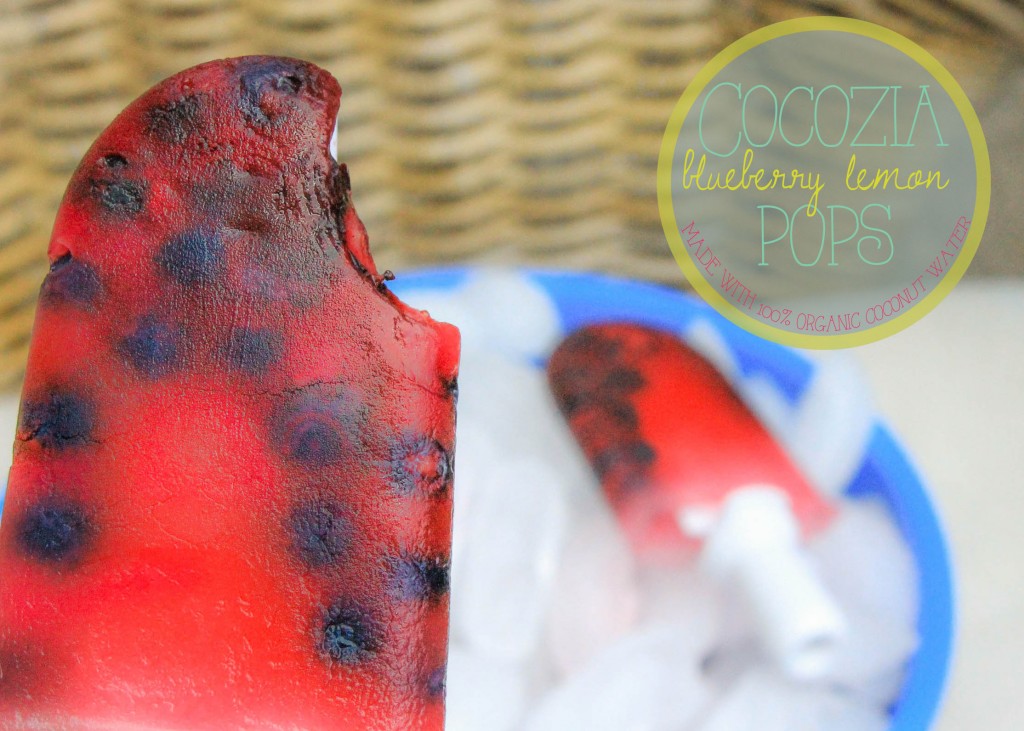
Coconut water is an excellent way to rehydrate after a long sweat session on a summer day. I love keeping these in the freezer to enjoy after a long run in 90+ degree heat. Besides jumping in a swimming pool, there’s nothing that’s more refreshing! So, why not combine the best of both worlds and enjoy the delicious taste of coconut water and take advantage of its healthy benefits at the same time?

By the way, I used the leftover frozen blueberries and fresh lemon juice from the Blueberry Lemon Mini-Bundt Muffins I made the other day. Making popsicles is a great way to use any extra fruit you have before it goes bad! 

What is coconut water? Well, it’s a liquid that forms, naturally, inside the hard shell of a coconut and is packed full of B vitamins, potassium, electrolytes, enzymes, and amino acids. With this laundry list of ingredients, its no wonder people refer to coconut water as “nature’s sports drink”.

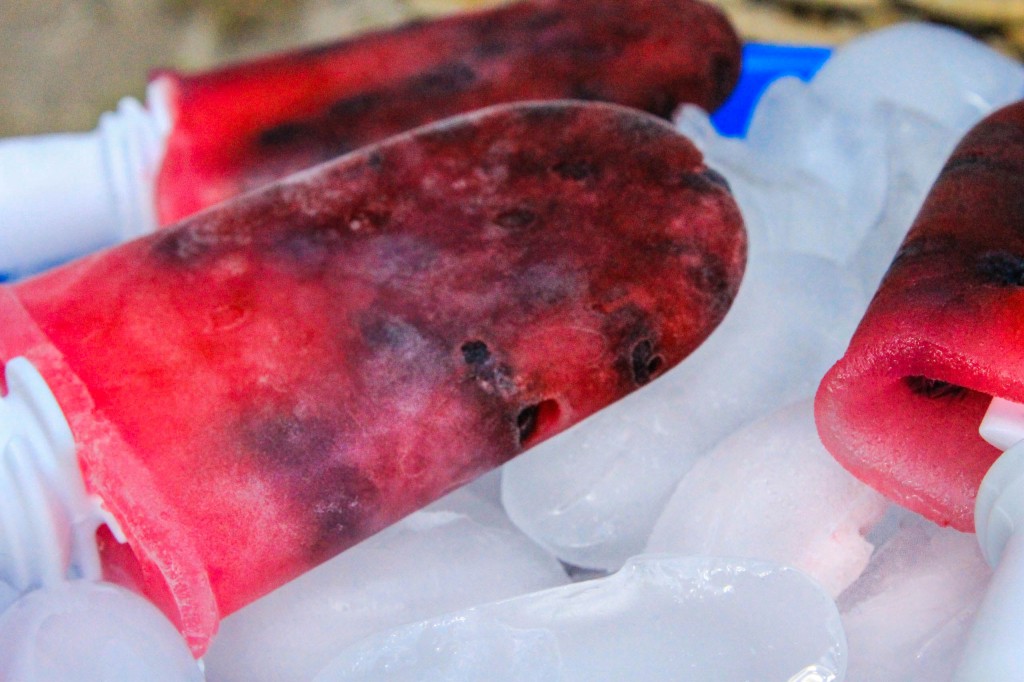
Cocozia Lemon Blueberry popsicles (1 of 2)

I don’t know about you, but this Texas girl tends to overindulge on chips and guacamole at Mexican restaurants. Did you know that the potassium in coconut water can help your body nix the excess sodium from all of these delicious, salty chips. Hooray! For best results, reach for coconut water labeled “100% raw or organic coconut water” with no added ingredients.

Cocozia Lemon Blueberry popsicles (1 of 7)

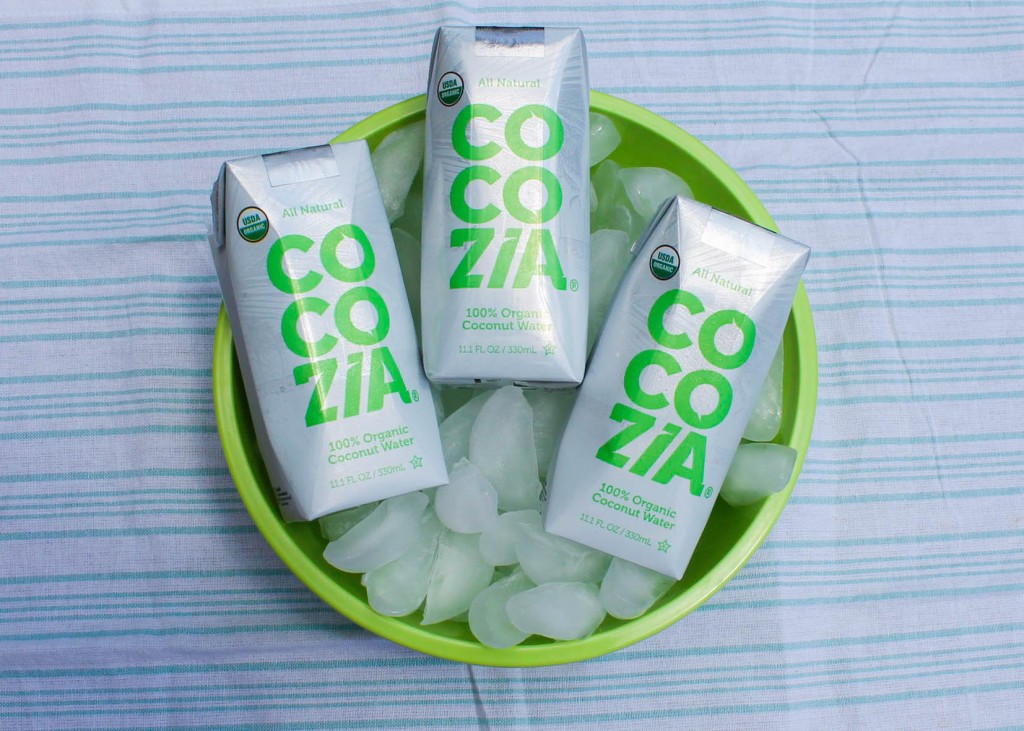
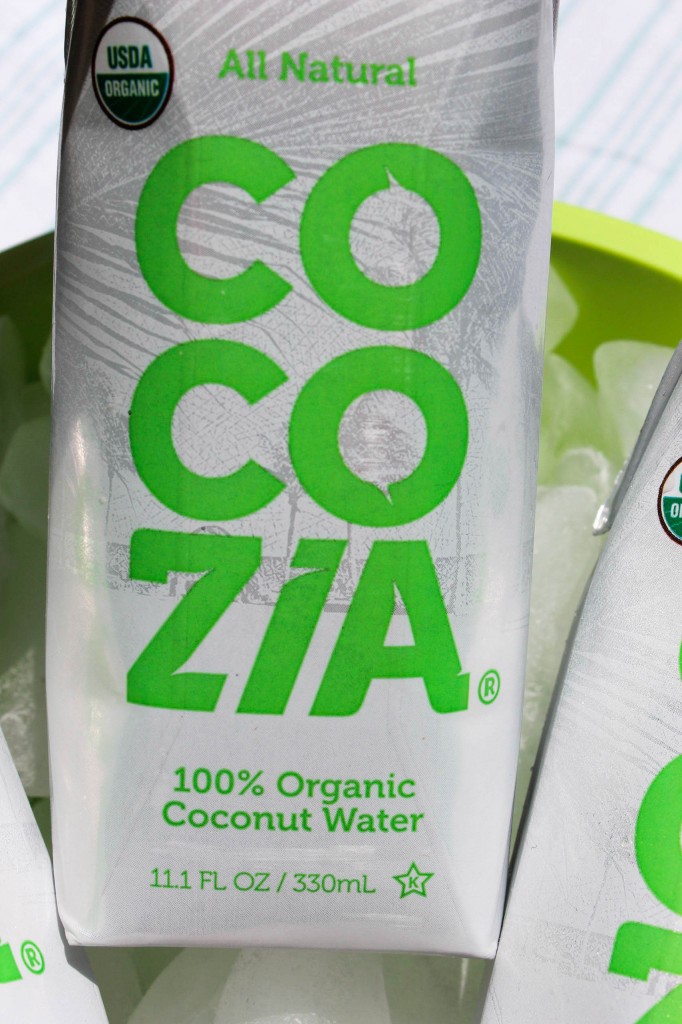
I’ve tried my fair share of coconut water, and trust me, nothing out there is better than Cocozia Coconut Water. Cocozia is the real deal, yall. It’s so fresh tasting- probably because its 100% coconut water and has zero additives or extra ingredients. Cocozia is very clean and natural tasting, and unlike other coconut waters I’ve had, is not overly sweet or sour. I’m telling you, when you drink Cocozia you’re going to think you’re drinking directly out of the fruit!

Cocozia Lemon Blueberry popsicles (2 of 7)

It comes in super convenient pouches that are perfect to throw in your gym bag or drink on the go! It tastes just as good straight out of the package as it does in these delicious popsicles. It’s also tasty in smoothies, and I’ve even used it to make quinoa! (Be on the lookout for this recipe coming soon).

Cocozia Lemon Blueberry popsicles (5 of 7)

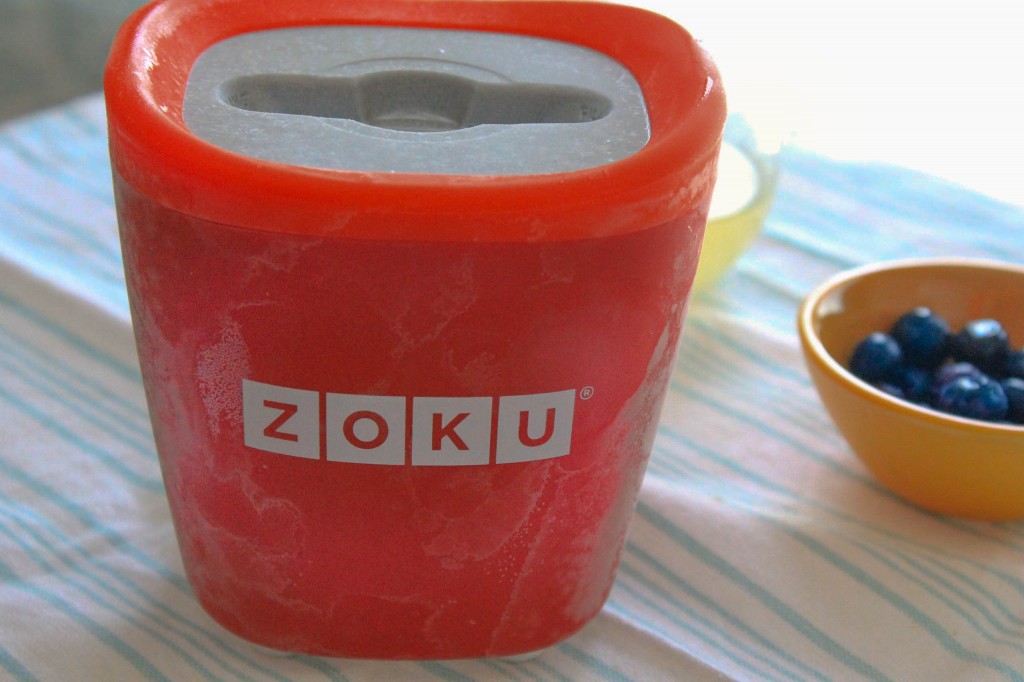
These popsicles are SO easy to make! I purchased the Zoku single quick pop  maker at Crate and Barrel ON SALE! Seasonal Sales are the best time to stock up on new toys! You have to let the Zoku sit in the freezer for at least 24 hours before using, but the single quick pop maker will make 3 pops in one sitting, which is perfect for me. But if you have a bigger family (or appetite) you can purchase a two or three serving quick pop maker, to enjoy six or nine pops in one sitting.

Cocozia Lemon Blueberry popsicles (3 of 7)-2

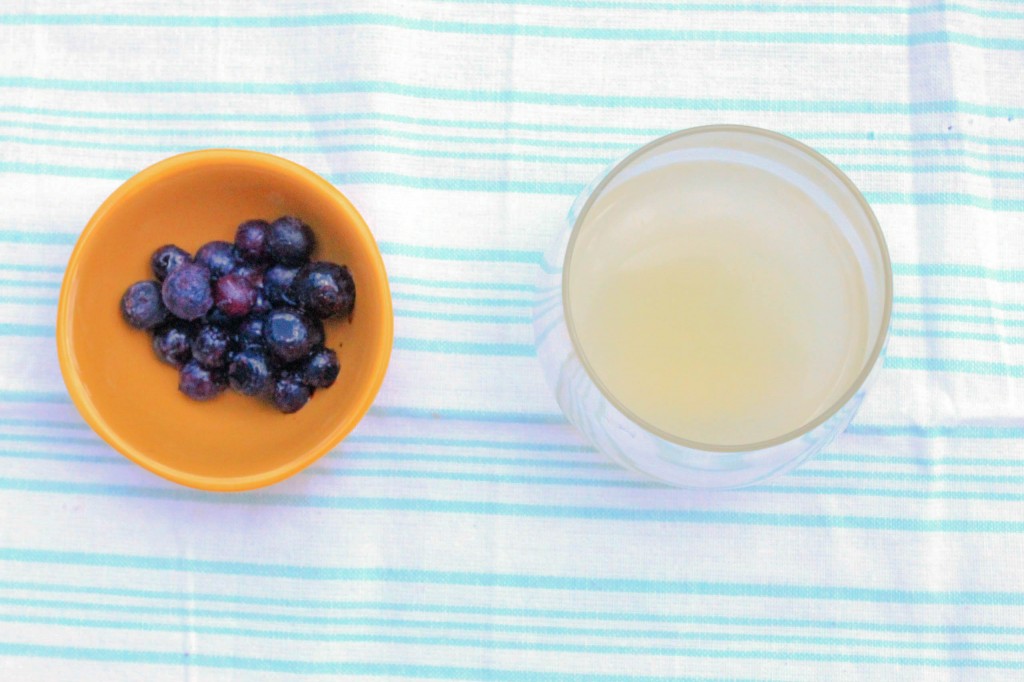
All you have to do is mix together your freshly squeezed lemon juice and coconut water.  Measure out one third of the liquid and pour it into the Zoku, filing until your liquid is right below the fill line. Add your blueberries and jam the Zoku stick in the quick pop maker, wiping away any liquid that overflows. Let it sit for 9 minutes, then remove and immediately enjoy!

Cocozia Lemon Blueberry popsicles (2 of 2)Zoku also makes these awesome storage containers, made especially for Zoku Quick Pops you you can store your treats in the freezer and enjoy later in the week! 
 

[yumprint-recipe id=’25’] Fabulous recipes by Mandi at godsavethequinoa.com


Blueberry Lemon Mini-Bundt Muffins

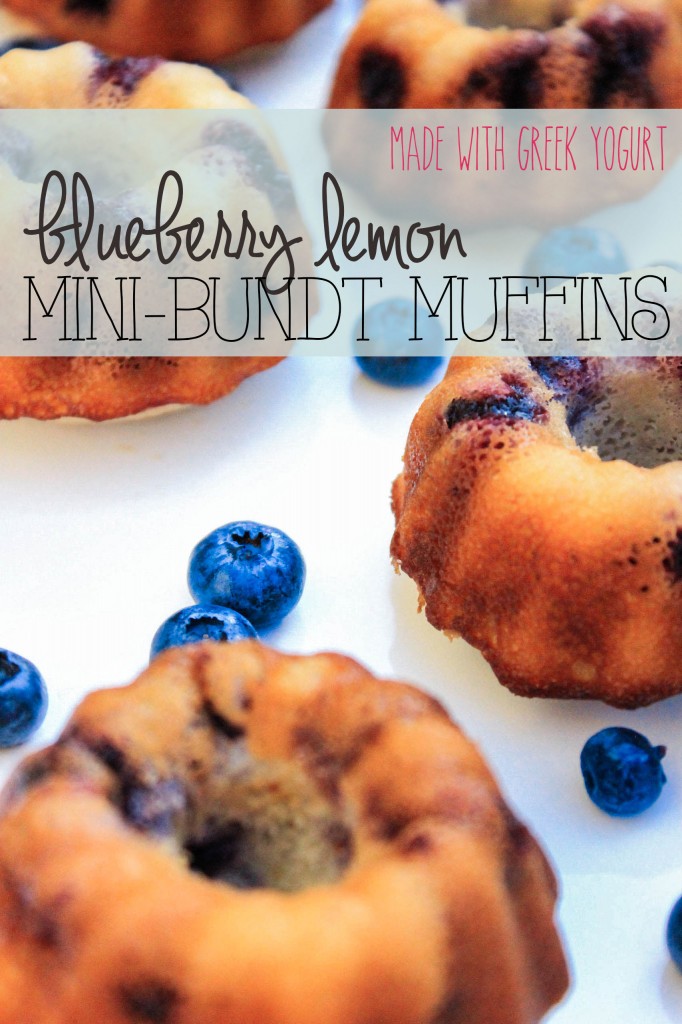
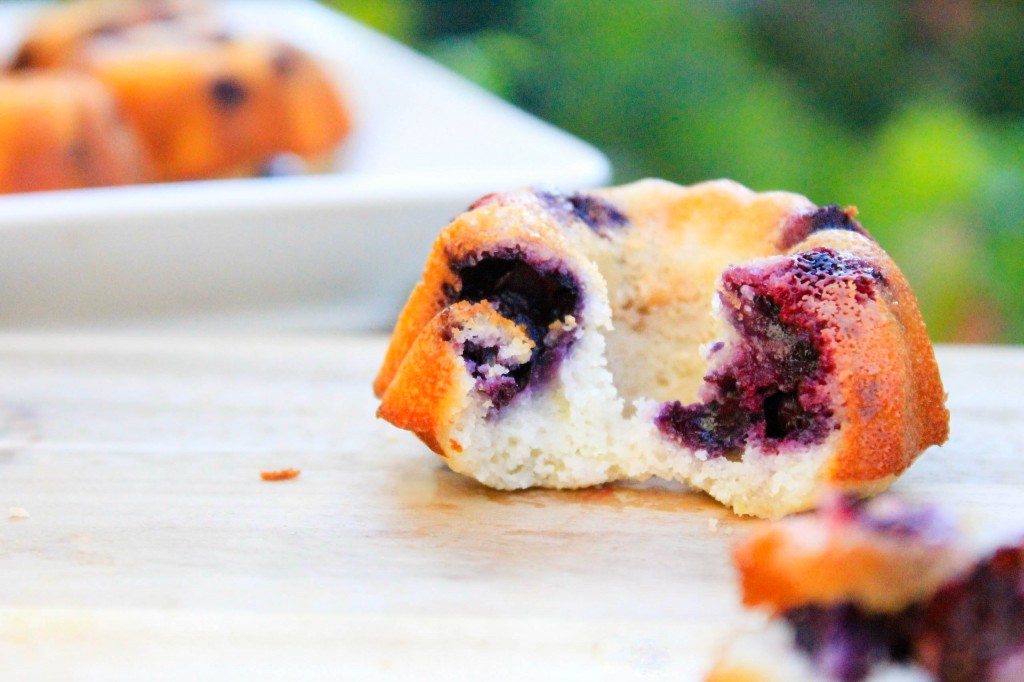
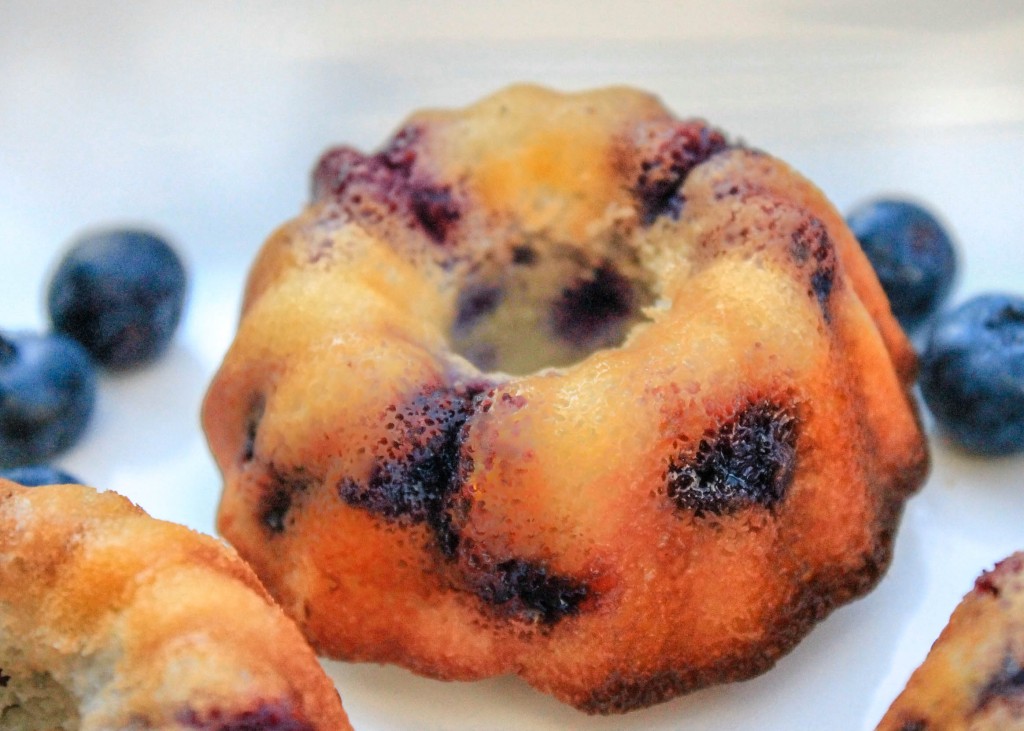
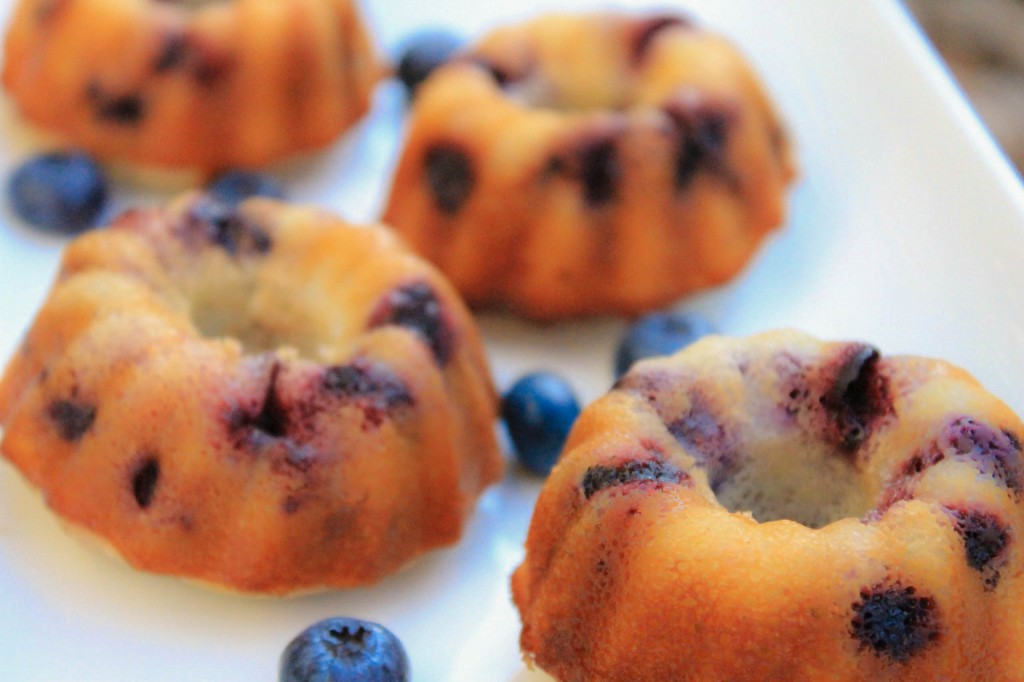
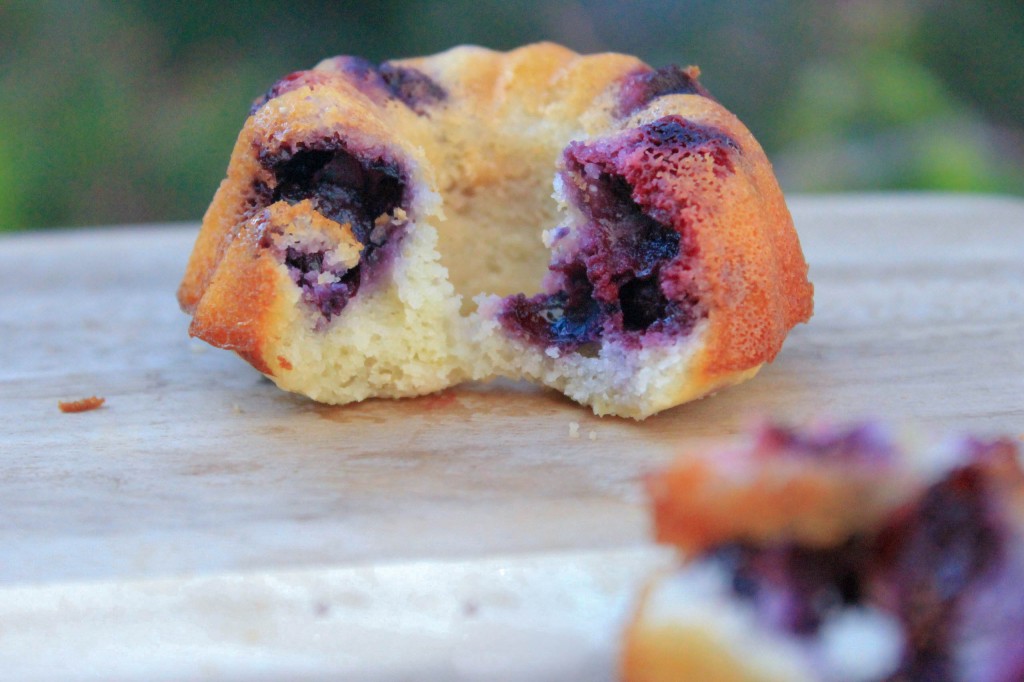
Blueberry lemon mini-bundt muffins

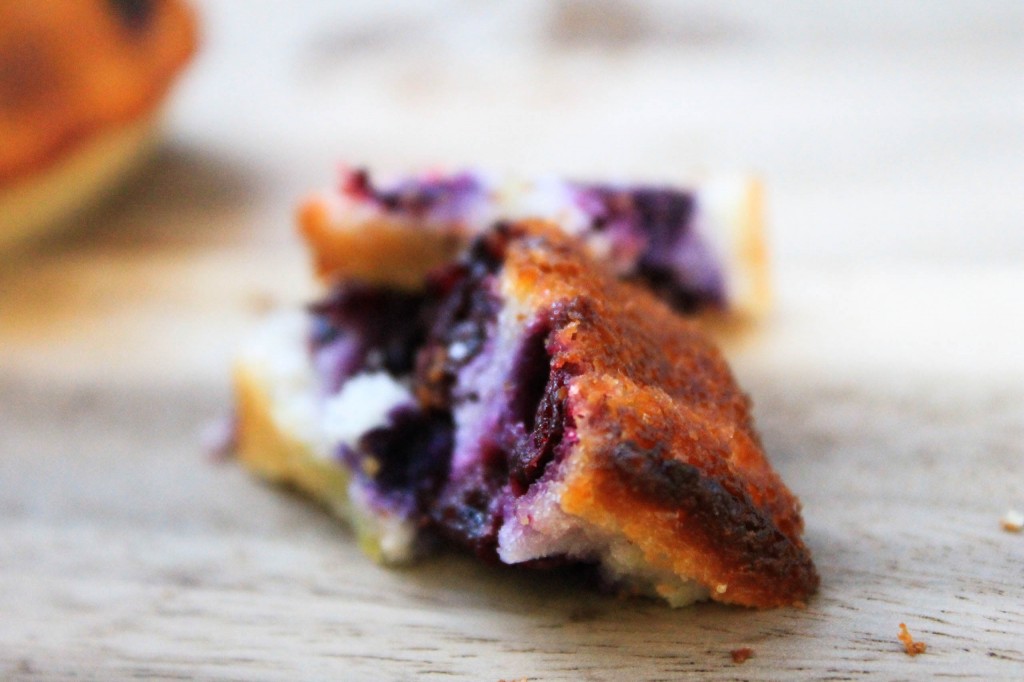
I just can’t get enough of these blueberry lemon muffins! Not only are they adorable (they’re made in mini-bunt muffin pans, and let’s face it, a miniature version of anything is just “the cutest thing ever”) but they’re also healthy! How can something so deliciously adorable also be healthy? Well, they’re made with Greek yogurt instead of butter and they’re filled with juicy blueberries! YUM! If you don’t have a mini-bundt pan, don’t worry! My recipe includes directions for how to make “muffin pan” versions of these little beauties…I’ve gotchya covered! 

This recipe is super easy to make and doesn’t require a lot of time. The longest task (besides the whole baking part, but that’s the oven’s job) is zesting two large lemons. if you don’t have a zester, you can use a cheese grater to do this. A zester is just a skinnier version of a cheese grater anyways!  

Blueberry lemon mini-bundts (6 of 6)

After pre-heating the oven and spraying your muffin tins with non-stick spray, mix your “dry” ingredients (cake flour, baking powder, and salt) together and set aside.

Another thing that makes these baby bundts so delicious is that they’re make with cake flour instead of normal flour. The main difference between cake flour and your normal non-bleached flour is that cake flour is extra finely ground, giving it a softer, finer texture. You can physically feel the difference, and these characteristics are reflected in the final product of your baked goods! Just pay attention to the expiration date on the box… no one wants to eat muffins made with stale cake flour. If you want to learn more about cake flour, the kitchn has some great information. 

Blueberry lemon mini-bundts (2 of 6)

Anyways, after mixing your dry ingredients, use an electric mister to beat the eggs and sugar together. It should look nice, thick, and yellow when you’re done. Next you’ll add in the lemon zest, Greek yogurt, canola oil, and lemon juice to complete your “wet” mixture.

It doesn’t make a difference weather you zest the lemons before you start mixing the ingredients or if you stop halfway through to do this, just make sure to WASH your lemons before doing so! Lemons are some of the dirtiest fruits, which isn’t surprising because, who knows how many times they’ve fallen off the shelf and rolled around on the dirty grocery store floor. {ew}. Since you’ll be zesting the lemon rind (the part that touches the dirty grocery store floor) right into your muffin batter, I suggest you do everyone a favor and wash your lemons using warm water and soap before the zesting activities occur.   

Blueberry lemon mini-bundts (4 of 6)

Once your wet ingredients are mixed, complete the batter by adding the dry ingredients and mix until everything is perfectly combined. Before you pour the batter into your muffin tins you’ll need to add the frozen blueberries. Toss the blueberries in 2 tablespoons of cake flour the fold them into the muffin batter. 

Make sure the oven is done pre-heating and spoon the mixture into your muffin tin. If you’re using a mini-bundt pan fill each tin up 3/4 full. If you’re using a muffin pan you need to fill each tin all the way to the top without overflowing. 

Place your tin in the oven at 400 degrees F for 10 minutes. When the time goes off, leave your muffins in the oven and reduce the heat to 350 degrees. If you’re making mini bunts, cook them for 5 minutes at 350 degrees F. If you’re making muffins, cook them for 10-11 minutes at 350 degrees F.

 Blueberry lemon mini-bundts (3 of 6)

When your mini bunts are done baking, remove them from the oven to cool so you can make the lemon glaze. All you have to do is mix together powdered sugar and lemon juice. I suggest using an electric mixer to do this. Glaze the muffins while they’re still warm. NOTE: you will NOT drench these in the lemon glaze. We want to very lightly glaze them. Dip the back of a large spoon into the glaze, and gently spread the glaze along the tops of your muffins. It won’t look like much is there, but I guarantee that it will taste delicious!  

Blueberry lemon mini-bundts (5 of 6)

[yumprint-recipe id=’24’]I had a ton of blueberries left over after making this and I didn’t want to just throw away three perfectly good post-zest lemons, so I juiced them. What’s a girl to do with lots of lemon juice and blueberries? Add some coconut water and make popsicles. See the recipe here

Fabulous recipes by Mandi at godsavethequinoa.com

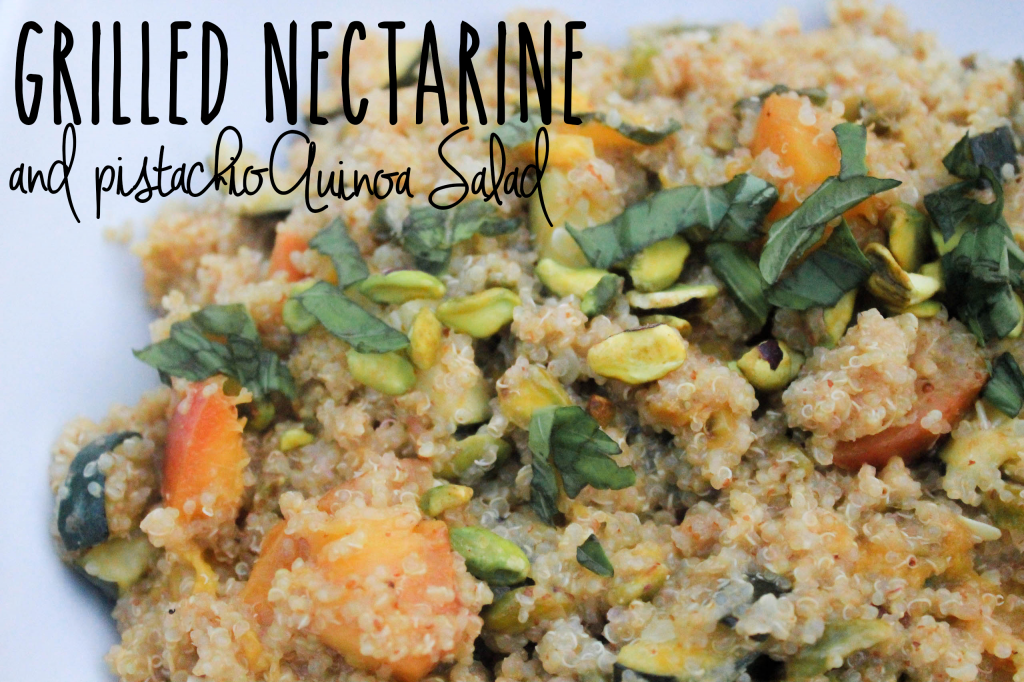
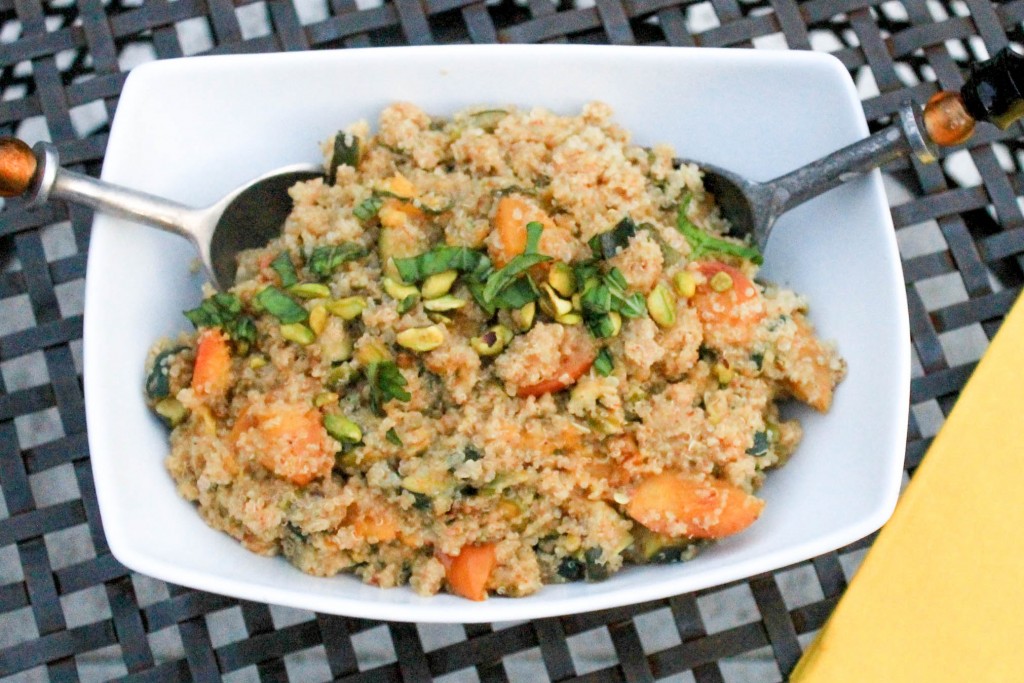
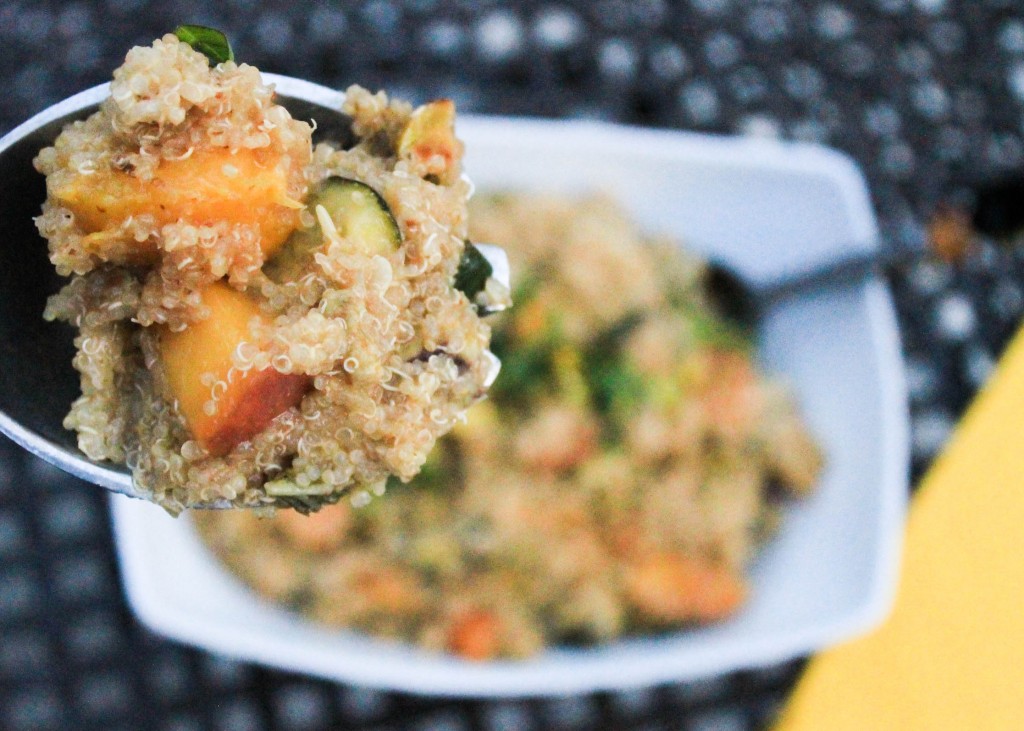
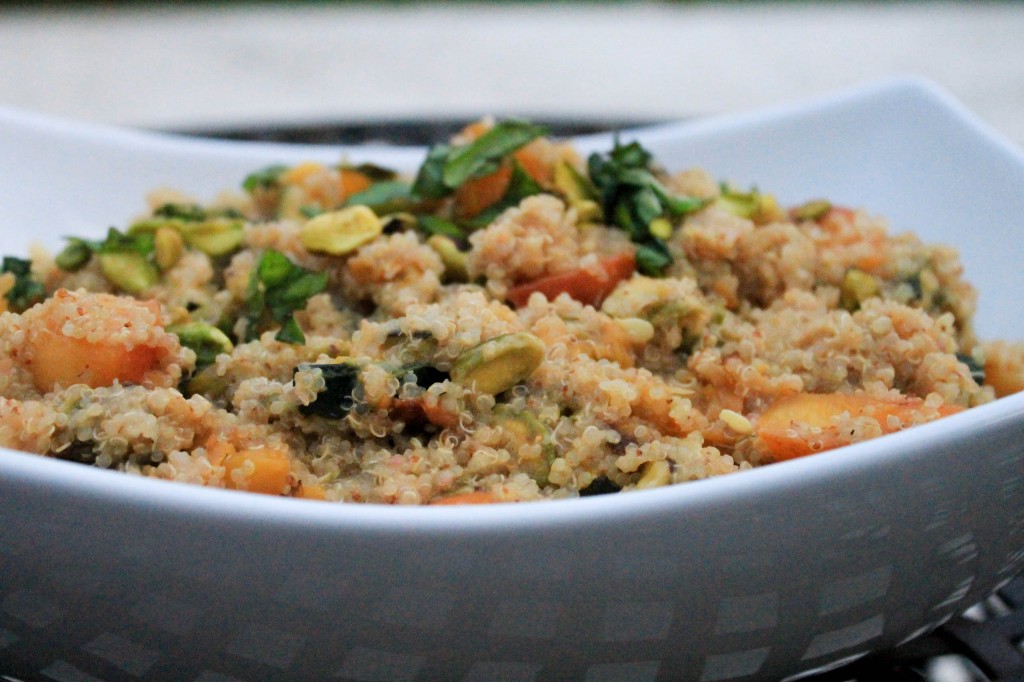
Grilled nectarine & pistachio quinoa salad

Grilled nectarine & pistachio quinoa salad (3 of 7)

Greetings! I hope summer is treating everyone well, I’m sorry I haven’t posted in a while…I’ve been SO busy lately! But get excited because I have tons of recipes to be posted, so stay tuned! 

Anyways, let me introduce you to one of my favorite summer recipes: Grilled nectarine and pistachio quinoa salad. This dish combines the soft, sweet flavors of grilled nectarines with the crunchy, salty flavors of raw pistachios. (I’m getting hungry just thinking about this!) Mix that together with warm quinoa and fresh veggies drizzled in a lemon-dijon basil dressing, and you’ve got yourself the ultimate summer evening dish! 

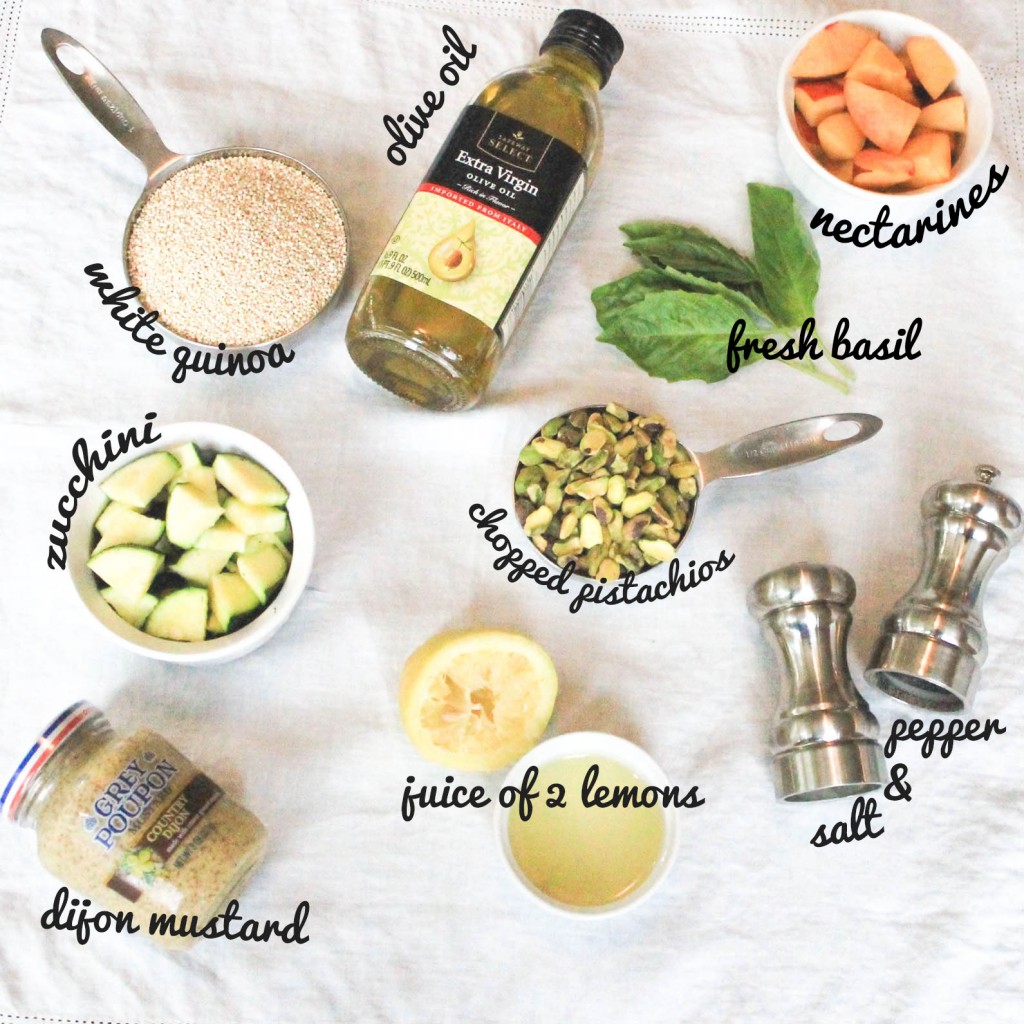
With 8 main ingredients, this dish is SUPER easy to make and can be cooked in about 30 minutes. All you have to do is cook the quinoa, sauté the nectarines followed by the zucchini, and make your dressing. See, its literally as easy as 1, 2, 3! 

Ingredients with words

 Step 1: Start by cooking the quinoa in half water half veggie broth. Need some quinoa cooking tips? Look here! 

Step 2: While quinoa is cooking cut the nectarines (the same way as you would an apple slice), quarter the zucchini, and slice the basil. Brush the nectarines with olive oil and arrange them on a grill pan to caramelize. You want grill marks to show up on the sides of the fruit, so  cook each side for about 2 minutes. When nectarines are done cooking, set them aside, add a little extra olive oil to the pan and sauté the zucchini until pieces become soft and translucent. This should take about 5-7 minutes. When this is done, remove zucchini pieces from heat and set aside. 

Don’t forget to check on the profess of step 1! By now your quinoa should be done cooking (or close to it). When the quinoa is al dente, fluff with a form, remove from heat, set aside and cover with a lid. 

Grilled nectarine & pistachio quinoa salad (4 of 7)

Step 3: Last but not least, you will make the dressing. To do this, start by combining the dijon and lemon juice in a small bowl and stir with a fork or whisk both ingredients are combined. Very, very slowly (while constantly stirring dijon lemon mixture) pour olive oil into bowl in a smooth, steady stream. DO NOT FORGET TO STIR DIJON LEMON MIXTURE WHILE POURING OLIVE OIL INTO BOWL. I cannot tell you how important this is!! Stirring the ingredients already in the bowl while simultaneously pouring in the olive oil will allow ingredients to emulsify. Emulsify is a fancy word used to describe two ingredients that aren’t meant to blend together but will become “one” under the right conditions… sounds like a love story, right? 

Anyways, if you start to notice that the olive oil isn’t playing nice with the dijon lemon mixture, stop pouring the olive oil and in the words of the late MJ “just beat it”. All jokes aside, stir your little heart out until ingredients start to combine. When they finally start to blend, continue stirring while you (more slowly this time) pour the rest olive oil into the bowl, pausing to stir ingredients as needed. When finished, add in basil and salt and pepper to taste.  

Grilled nectarine & pistachio quinoa salad (6 of 7)

You’re almost done! In a large bowl simply combine the cooked quinoa, grilled nectarines, and sautéed zucchini. Next, fold in the dressing so it is evenly dispersed throughout the quinoa. Top with chopped pistachios and left over basil and ENJOY! 

Grilled nectarine & pistachio quinoa salad (2 of 7)

[yumprint-recipe id=’23’]I hope you enjoy this dish as much as I do! Comment below and let me know what you think! I’d love to hear from you! 

Fabulous recipes by Mandi at godsavethequinoa.com

Grilled Salmon Kebabs

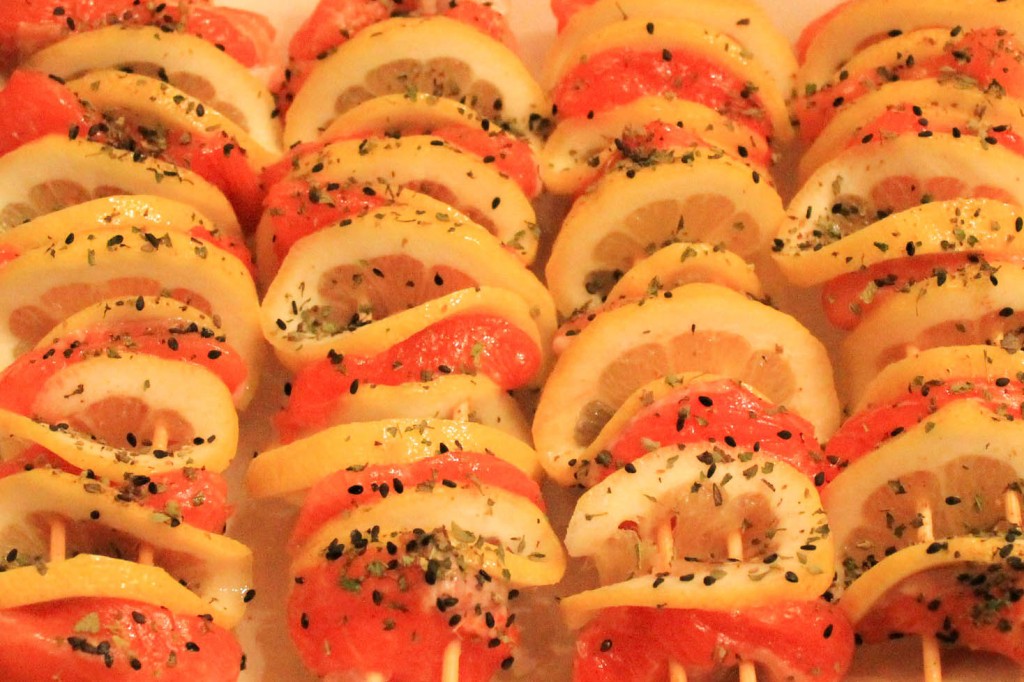
Lemon Salmon Kebabs (6 of 6)

Are you tired of cooking salmon in the oven, using the same spices, in the same dish, over and over again? I was. So, to spice things up I decided to take a stab at making some salmon skewers on the grill. (No pun intended). Believe it or not, they’re super easy to make and only require a few ingredients (salmon, lemons, some spices, and olive oil spray) and a couple of pieces of hardware (bamboo skewers and a grill).

I tested this recipe out on my parents and I think they thought the idea of salmon kebabs sounded strange because when I first told them what I was planning on cooking they told me they “didn’t like salmon”. Now, now, Mom and Dad, if you’re reading this, I’ve been your child for over 24 years and know all of your tricks (because I often use them myself). There’s no fooling me! But to ease the tension I grabbed some shrimp to make shrimp skewers for those who wanted to be difficult… I won’t mention any names. Anyways, the point of this story is that once the salmon kebabs were cooked and placed on the table the reluctant and curious words from my parents of “I’ll just try a bite” quickly turned into “Are there anymore salmon skewers?” and “Can you make some more?”. Now those are pretty bold words from someone who “doesn’t like salmon”. This recipe was a hit and apparently turned salmon haters into salmon lovers. I hope it will do the same for you!  
Lemon Salmon Kebabs__3 (1 of 1)

What kind of salmon do I need? Go to the fish counter at your local grocery store (I went to Central Market) and look for skinless salmon filets. You will need about one pound of salmon to make 8 kebabs. There will probably be a plethera of choices to choose from and all of them will most likely still have the skin on them. Talk to the fishmonger behind the counter (the fishmonger is the “butcher” of the fish counter) and tell him or her that you’re planning on making salmon kebabs and that you need the skin removed and the filets cut into equal sized 1 – 1.5 inch cubes. The fishmonger should be able to do this for you at no extra charge. I LOVE asking the fishmonger to do this (and peel and de-vein my shrimp). If you don’t do so already, take advantage of these services. It’ll save you a ton of prep time when you get home! As for what type of salmon to use, its up to you. I recommend using fresh salmon from behind the fish counter, not the kind that comes frozen in a bag like a bunch of chicken breasts. But like I said, the choice is yours!  

What else do I need to know? When you’re at the store, buy the biggest lemons you can find. If I remember correctly, I found some HUGE ones at Central Market that were from Mexico. You will need to slice the lemons very, very thinly and fold each slice in half to put on the bamboo skewers. This is much easier to do with big lemons. Trust me! 

You will need to use TWO bamboo skewers for each kebab. So, make sure you have enough! Also, do NOT forget to soak your bamboo skewers in water for at least 15 minutes before assembling kebabs and placing them on the grill. This will prevent your skewers from catching on fire once they’re on the grill. Make sure your skewers are fully submerged in water. From my experiences, you can’t soak your skewers for too long. To make sure I don’t forget to do this, I’ll throw my skewers in a bowl of water before I leave to go get ingredients or will start soaking them as soon as I get back from the grocery store just to make sure they have plenty of time to marinate before I start cooking. 
Lemon Salmon Kebabs (1 of 6)

Where do I start? Before you do anything, soak your bamboo skewers in water. Next, skin and cube your salmon filets (if your fishmonger has not done so already). Using a mandolin or a very sharp knife, cut your lemons into very thin slices. Keep in mind that these lemon slices will be folded in half when you’re assembling the kebabs. If they’re too thick they might break in half and fall off when you put them on the grill. 

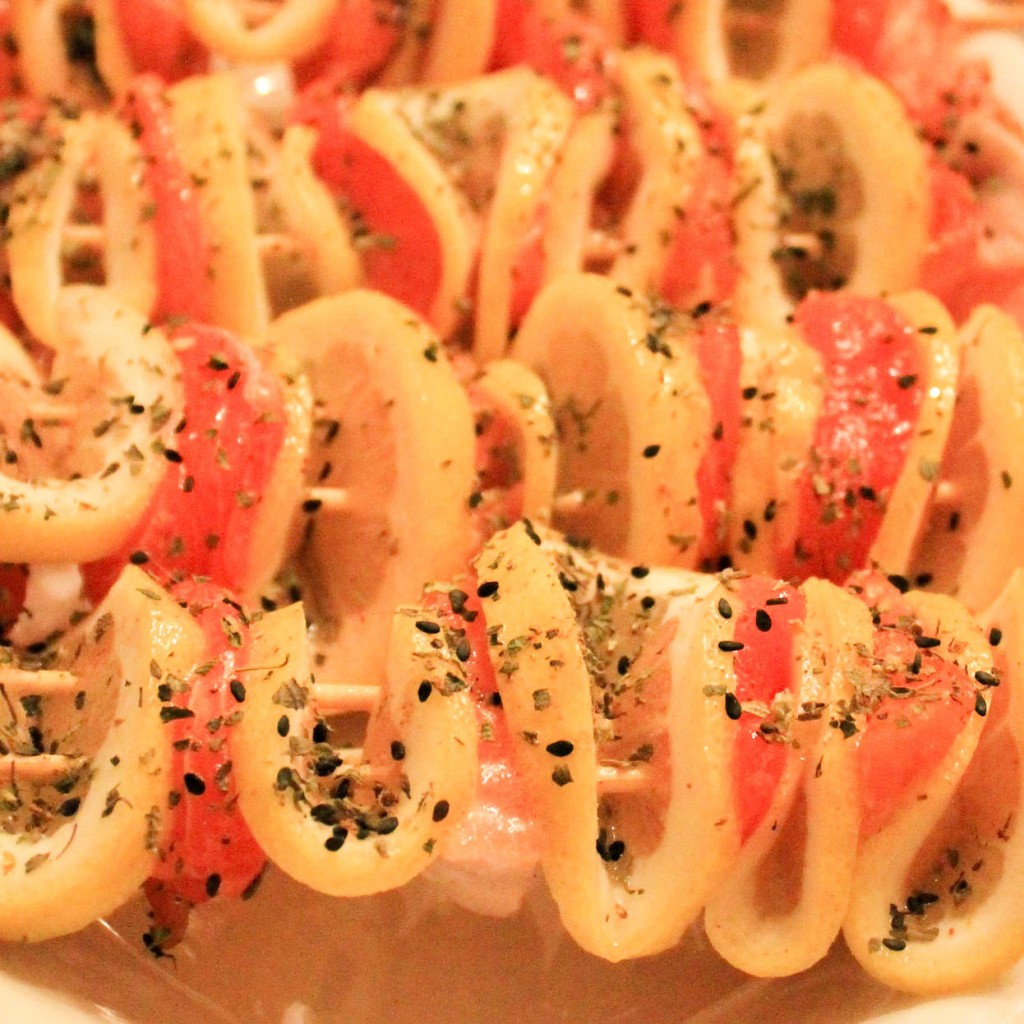
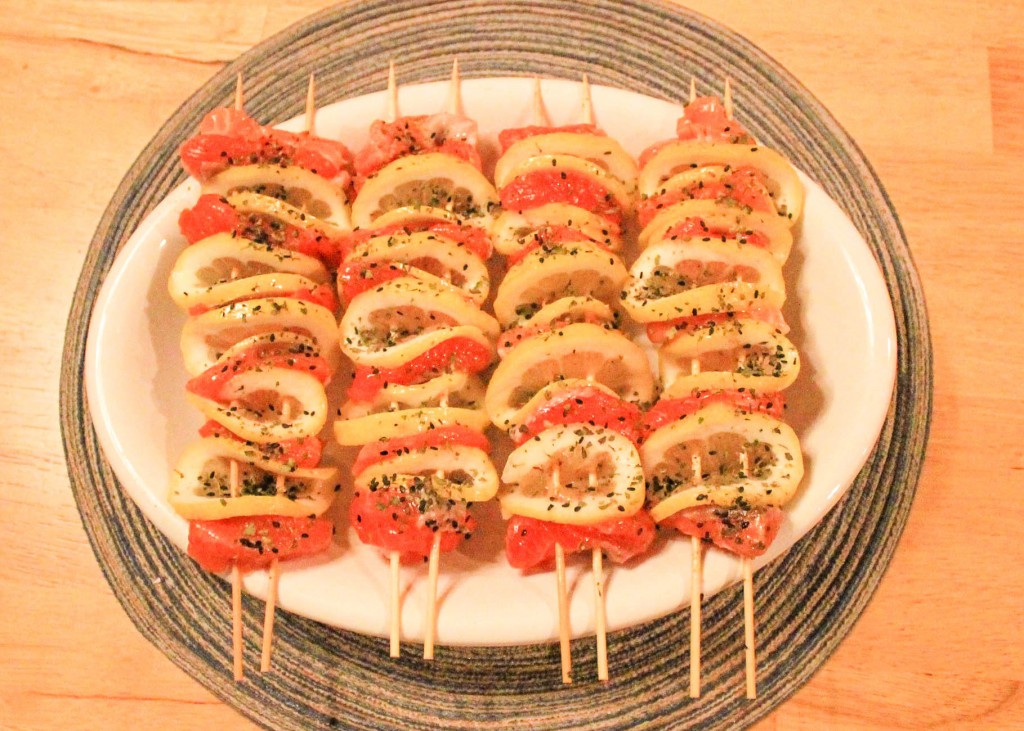
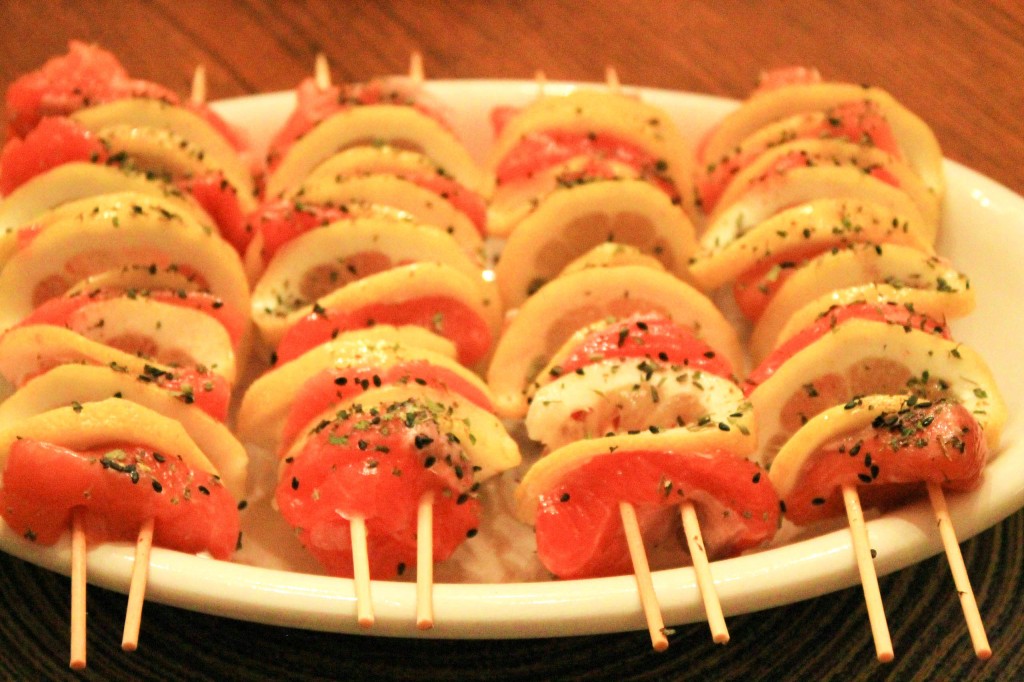
Once your lemon slices and salmon cubes are cut, you can start to assemble your kebabs. Each kebab will have 6 salmon cubes and 5 lemon slices. Each kebab should start and end with salmon. To assemble the kebabs, hold TWO skewers side by side (a little less than once inch apart) so that they’re parallel to each other. Start by sliding a salmon cube on the skewers followed by a folded lemon slice. Continue until the skewers are full. (The pattern should go a little something like this: salmon, lemon, salmon, lemon, salmon, lemon, salmon, lemon, salmon, lemon, salmon.) As a reminder, each kebab should have 6 pieces of salmon, and 5 slices on lemon, starting and ending with salmon. Once assembled, lay your kebabs on a dish (as pictured below). 

In a separate bowl, combine 2 Tbs oregano, 2 tsp of sesame seeds, 1 tsp cumin, and 1/4 tsp of crushed red pepper flakes and mix well. Sprinkle the oregano sesame seed mixture across all salmon kebabs and head to the grill! 
Lemon Salmon Kebabs (2 of 6)

Heat the grill to medium heat and spay with olive oil cooking spray to prevent kebabs from sticking. When the grill is ready to go, throw on the kebabs! You will cook your kebabs until the salmon is opaque throughout. You will need to turn each kebab occasionally to ensure they cook evenly. Each kebab should take between 8 and 10 minutes to cook, but keep in mind that this time could vary depending on the intensity of your grill. You will know your kebabs are cooked when the salmon turns a light pink color. 

When they’re done, simply remove them from the grill, lay them on a plate, and serve immediately! 

[yumprint-recipe id=’22’] 

I hope everyone enjoys these as much as my family and I did! I’d love to hear what you think! Feel free to comment or message me with any questions or comments! 

Fabulous recipes by Mandi at godsavethequinoa.com

Asian Lettuce Wraps

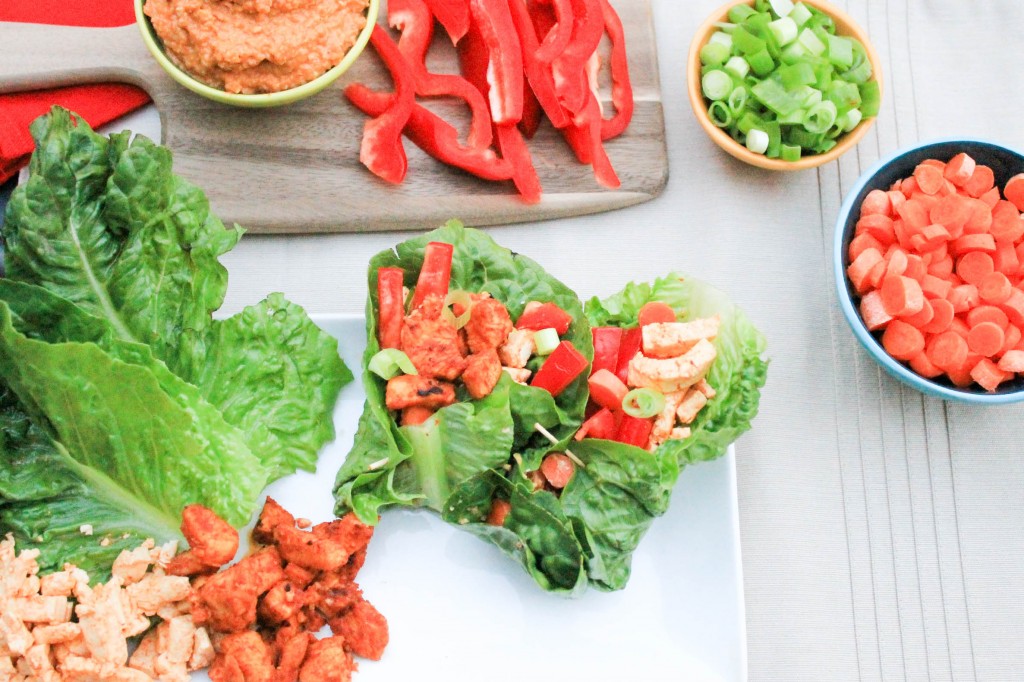
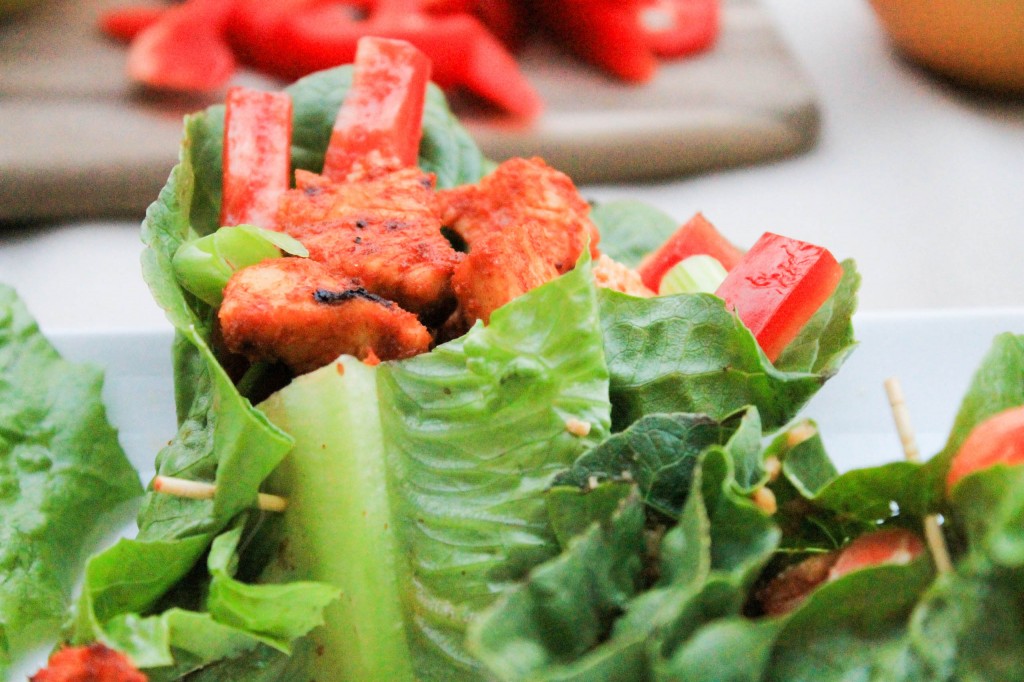
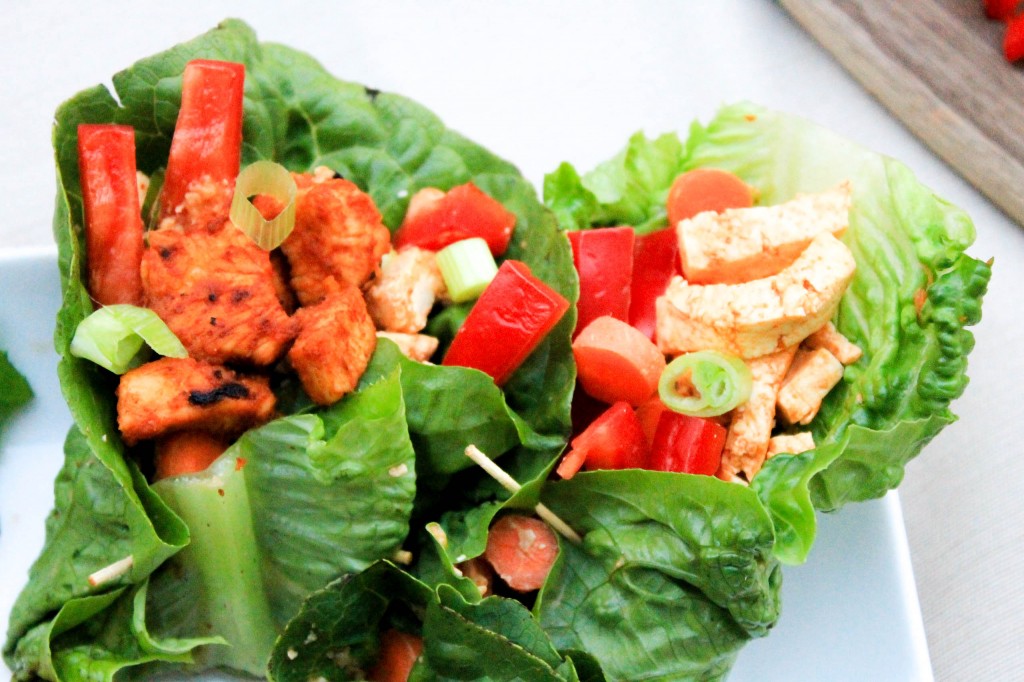
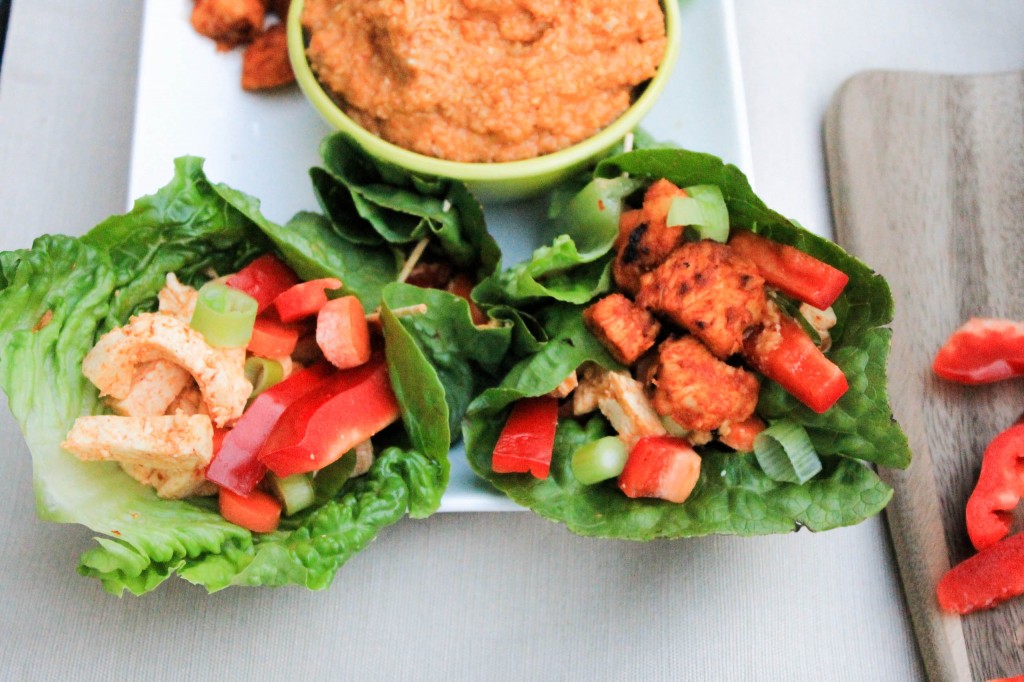
Asian Lettuce Wraps  Looking for a fresh but spicy dish? Look no further! These Asian Lettuce Wraps do not disappoint! I’ve always been a huge fan of lettuce wraps (especially from Pei Wei) and I’m so excited that I’ve {finally} perfected a lettuce wrap recipe of my very own to share with you! 

In this recipe, you’ll have the opportunity to enjoy fresh juicy red bell pepper slices, diced carrots and green onions, spicy marinaded tofu (if you opt for the no-meat option) or chicken, cradled in a cold giant lettuce leaf, topped with creamy cashew peanut sauce. My mouth is watering already! 

Asian Lettuce Wraps_ God Save the Quinoa (7 of 15)

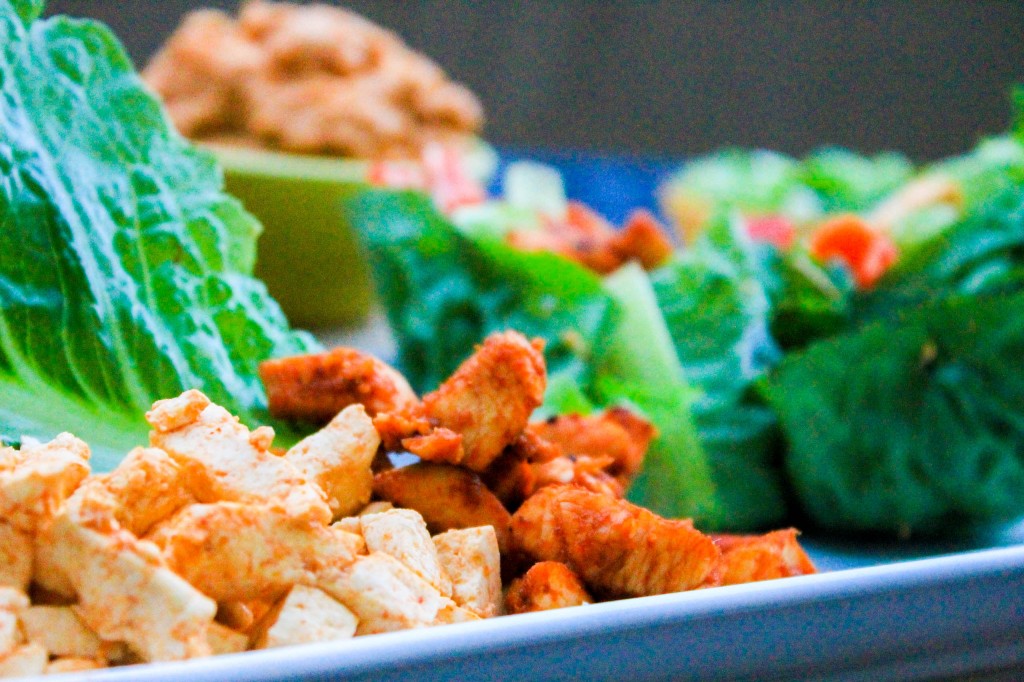
You might have noticed above I mentioned you could have tofu OR chicken. That’s right! This recipe can easily be made to satisfy vegetarians and meat eaters!

If you’re making the vegetarian version use one container of extra firm tofu cubes (drained). This will be enough for 4 servings. (I ALWAYS eat these leftovers for snacks). Be sure to drain the tofu before you marinate it! 

Asian Lettuce Wrap If you’re making the meat eater version, use a one pound chicken breast for every two servings. (Hence if you want to make all chicken lettuce wraps for four people, I suggest using TWO one pound chicken breasts. But feel free to adjust the serving sizes depending on how hungry you are. 

Asian Lettuce Wraps_ God Save the Quinoa (10 of 15)

Let the tofu and chicken marinade in a rice wine vinegar and Sriracha mix for at least 30 minutes, or up to two hours. I’ve done both before and honestly, I don’t think the timing made a huge difference. Make sure you pour enough rice wine vinegar in the marinading meat (or meat substitute) so that the contents are completely submerged. Stir in about 3 tablespoons of Sriracha for a little added kick and let sit. NOTE: If you’re cooking chicken and tofu, be sure to let these marinade in separate bowls. No one wants salmonella from raw chicken. 

If you’re looking for things to do while the tofu/chicken is marinading, you can get started on prepping the veggies and making the {oh so good} creamy cashew peanut sauce. To prep the veggies simply slice the red bell peppers into long skinny slices, dice the carrots and green onions and set aside. Wash your lettuce leaves and carefully pull them off from the head (SLOWLY so they don’t rip…trust me I know from experience!) dry them with a paper towel and set them aside on a plate. If you’re not sure what type of lettuce to use, let me share a couple options with you. If you want something more crunchy go with iceberg lettuce. If you want something softer and easier to roll (this is what I prefer for this recipe) go with butter leaf lettuce (or Boston Bibb Lettuce). I think the name varies depending on where you live. But, if I’m wrong they look and taste extremely similar to one another! You can’t go wrong with either option! 

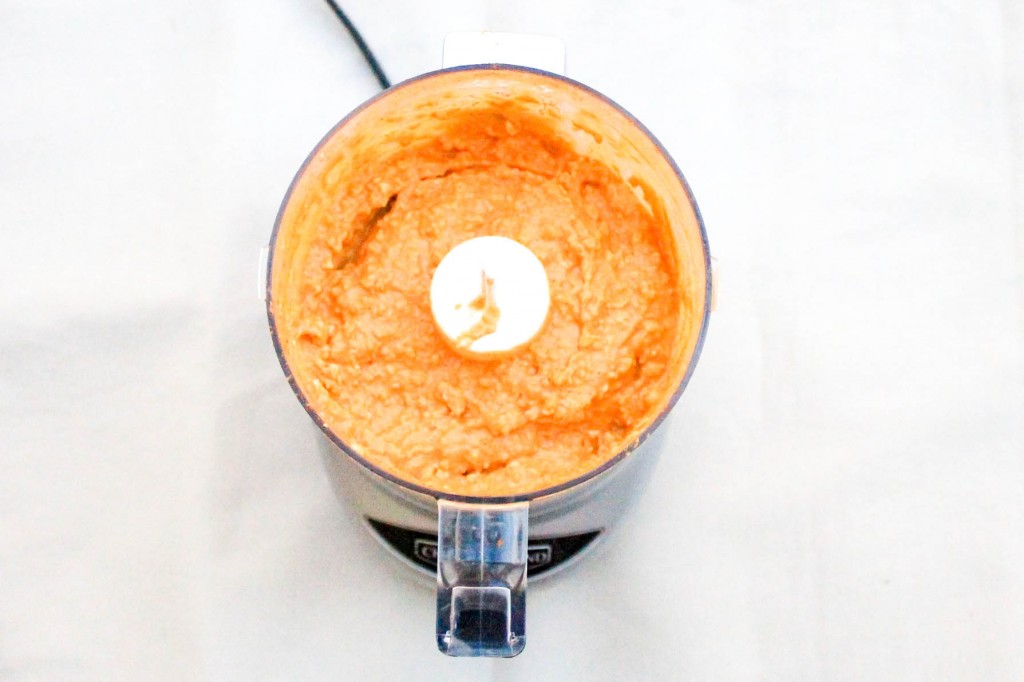
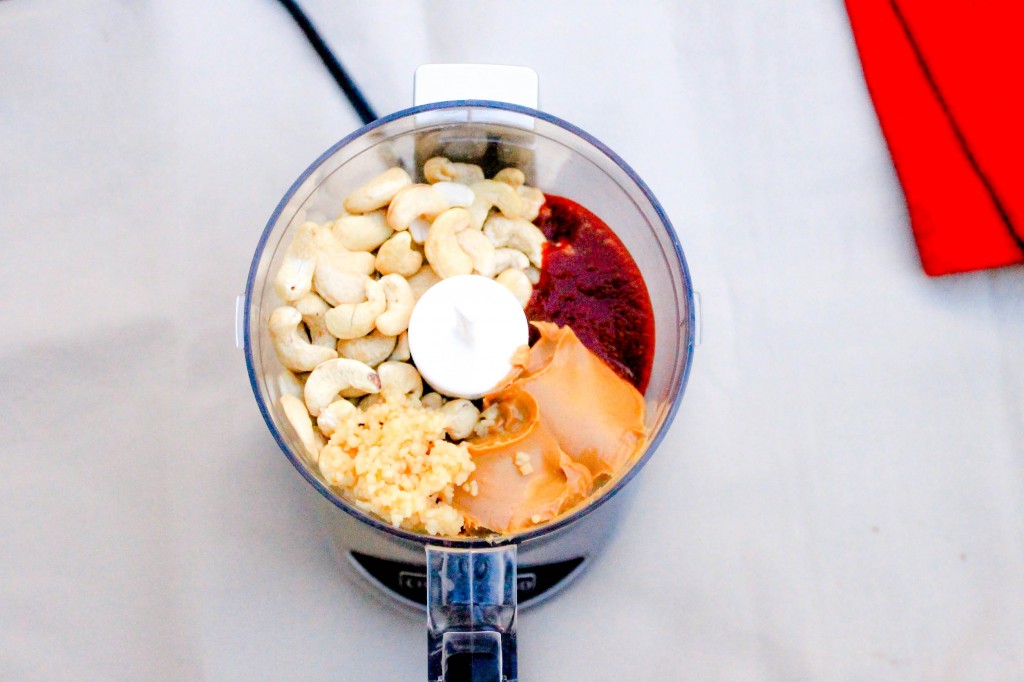
After the veggies are washed and chopped, make the cashew peanut sauce. Yall, I LOVE this sauce. I can {and do} eat it with a fork! Its sooooo good and easy to make! All you have to do is mix raw (unsalted) cashews, a garlic clove, some peanut butter, water, a little bit of rice wine vinegar, and sriracha in a food processor or blender and mix! SO. SIMPLE. 

Asian Lettuce Wraps_ God Save the Quinoa (1 of 15)

If you store the cashew peanut sauce in an airtight container like a jar or tupperware, it will keep in the fridge for about 2 weeks! Make extra to have something fun to snack on! 

Asian Lettuce Wraps_ God Save the Quinoa (3 of 15)

Okay, by now your tofu/chicken should be done marinating. I’ll start with tofu instructions first! All you have to do is pour the bowl of marinated tofu (INCLUDING the marinade) into a pan on the stove and bring to a boil. When juices start to boil reduce heat and simmer for 2-3 minutes. Your marinade will start to bubble up (almost like if you were to blow bubbles into milk) and this is perfectly fine! It just means you need to give the simmering tofu a quick stir! Pour the majority of the marinade out into the sink and sauté the tofu until it turns golden brown and set aside. 

Asian Lettuce Wraps_ God Save the Quinoa (6 of 15)

To make the chicken, similar to the tofu (and you can use the same pan but ONLY if you cook the tofu first) pour the chicken AND marinade into the pan on high heat. Sauté chicken stirring constantly. Something cool is about to happen. The marinade will turn thick and sticky, taking on the appearance of a teriyaki like sauce. Just FYI I discovered this by accident and Greg said it was “really really good” so blame him if you don’t like it since I’ve never tasted it! If anyone knows why this happens when you cook rice wine vinegar, Sriracha, and chicken let me know! I’ve tried googling it and couldn’t find any explanations! Continue stirring the chicken on medium to high heat until all of the marinade has thickened and chicken is cooked all the way through. 

Asian Lettuce Wraps_ God Save the Quinoa (15 of 15)

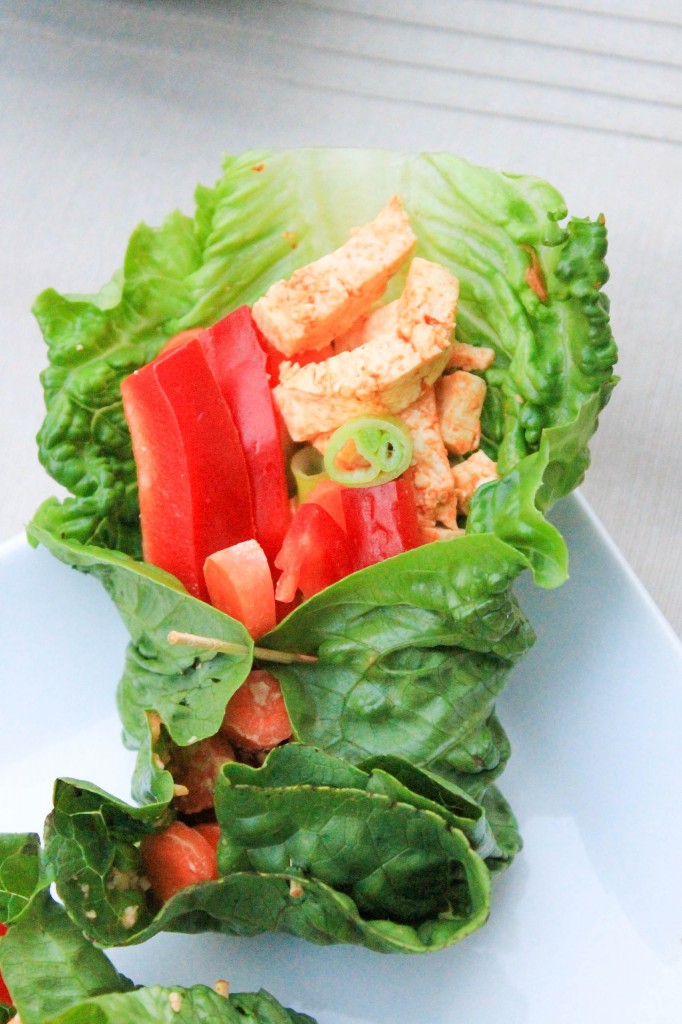
You’re done! All you have left to do is assemble the lettuce wraps! Do this by placing the bell peppers, carrots, green onions, tofu or chicken, and cashew peanut sauce in a lettuce leaf and wrap it like a burrito (use a toothpick to keep the wraps together if they’re not cooperating) and enjoy! 

[yumprint-recipe id=’21’]Let me know what you think! 

Fabulous recipes by Mandi at godsavethequinoa.com

Mac and Cheese Shrimp Muffins

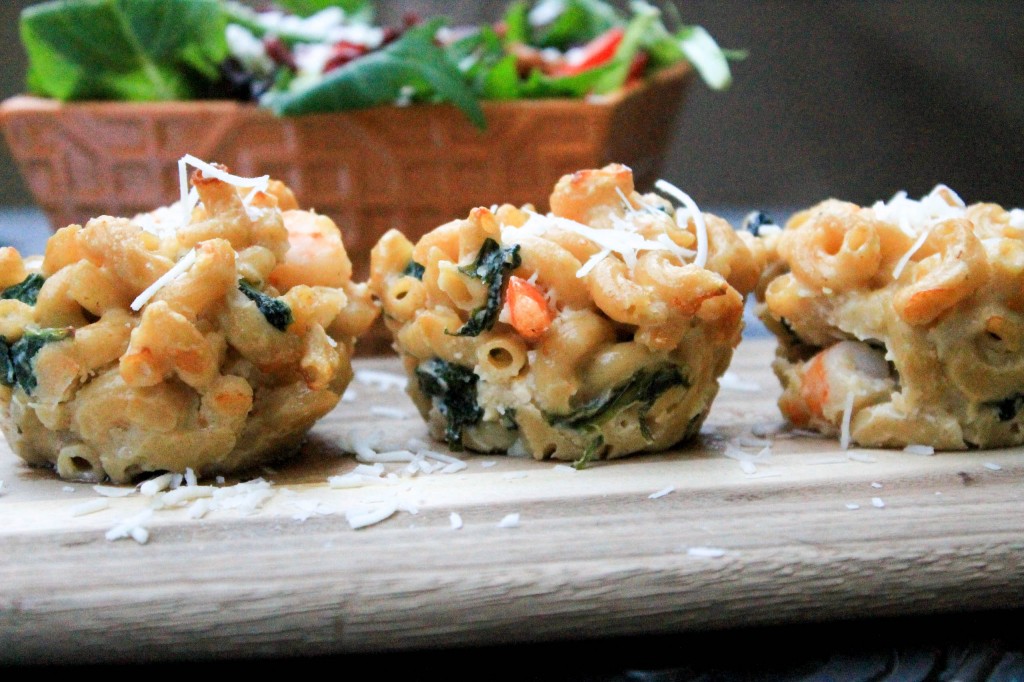
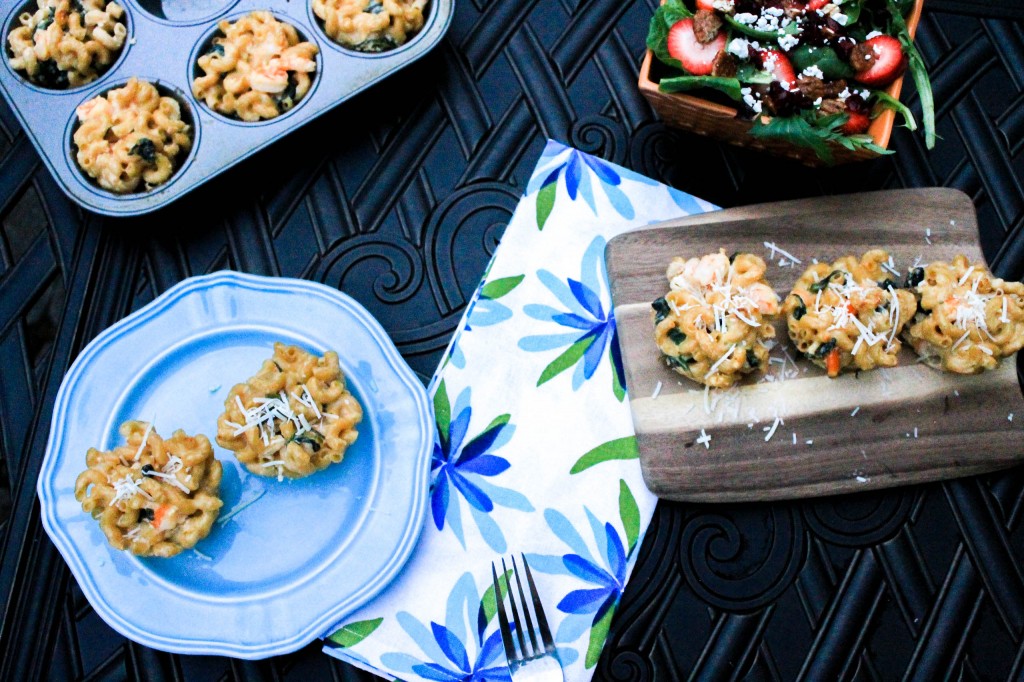
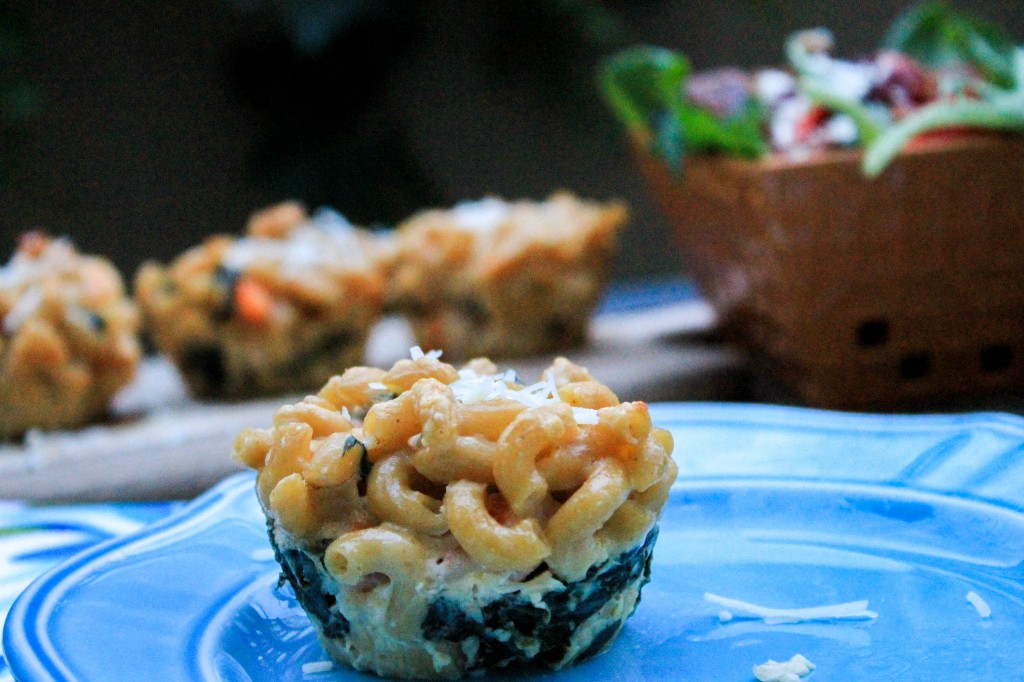
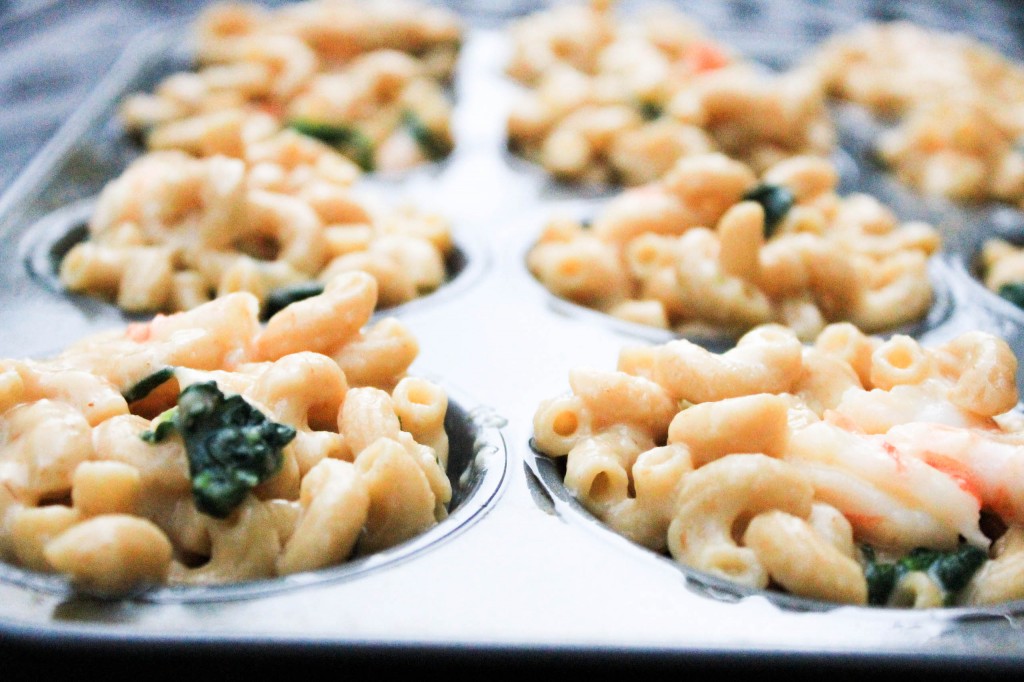
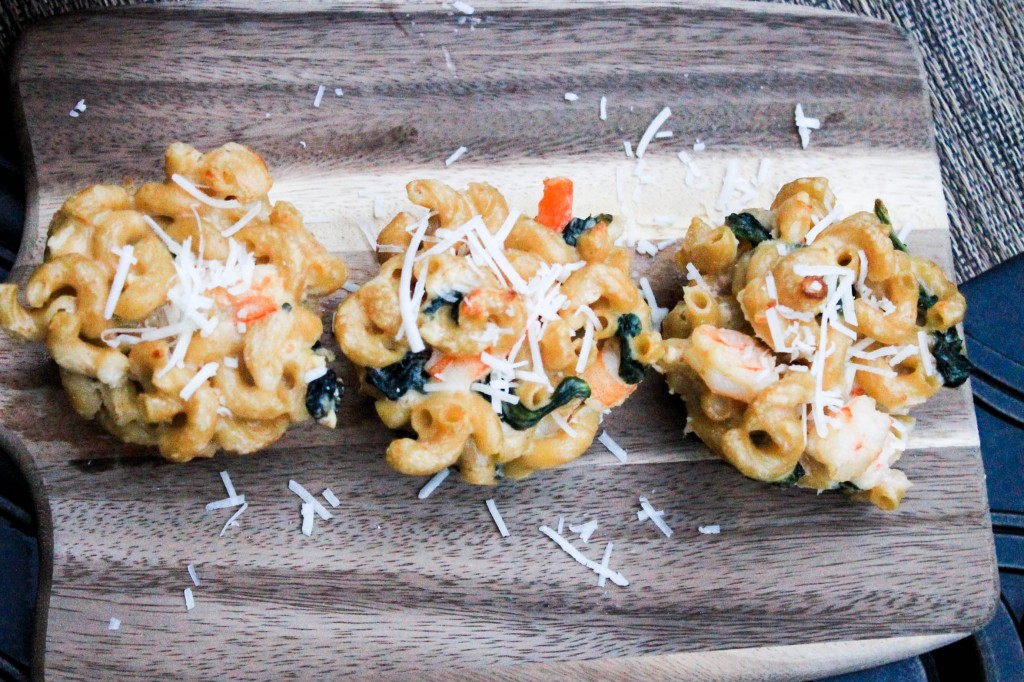
Mac and Cheese Shrimp Muffins

Happy Monday! Who loves mac and cheese? I know I do! When I think about mac and cheese I reminisce about being a little kid, making my kraft mac and cheese in the microwave, and pouring on the cheese powder which magically turned into delicious, gold sauce and immediately inhaling the entire bowl! That mac and cheese was oh so good but it was SO unhealthy. I mean whats so appetizing about powdered cheese anyway? …not much if you’re sober or above the age of five. 

Mac and Cheese Shrimp Muffins

Anyways, I am happy to announce that I have discovered a delicious mac and cheese dish that will make you feel like a kid again! They’re made of whole wheat macaroni noodles, are cooked in a muffin pan, and only have 120 calories per muffin! (Compare that to the 230 calories per serving of the traditional stuff). Serving sizes are important to look at when you’re examining the damage on the back of the box. A lot of times a box will say “150 calories per serving” then in teeny tiny letters either below or right above that it says “Servings per box: 4”. If you don’t pay attention to these little details you could set yourself back 600 calories and not even realize it! 

While we’re on the subject, did you know that a serving size is supposed to be (give or take) the size of your fist? Whats that? Muffin pans are also about the size of your fist? And these mac and cheese “muffins” are baked in muffin pans?! Hello portion control! PS- since this recipe makes 12 muffins, this is a great meal to cook at the beginning of the week (aka Monday) and eat leftovers for dinner on Wednesday or to bring to work for lunch! To do so, simply reheat in the microwave!

TIP: Measuring out portions of food before you eat or cook them will help prevent overeating, which makes you feel better and reduces the amount of uneaten food you throw away leaving room for leftovers.   

Mac and Cheese Shrimp Muffins_ God Save the Quinoa (19 of 19)

 Enough about that. I’m hungry. Let’s talk food.

This dish is super easy to cook! In fact, when I started learning how to cook this was always my go to! Now, stating the obvious, but you start by cooking the macaroni noodles. Notice that the recipe calls for 4 cups of COOKED macaroni (AKA about 2 1/2 cups of dry macaroni). Measure out 4 cups when you’re done cooking it. Oh, and be good to your body and use the whole wheat stuff. I promise you won’t regret it! 

I decided to add in fresh spinach and shrimp to get some extra nutrients and protein. If you have a picky eater on your hands, let me share a secret with you. If you disguise healthy food in traditionally un-healthy food, its not only a great April Fools Day prank but this picky eater of yours will never know what they ate! Add the shrimp to the boiling noodles so that it can wilt. 

To stay on the slim side I used Kraft fat-free sharp cheddar cheese and gruyere cheese, which is a wonderfully delicious version of swiss cheese and can be found in the specialty cheese aisle. 

Mac and Cheese Shrimp Muffins

While the noodles are cooking make the cheese sauce. Start by making a roux (a french way of thickening up a sauce) in a saucepan by whisking together flour and butter. Add in some minced garlic and whisk until fragrant. Pour in some skim milk and bring all contents to a boil before reducing the heat to medium. Stir in the cheddar and gruyere cheese and mix until sauce becomes thick. Try to resist sampling the cheese sauce if you can! 

Next, remove the sauce pan from the burner and off the heat and stir in the egg and egg white. By now your noodles should be done cooking, so drain them using a pasta strainer and measure out 4 cups of macaroni. Add those 4 cups to the cheese sauce and mix well before stirring in diced cooked shrimp. Make sure you use 1 1/4 cup of diced, COOKED shrimp! (Ask for 1/2 pound at the fish counter).

Generously grease a 12 pan muffin pan and scoop your soon to be mac and cheese into the cups filling almost to the top. (See picture above for reference). Pop those babies in the oven at 400 degrees F for 10 – 15 minutes and you’ve got yourself some fancy mac and cheese!

Let them cool before removing from the muffin pan. I know it will be hard to wait a few extra minutes, but if you want them to stay in the shape of muffins keep your hands off! Sprinkle with some fresh parmesan cheese and enjoy! 
Mac and Cheese Shrimp Muffins_ God Save the Quinoa (10 of 19)

[yumprint-recipe id=’20’]Fabulous recipes by Mandi at godsavethequinoa.com

Honey Grilled Watermelon Caprese Salad

Tuna salad stuffed tomato cups (6 of 9)

 Happy Memorial Day weekend! I don’t know about you, but I sure am looking forward to a much needed three day weekend!

As you know, this time of year its popular to have cookouts or BBQ’s in the backyard or out by the pool with friends and family. I’m personally a huge fan of potlucks- where each person brings a different dish to share with the group. Its such a fun way to taste new things and discover new recipes. Not to mention, it makes the hostess’s life much easier! 

If you’re looking for a fun summer dish to bring along to a Memorial Day potluck, or serve at your own outing, my honey grilled watermelon caprese salad is a guaranteed crowd pleaser.  

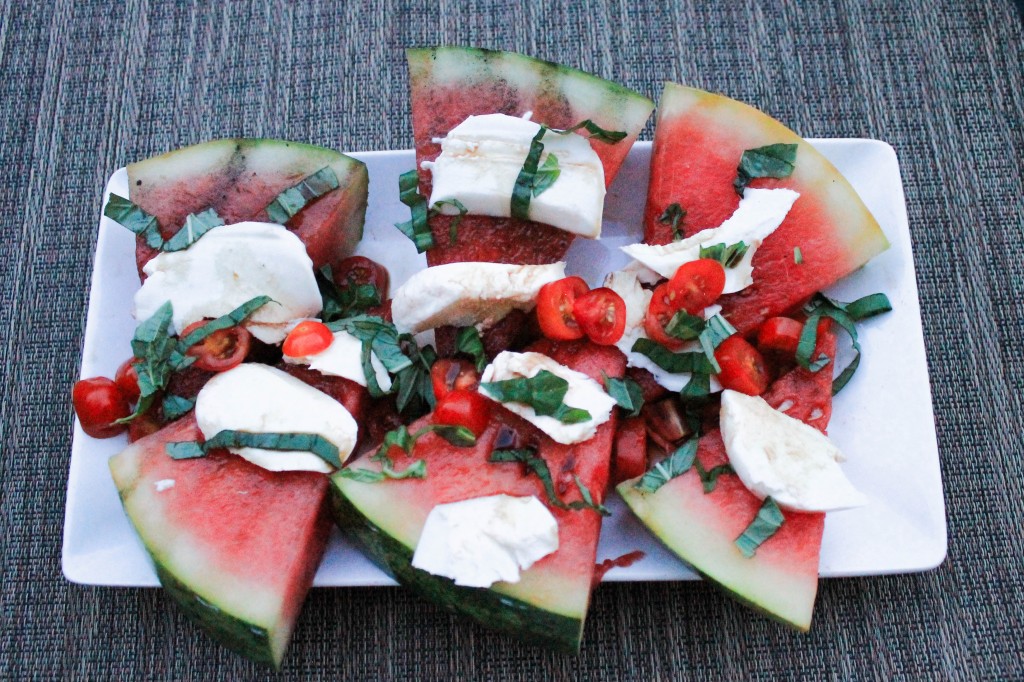
Honey Grilled Watermelon Caprese Salad

I know honey grilled watermelon and mozzarella sounds like a funny combination, but trust me, once you taste it you won’t be able to get enough! The creamy mozzarella pairs perfectly with the sweetness in the watermelon, creating a perfect and refreshing party food!

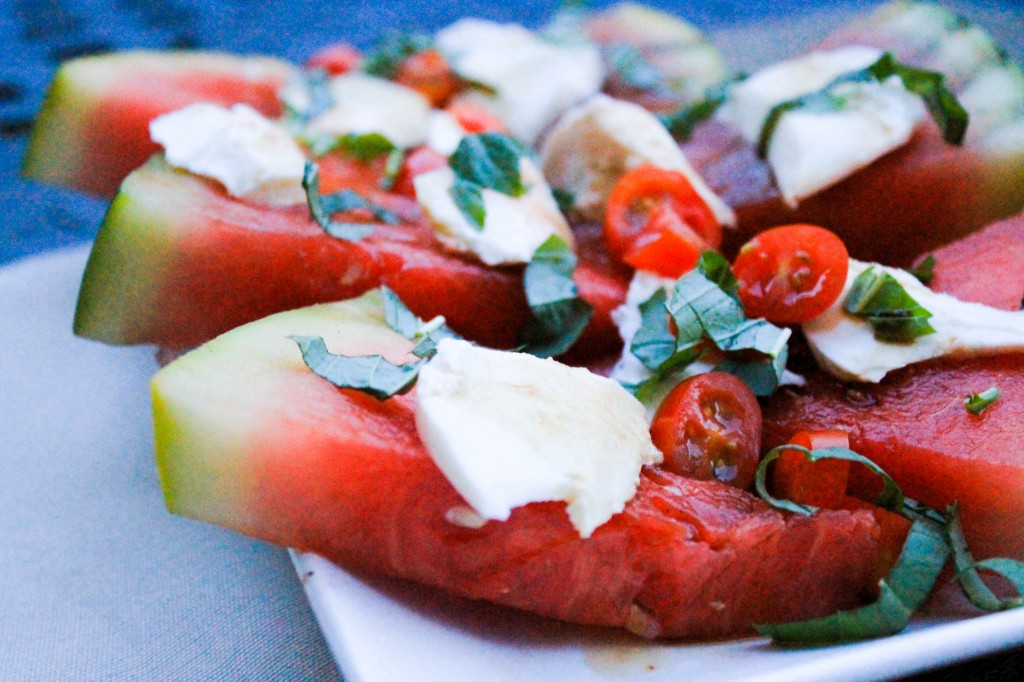
Watermelon, olive oil, honey, fresh mozzarella, basil, cherry tomatoes, and balsamic vinegar. Thats all you need. So. Simple. 

Simply cut the watermelon into triangular slices, mix the olive oil and honey together in a bowl until well combined- adding some salt and pepper as desired. Brush each side of the watermelon slices with the olive oil honey mix and grill each side of the watermelon on medium heat for 2 minutes. 

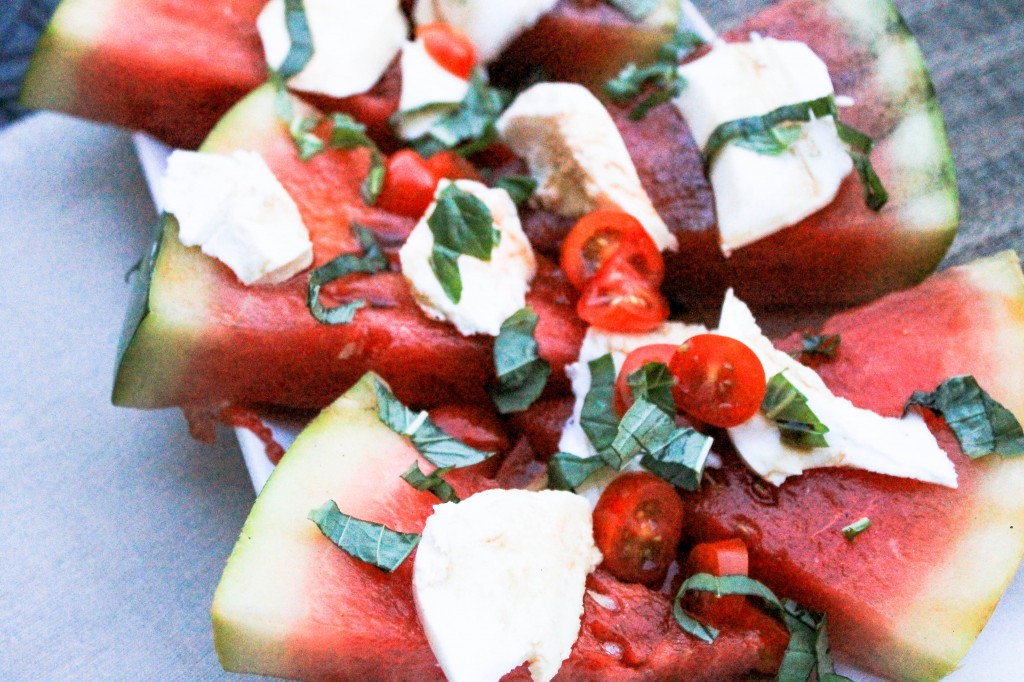
Arrange grilled watermelon slices on a plate and place fresh mozzarella slices, chopped cherry tomatoes, and fresh basil shreds on top. Drizzle plate with balsamic vinegar and serve! 

Honey Grilled Watermelon Caprese Salad

 See, I told you it was simple! Be prepared to make seconds and thirds. 

Happy Memorial Day, everyone! Remember to thank our troops! 

[yumprint-recipe id=’19’]Fabulous recipes by Mandi at godsavethequinoa.com


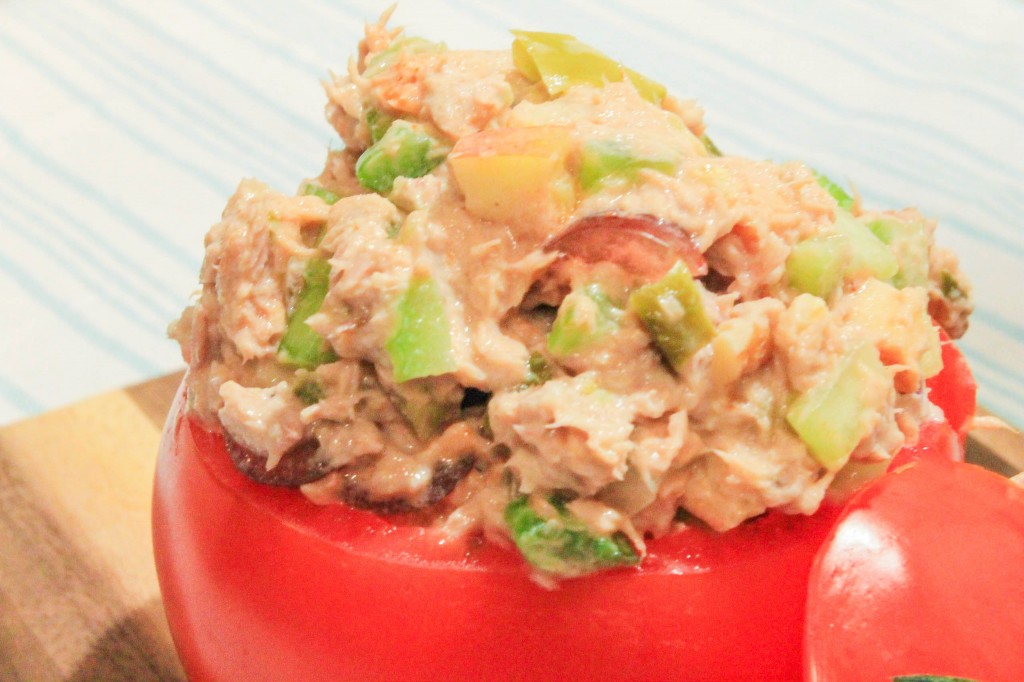
Tuna Salad in Tomato Cups

Tuna salad stuffed tomato cups (10 of 12)

Ever since I was a child, I’ve loved tuna salad! My mom used to always make tuna sandwiches to put in my lunch or would serve tuna salad with crackers as a snack. Yum! As I got older and started eating out on my own at those deliciously cute little bakeries, I noticed the ridiculously high calorie count in tuna salad. I’m talking 600-900 calories. At least. For ONE SANDWICH?!?! Uhhh no thanks.

Because of this, I would (and still do) avoid tuna sandwiches at those cute little bakeries like the plague! But I just couldn’t say goodbye to my beloved tuna salad forever, so I figured out how to make a tuna salad of my own. A tuna salad that is healthy and tastes just as good at the unhealthy kind, with 198 calories to be exact! So, attention all cute little bakeries with un-healthy tuna salad, serve this recipe and I’ll start eating your tuna salad again! 

How do I make my tuna salad healthy you ask? Well, let’s start with what makes tuna salad so unhealthy in the first place. There’s one word for it, and that word is mayonnaise. And lots of it. In my recipe, I’ll admit that I do use a mere 2 teaspoons of mayonnaise…but that’s much healthier for you than 2 cups of it!

To make this Healthy Tuna Salad Recipe, I used plain nonfat greek yogurt in lieu of mayo, added lots of fruit (apples and grapes), nuts (chopped walnuts), veggies (celery and white onion shreds), and a hard boiled egg for extra protein. These additions give the tuna salad a great texture and make it more filing for you! I spiced it up with sweet relish, spicy dijon mustard, and even added some sriracha to give it a little extra kick! If spicier foods aren’t your cup of tea- opt out of using the sriracha! 

Now back to those cute little bakeries. I just love how “cute” everything is! If you don’t know what I’m talking about, next time you go into one of these places look around at the pictures decorating the walls, the table linens, the plates, the menus, and the cute little old ladies brunching together in the corner. All of these elements really contribute to the overall atmosphere. In an attempt to recreate this atmosphere at home, I decided to serve my tuna salad in tomato cups! 

Creating these tomato cups is very simple to do! To learn how, simply follow the step by step directions below:

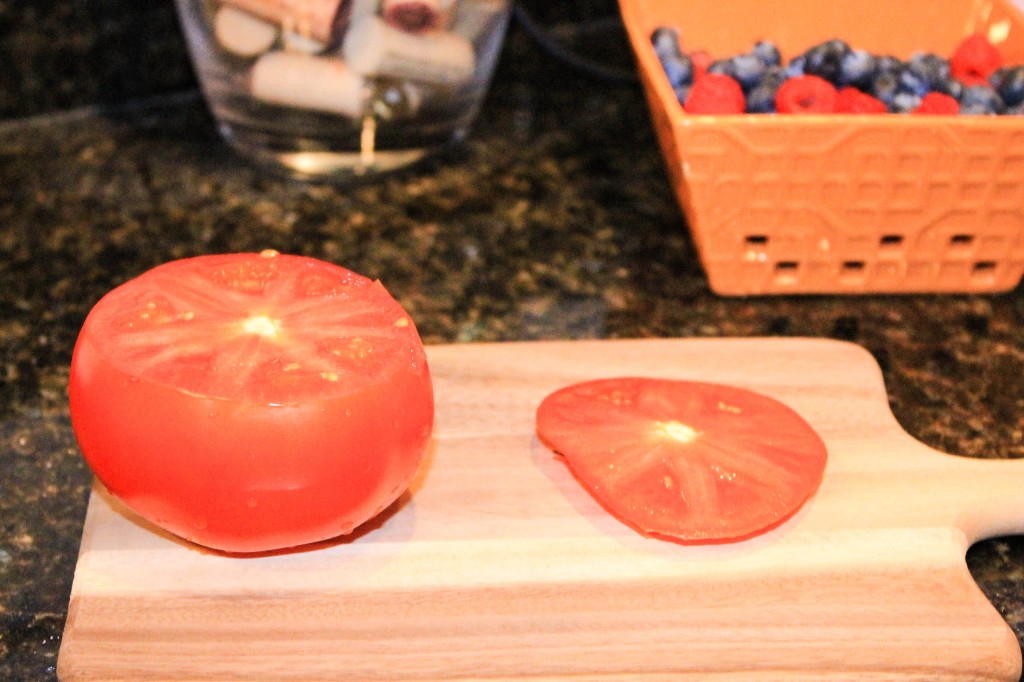
1. Cut off the top of the tomato near the stem. Remove the stem and set aside. (This will be used as your lid later on.)

Tuna salad stuffed tomato cups (1 of 12)


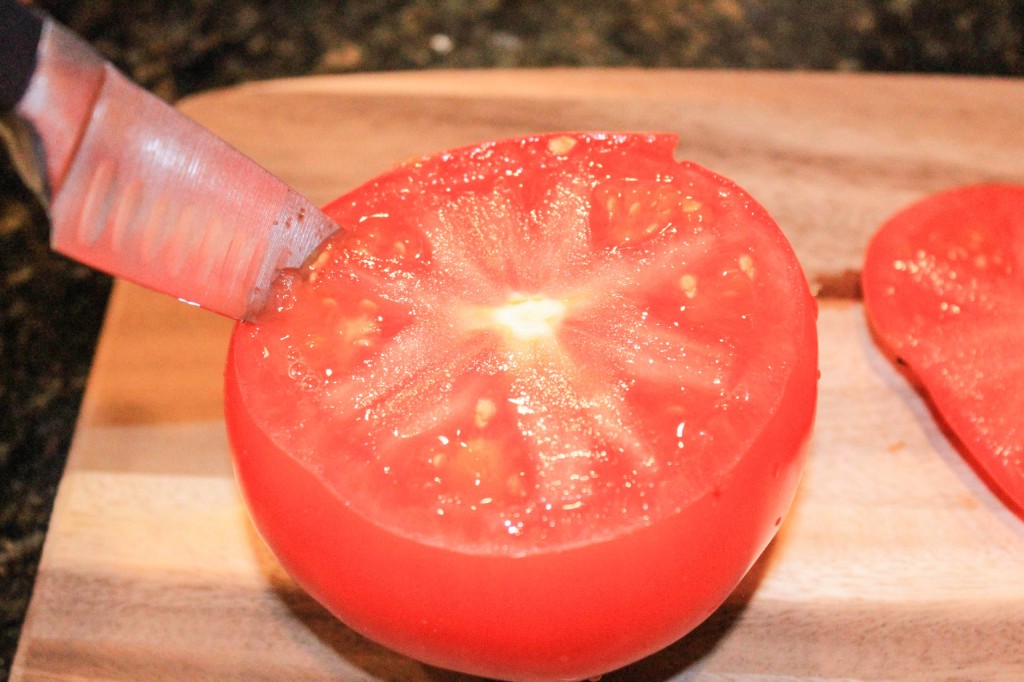
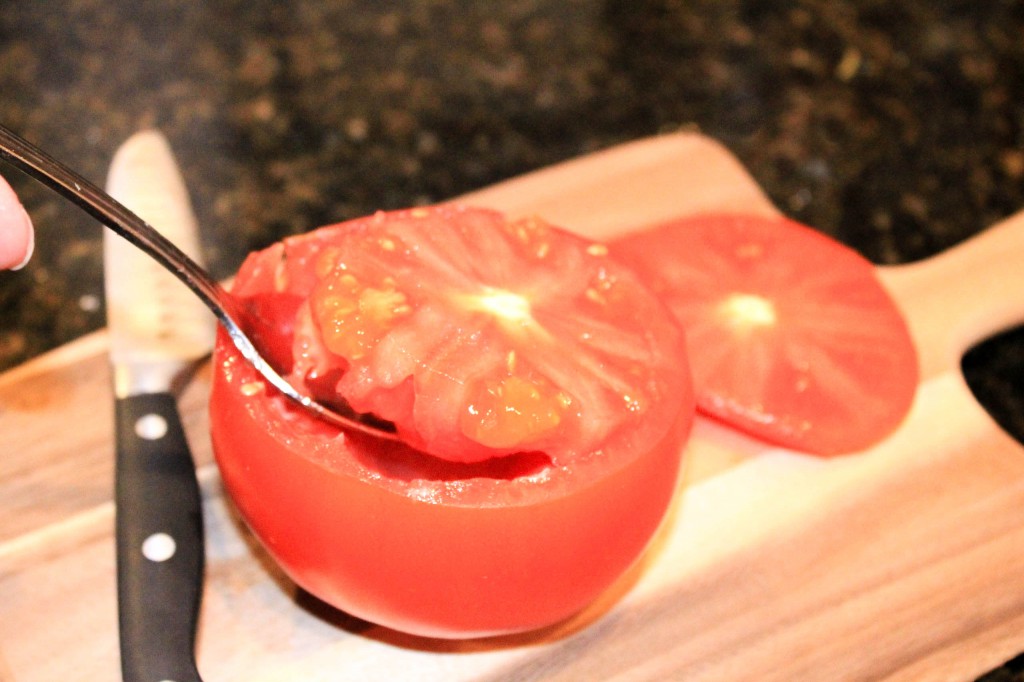
 2. Use a knife to “trace” around the edges of the tomato as if you are trying to separate the “core” of the tomato from the “wall”. Be careful not to cut all the way through the skin! You want your tomato to hold the tuna salad- not leak everywhere! 

Tuna salad stuffed tomato cups (2 of 12)


 3. Using a large spoon, gently scoop out the insides of the tomato. Re-trace the path you carved out with your knife to continue separating the tomato “core” from the “walls”. Don’t be afraid to use a little force if you get stuck! Continue tracing the path with the spoon until you can insert the spoon all the way to the bottom of the tomato (without puncturing the tomato of course!)  

Tuna salad stuffed tomato cups (4 of 12)


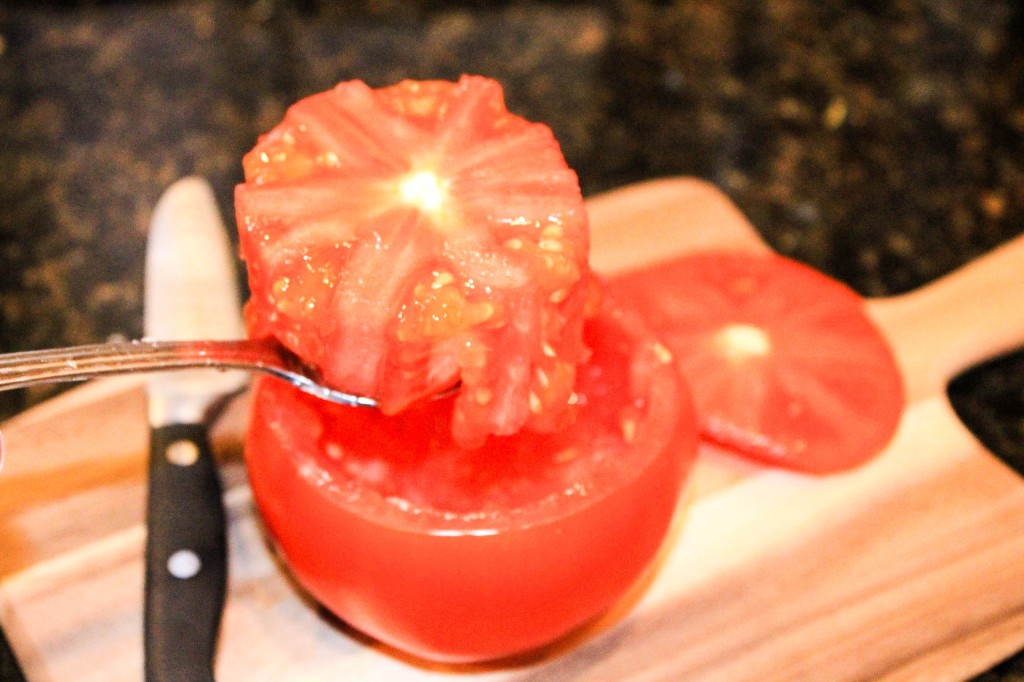
4. By now you should be able to fit the spoon all the way around the core of the tomato and lift it up. To continue, simply lift the core out of the tomato and throw it away. You’re almost done! 

Tuna salad stuffed tomato cups (5 of 12)


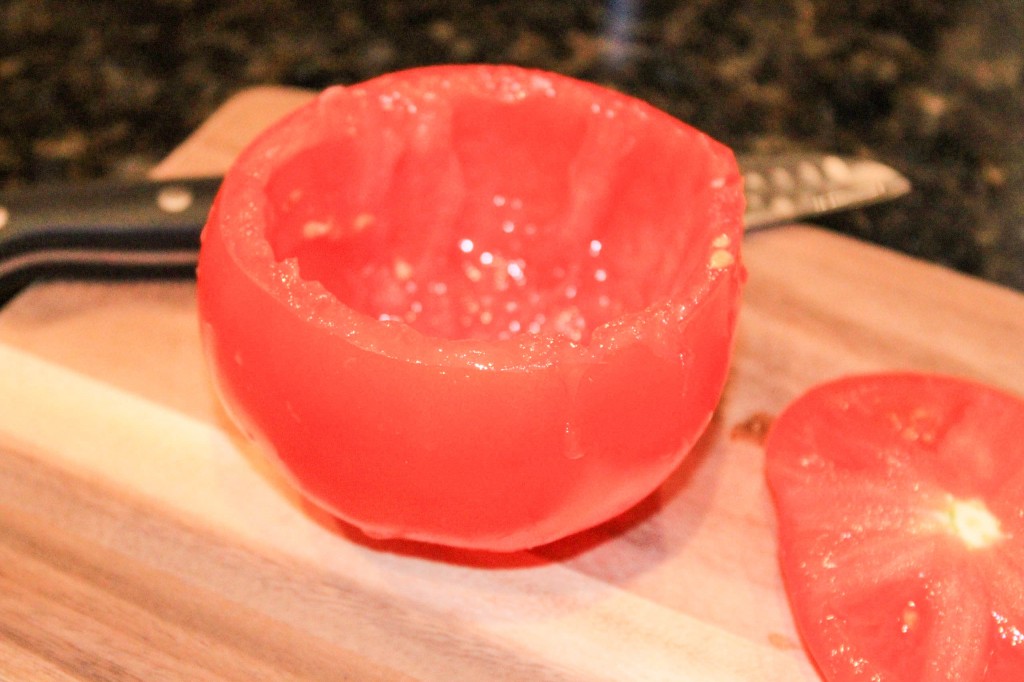
5. Now that you have removed the core, your tomato should look like a bowl or a cup. Use your spoon to scrape the sides of the walls to remove any excess tomato insides remaining. When you’re satisfied with how your tomato looks, put your spoon down! You’re finished! 

Tuna salad stuffed tomato cups (6 of 12)


See, that wasn’t so bad!

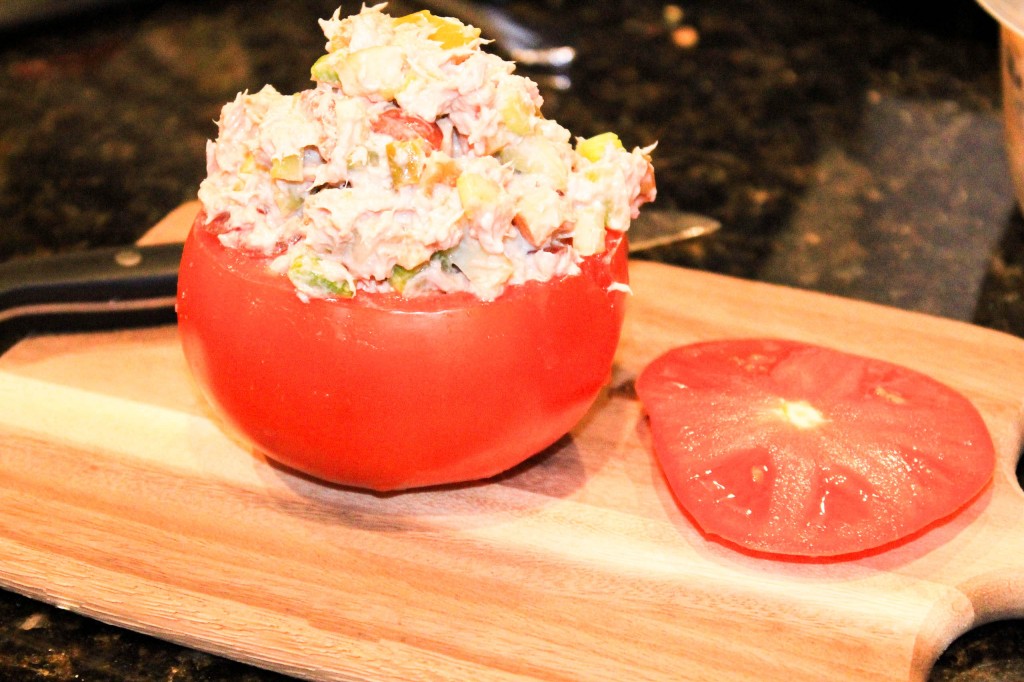
Now all you have to do is mix all of the tuna salad ingredients together, stuff the tuna salad in the tomato, out it on a plate and voila! you’re done in less than 15 minutes! NOTE: Don’t forget to hard boil the egg! I ALWAYS forget to do this! 

Tuna salad stuffed tomato cups (7 of 12)


[yumprint-recipe id=’18’]Fabulous recipes by Mandi at godsavethequinoa.com

Spinach and Artichoke Stuffed Mushrooms

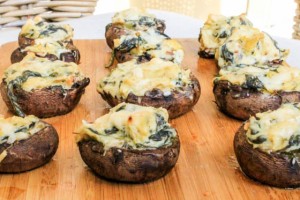
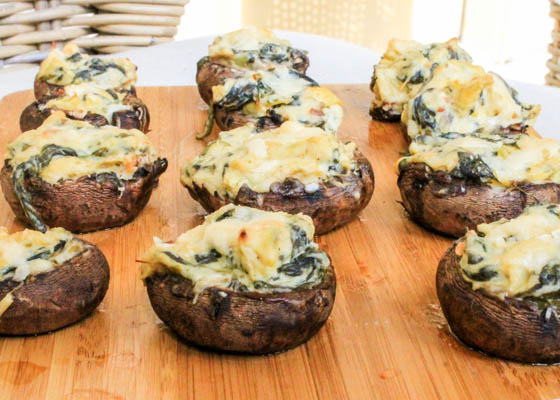
Spinach and Artichoke Stuffed Mushrooms

Looking for a fun appetizer to serve at your next pool party or get together? Look no further! These spinach and artichoke stuffed mushrooms are an exciting (and healthy) way for you and your compadres to enjoy spinach and artichoke dip, which in my opinion is one of the most crowd pleasing appetizers out there! Did I mention that each mushroom only has 35 calories? if you didn’t have an excuse to throw a party, now you do! 

Like many of my recipes, I used non-fat greek yogurt and weight watchers cream cheese instead of heavy whipping cream, sour cream, mayonnaise, and other high fat dairy products traditional spinach and artichoke recipes call for. I did use ONE tablespoon of olive oil mayonnaise for taste, but I didn’t think anyone would mind since all 45 calories of this mayo is divided between twenty servings, which brings me to my next point: portobello mushrooms. 

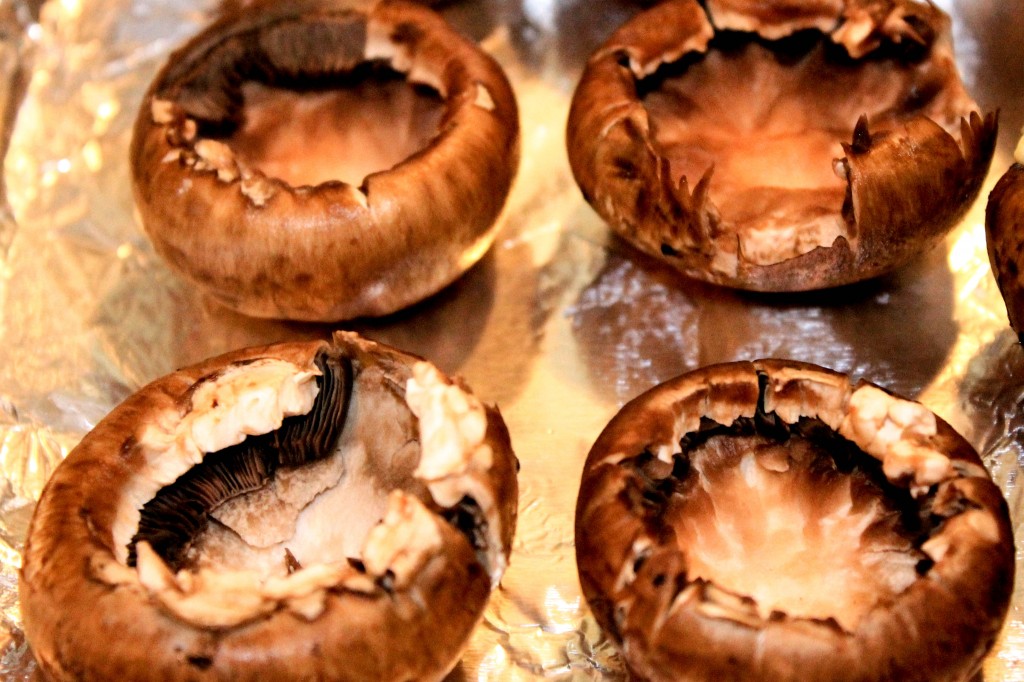
This recipe calls for 20 baby portobello mushrooms (hence the “twenty servings” mentioned above). You’ll start by rinsing and hollowing out each of the mushrooms, and lining them hollow-side-up on a foil-covered baking sheet (pictured below). Be gentle when hollowing out your mushrooms. Portobellos tend to be more delicate than other mushrooms with thicker, more round, bulb-like caps.

Hold the mushroom stem side up and use a small pairing knife to cut the stem out of the mushroom. Cut off the entire stem, but be very careful not to cut into the bulb (walls) of the mushroom since the mushroom. It will be more difficult for the mushroom to take on the bowl-like shape needed to hold the spinach and artichoke dip if it has no walls! Next, with a small spoon, carefully scoop out as much of the “gills” or “insides” of the mushroom as possible.  Once your mushrooms are nice and hollow, arrange them on a foil lined baking sheet. Make sure you spray the foil with plenty of PAM or non-stick spray before arranging your mushrooms. 

Hollowed out baby portobello mushrooms

Important note: your hollowed out mushrooms do not need to (and probably will not) be perfect. Mine, as you can tell from the picture above, most certainly were not perfect. If you come across a mushroom that just won’t seem to cooperate, don’t be alarmed! Simply try your best to hollow it out as much as possible. I promise the finished product will taste great…even if your mushroom still has some insides! 

Now that the mushrooms are ready to go, you need to make the spinach and artichoke dip to stuff the mushroom caps with. To do this, fill a pot with water and place your fresh spinach and drained artichoke hearts in the pot on top of the stove and raise temperature until water starts to boil. Once water reaches a rolling boil, reduce heat and simmer for about 5 minutes until spinach begins to wilt and artichoke hearts turn very soft. Remove pot from heat and drain the water.

Place the spinach and artichokes back in the same pot on low heat. Stir in the weight watchers (or fat-free) cream cheese, greek yogurt, all 45 calories of the olive oil mayo, red pepper flakes, salt, pepper, and continue stirring until all ingredients are well combined.

The spinach and artichoke mix should be thick and goopy. However, depending on the type of greek yogurt used, your mix could be fairly runny. If it is, do not worry! This is completely normal! To thicken up your mix, simply add flour in 1/2 teaspoon (teaspoon NOT tablespoon) increments until mix thickens. You should not exceed more than 2 teaspoons of flour during this process. Once your mix becomes thick and goopy fold in the parmesan cheese and you’re ready to fill the mushroom caps! 
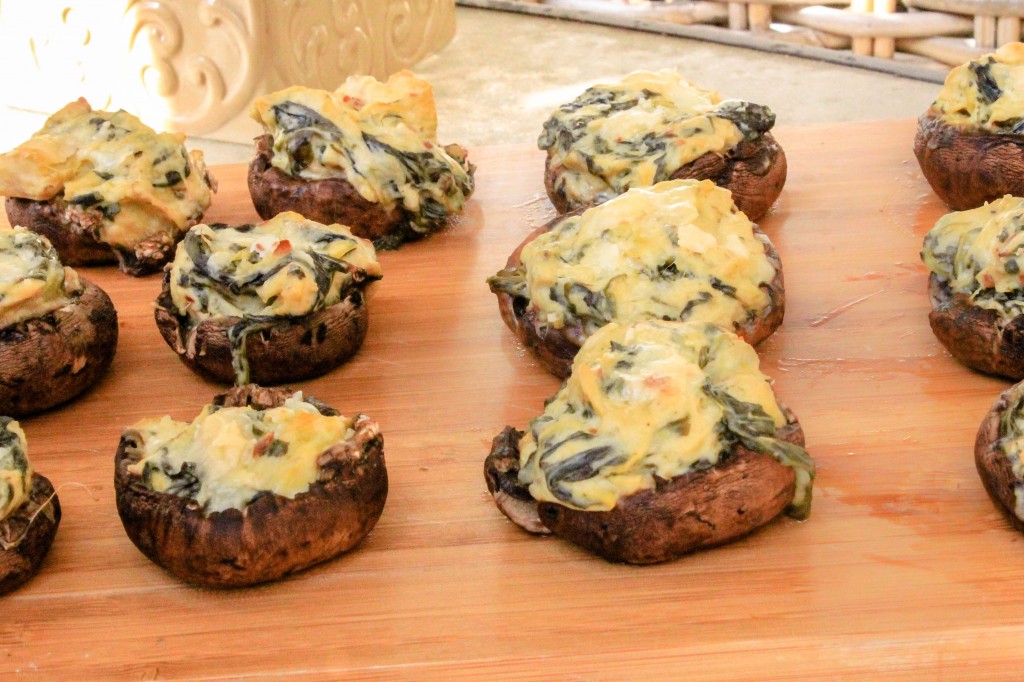
Spinach and artichoke stuffed mushrooms (1 of 1)-3

Using a large spoon, place a heaping spoonful of the spinach and artichoke mix into each mushroom cap, sprinkle remaining parmesan cheese on top and pop them in the oven for 15 – 20 minutes at 350 degrees. You’ll know they’re finished when the tops begin to turn a light golden brown color, but don’t take them out just yet! Turn the oven to broil and cook mushrooms for another 2 minutes, until cheese on top starts to melt. 

Congratulations! You’re done! Remove your mushrooms from the oven to cool for about 3 minutes before serving. It might just be the longest 3 minutes of your life but I promise its worth the wait! 


[yumprint-recipe id=’17’] 

 Fabulous recipes by Mandi at godsavethequinoa.com