Category: Vegetarian Recipes

Quinoa Crust Pizza

Quinoa Pizza Cover Page

This 5 ingredient pizza crust made out of quinoa will change your life! It sure has changed mine! I love pizza, but try to only eat it on “special occasions” … AKA the night before a big race! That said, I enjoy this quinoa crust version ALL. THE. TIME.

Despite what you’re thinking, this is actually VERY EASY to make. I was intimidated the first time I tried it out too but all of those preconceived notions flew out the window as soon as I took my first bite.

Quinoa Crust Pizza

The first time I made this I didn’t even tell my husband what the crust was made of. I put it down in front of him and watched him scarf it down. When I asked him what he thought it was, he said “uh…pizza”. He had no clue the crust was made out of quinoa. I swear he asks me to make this at least once every other week. (I told you I eat this all the time!) 

The crust is made with 5 ingredients and 4 steps… well, 6 ingredients if you count the salt & pepper.

  1. Quinoa (uncooked): 3/4 cup soaked overnight and drained
  2. Baking Powder: 1/2 tsp
  3. Water: 1/4 cup
  4. Extra Virgin Olive Oil: 2 TBS
  5. Dried Oregano: 1 TBS
  6. Sea salt and generous amounts of pepper

The crust is vegan friendly, so depending on the toppings you select you have the freedom to make this a vegan, vegetarian, or meat lovers delight! 

STEP 1: Combine all ingredients in food processor and pour into a round, foil lined cake pan sprayed with non-stick spray. Your batter will resemble that of pancakes. Place in oven for 15 minutes. 

Quinoa Crust Pizza

I use a round 9-inch cake pan to give my pizza a traditional, circular pizza shape. A round 9-inch cake pan will result in one personal pizza. I usually cook two at the same time; one for me and one for my husband and place the pans side by side in the oven. If you don’t have a round cake pan, you can use a similar sized square, rectangle, or other shape pan. If you do this, make sure not to use one too big or you will end up with super thin (and most-likely burnt) pizza crust. I’ve never tried doubling the recipe to make a large two person pizza, so if you try this you must tell me how it turns out! 

STEP 2: Remove from oven. Let sit a few minutes, flip, and bake for another 12 – 15 minutes. 

Quinoa Crust Pizza

Your pizza crust should look more like a pizza crust when you open the oven to remove and flip after 15 minutes. After flipping your crust, you can place on a flat cookie sheet or back in the same cake pan. because I usually make two of these at the same time, I prefer to use a cookie sheet. If using a cookie sheet be sure to line with foil and spray with non-stick spray. Most importantly, make sure to let your pizza crust cool for a few minutes before you flip. DO NOT FORGET THIS! This is critical to making sure your pizza crust remains in tact!   

While crust is cooking, this is a great time to chop veggies and prepare your toppings! 

Step 3: Remove from oven. Add sauce, toppings, and cheese. Place back in oven for another 12 – 15 minutes. 

Quinoa Crust Pizza

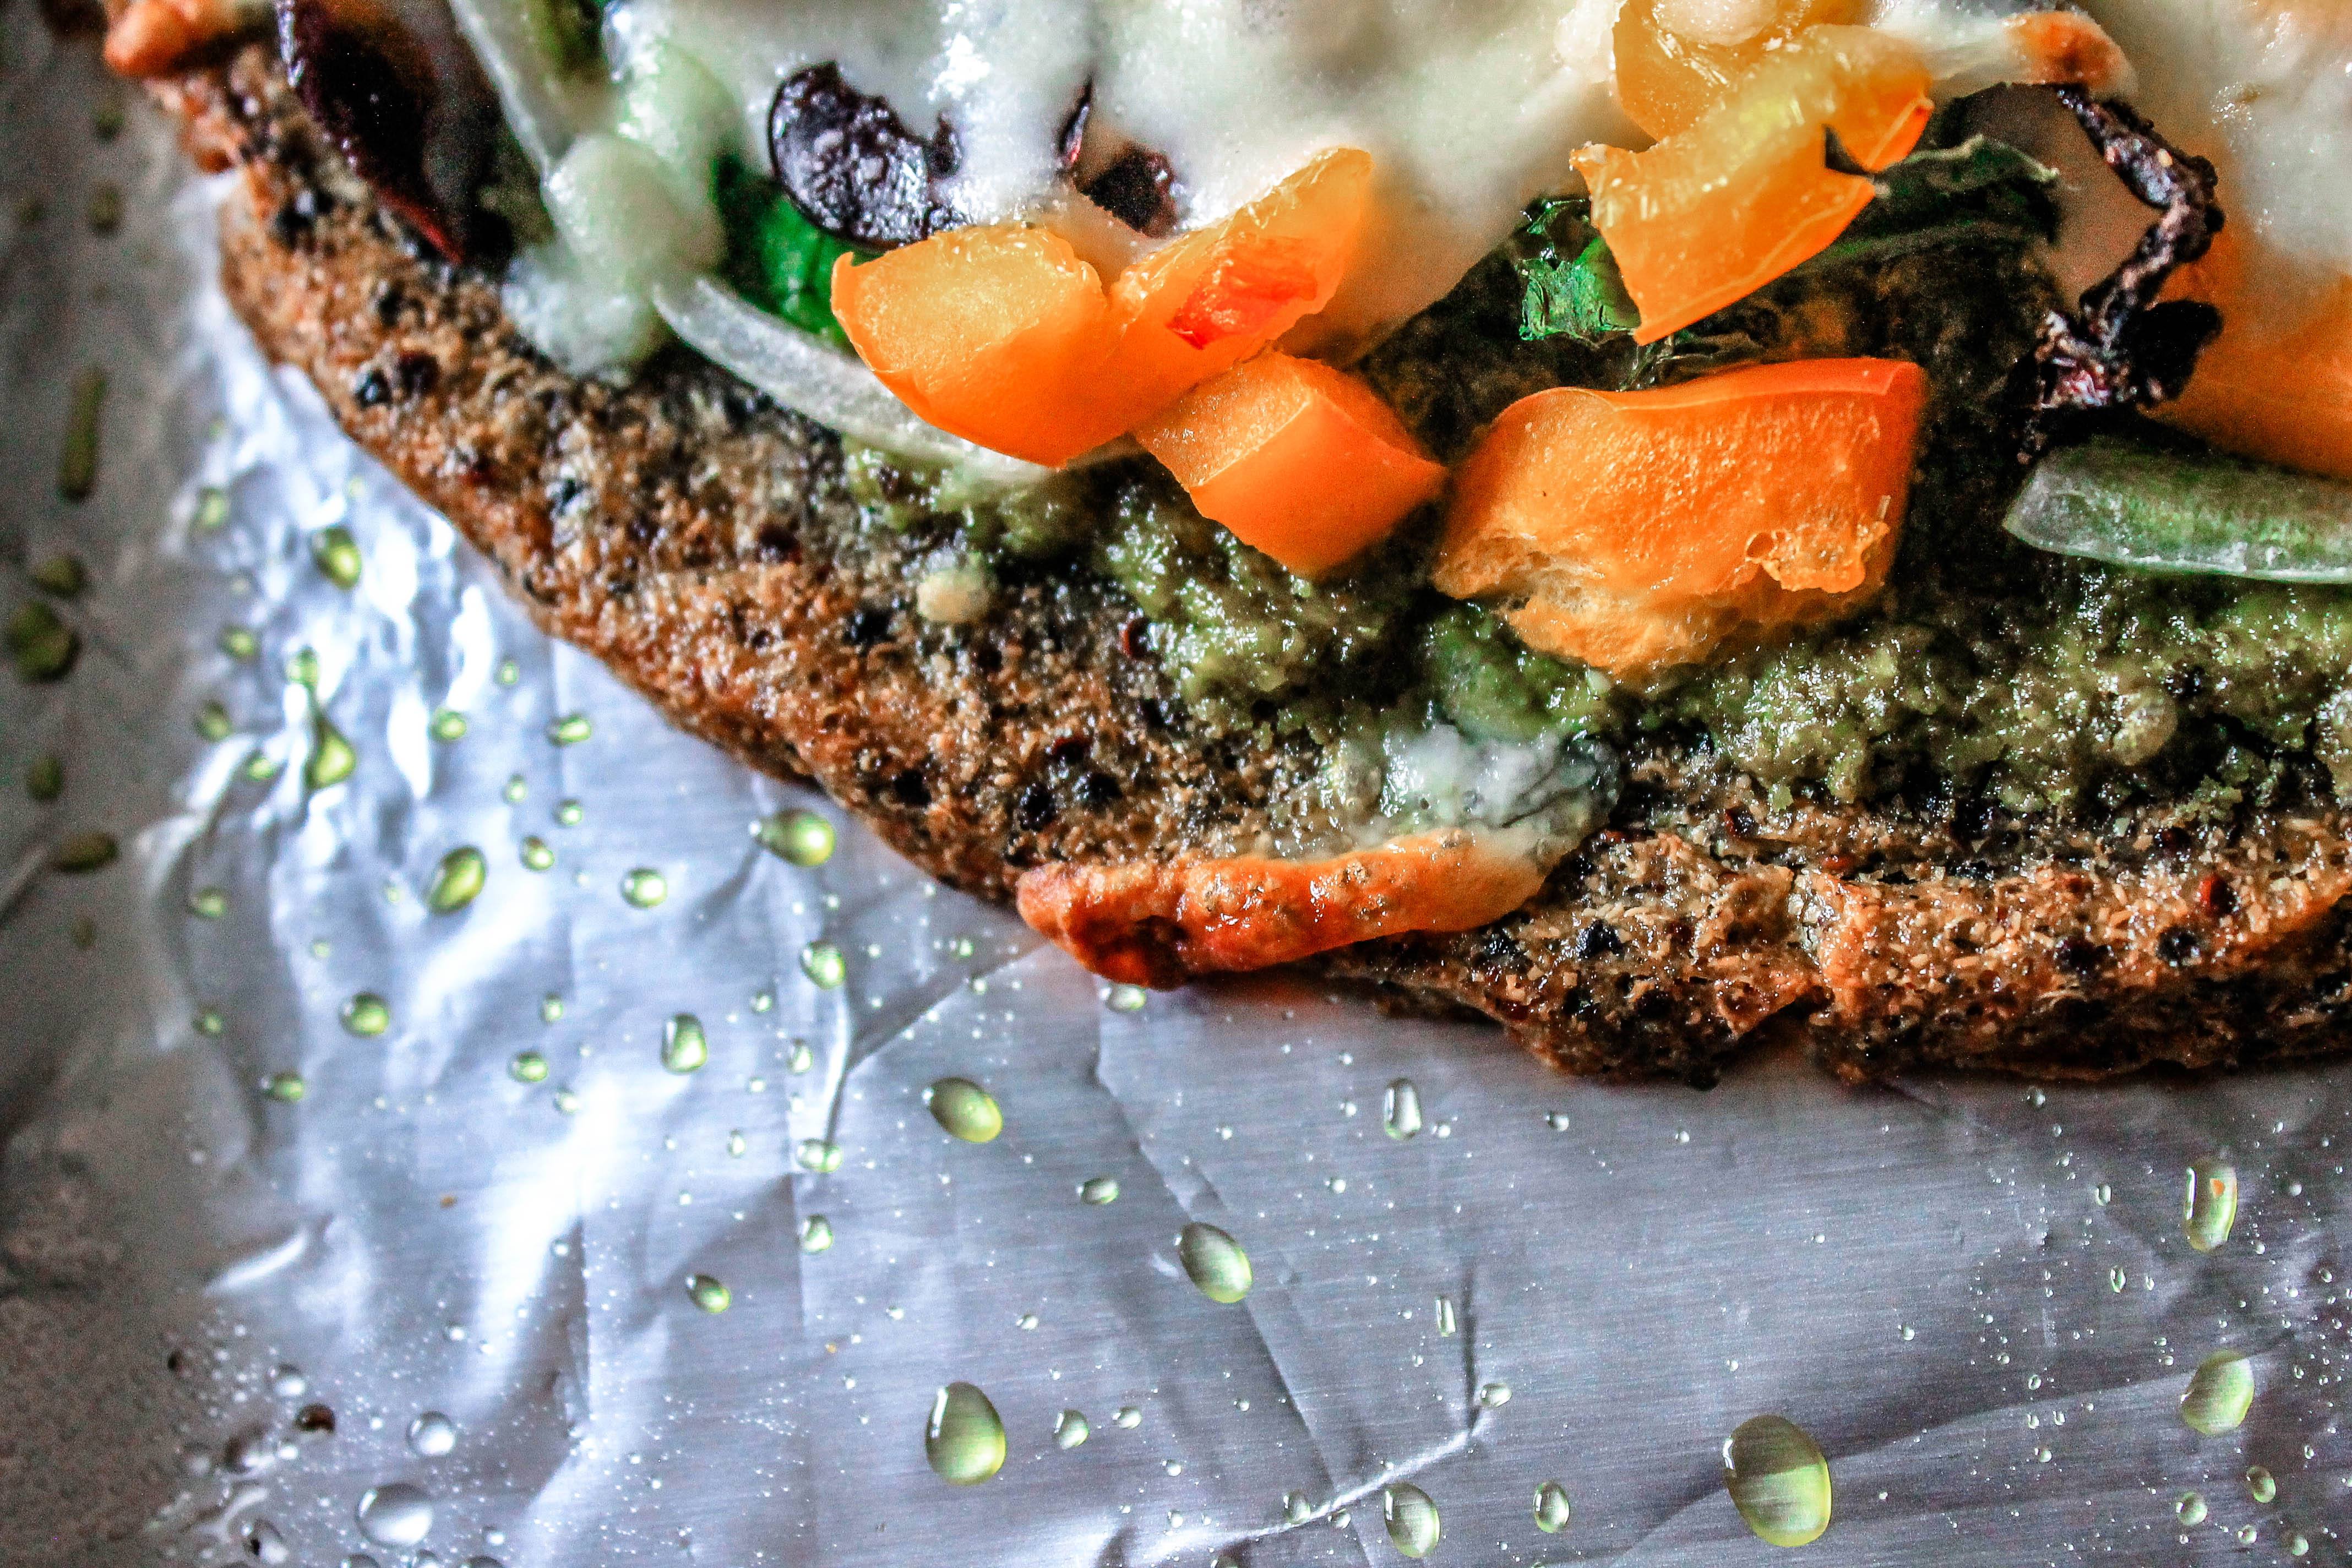
My pizza (pictured above) is a vegetarian option. Ingredients include:

  • Sauce: My Homemade Basil Pesto  Make this by combining 2 cups of fresh, chopped basil, 5 TBS EVOO, ¼ cup grated Parmesan cheese, 2 TBS pine nuts, 2 tsp minced garlic, and ¼ tsp salt 
  • Toppings: Tuscan Kale, Sweet Onions, Black Olives, Orange Bell Peppers, Sun-dried Tomatoes 
  • Cheese: Shredded Mozzarella 

Not pictured: Two to three dollops of ricotta. I didn’t realize we were out until I made this recipe! 

Greg’s pizza (pictured below) is made with Chicken and veggies. Ingredients include: 

  • Sauce: Fresh Marinara 
  • Toppings: Shredded Chicken, Tuscan Kale, Sweet Onions, Black Olives, Orange Bell Peppers, Homemade Basil Pesto 
  • Cheese: Shredded Mozzarella 

Quinoa Crust Pizza

Step 4: Remove from oven. Let cool a few minutes. Slice, serve, and enjoy! 

You’ll know your pizza is ready when the cheese begins to bubble and brown and the edges of your veggies begin to get crispy. 

Quinoa Crust Pizza

Quinoa Crust Pizza

BRB. Drooling over how good this looks. 

Quinoa Crust Pizza


See, easy peasy. 5 ingredients. 4 steps. One delicious meal! 

[envira-gallery id=”2174″]

[yumprint-recipe id=’47’] 


Quinoa Crust Pizza

Even Maggie is drooling over this recipe! 

Recipes for endurance athletes


Loaded Blueberry Balsamic Avocados

Loaded Blueberry Balsamic Avocados Title Pic

Step up your guacamole game by making loaded blueberry balsamic avocados instead. Simply swap tomatoes, onions, and lime juice for fresh blueberries, shredded parmesan cheese, and balsamic vinegar, mix together and viola! Thirty seconds later, you have a delicious dish just waiting to be devoured!  

There are many, many things I love in life. With only four simple ingredients, this recipe is at the top of my list! What’s not to love about a super simple, no cook recipe that has some of my favorite food groups (avocados, blueberries, and cheese)? Not to mention, this is a fantastic post workout snack full of vitamins and nutrients to replenish your muscles and prepare your body for its next beating. 

Loaded Blueberry Balsamic Avocados Ingredients

Blueberries should be a staple in any endurance athlete’s diet. Thanks to the absence of cholesterol from blueberries, not only can the lower your risk of heart disease and cancer, they are also anti-inflammatory and are known to aid in muscle recovery and soreness. (AMEN!) 

Loaded Blueberry Balsamic Avocados - blueberries

How to pick out and store blueberries 

When scoping out which package of blueberries to add to your shopping cart, look for firm that are not soft or bruised with a deep blue or purplish color. Note: the waxy, whitish-grey coloring on the blueberry is referred to as the “bloom” and is considered a sign of freshness. The “bloom” is mother nature’s natural protection that helps to prevent the berry from spoiling. To prolong their life expectancy,  only wash the blueberries you’re going to eat right before eat them. Do not wash them all at once and store them in the fridge if you want them to last! I also suggest conducting periodic inspections to remove any berries that have turned soft or moldy. You don’t want one bad apple… er, blueberry to spoil the bunch!

When fresh blueberries are out of season frozen blueberries are a great alternative! When selecting frozen blueberries, shake the bag around to make sure the berries are rattling around, similar to a bag of peas. If a bag of blueberries appear to be in a big, frozen clump, keep looking. This is a sign the berries have already thawed and re-frozen. As always, make sure to avoid options with added sugars are sweeteners. Check the ingredients listed on the package. All you should see is “blueberries”. Plain and simple! To unthaw frozen blueberries, simply rinse them under cold running water and let thaw for a few minutes at room temperature. .

Loaded Blueberry Balsamic Avocados - parmesean

Do not, I repeat DO NOT skimp on the Parmesan cheese! Its rich in calcium, provides an excellent protein source and is easily digested. Trust me, your bones will thank you.

I prefer to serve this dish with nutrient rich endives(hello vitamin A, K, folate and fiber!) They also provide a nice crunch, you know the kind you get from a big bag of chips. At first bite, endives may taste a tad bitter. I personally did not have this problem but know some who think they take a little getting used to. Rest assured, be sure to thoroughly wash them before eating and store in the refrigerator- this should help eliminate some of the bitterness. If you’re looking for other recipes to enjoy endives with, check out my Avocado Tuna Salad recipe.

Loaded Blueberry Balsamic Avocados

I told you this recipe was SUPER simple to make, so here we go.

Step 1: Pick out a very large, soft, ready to eat avocado. Cut it in half lengthwise, otherwise known as “hot dog style”, remove the pit, and scoop the good stuff into a bowl with a large spoon and mash. If you’re looking for a way to impress your friends and up your food presentation game, be careful NOT to break the shell. I’ll tell you why in just a minute. 

Step 2: Rinse, dry, and add your fresh (or frozen and dethawed) blueberries to the bowl. Next, sprinkle in your freshly grated parmesan cheese and gently stir to combine. 

Step 3: Finally, in a slow, stead stream, carefully pour balsamic vinegar over the contents in the bowl. You should pour just enough so that the green color of the avocado becomes slightly darker, but not brown. I suggest starting slow and gradually adding more balsamic as needed. 

Loaded Blueberry Balsamic Avocados

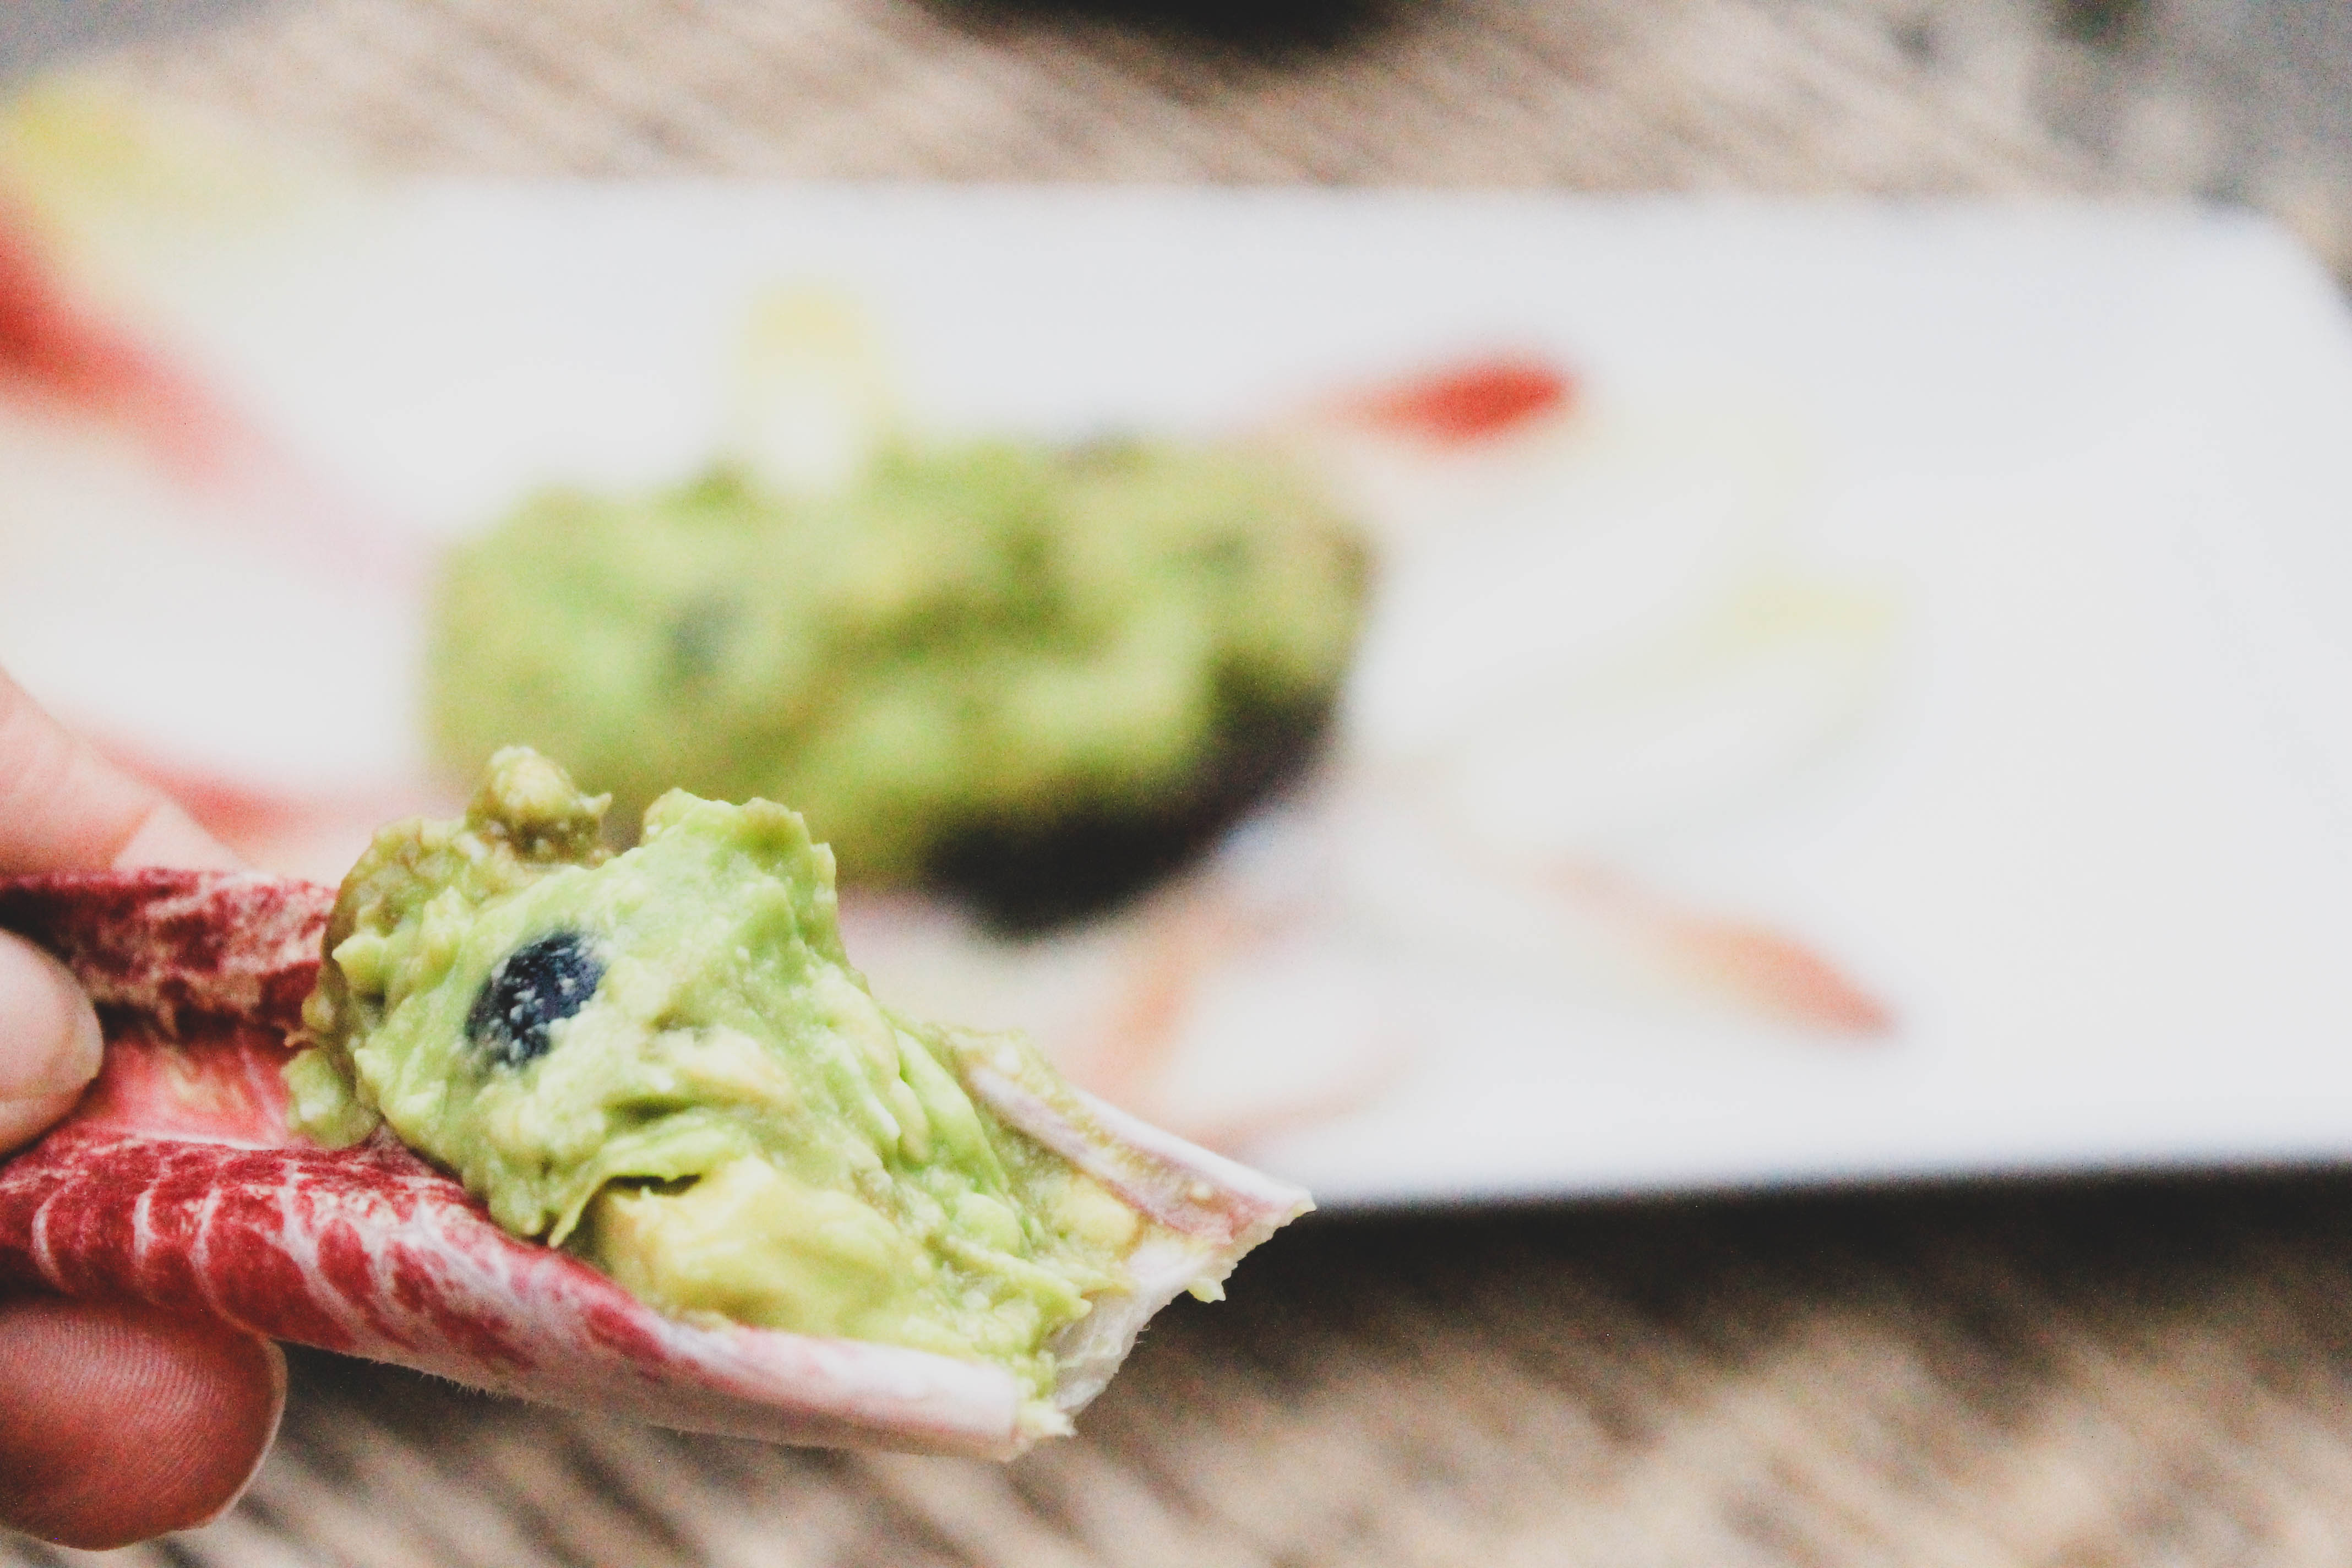
Serve by placing contents into a bowl (quick but B O R I N G) or by packing contents tightly back into the avocado shell. Place on a plate and arrange endives as pictured above. 

Use endives to scoop the avocado out of its shell and enjoy! 

Loaded Blueberry Balsamic Avocados


[yumprint-recipe id=’46’] 

I’d love to hear what your think! 


Recipes for endurance athletes

No Bake Blueberry Lemon Cheesecake Bites

No Bake Blueberry Lemon Cheesecake Bites cover page

I LOVE desserts. I love them SO much that I sometimes I wonder if I was born with 32 sweet tooths instead of just one. Okay, bad dad joke- I couldn’t help myself! Anyways, you know what I love just as much as dessert? Making healthy food taste just. like. dessert. You read that right- healthy food. Meaning nuts, fruits, spices, no sugar. You get the gist. 

No Bake Blueberry Lemon Cheesecake Bites

Besides the fact that its for my favorite meal, there are a number of reasons why I love this recipe. I’ll give you my top three:

  • Healthy to the core- Made with raw, wholesome ingredients like cashews and dates, that actually help with the refuel and recovery process. 
  • NO BAKING- less mess to clean and no risk of burning these delicious treats. This also means no more excuses for those of you who “don’t know how to cook” 🙂 
  • Prep time takes all of about 10 minutes- As long as you can remember to soak your cashews, you can whip a batch together after your morning workout with minimal effort. Don’t worry if you forgot to soak your cashews. You can hack this by boiling them on low heat for about 15 minutes. 

No Bake Blueberry Lemon Cheesecake Bites3

Okay I lied, I’m giving you my top four. My absolute favorite thing about this recipe is how fresh all of the ingredients taste. There is just something about the combination of fresh blueberries, juice from a real lemon, and fresh mint leaves that has the power to fill any void imaginable!

The process to “no bake” these is simple. I prefer to take a blend-blend-freeze approach.

No Bake Blueberry Lemon Cheesecake Bites

Step 1: combine ingredients for your crust (the bottom layer) in a food processor or high powered blender. When combined pack tightly into the bottoms of a lined muffin tin. 

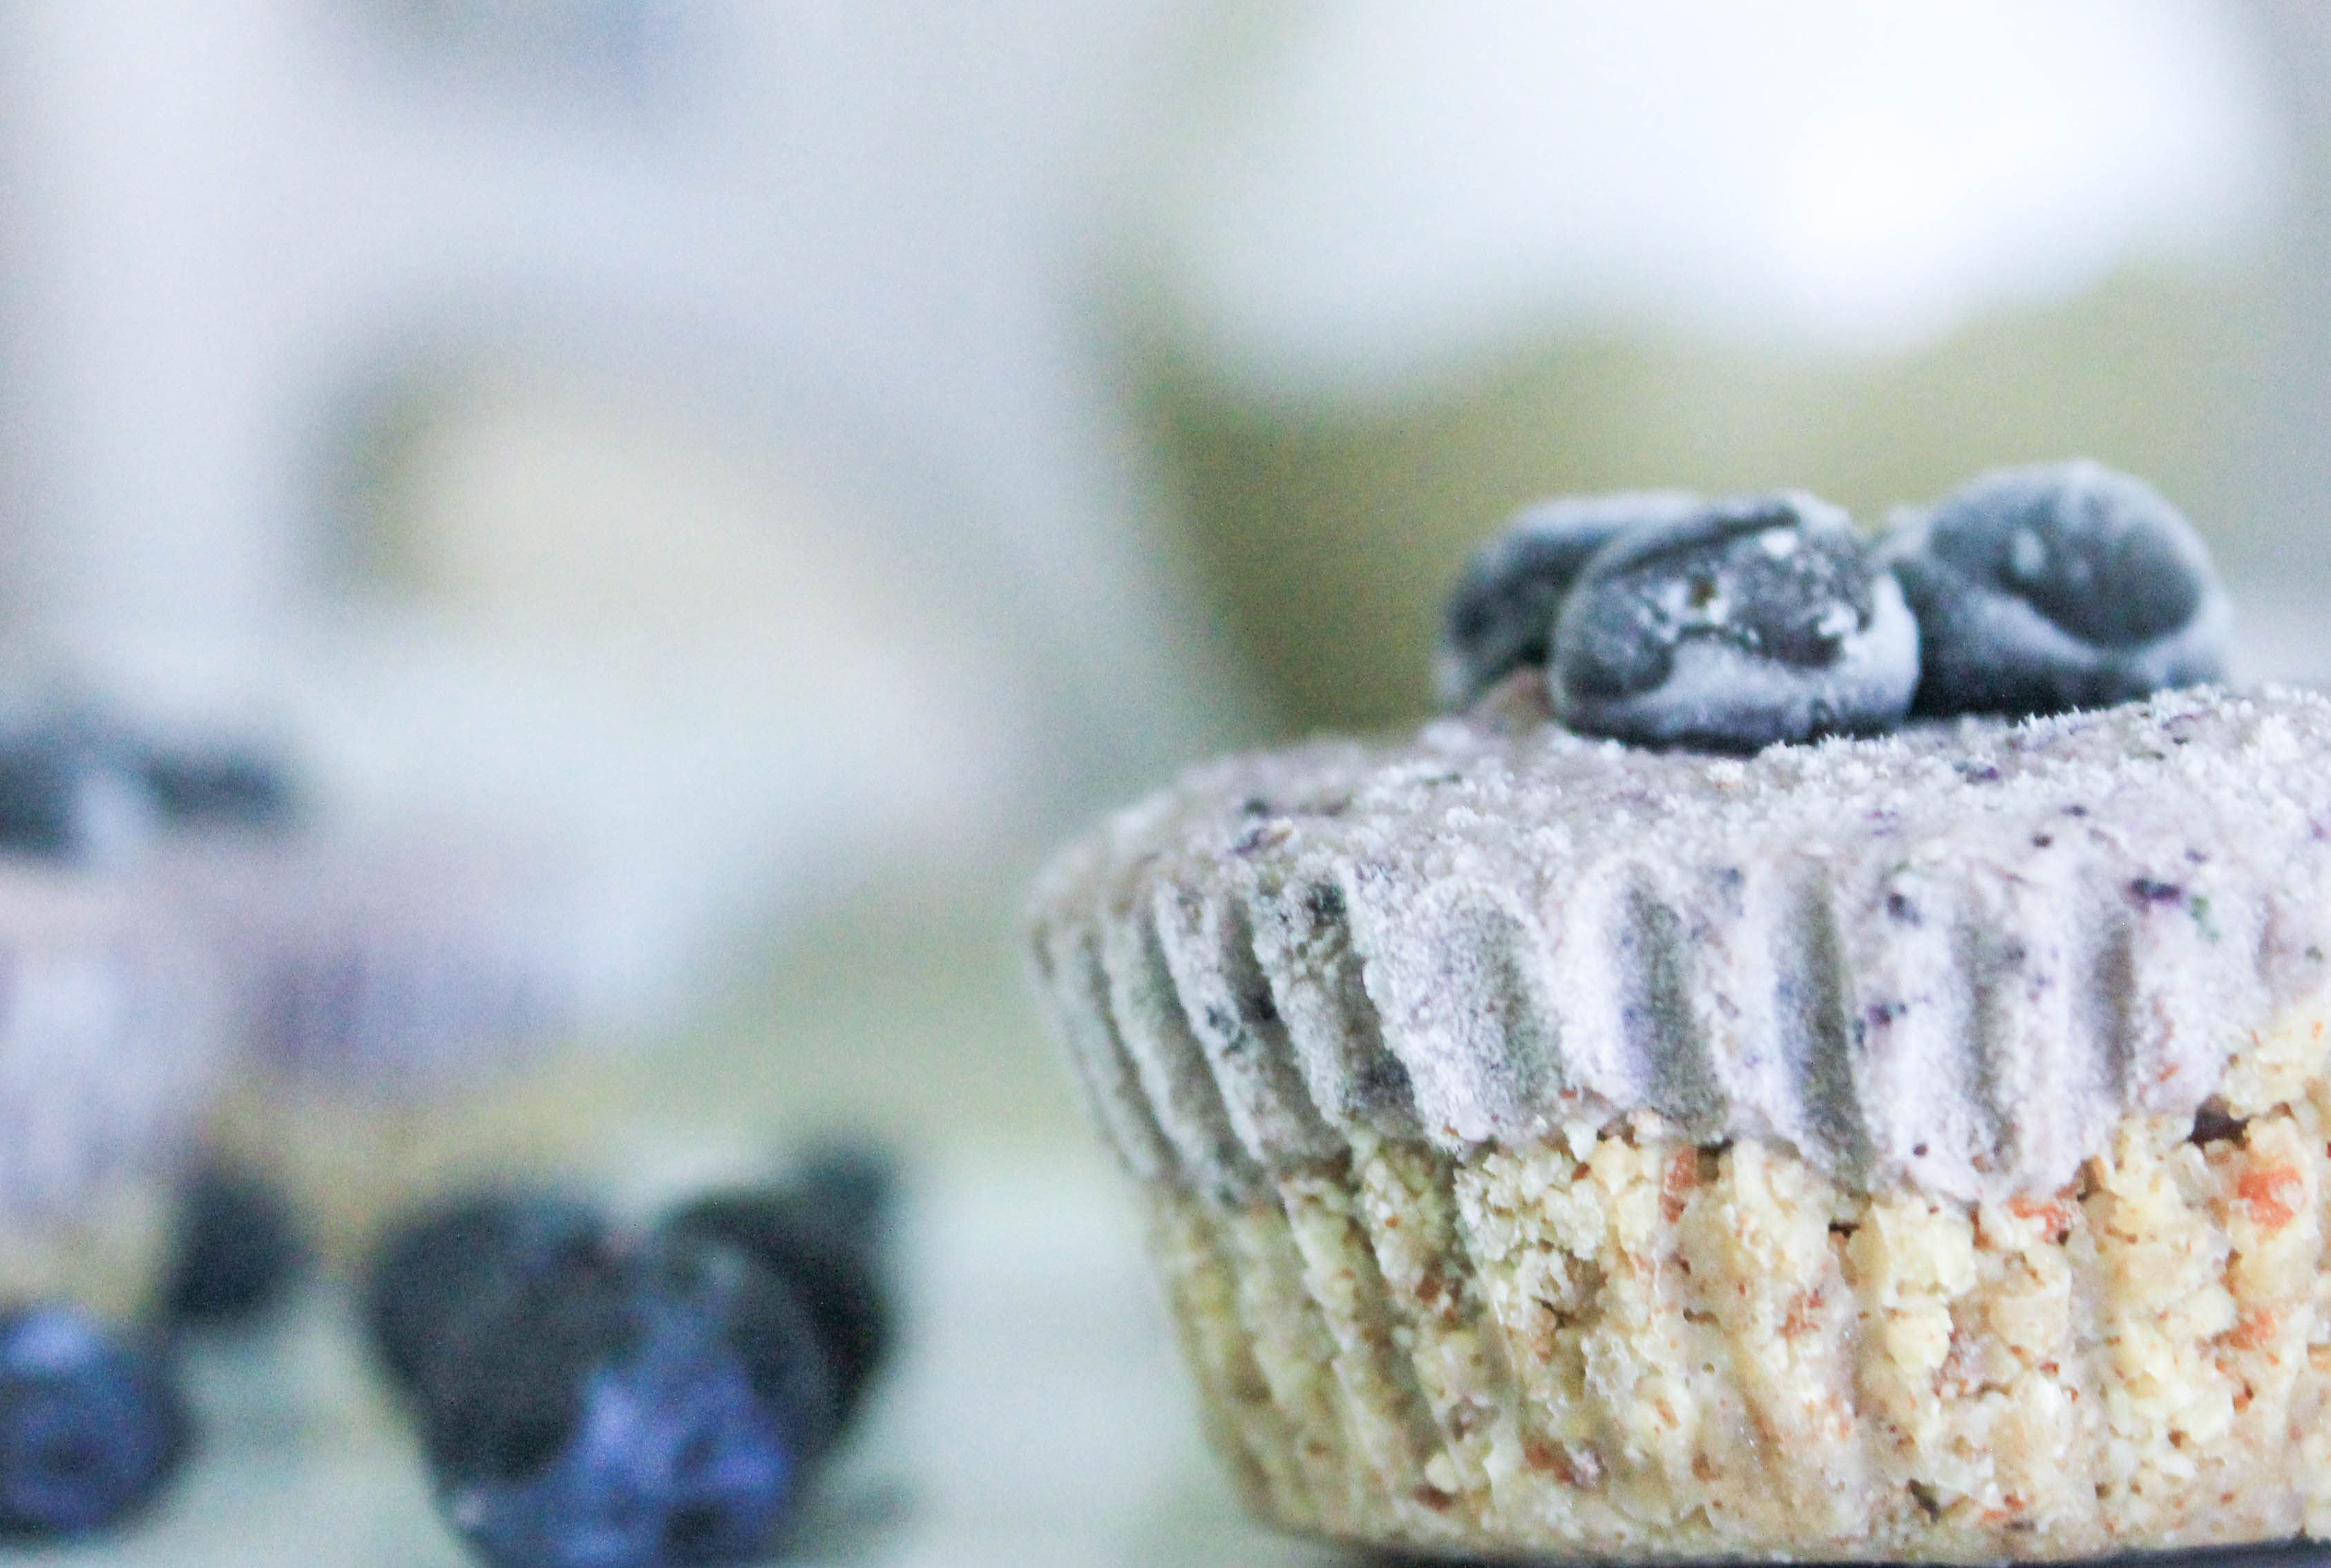
Step 2: combine ingredients for your filling (top layer) in a food processor or high powered blender. When combined, spoon mixture into muffin pans and top with fresh blueberries. 

Step 3: place muffin pan in the freezer for about four or so hours until “cheesecakes” are frozen. Once these babies are nice and solid, remove them from the freezer and transfer to an airtight, freezer safe container for safe keeping. This will help prevent freezer burn. 

No Bake Blueberry Lemon Cheesecake Bites

When you’re ready to enjoy, I suggest placing them on the counter to thaw for a few minutes before digging in. This will help make sure you’re able to bite through them and will really help the flavors stand out! 

No Bake Blueberry Lemon Cheesecake Bites

Bon Appetite! 

No Bake Blueberry Lemon Cheesecake Bites

[yumprint-recipe id=’45’] 

Recipes for endurance athletes


Honey Roasted Turmeric Pepitas

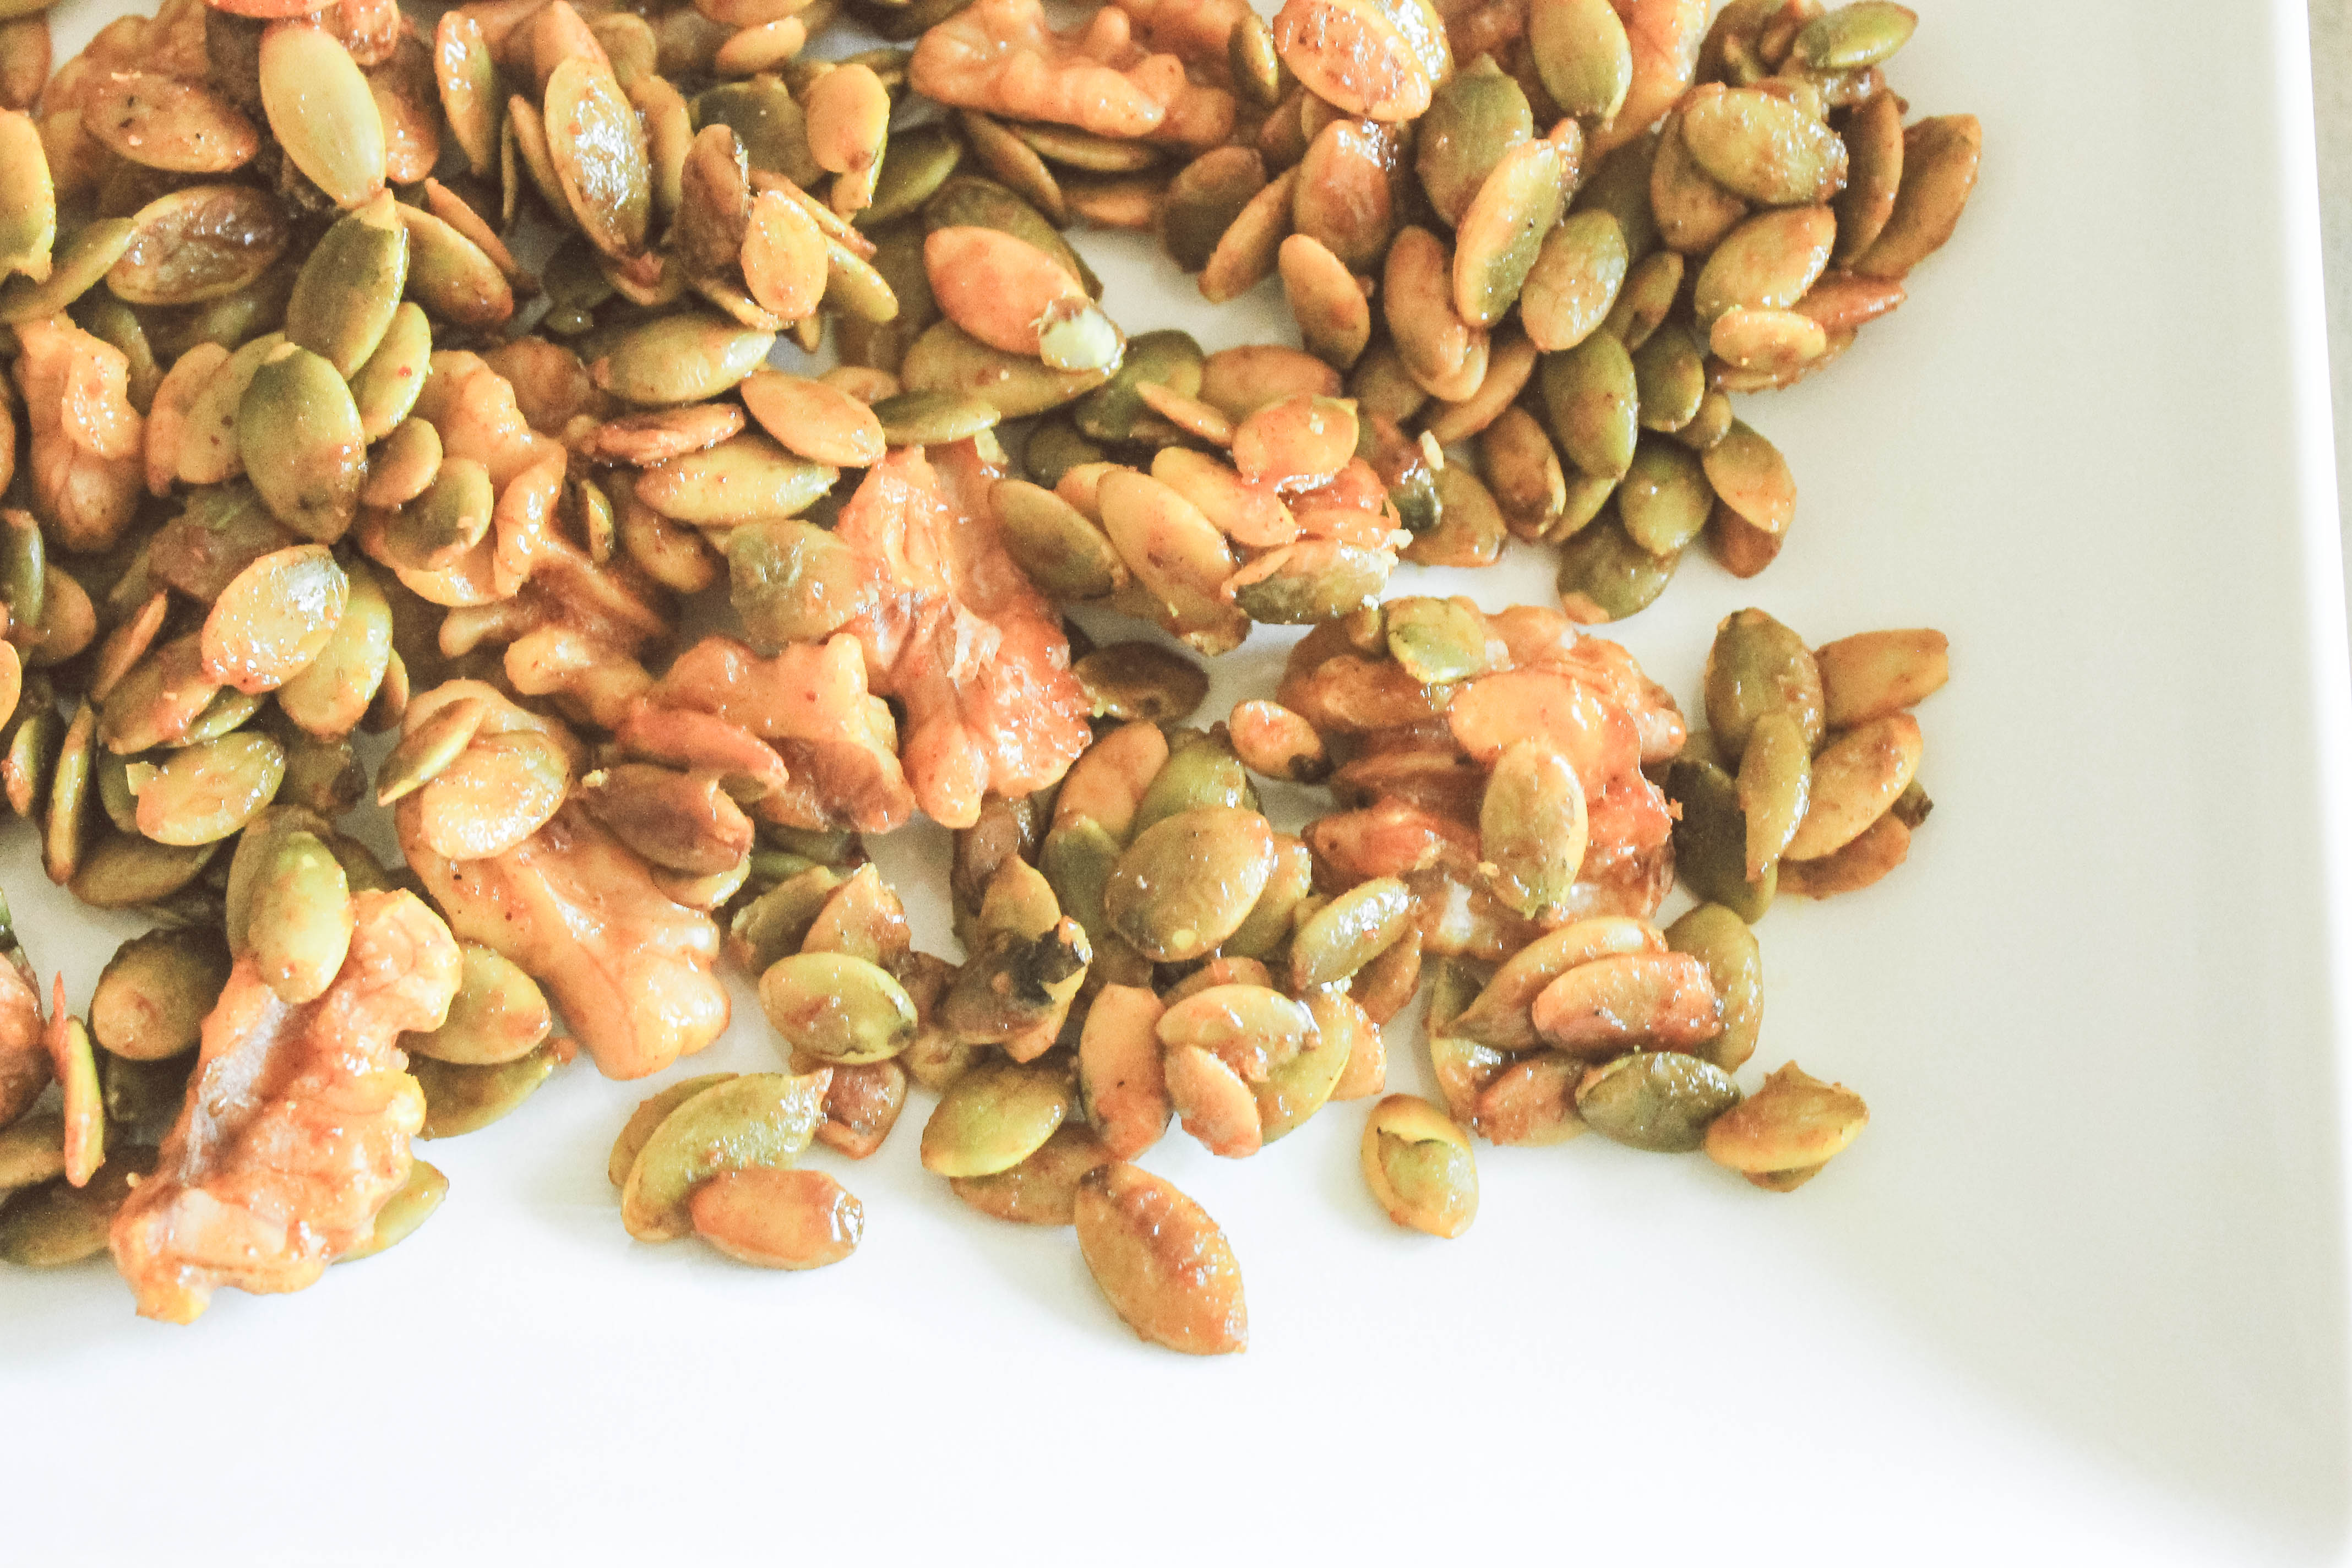
turmeric pepitas cover pageThese honey roasted turmeric pepitas are the perfect combination of sweet and spicy and are loaded with the essential nutrients every endurance athlete needs but never gets enough of. Enjoy them on top of salads, soups, or by the handful when you’re on the go! 

Nuts and seeds are an excellent snack to nosh on thanks to their high contents of omega-3 fatty acids and vitamins. Omega-3 is an “essential” fatty acid, meaning your body requires it for good health but isn’t capable of producing it on its own. Our only choice is to ingest it- by consuming lots of foods with Omega 3’s like these honey roasted turmeric pepitas!

In addition to being “essential” for your health, consuming plenty of omega 3 (also known as polyunsaturated fatty acid) is essential to the performance of endurance athletes. Here’s why:

IMG_4962

For starters, the body has a limited ability to store carbs. The average person can deplete their body’s carb reserves within two hours of moderate exercise. If you’re training for an Ironman, two hours is nothing! Luckily,  your body has a much greater capacity to store fats. These fat stores, which are often stored in your muscles and liver, can contain over 50 times more energy compared carbohydrates.

Fat tends to be the predominant choice of fuel during lower intensity workouts. When you ramp up the intensity, carbohydrates become, and remain, you body’s main fuel source until you finish your workout. Of course, the level of intensity and heart rate in which this switch happens is different for everyone. The best way to determine this is to complete a lactate threshold or VO2 max test. If you’re wondering why your coach spends SO much time telling you to stick to your nutrition plan and keep your heart rate low the first half of your race, this is precisely why. 

The moral of the story, make sure you’re eating healthy fats to fuel your 3 hour long bike ride this weekend and make this recipe! 

Turmeric Pepitas

The main ingredient in this snack mix, pepitas (AKA pumpkin seeds), are guaranteed to pull you out of any nut-rut you may find yourself stuck in.

Before you get to cooking, there are two things you need to know:

1. You need more pepitas in your life.

Pepitas are the richest natural source of magnesium. Why does this matter? Well, magnesium is a critical but often overlooked electrolyte. If your calves never fail cramp a few miles in or the bottom of your foot ALWAYS cramps while swimming, despite the gallons of electrolytes you’re consuming, chances are you’re not getting enough magnesium.

IMG_4975

Magnesium imbalances are caused by drinking too much caffeine, alcohol, and surprisingly enough, too much water. That’s right- it is possible to drink so much water (especially the day before a big race) that you flush out all of your electrolytes! (This is why you should always alternate between H2O and an electrolyte drink.)  Because sweat loss, as well as high intensity and endurance exercises also deplete magnesium levels, its important to incorporate magnesium into your everyday diet. What better way to start than with these honey roasted turmeric pepitas! 

2. You can never have too much turmeric.

Well, I’m sure its possible to consume too much turmeric (disclosure: I’m not a doctor) but as far as I’m concerned you can never cook with too much turmeric! I love adding this inflammation fighting powerhouse to just about everything I cook. Its benefits include helping the body to fight inflammation and acting as an antioxidant. As an endurance athlete I’ll take all of the help fighting fatigue and sickness I can get!

IMG_4991

I know you’re dying to make these, so I’ll keep the remaining commentary brief.

Please note that the recipe calls for a “heaping teaspoon” of both turmeric and curry powder. If you’re not sure what a “heaping teaspoon” is, look at the picture above. This is my way of saying a rounded teaspoon with lots of spices- don’t measure exactly. Add a little extra. I believe this is a trait I inherited from my Granny! 

I personally love making a big batch of these on Sunday night to enjoy throughout the week… assuming they last that long! I’m a Trader Joe’s die hard and have found that one bag of their raw, unsalted pumpkin seeds will get me through about two batches of these bad boys. If you haven’t checked out Trader Joe’s bulk nut aisle, stop what you’re doing and do it now! You’ll never buy bulk nuts and sees anywhere else ever again.

Turmeric Pepitas

I hope you enjoy these as much as I do! Comment below and let me know!

[yumprint-recipe id=’44’] 

Recipes for endurance athletes

Sweet Potato Pad Thai


Sweet Potato Pad Thai title page

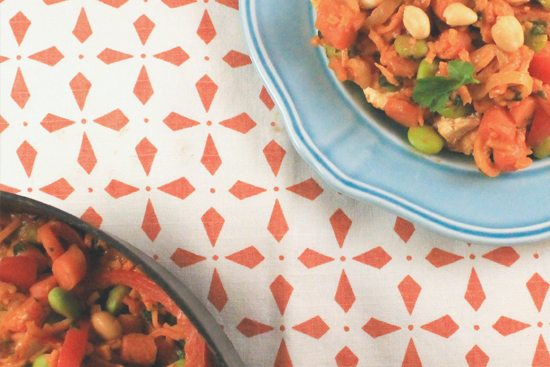
Sweet potatoes are one of my favorite super foods to cook. If you don’t believe me, ask my husband. In our 2+ years of marriage, there have only been a handful of times when sweet potatoes have not been included on our Sunday grocery list. Greg and I both love Pad Thai but don’t love the high levels of sodium and unhealthy ingredients used at restaurants. To make sure we could still get our Pad Thai fix, I concocted Sweet Potato Pad Thai; a healthier version of Pad Thai made with sweet potato noodles, colorful veggies doused in a creamy peanut sauce, topped with chicken for Greg and Tofu for me.

Sweet potatoes are one of my go-to’s because they provide a healthy dose of complex carbohydrates. Complex carbohydrates take longer to digest, allowing them to supply the body with energy over a longer period of time. This slow process breaks complex carbs into glycogen and stored in your body’s liver and muscles to be used as fuel for exercise, which is key to fuel an endurance athlete’s body during long workouts or on race day. Sweet potatoes are also high in Vitamin A, which plays a vital role in bone growth, immune system health, and helps the skin and mucus membranes repel bacteria and viruses. If you remember one thing from this post, make sure to load up on sweet potatoes during flu season! 

Spiralized Sweet Potatoes

Other performance enhancing benefits of sweet potatoes are their anti-inflammatory and blood sugar regulating properties. Stress, too much exercise, injury, and poor food choices create inflammation within the body, which will wreck havoc on your heath and performance if not addressed properly. The best way to control inflammation is by keeping your blood sugar levels low and stable. To do this, aim to eat a full serving of sweet potatoes post work out when your glycogen levels are low.

Make a plate of Sweet Potato Pad Thai to restore depleted glycogen levels and help refuel your recovery needs so that your body is prepared to train hard for your next workout. By opting for foods like sweet potatoes instead of processed foods, white breads and avoiding anything with high fructose corn syrup, not only will you feel better, you’ll likely perform better too. 

spiralized sweet potatoes

Now that you know why you need to eat more sweet potatoes, lets talk about how to transform them into Pad Thai. If you don’t have a spiralizer, I highly recommend you invest $30 and buy one. There are so many things you can make with a spiralizer, the options are endless… but I’ll save that for another post. If you don’t have a spiralizer you can buy pre-spiralized sweet potatoes at Central Market, Target, and Tom Thumb to name a few.

Before spiralizing your sweet potato, peel it and cut the ends off. If you’re working with a giant sweet potato, I suggest cutting it in half. You’ll need a nice flat surface so the sweet potato can stick (and remain stuck to) the teeth of the spiralizer on both ends (see picture above). Otherwise you’re likely to experience a situation where your sweet potato falls off the spiralizer forcing you to chase the rolling vegetable around the counter top. If you can catch it before it rolls off and onto the floor its your lucky day! Otherwise, you may need to make an emergency grocery trip… trust me, I know from experience. That said, you won’t need to worry about this as long as you cut your sweet potato so that it has nice, flat ends and make sure it is tightly attached to your spiralizer. 

Sweet Potato Pad Thai chicken

 As mentioned above, you have the option to make this dish with chicken or tofu. Before you begin spiralizing, chopping, or preparing the peanut sauce, I recommend cutting your chicken breast and/or tofu and letting it soak in the marinade. If you’re making a chicken version AND a tofu version make sure you cut and marinade each option separately to avoid cross-contamination from the raw chicken. I recommend cooking these in separate pans, but if you insist on using only one to limit the number of dishes to clean (we often do this in my household) make sure you cook the tofu first! 

Sweet Potato Pad Thai Plate Overview

[yumprint-recipe id=’43’]


 What’s your favorite way to cook sweet potatoes? Comment below- I’d love to hear from you! Recipes for endurance athletes


Skinny Pumpkin Spice Granola

skinny-pumpkin-spice-granola-title

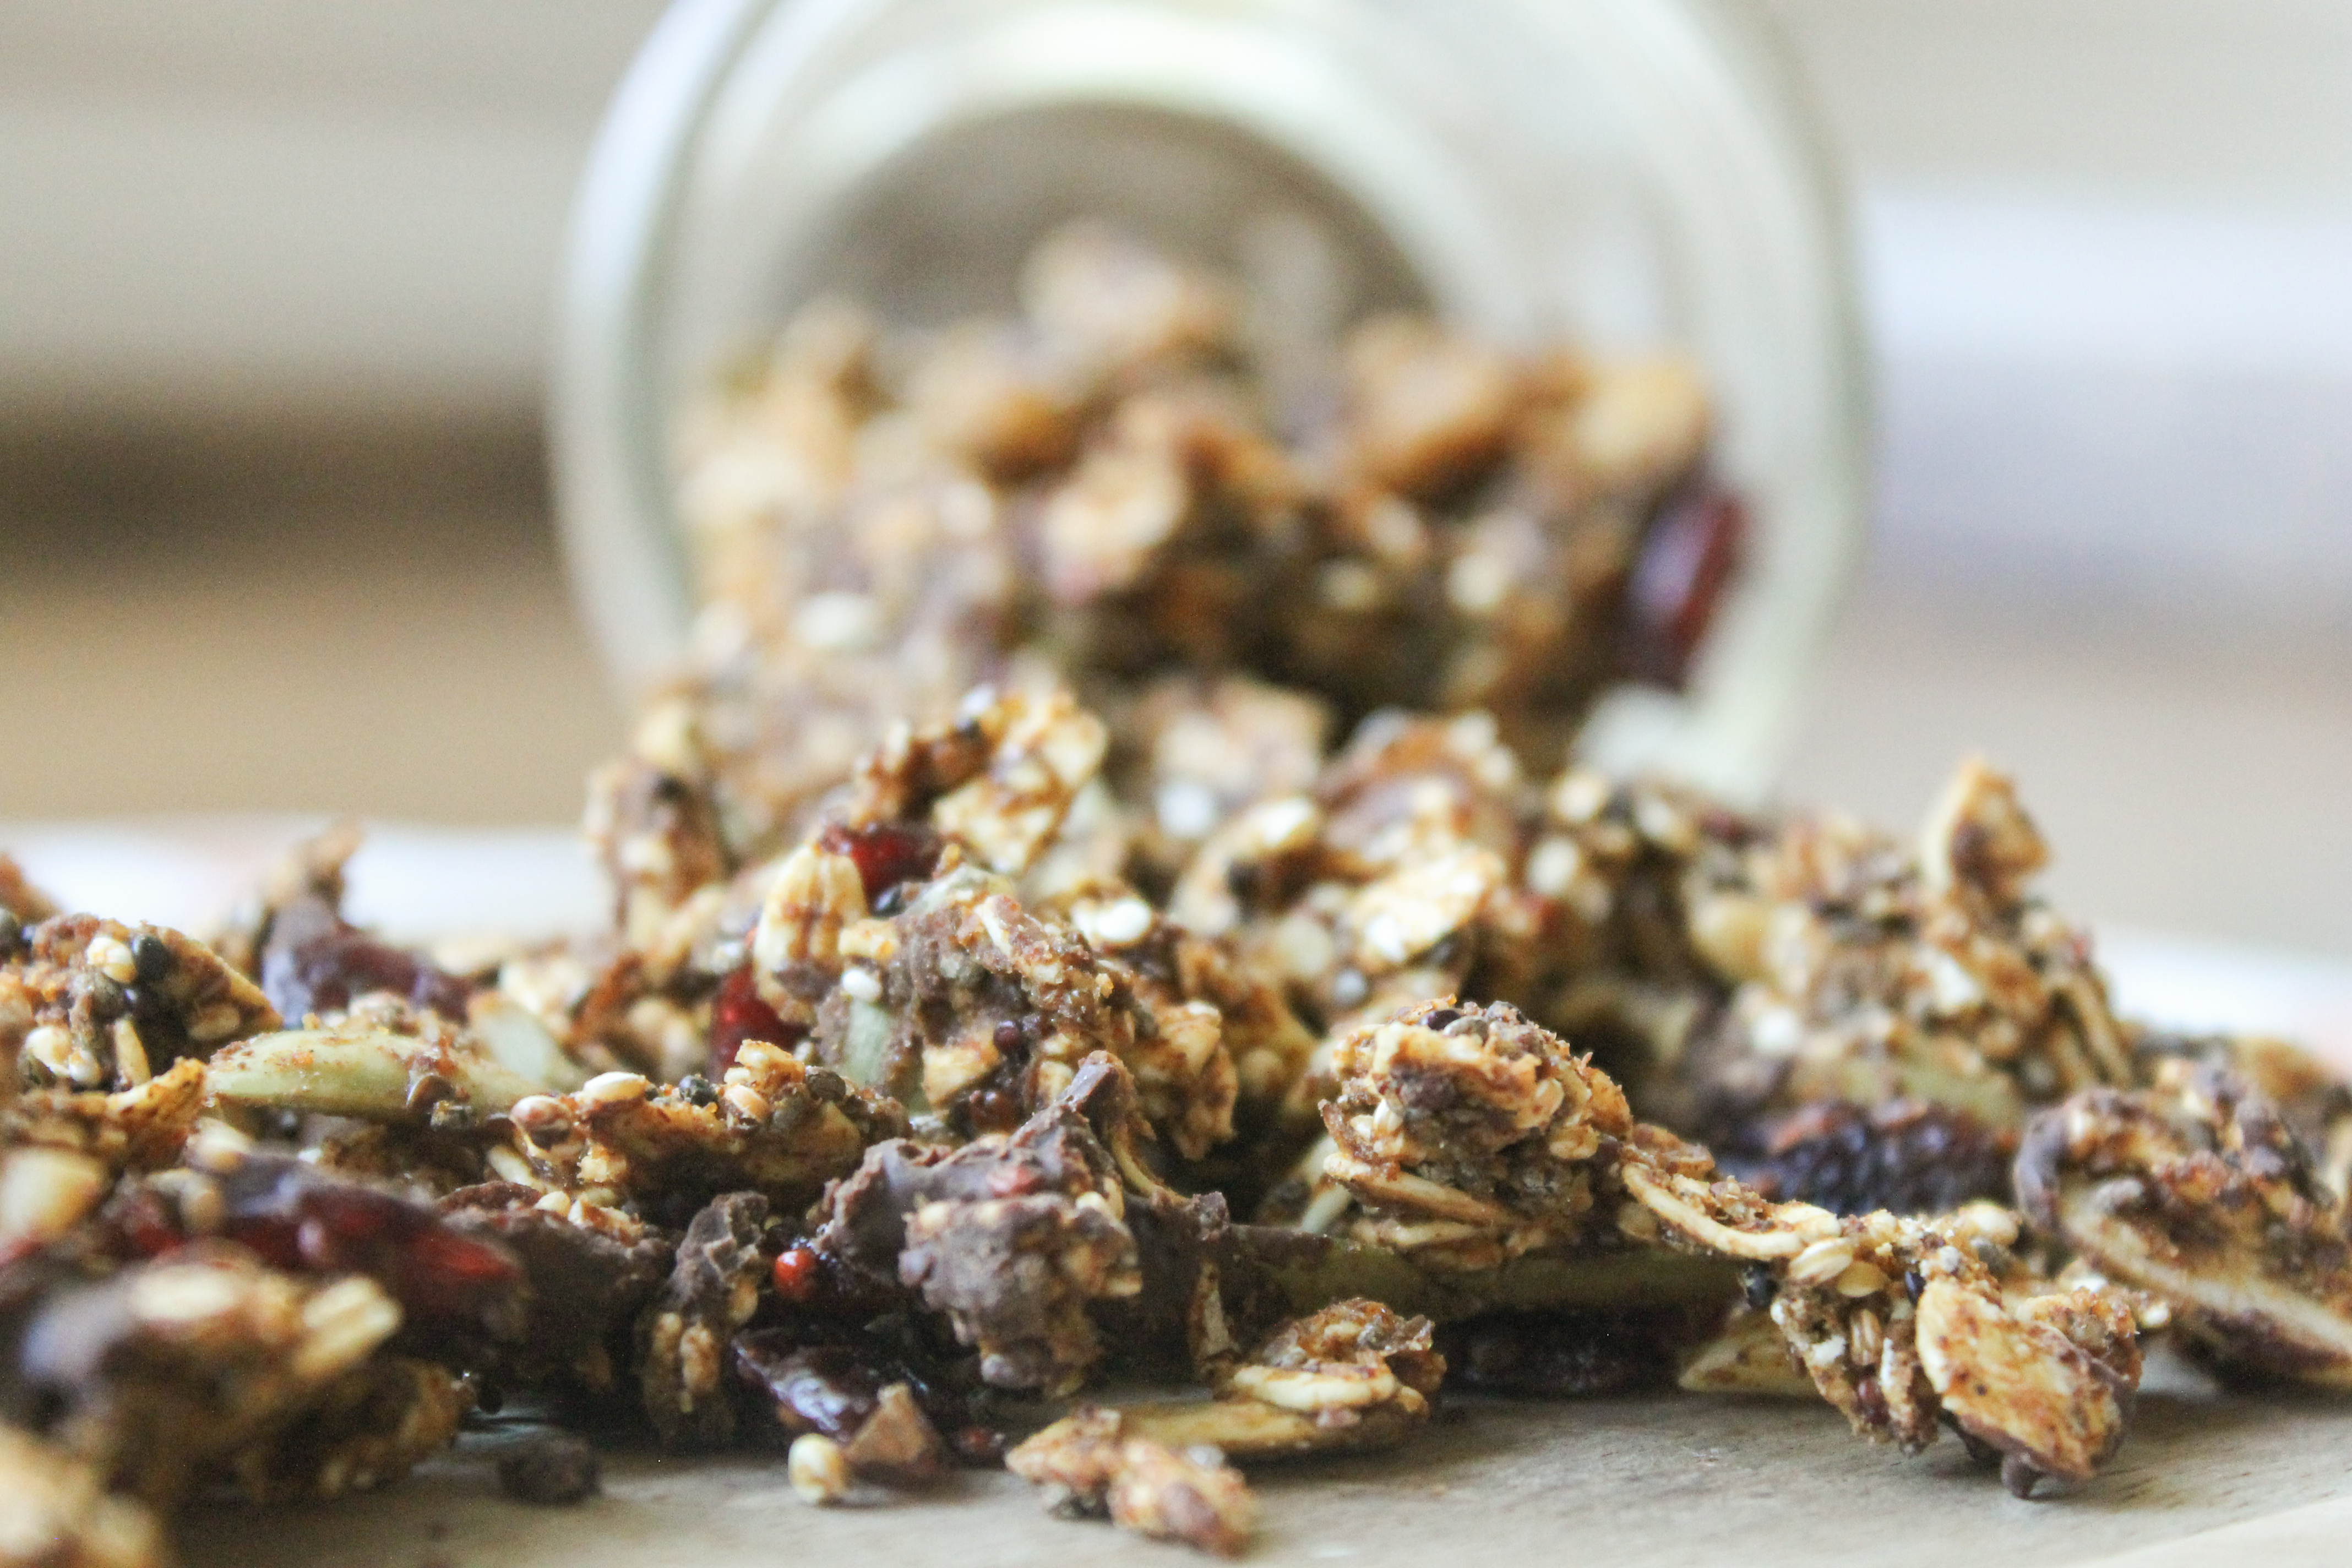
This skinny pumpkin spice granola tastes like fall and is a perfect addition to any dish! I promise this recipe will quickly become one of your go-to “pumpkin spice” favorites. I love adding this to greek yogurt, ice cream, cereal, or eating it alone as a snack. The options are endless! 

I prefer making homemade granola as opposed to buying the store bought stuff. Not only do you get alot more bang for your buck but you can also control the ingredients (especially the sugars) you’re putting into it.

skinny pumpkin spice granola

If you’ve ever read the ingredients list on the package of your favorite store bought granola you’ll likely see a list of various items such as cane syrup, brown rice syrup, corn syrup, cane sugar, canola oil, vegetable oil, fructose, natural and articfical flavoring, and soy lecithin to name a few. To translate… sugar, sugar, and more sugar! Ingredients on food labels are listed by quantity from highest to lowest. Anytime you see sugary ingredients like the ones listed above ahead of “real” ingredients you should think twice before buying!  Store bought granola may taste delicious but you are much better off making your own. 

Don’t believe me? I bet you’ll have a different opinion after making this Skinny Pumpkin Spice Granola. 

skinny pumpkin spice granola

I love this recipe because its packed full of healthy grains, heart healthy fats, and natural sugars. Not to mention its delicious and super easy to make! You’ll be out of the kitchen, start to finish, in about 35 minutes with only a few dishes to wash! 

skinny pumpkin spice granola ingredientsYou’ll start by toasting your old fashioned rolled oats and uncooked quinoa. To do this simply spread the oats and quinoa across a parchment lined baking sheet and place in the oven at 325 degrees F for 10 minutes. Note: There is no need to spray the baking sheet or parchment paper with cooking spray.  

Skinny pumpkin spice granola ingredients

After 10 minutes remove toasted quinoa and old fashioned rolled oats from oven and pour into a large bowl along with the rest of your dry ingredients which include flaxseed meal, chia seeds, slivered almonds, walnut pieces, and pumpkin seeds. If you’re not a fan of almonds, walnuts, or pumpkin seeds you can swap them out for a nut or seed that better suits your preferance. I’ve personally made this recipe using various combinations of sunflower seeds, pecans, cashews, and whole almonds and the result is delicious every time! Just make sure you stay true to the measurements in the recipe.

skinny pumpkin spice granolaStir all of your dry ingredients together and reduce the oven to 300 degrees F. 

In a microwave safe bowl combine your wet ingredients: maple syrup, honey, pumpkin puree, coconut oil, pumpkin pie spice, nutmeg, cinnamon, a dash of salt, and vanilla extract. Mix well and microwave for one minute. Your wet ingredient mixture should be thick and gooey. Warning- it will smell delicious! Since there are no raw eggs its okay to sneak a taste or two! 

Give your wet ingredients one more stir and pour over dry ingredients. Use a spatula to scrape the sides of the wet ingredients bowl to make sure you’re able to transfer as much as possible to your dry ingredients.

skinny pumpkin spice granola ingredients

Now its time to combine your wet and dry ingredients. Its important to make sure that all dry ingredients are evenly coated. I find best results come from applying a folding technique using a spatula to combine. 

Next, use your spatula to transfer all ingredients to a parchment lined baking sheet. Again, do not spray parchment paper or baking sheet with cooking spray. 

pumpkin-spice-granola-9-of-25

Make sure ingredients are tighly packed and evenly spread across the baking sheet. Place the goods in a 300 degree F oven for 20 – 22 minutes. Toss ingredients about 10 minutes in and sprinkle dried cranberries over the top. Bake for 10 – 12 more minutes until granola is golden brown. Remove from oven and immediately sprinkle dark chocolate chips (optional) across cooked granola. Its important to do this as soon as you remove the granola from the oven to enable the dark choclate chips to melt and spread across granola before it cools. 

skinny pumpkin spice granola

I know this will take alot of willpower, but let granola cool completely before digging in. Once granola has competely cooled you’re free to break granola into smaller chunks as desired and remove from the parchment paper lined baking sheet. 

skinny pumpkin spice granolaThere are a couple of options for how to store your granola. You can store this yummy treat in an airtight container (mason jar, tupperware, etc.) on your countertop or pantry or in the freezer. Granola will keep for at least one month if stored on your countertop and at least three months in your freezer. I’ve stored ganola for up to six months in the freezer. If storing granola in the freezer make sure you’re using a sturdy, well sealed container to avoid freezer burn. 

pumpkin-spice-granola-18-of-25 pumpkin-spice-granola-23-of-25 pumpkin-spice-granola-21-of-25

[yumprint-recipe id=’40’]Let me know what you think! 

Fabulous recipes by Mandi at godsavethequinoa.com

Sweet Potato Quinoa Patties with Basil Avocado Spread

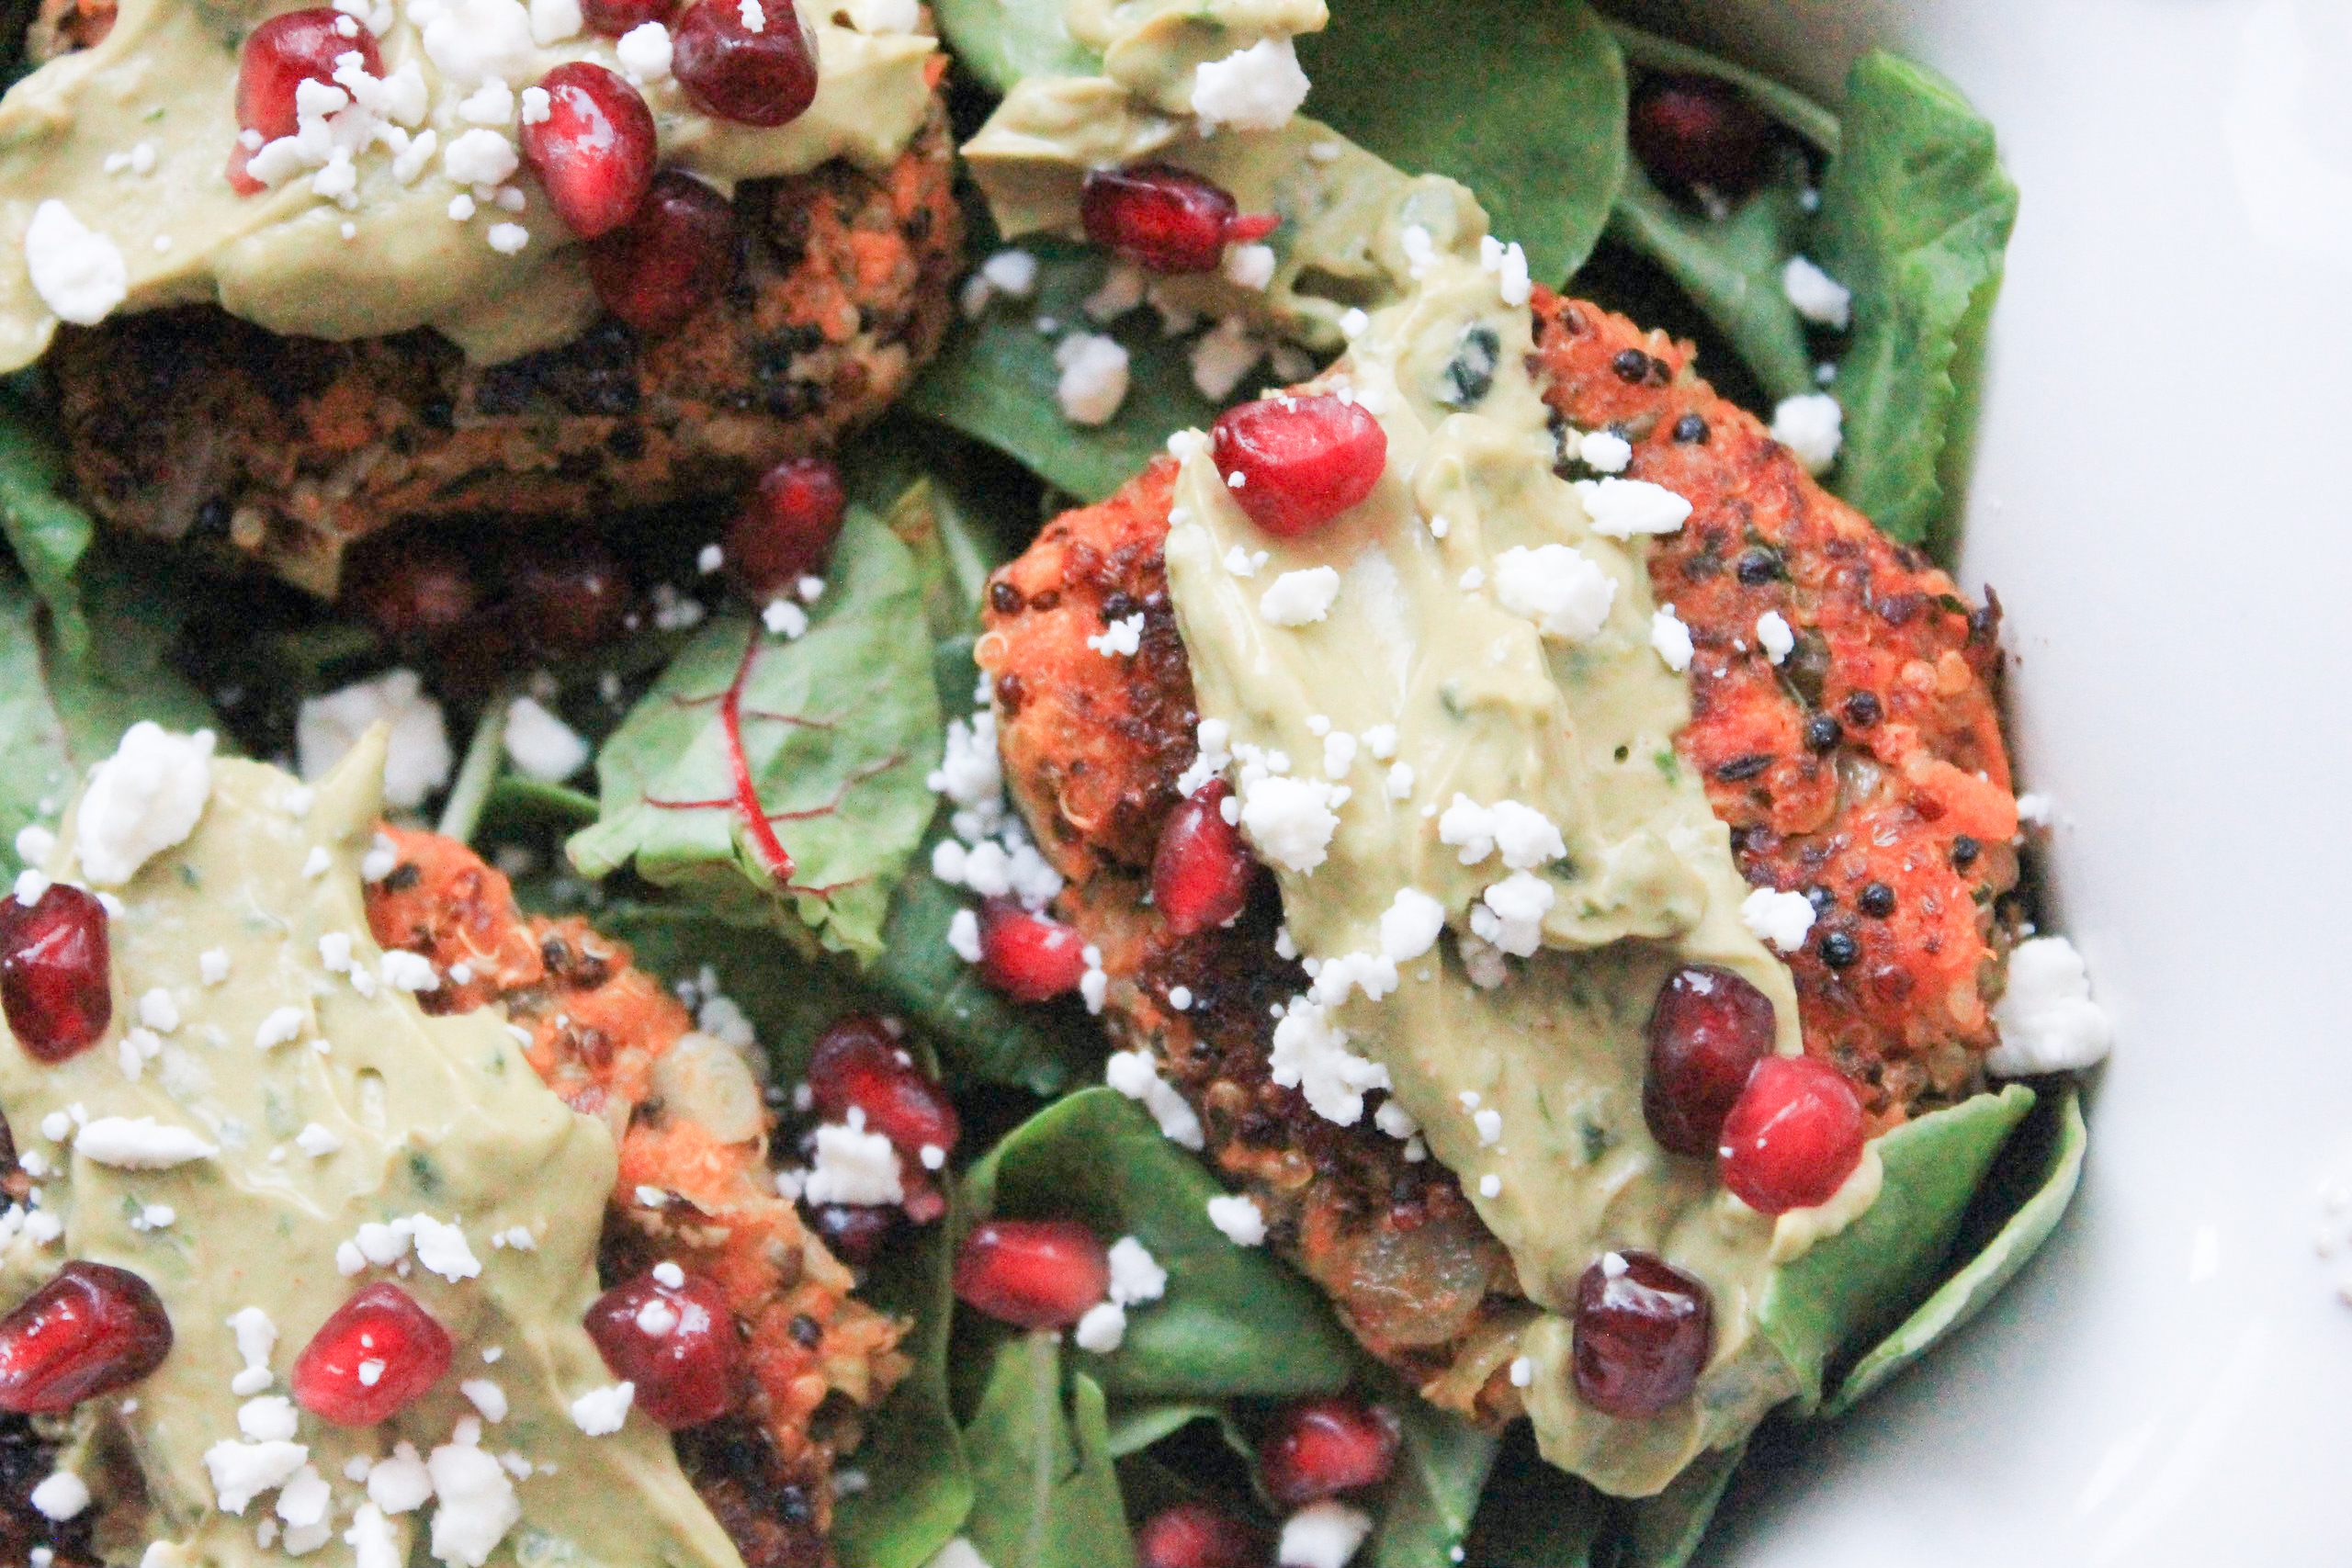
Sweet Potato Quinoa Patties with Basil Avocado SpreadIf you don’t have dinner plans for tonight I’ve got you covered! My sweet potato quinoa patty recipe is always a big hit. I mean who doesn’t love good hearty veggie burger made with sweet potatoes and quinoa, smothered in a creamy basil avocado spread, topped with fresh pomegranate seeds and served over a fresh bed of lettuce? I know not everyone agrees with the fact that veggie burgers > hamburgers (just ask my husband). One thing you will agree with is how much you love these sweet potato quinoa patties! 

This recipe makes quite a few patties and (depending on how hungry you are or how big your family is) you’re pretty much guaranteed to have leftovers! Okay….this post is officially making me hungry! 

Sweet Potato Quinoa Patties

In all seriousness, my favorite food combination right now is….wait for it…. sweet potatoes, avocados, and pomegranate seeds. I know… its kind of random and sounds totally gross, but trust me on this one. You will not regret making this dish or any others that have to do with sweet potatoes, avocado, and pomegranate seeds for that matter! I can’t wait to post all of my delicious creations for you to try! 

Basil Avocado Spread

When you look at the recipe for the first time, these might seem daunting to make. Truth be told, they’re actually pretty simple. Aside from containing yourself from eating them before they’re served, the most difficult task is cooking the quinoa, the sweet potatoes, and sauteeing the onions. 

If you break this recipe into three parts you’ll see what I mean: 

Step 1: Prepare ingredients for quinoa patties. Ingredients include cooked quinoa, cooked sweet potatoes, and sauteed onions.

Sweet Potato Quinoa Patties ingredientsYou’ll need 2 cups of cooked quinoa. (That’s 1 cup of dry quinoa mixed with two cups of water). If you need to brush up on how to make quinoa check out my post on how to cook the perfect quinoa. When quinoa is cooked, scoop into a bowl and set aside.

Cook your sweet potatoes by rinsing then with water, brushing them with EVOO, and piercing the with a fork. (Note: I cooked my sweet potatoes in the microwave to speed things up). Wrap each sweet potato in a paper towel. Heat potatoes in microwave on high for 5 minutes. Flip potatoes to other side and heat for 3 more minutes or until they’re soft to the touch. They should be very soft and very hot so be careful! 

Sweet Potato Quinoa Patties (2 of 17)

Scoop out sweet potato insides into the bowl with the quinoa. Lastly, you’ll need to saute your onion. Heat EVOO in a sauté pan and stir in some minced garlic. Add your diced onions, sprinkle with salt, pepper, and thyme and sauté until onions become translucent.  then place onions in bowl with quinoa and sweet potatoes.

Lastly, you’ll need to saute your onion. Heat EVOO in a sauté pan and stir in some minced garlic. Add your diced onions, sprinkle with salt, pepper, and thyme and sauté until onions become translucent.  then place onions in bowl with quinoa and sweet potatoes.

Add sauteed onions to the bowl with quinoa and sweet potatoes. Throw in some fresh basil, mix together and baby, you’re in business! 

Sweet Potato Quinoa Patties

Step 2: Shape and bake your quinoa patties. Use your hands to shape patty mixture into balls. Aim for a size slightly larger than golf ball size. IMPORTANT!!! Make sure they are very tightly packed so they don’t fall apart in the skillet! 

Sweet Potato Quinoa Patties (5 of 17)

Use coconut oil to cook your patties in a cast iron skillet. Make sure your skillet is nice and hot before you put your patties in. Place 3 – 4 patty balls in a skillet at one time and listen to them sizzle! Use a spatula to VERY VERY GENTLY press the top of each patty. Do NOT attempt to flatten the patties. If you press too hard the patties will fall into pieces and you will end up eating sweet potato quinoa scramble instead of these delicious sweet potato quinoa patties. This has happened to me and I can attest that the sweet potato quinoa stir-fry is also delicious. 🙂 You shouldn’t be afraid of messing these up because either way, the outcome will taste fantastic! 

Cook patties for about 3 minutes on each side. Add another 1 – 2 tablespoons of coconut oil to cast iron skillet between batches for best results. 

Sweet Potato Quinoa Patties (7 of 17)

Step 3: Make the Basil Avocado Spread. Basil? Check! Avocado? Check! Greek Yogurt? Check! Now that the gang’s all here, throw them in the food processor. Sprinkle salt, pepper, and paprika over the contents and grind away! In about 30 – 45 seconds your delicious creamy basil avocado spread will be your for the tasting! (Add salt and pepper until your taste buds are satisfied!) 

Basil Avocado Spread 2

DINNER IS SERVED! 

Arrange your sweet potato quinoa patties over a bed of leafy green lettuce (my favorite is the baby spinach and kale mix) drizzle with basil avocado spread, top with fresh pomegranate seeds and goat cheese then dig in! 

Sweet Potato Quinoa Patties (17 of 17)

Sweet Potato Quinoa Patties (6 of 17)

Wondering how to use those leftovers? These sweet potato quinoa patties are delicious in a pita or severed in a whole wheat hamburger bun. Have an idea of your own? Leave a comment and let me know! I’d love to hear from you! 

[yumprint-recipe id=’39’]Fabulous recipes by Mandi at godsavethequinoa.com

Eggplant Meatballs

Eggplant Meatballs

Eggplant Meatball Recipe

Add a healthy spin on your favorite Italian dish by using hearty eggplant in lieu of meat to make these delicious, flavorful “meatballs”. If you are not regularly eating eggplants, you should consider doing so. This is one vegetable that has no shortage of health benefits and this eggplant meatball recipe is the perfect place to start!


Eggplant Meatballs

Eggplants contain many different vitamins such as Vitamin C, Folate, B Vitamins, and Vitamin A, to name a few. These vitamins are important because they help improve your body’s overall health, boost your immune system, and can even help improve resistance to various diseases. You’ll also find Phosphorous, Calcium, Magnesium, and Potassium in eggplants. These minerals are known to help prevent arthritis, osteoporosis, and heart disease. Last but not least, eggplants are an excellent source of Dietary Fiber. Consuming foods with Dietary Fibers are good for you because they help you feel full after a meal, keep your digestive system working properly and protect against colon cancer. At 35 calories per cup, eggplants are one veggie you can’t help but love! 


Eggplant Meatballs

True story- when I first made these my husband walking into the kitchen and asked, “why are you making meatballs”. For those of you who are not aware, I do not eat meat. That being said, I do eat fish (there’s no way I could stay away from sushi) and I do cook meat, but only for others to enjoy.

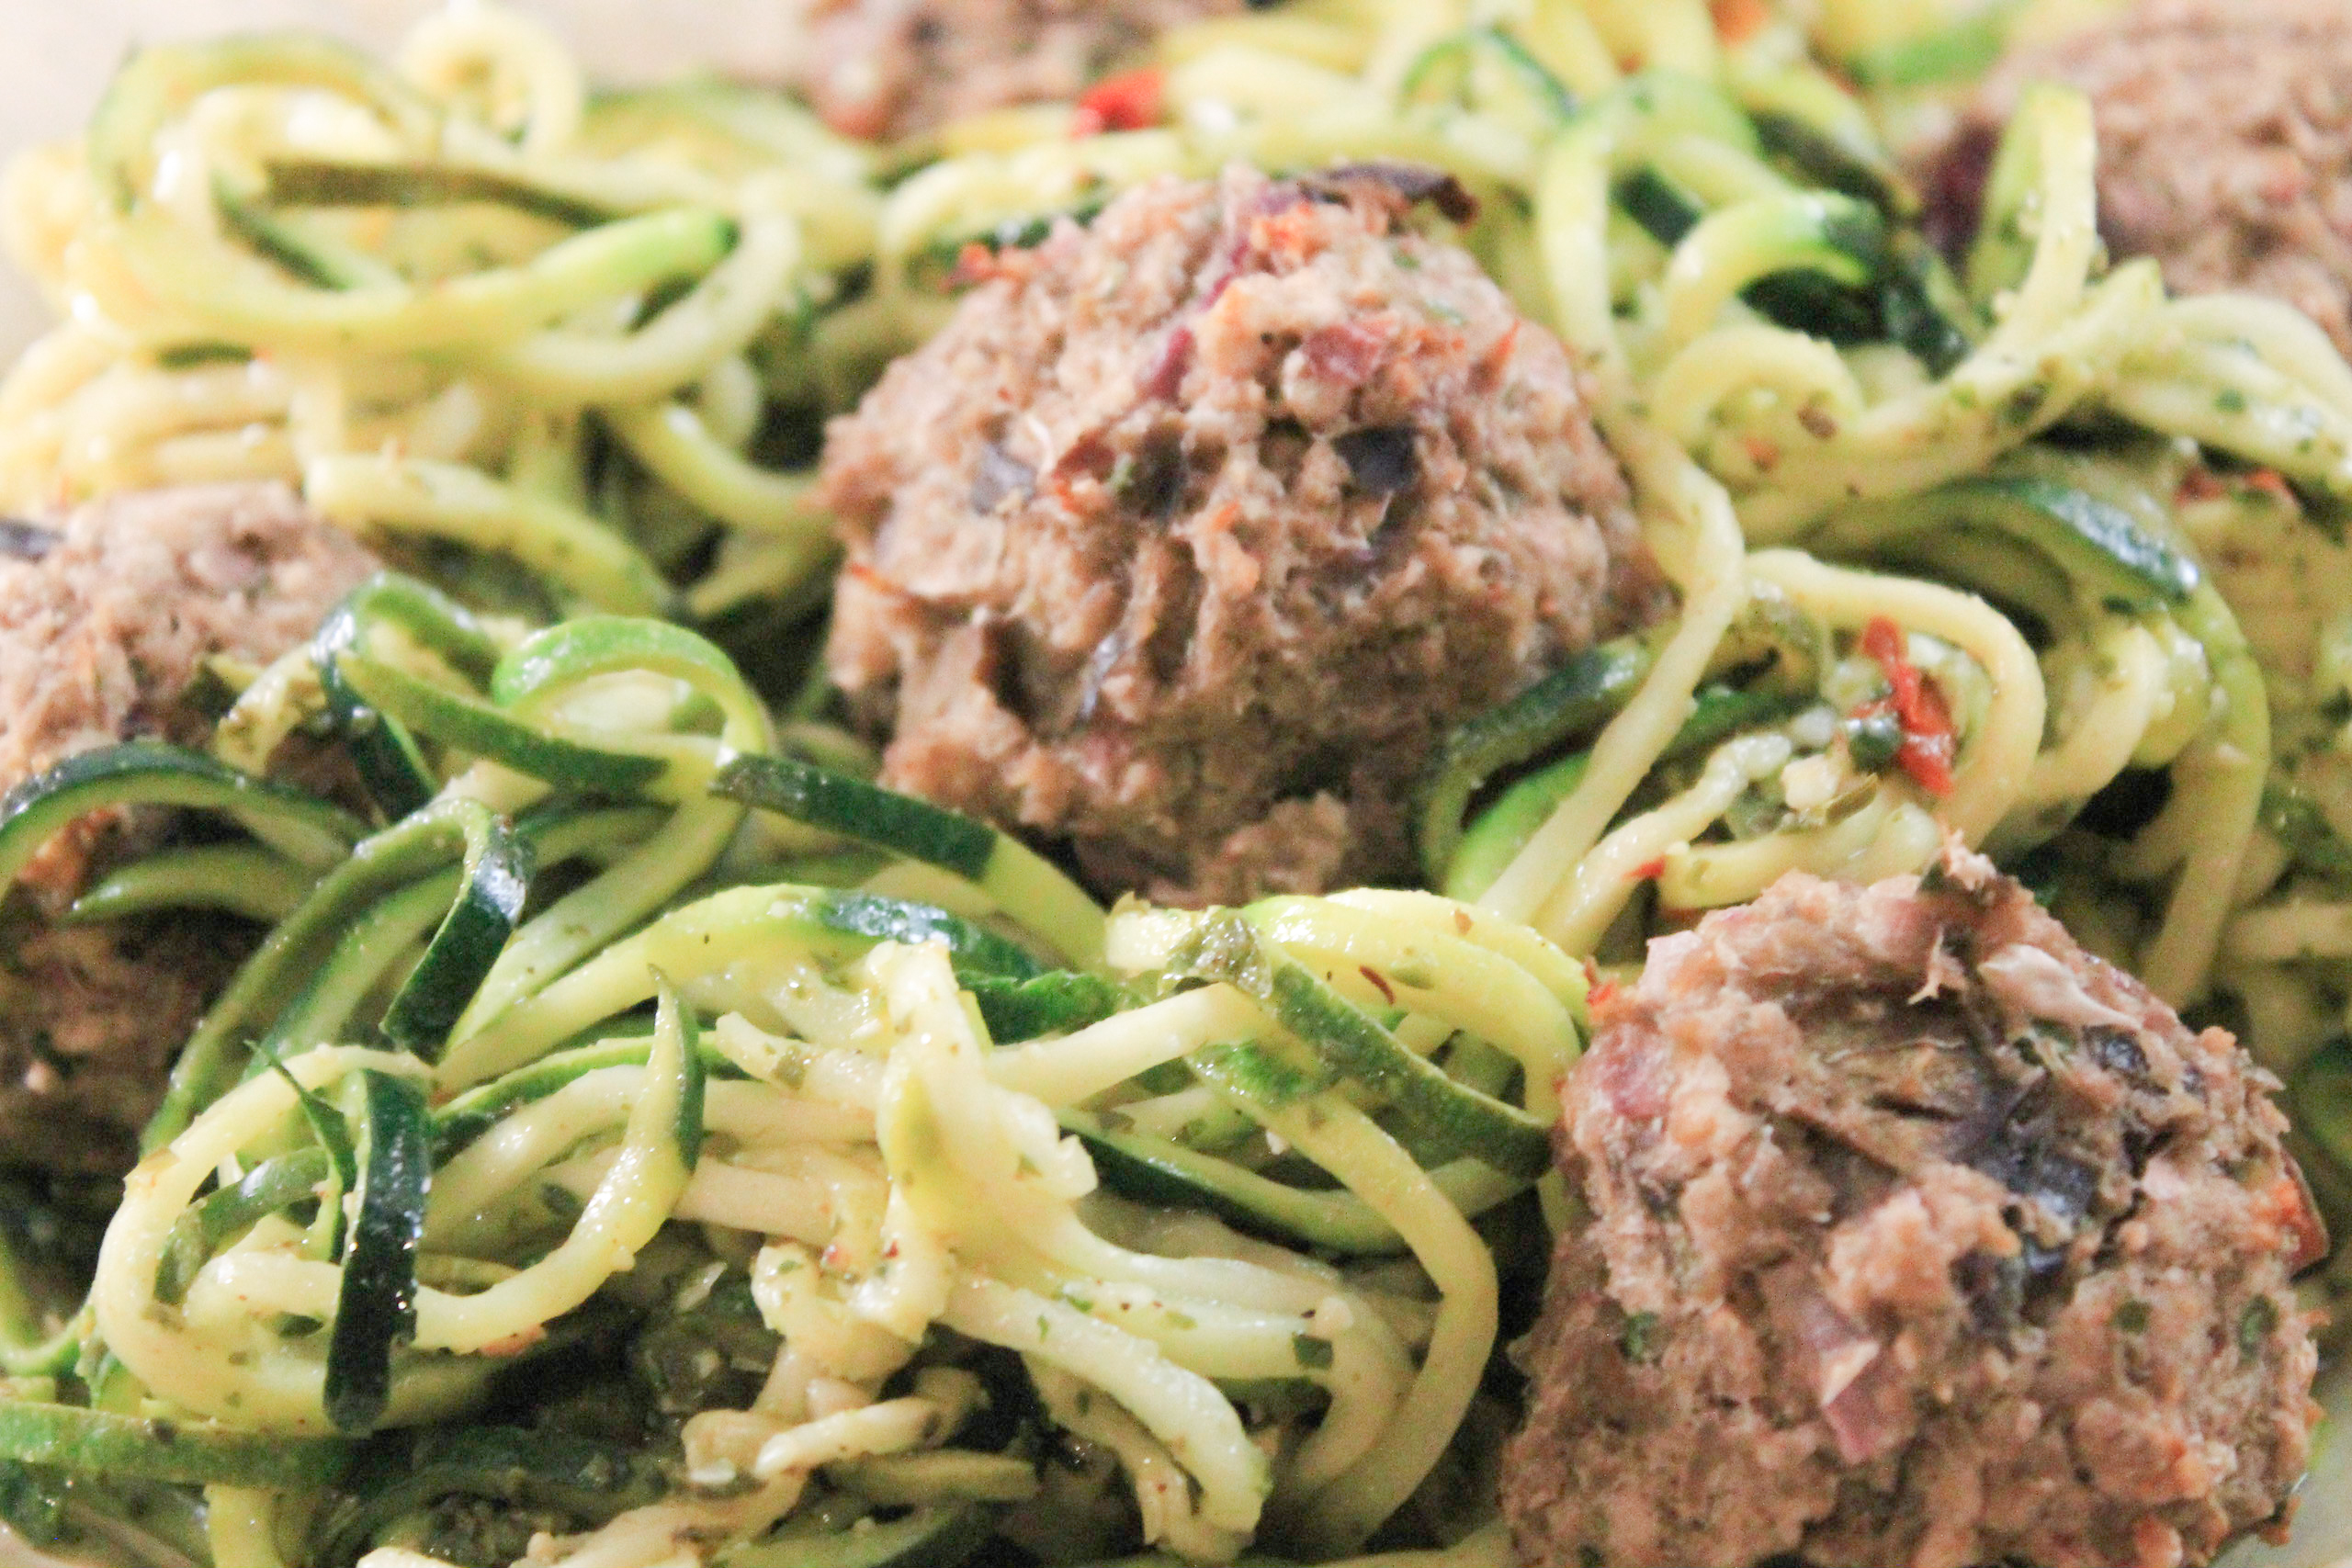
When I told him what I was making, eggplant meatballs over my favorite zucchini noodle recipehe seemed a little confused. He was taken aback by the fact that I was using eggplants to make “meatballs” and remained skeptical, wondering how a veggie-on-veggie dish was going to fill him up.  

Eggplant Meatballs

I have to be honest, it did take a little bit of convincing him that  “no, these will not taste like rubber”, “yes, you will like them”, and “no, I’m not making you eat tofu”. Whether he believed me or not, I guess I will never know. He was a trooper and helped me roll the steamy eggplant concoction sitting in my food processor into the delicious “meatballs” pictured below. 

Eggplant Meatballs

Once your “meatballs” are arranged on a cookie sheet, pop them in the oven for 20 – 30 minutes. As these cook, they should change color and turn a darker shade of brown and the outer shell should become firm, but not burned. If you can stick a fork through them while they’re still in the oven, let them cook a little bit longer. You should expect the very bottom of your meatballs to be darker and crispier than the tops. Don’t worry- this is perfectly normal! The non-stick cooking spray you sprayed on your foil lined cookie sheet is the culprit. 

Eggplant Meatballs

Personally, I love serving these over zucchini noodles. My Favorite Zucchini Noodle Recipe is perfectly timed with how long it will take these “meatballs” to cook in the oven. Start cooking your zoodles immediately after you put your “meatballs” in the oven to avoid waiting around or snacking before dinner. This recipe is posted on my blog.

If you want to mix it up a little and incorporate these “meatballs” into other dishes throughout the week, I also enjoy eating these with whole wheat pasta (any kind) or over a dark leafy green salad with fresh tomatoes and quinoa. I’d love to hear what types of dishes you paired your eggplant meatballs with!

[yumprint-recipe id=’36’]Fabulous recipes by Mandi at godsavethequinoa.com

My Favorite Zucchini Noodle Recipe

My Favorite Zucchini Noodle Recipe

My Favorite Zucchini Noodle Recipe

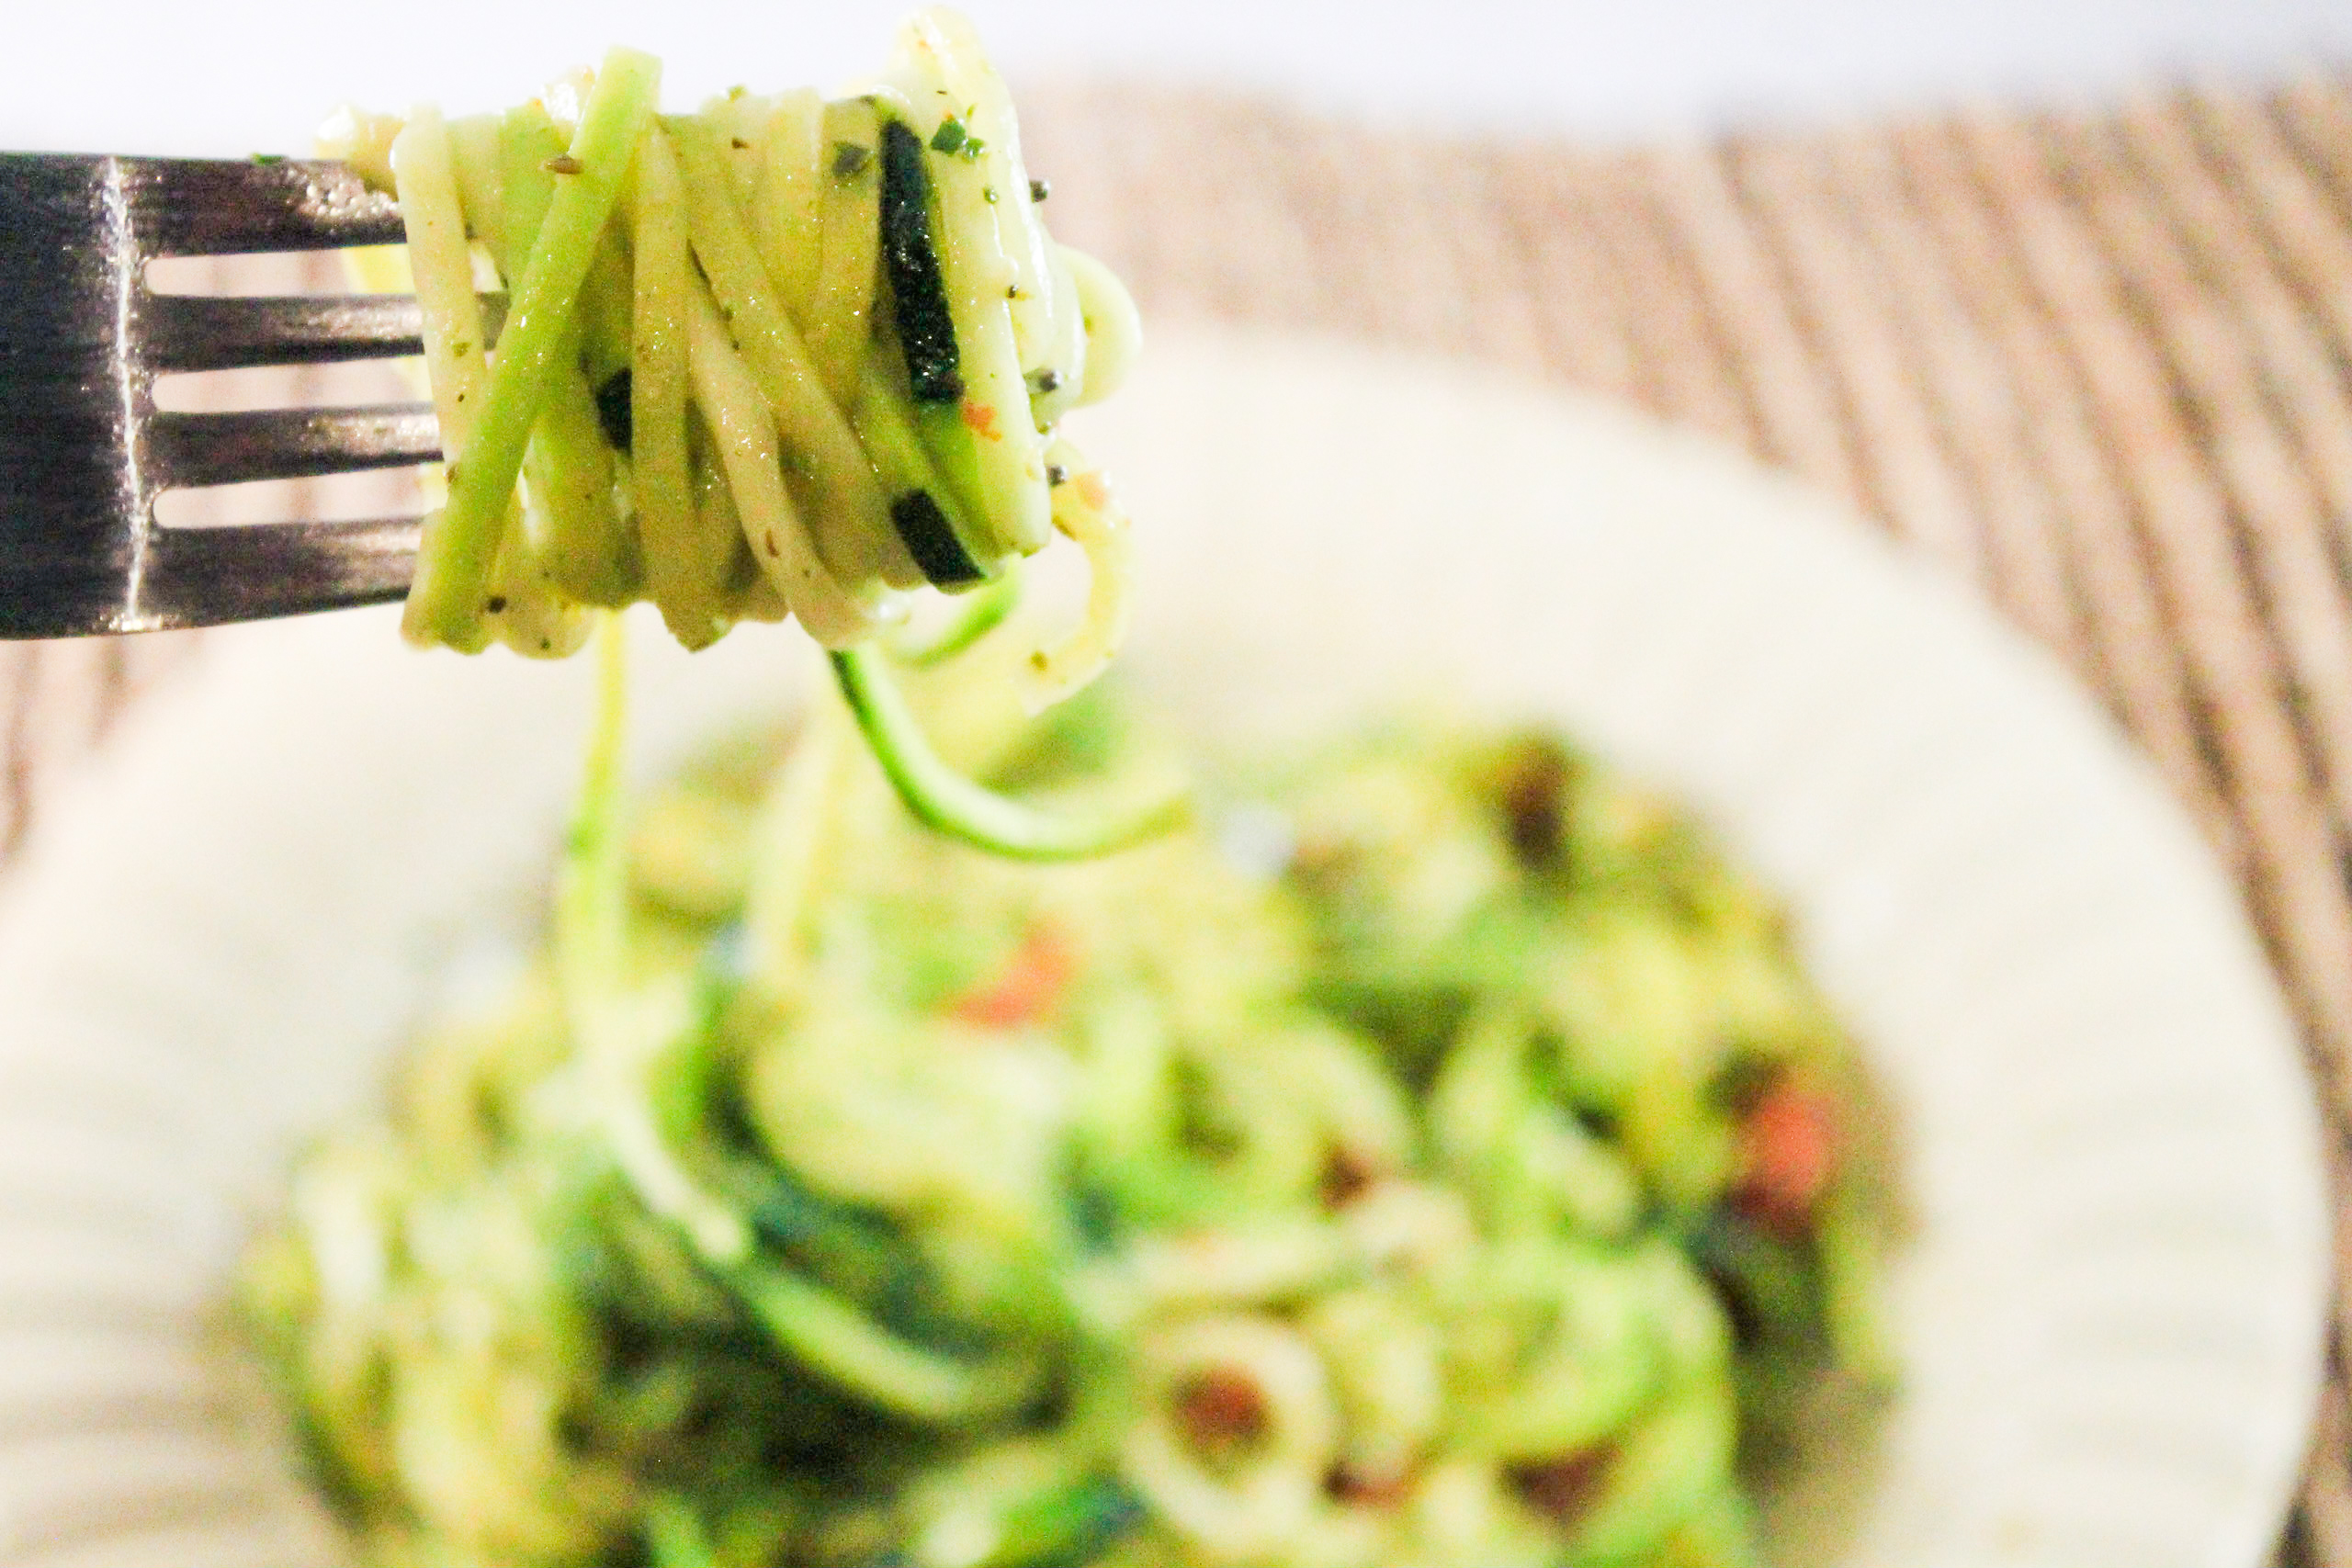
Everyone has their favorite “go-to” recipes when they’re not quite sure what to make. Today I’m going to share one of mine. My Favorite Zucchini Noodle Recipe can be made in less than 20 minutes and served with any kind of fish or meat. 

I feel like I say this a lot, but this recipe is SUPER easy to make. If you’re just starting to learn how to cook, this is the recipe for you! After making this a couple of times, you won’t even need to look at the recipe, I promise! 

If you don’t have a spiralizer, go and get one… NOW! A Spiralizer is an excellent tool to have in your kitchen… and an inexpensive one as well! If you do a little searching (gotta love Amazon Prime) you should be able to find a great spiralizer for about $40 or less. I absolutely LOVE using my spiralizer and can’t wait to share all of my spiraled creations with you! For those of you who were wondering, these Zucchini Noodles, or “zoodles”, were the first thing I made when I got mine! 

My Favorite Zucchini Noodle Recipe

I always keep the “key” ingredients of sun dried tomatoes, basil pesto, lemon juice, red pepper flakes, and salt and pepper fully stocked so I can whip this up when I’m not quite sure “what to make to go with XYZ”. These Zucchini Noodles are the perfect base for any type of fish, chicken, meatball, veggie meatball, etc. The options are endless, and this is why its one of my favorites! 

Simply spiralize your unpeeled zucchinis. NOTE: I like to bad the excess water out of mu zoodles by wrapping them in a paper towel before cooking. This will prevent excess water/juices from collecting in your skillet.  

Heat EVOO in a skillet and add in your zoodles. Season zoodles with salt, pepper, paprika, and lemon juice and cook for about 5-7 minutes on medium low heat. When zoodles begin to become soft and translucent add in your sun dried tomatoes and basil pesto. Stir on low heat for a few minutes until everything (especially basil pesto) is well combined. 

When ready, remove from heat, top with fish, meat, or veggie meatball of your choice and voila, dinner is served! Now sit back, relax, and enjoy! 

My Favorite Zucchini Noodle Recipe


[yumprint-recipe id=’35’] 

Fabulous recipes by Mandi at godsavethequinoa.com

Green Cashew Pesto Stir Fry

Green Cashew Pesto Stir Fry Recipe- God Save the Quinoa

“It isn’t easy being green”- Kermit the frog. 

While it might not be easy being green, it can be easy eating green. I know, it sounds weird (maybe a little gross depending on how “in touch” with your inner child you are) but I promise its easy AND healthy! 

Green Cashew Pesto Stir Fry Recipe- God Save the Quinoa

 I recently purchased a spiralizer, which by the way was the BEST PURCHASE EVER!!! (Be expecting more spiralizer recipes to be posted soon). Anyways, my spiralizer enables me to make zucchini noodles in about 3 minutes tops, and I’ve been experimenting with TONS of different recipes. So far, I have yet to be disappointed.  

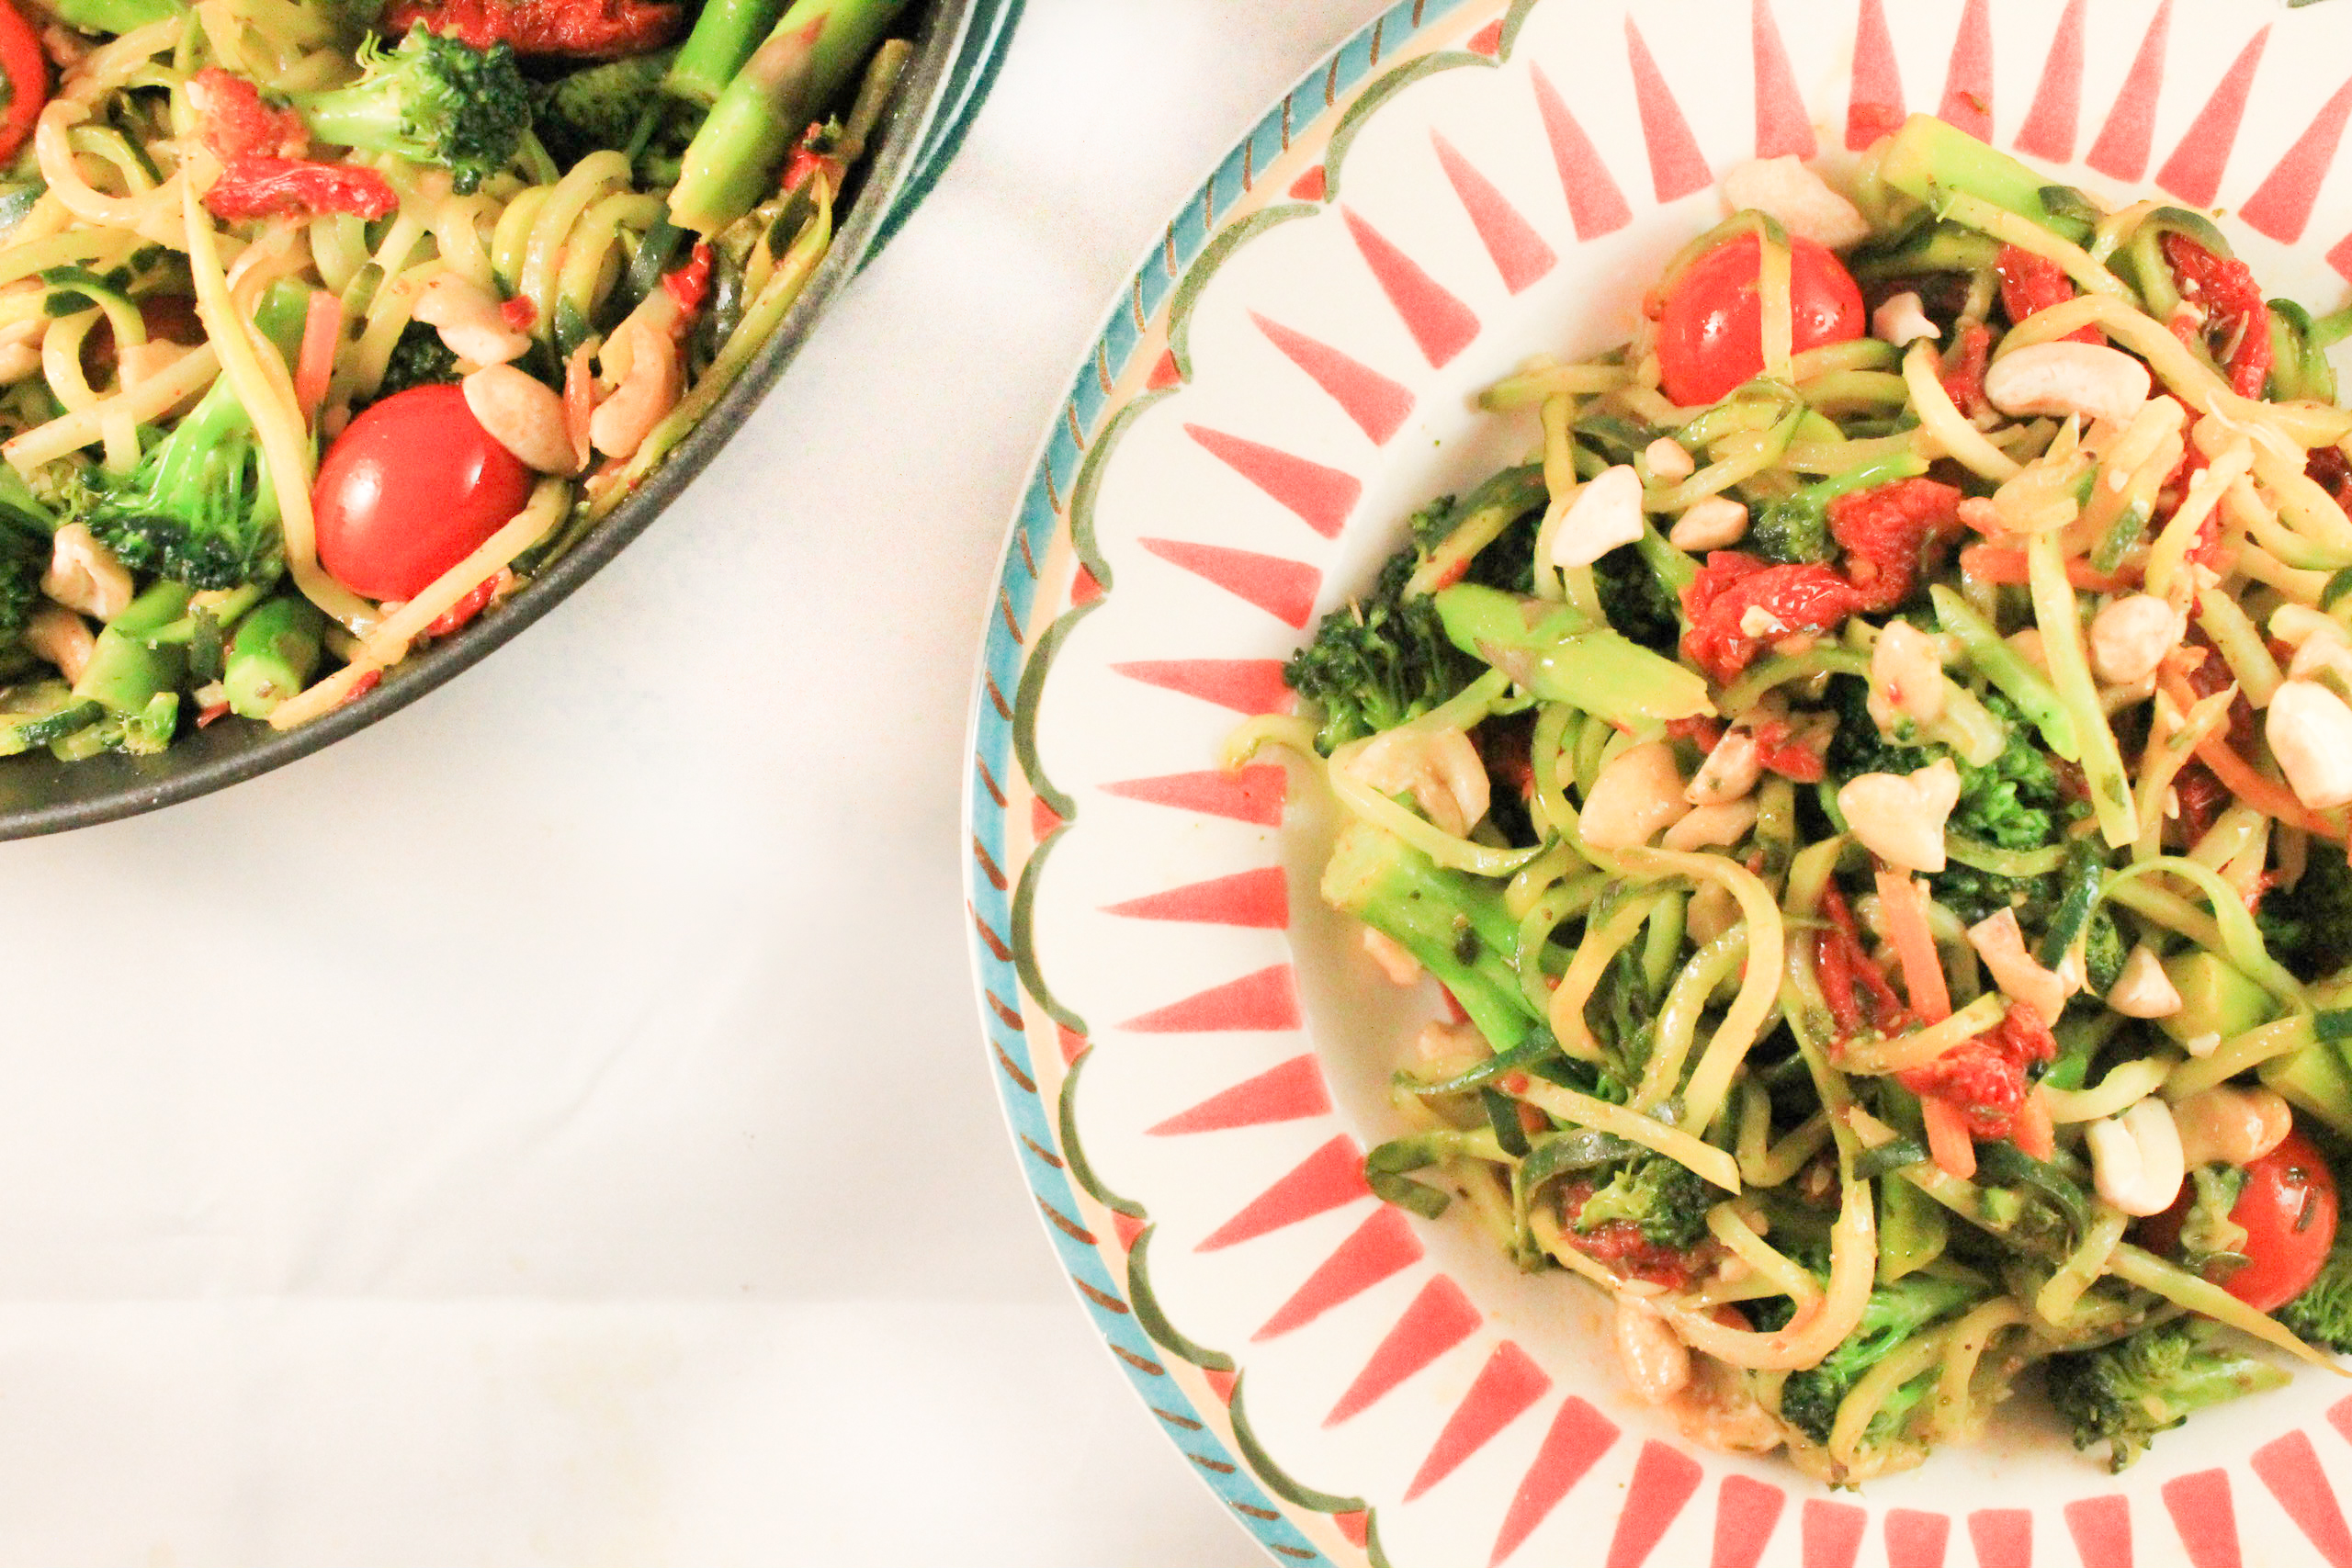
Green Cashew Pesto Stir Fry Recipe- God Save the QuinoaAlthough I threw in some tomatoes to add some color, this recipe is full of my favorite green foods; zucchini noodles, broccoli florets, asparagus, broccoli slaw, and fresh basil pesto. 

Start by spiraling 2 medium zucchinis to make your zucchini noodles. Chop your asparagus into 1.5 – 2 inch pieces and set aside. (Don’t forget to break off the bottom of the asparagus before chopping!)

Heat your Extra Virgin Olive Oil (EVOO) in a pan on medium-high heat. Stir in the minced garlic once EVOO starts to sizzle. Place your zucchini noodles, asparagus pieces, and broccoli florets into the pan. Toss veggies until they are coated in EVOO and let them sit. Stir once they begin to sizzle. 

Green Cashew Pesto Stir Fry recipe

Once everything is starting to sizzle add your broccoli slaw to the pan. If you’re wondering what broccoli slaw is, its basically shredded broccoli stalks and carrots. I purchased mine in a bag from Trader Joe’s. If you can’t find broccoli slaw at the store you shop at, you can sub for shredded carrots instead.

Spice up your life…er dinner by shaking salt and pepper to taste, cumin, rosemary, red pepper flakes, and lemon juice over your veggies. Leave your veggies on medium-high heat to absorb these flavors for a minute or two.

Green Cashew Pesto Stir Fry Recipe- God Save the QuinoaAdd your (WHOLE) cherry and sun-dried tomatoes before reducing the burner to a medium heat. Let veggies sit for 4-5 minutes, tossing every now and then so that the stuff on the bottom of the pan doesn’t burn. 

Once your veggies begin to soften and appear to be translucent, stir in basil pesto and raw cashews. I recommend using fresh basil pesto. Make this by combining 2 cups of fresh, chopped basil, 5 TBS EVOO, ¼ cup grated parmesan cheese, 2 TBS pine nuts, 2 tsp minced garlic, and ¼ tsp salt in a food processor and pulse until reaching desired consistency. Voila! You now have fresh homemade basil pesto!

That’s all folks! Serve and enjoy! 🙂 

[yumprint-recipe id=’33’]Fabulous recipes by Mandi at godsavethequinoa.com