Category: Vegan Recipes

Quinoa Crust Pizza

Quinoa Pizza Cover Page

This 5 ingredient pizza crust made out of quinoa will change your life! It sure has changed mine! I love pizza, but try to only eat it on “special occasions” … AKA the night before a big race! That said, I enjoy this quinoa crust version ALL. THE. TIME.

Despite what you’re thinking, this is actually VERY EASY to make. I was intimidated the first time I tried it out too but all of those preconceived notions flew out the window as soon as I took my first bite.

Quinoa Crust Pizza

The first time I made this I didn’t even tell my husband what the crust was made of. I put it down in front of him and watched him scarf it down. When I asked him what he thought it was, he said “uh…pizza”. He had no clue the crust was made out of quinoa. I swear he asks me to make this at least once every other week. (I told you I eat this all the time!) 

The crust is made with 5 ingredients and 4 steps… well, 6 ingredients if you count the salt & pepper.

  1. Quinoa (uncooked): 3/4 cup soaked overnight and drained
  2. Baking Powder: 1/2 tsp
  3. Water: 1/4 cup
  4. Extra Virgin Olive Oil: 2 TBS
  5. Dried Oregano: 1 TBS
  6. Sea salt and generous amounts of pepper

The crust is vegan friendly, so depending on the toppings you select you have the freedom to make this a vegan, vegetarian, or meat lovers delight! 

STEP 1: Combine all ingredients in food processor and pour into a round, foil lined cake pan sprayed with non-stick spray. Your batter will resemble that of pancakes. Place in oven for 15 minutes. 

Quinoa Crust Pizza

I use a round 9-inch cake pan to give my pizza a traditional, circular pizza shape. A round 9-inch cake pan will result in one personal pizza. I usually cook two at the same time; one for me and one for my husband and place the pans side by side in the oven. If you don’t have a round cake pan, you can use a similar sized square, rectangle, or other shape pan. If you do this, make sure not to use one too big or you will end up with super thin (and most-likely burnt) pizza crust. I’ve never tried doubling the recipe to make a large two person pizza, so if you try this you must tell me how it turns out! 

STEP 2: Remove from oven. Let sit a few minutes, flip, and bake for another 12 – 15 minutes. 

Quinoa Crust Pizza

Your pizza crust should look more like a pizza crust when you open the oven to remove and flip after 15 minutes. After flipping your crust, you can place on a flat cookie sheet or back in the same cake pan. because I usually make two of these at the same time, I prefer to use a cookie sheet. If using a cookie sheet be sure to line with foil and spray with non-stick spray. Most importantly, make sure to let your pizza crust cool for a few minutes before you flip. DO NOT FORGET THIS! This is critical to making sure your pizza crust remains in tact!   

While crust is cooking, this is a great time to chop veggies and prepare your toppings! 

Step 3: Remove from oven. Add sauce, toppings, and cheese. Place back in oven for another 12 – 15 minutes. 

Quinoa Crust Pizza

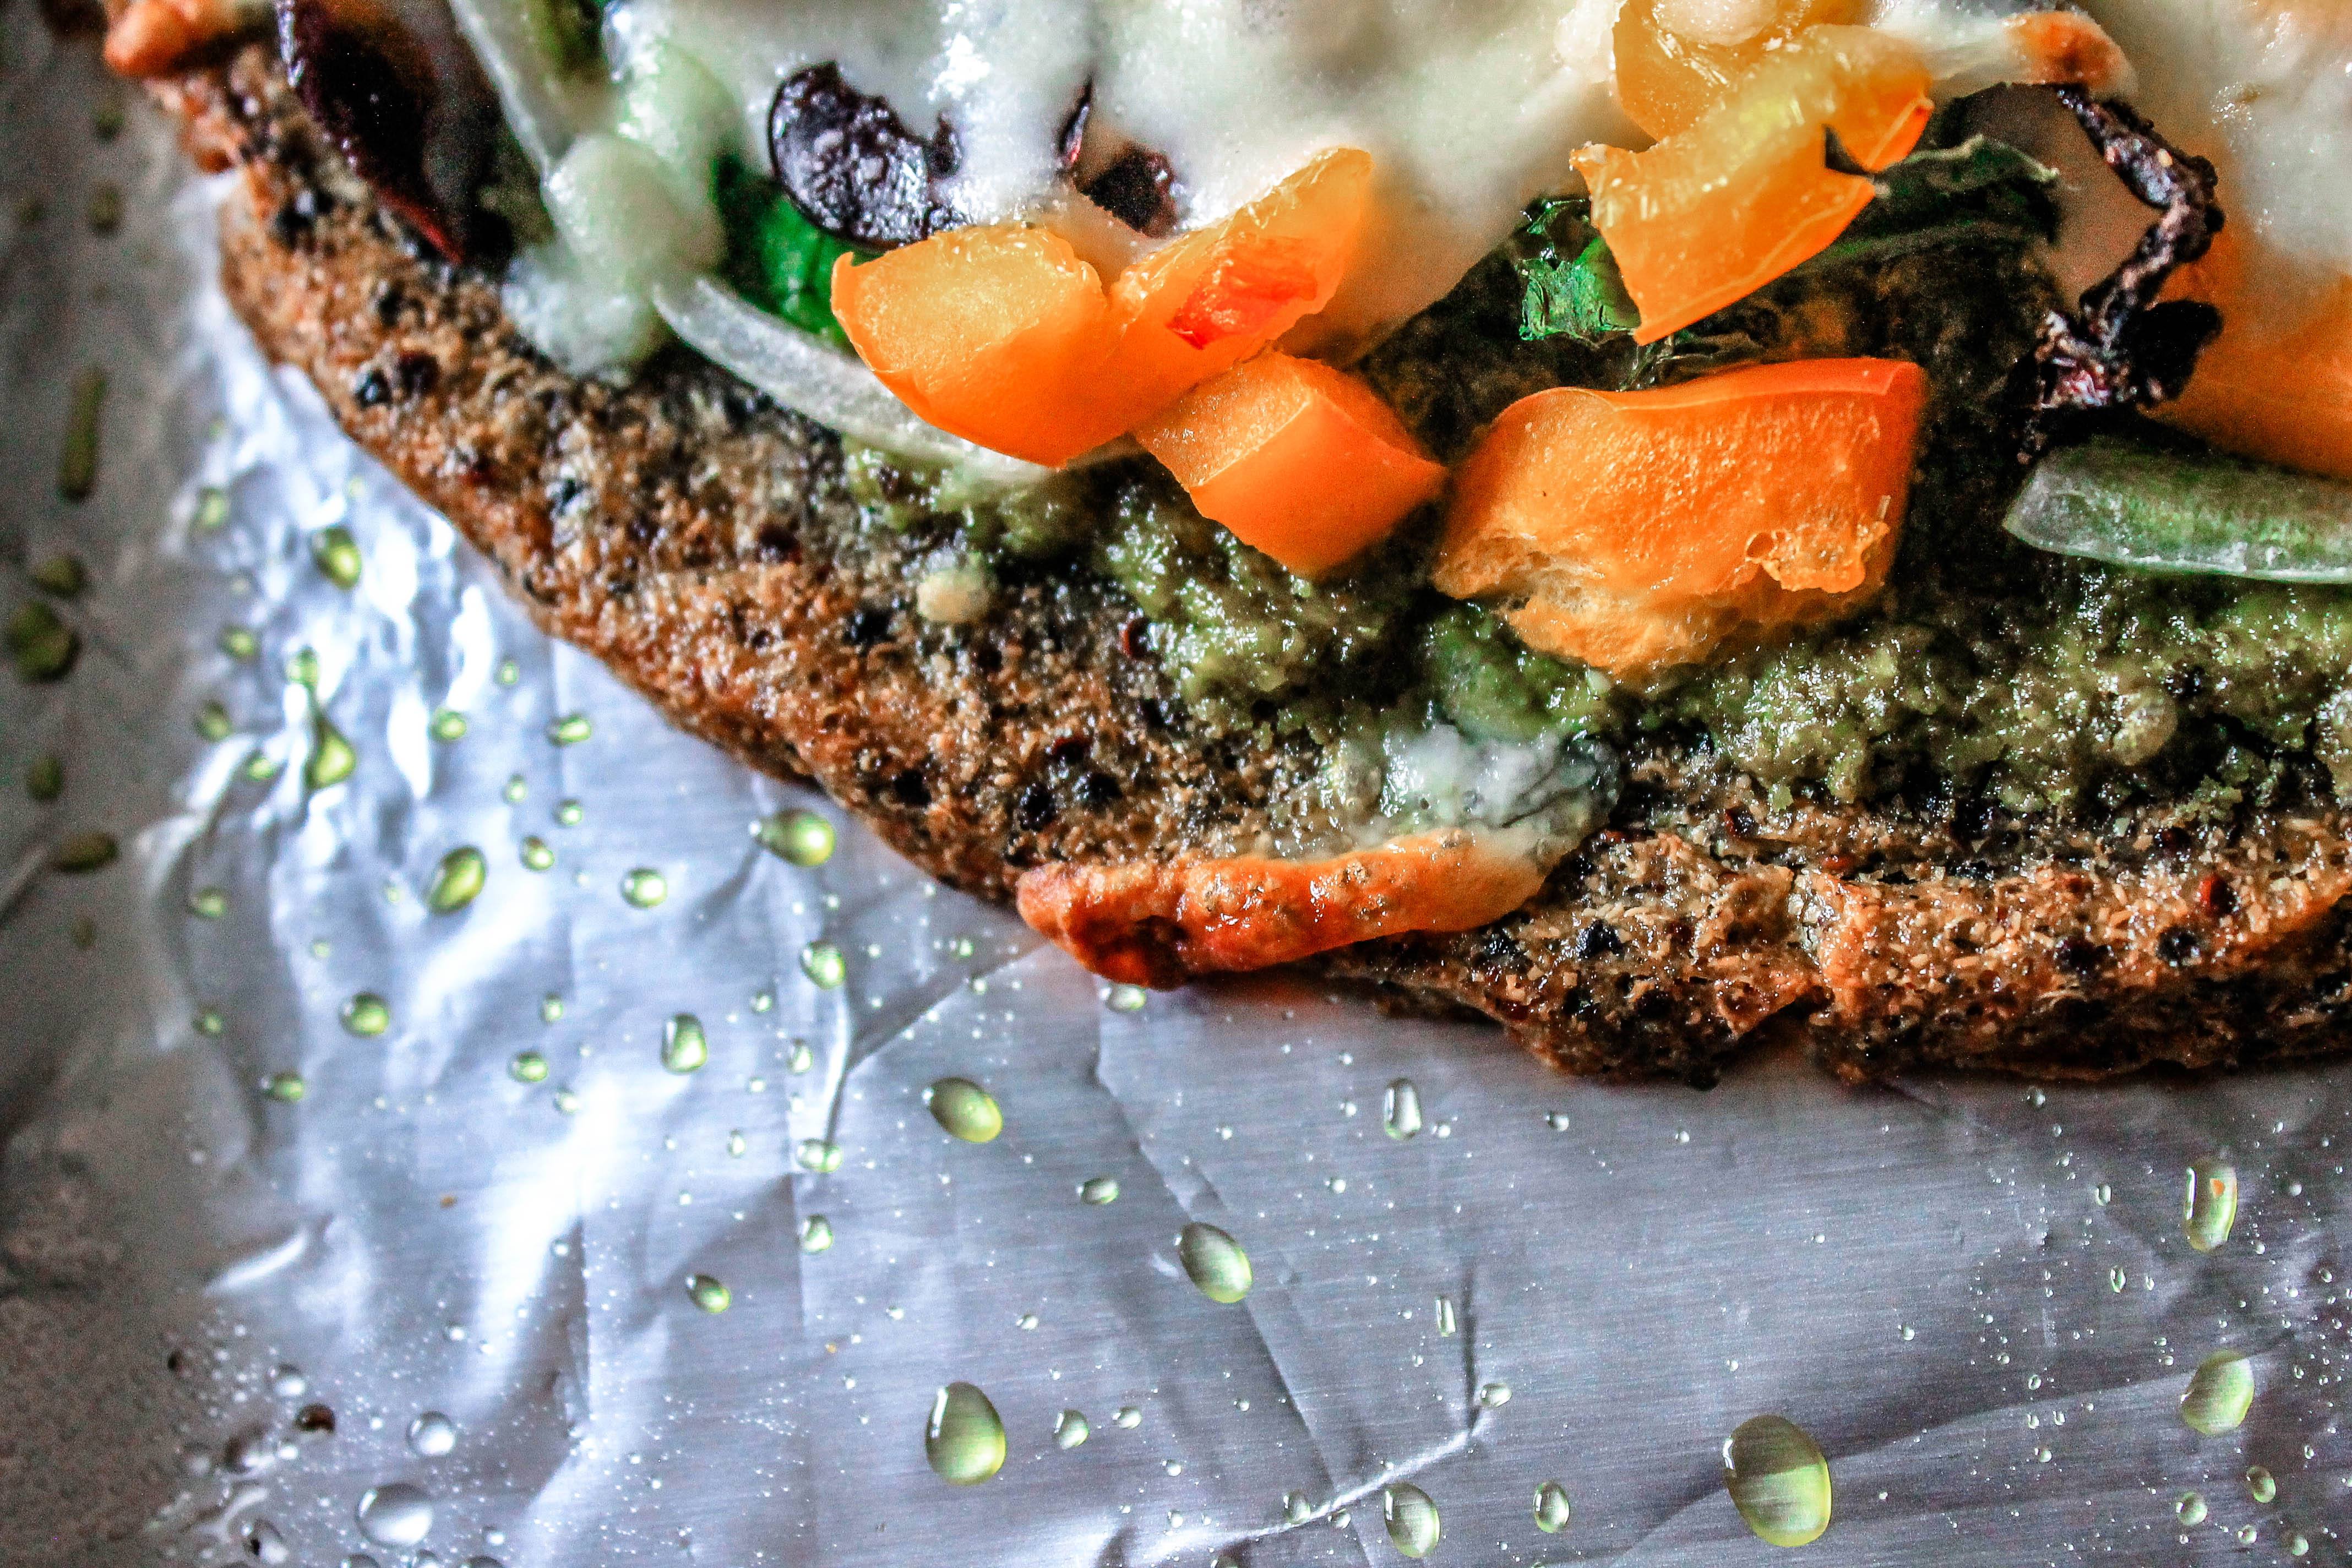
My pizza (pictured above) is a vegetarian option. Ingredients include:

  • Sauce: My Homemade Basil Pesto  Make this by combining 2 cups of fresh, chopped basil, 5 TBS EVOO, ¼ cup grated Parmesan cheese, 2 TBS pine nuts, 2 tsp minced garlic, and ¼ tsp salt 
  • Toppings: Tuscan Kale, Sweet Onions, Black Olives, Orange Bell Peppers, Sun-dried Tomatoes 
  • Cheese: Shredded Mozzarella 

Not pictured: Two to three dollops of ricotta. I didn’t realize we were out until I made this recipe! 

Greg’s pizza (pictured below) is made with Chicken and veggies. Ingredients include: 

  • Sauce: Fresh Marinara 
  • Toppings: Shredded Chicken, Tuscan Kale, Sweet Onions, Black Olives, Orange Bell Peppers, Homemade Basil Pesto 
  • Cheese: Shredded Mozzarella 

Quinoa Crust Pizza

Step 4: Remove from oven. Let cool a few minutes. Slice, serve, and enjoy! 

You’ll know your pizza is ready when the cheese begins to bubble and brown and the edges of your veggies begin to get crispy. 

Quinoa Crust Pizza

Quinoa Crust Pizza

BRB. Drooling over how good this looks. 

Quinoa Crust Pizza


See, easy peasy. 5 ingredients. 4 steps. One delicious meal! 

[envira-gallery id=”2174″]

[yumprint-recipe id=’47’] 


Quinoa Crust Pizza

Even Maggie is drooling over this recipe! 

Recipes for endurance athletes


No Bake Blueberry Lemon Cheesecake Bites

No Bake Blueberry Lemon Cheesecake Bites cover page

I LOVE desserts. I love them SO much that I sometimes I wonder if I was born with 32 sweet tooths instead of just one. Okay, bad dad joke- I couldn’t help myself! Anyways, you know what I love just as much as dessert? Making healthy food taste just. like. dessert. You read that right- healthy food. Meaning nuts, fruits, spices, no sugar. You get the gist. 

No Bake Blueberry Lemon Cheesecake Bites

Besides the fact that its for my favorite meal, there are a number of reasons why I love this recipe. I’ll give you my top three:

  • Healthy to the core- Made with raw, wholesome ingredients like cashews and dates, that actually help with the refuel and recovery process. 
  • NO BAKING- less mess to clean and no risk of burning these delicious treats. This also means no more excuses for those of you who “don’t know how to cook” 🙂 
  • Prep time takes all of about 10 minutes- As long as you can remember to soak your cashews, you can whip a batch together after your morning workout with minimal effort. Don’t worry if you forgot to soak your cashews. You can hack this by boiling them on low heat for about 15 minutes. 

No Bake Blueberry Lemon Cheesecake Bites3

Okay I lied, I’m giving you my top four. My absolute favorite thing about this recipe is how fresh all of the ingredients taste. There is just something about the combination of fresh blueberries, juice from a real lemon, and fresh mint leaves that has the power to fill any void imaginable!

The process to “no bake” these is simple. I prefer to take a blend-blend-freeze approach.

No Bake Blueberry Lemon Cheesecake Bites

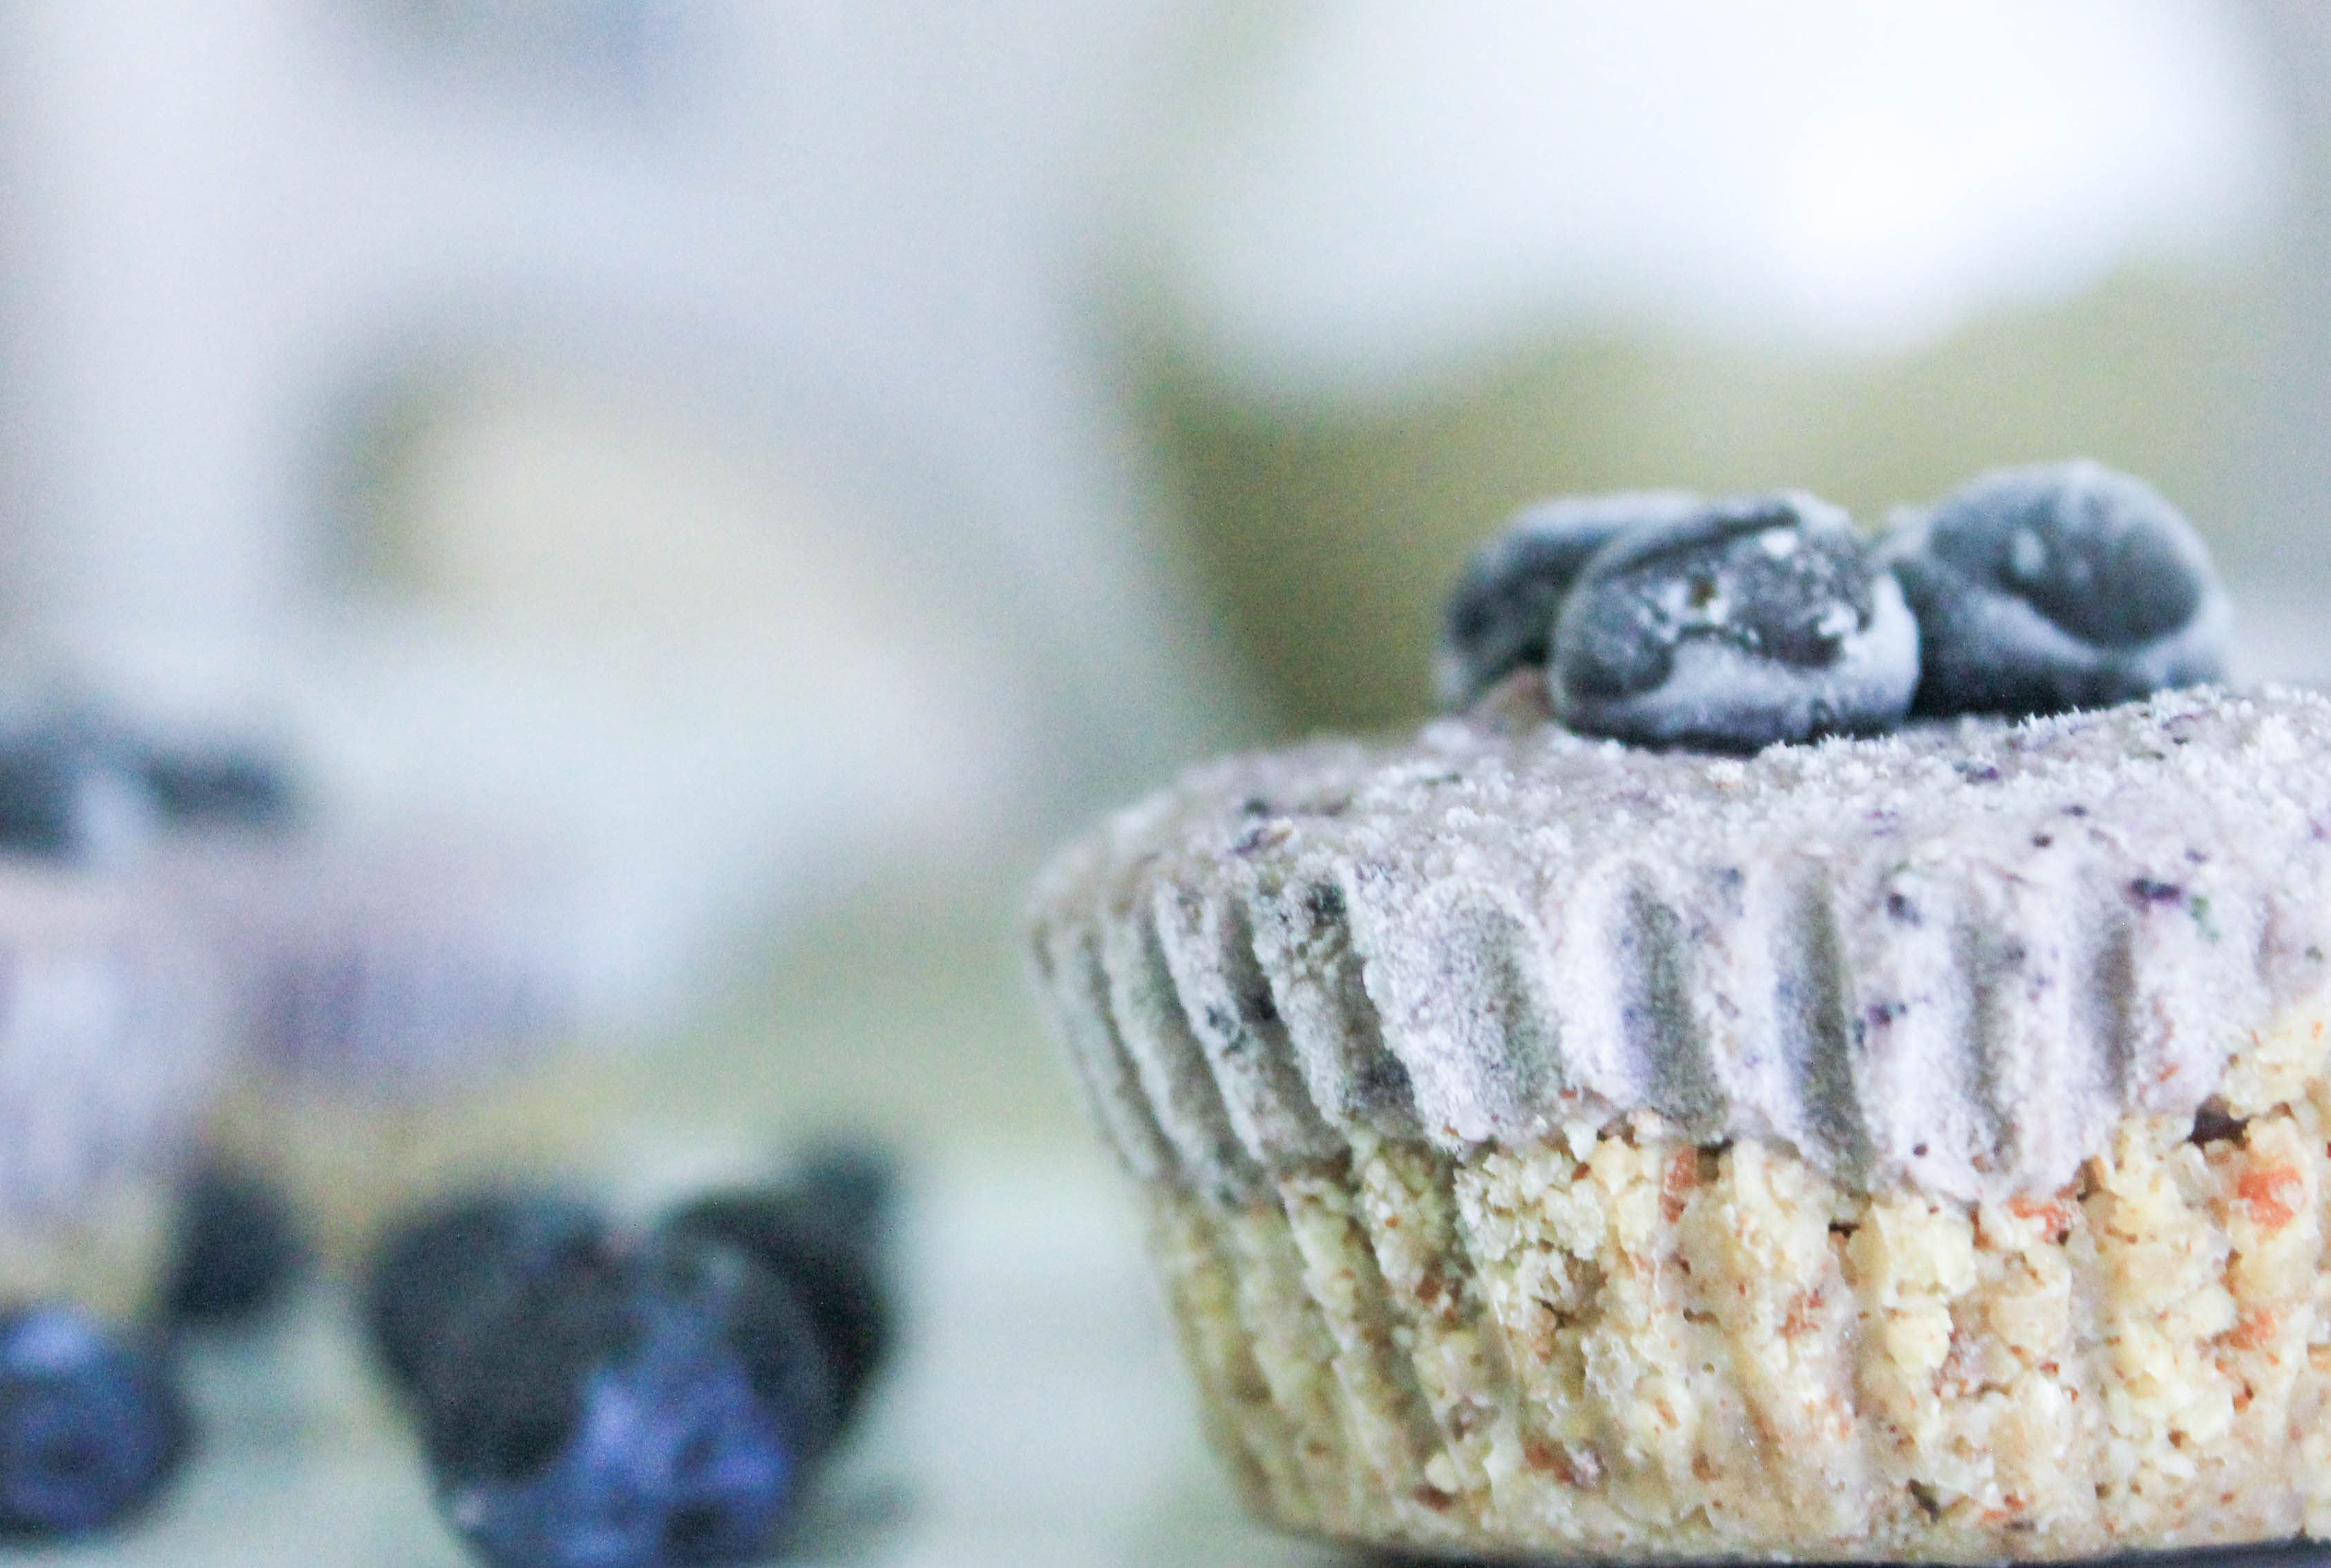
Step 1: combine ingredients for your crust (the bottom layer) in a food processor or high powered blender. When combined pack tightly into the bottoms of a lined muffin tin. 

Step 2: combine ingredients for your filling (top layer) in a food processor or high powered blender. When combined, spoon mixture into muffin pans and top with fresh blueberries. 

Step 3: place muffin pan in the freezer for about four or so hours until “cheesecakes” are frozen. Once these babies are nice and solid, remove them from the freezer and transfer to an airtight, freezer safe container for safe keeping. This will help prevent freezer burn. 

No Bake Blueberry Lemon Cheesecake Bites

When you’re ready to enjoy, I suggest placing them on the counter to thaw for a few minutes before digging in. This will help make sure you’re able to bite through them and will really help the flavors stand out! 

No Bake Blueberry Lemon Cheesecake Bites

Bon Appetite! 

No Bake Blueberry Lemon Cheesecake Bites

[yumprint-recipe id=’45’] 

Recipes for endurance athletes


Eggplant Meatballs

Eggplant Meatballs

Eggplant Meatball Recipe

Add a healthy spin on your favorite Italian dish by using hearty eggplant in lieu of meat to make these delicious, flavorful “meatballs”. If you are not regularly eating eggplants, you should consider doing so. This is one vegetable that has no shortage of health benefits and this eggplant meatball recipe is the perfect place to start!


Eggplant Meatballs

Eggplants contain many different vitamins such as Vitamin C, Folate, B Vitamins, and Vitamin A, to name a few. These vitamins are important because they help improve your body’s overall health, boost your immune system, and can even help improve resistance to various diseases. You’ll also find Phosphorous, Calcium, Magnesium, and Potassium in eggplants. These minerals are known to help prevent arthritis, osteoporosis, and heart disease. Last but not least, eggplants are an excellent source of Dietary Fiber. Consuming foods with Dietary Fibers are good for you because they help you feel full after a meal, keep your digestive system working properly and protect against colon cancer. At 35 calories per cup, eggplants are one veggie you can’t help but love! 


Eggplant Meatballs

True story- when I first made these my husband walking into the kitchen and asked, “why are you making meatballs”. For those of you who are not aware, I do not eat meat. That being said, I do eat fish (there’s no way I could stay away from sushi) and I do cook meat, but only for others to enjoy.

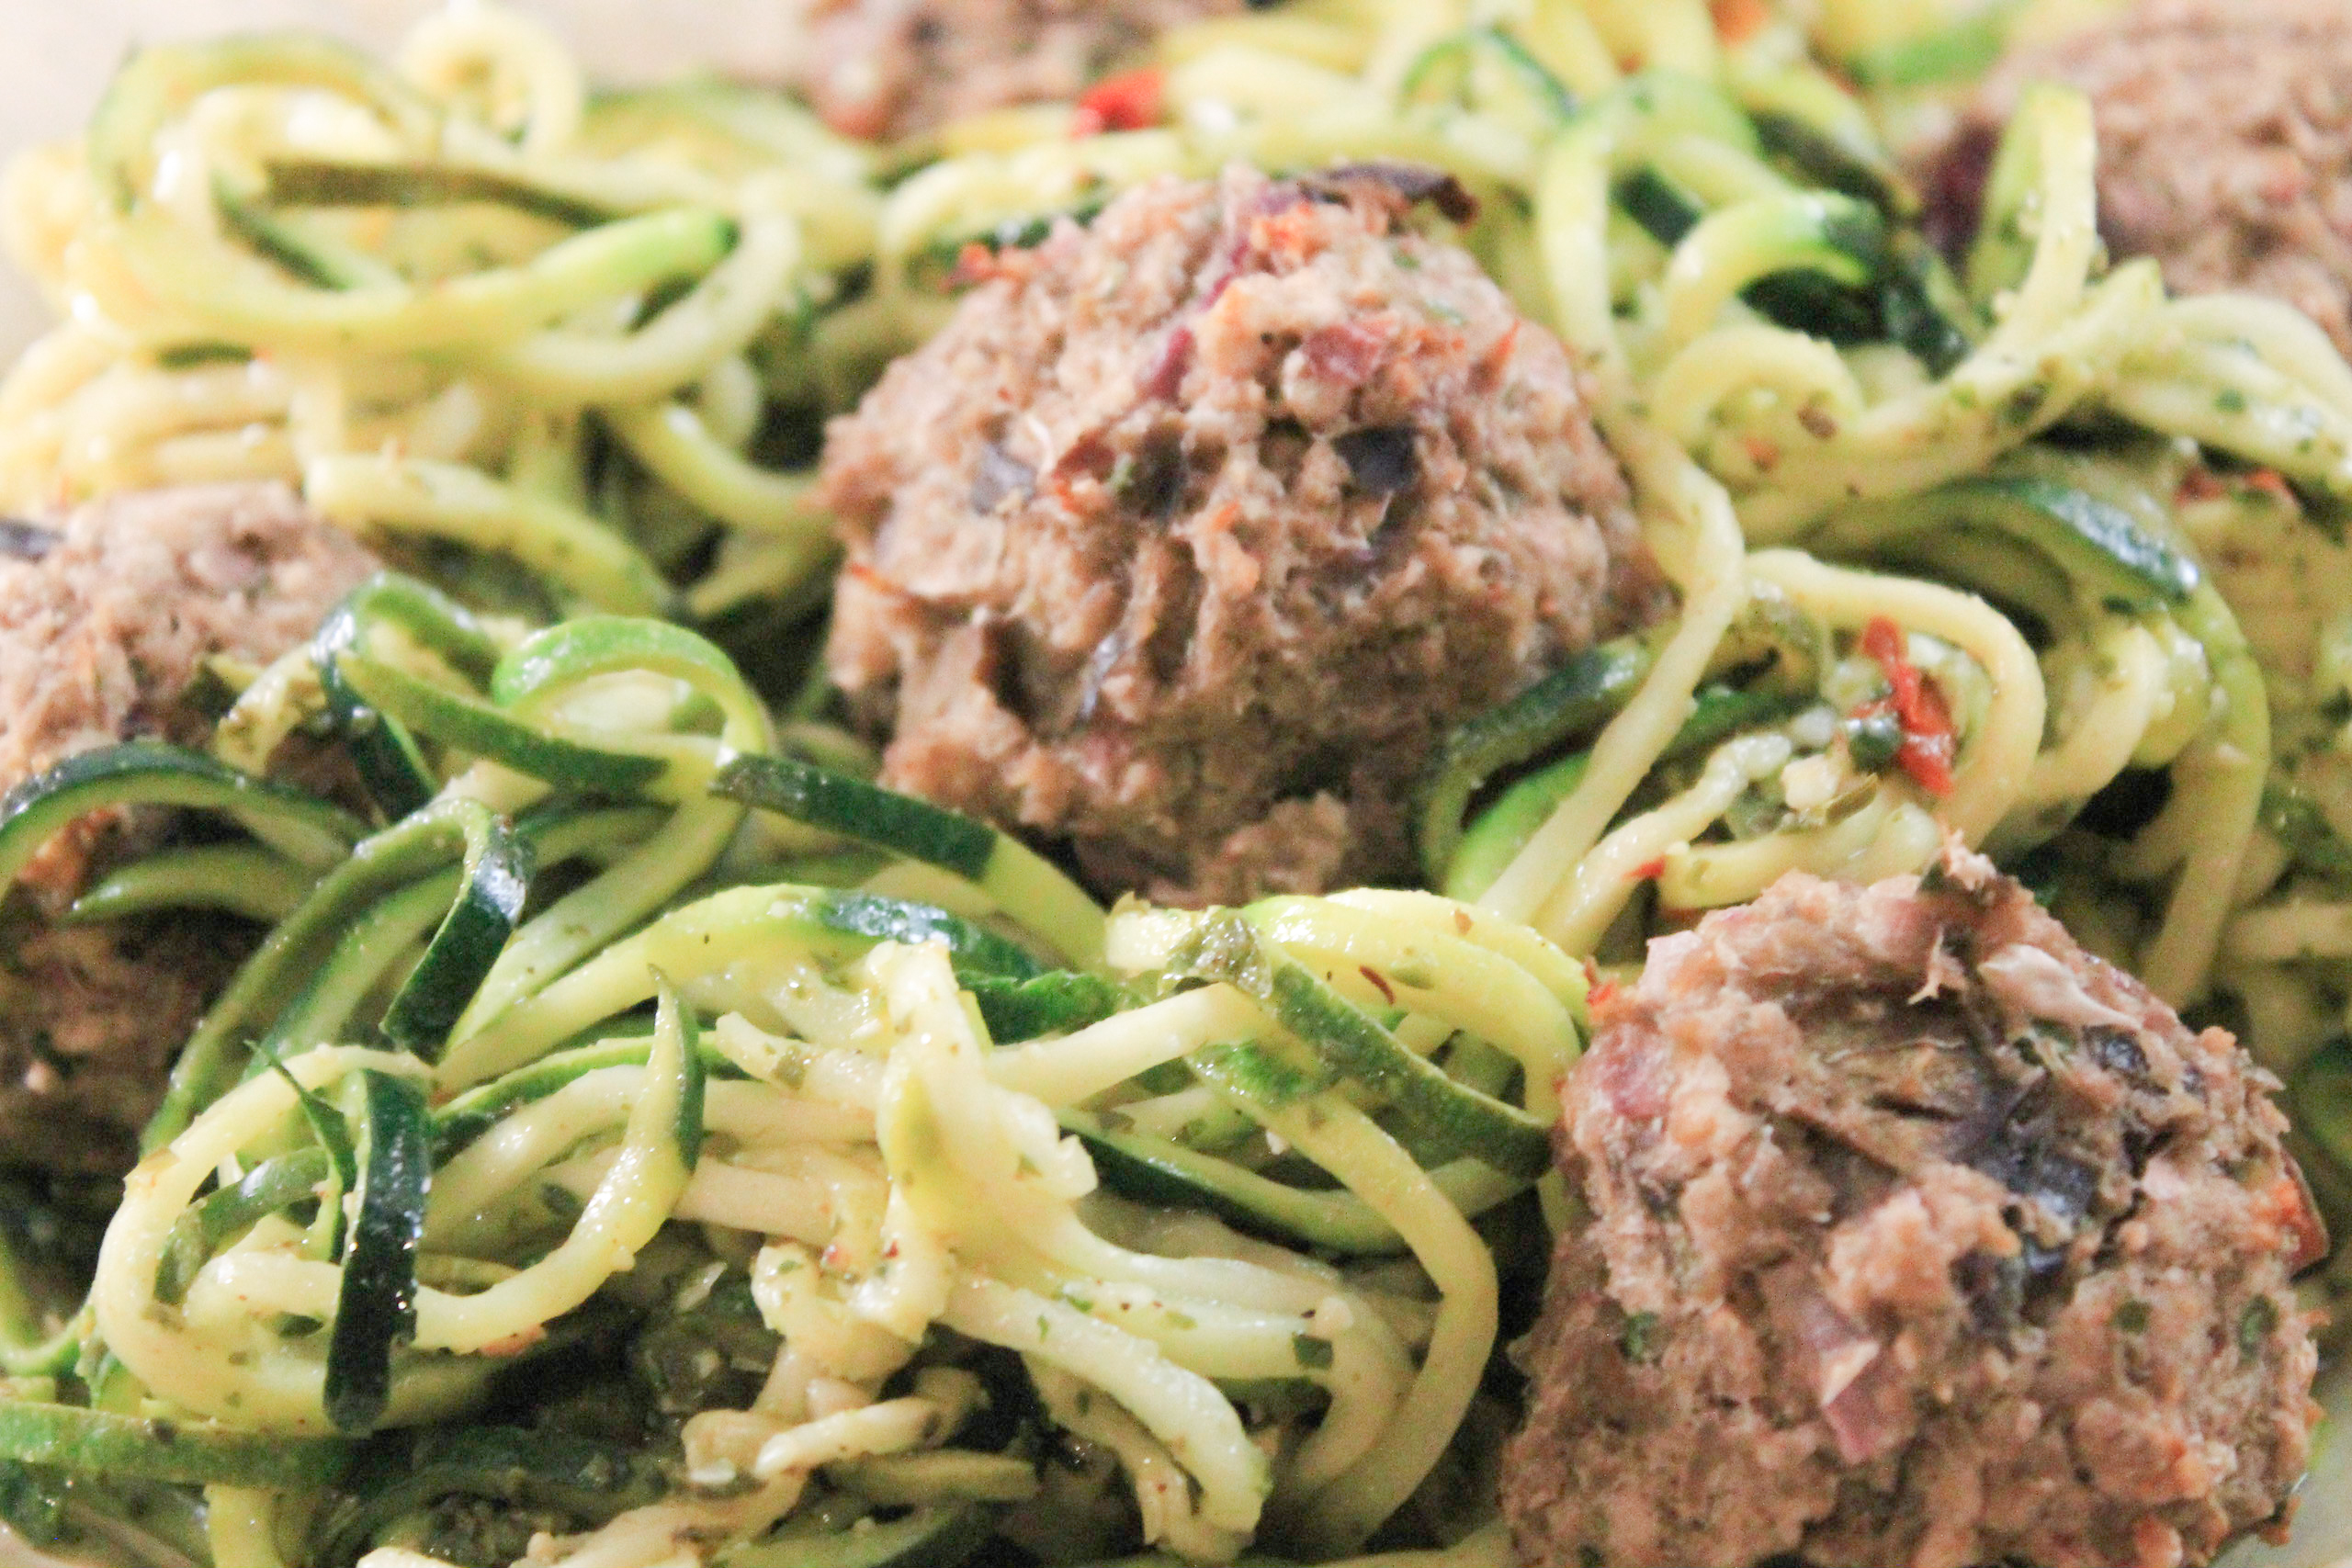
When I told him what I was making, eggplant meatballs over my favorite zucchini noodle recipehe seemed a little confused. He was taken aback by the fact that I was using eggplants to make “meatballs” and remained skeptical, wondering how a veggie-on-veggie dish was going to fill him up.  

Eggplant Meatballs

I have to be honest, it did take a little bit of convincing him that  “no, these will not taste like rubber”, “yes, you will like them”, and “no, I’m not making you eat tofu”. Whether he believed me or not, I guess I will never know. He was a trooper and helped me roll the steamy eggplant concoction sitting in my food processor into the delicious “meatballs” pictured below. 

Eggplant Meatballs

Once your “meatballs” are arranged on a cookie sheet, pop them in the oven for 20 – 30 minutes. As these cook, they should change color and turn a darker shade of brown and the outer shell should become firm, but not burned. If you can stick a fork through them while they’re still in the oven, let them cook a little bit longer. You should expect the very bottom of your meatballs to be darker and crispier than the tops. Don’t worry- this is perfectly normal! The non-stick cooking spray you sprayed on your foil lined cookie sheet is the culprit. 

Eggplant Meatballs

Personally, I love serving these over zucchini noodles. My Favorite Zucchini Noodle Recipe is perfectly timed with how long it will take these “meatballs” to cook in the oven. Start cooking your zoodles immediately after you put your “meatballs” in the oven to avoid waiting around or snacking before dinner. This recipe is posted on my blog.

If you want to mix it up a little and incorporate these “meatballs” into other dishes throughout the week, I also enjoy eating these with whole wheat pasta (any kind) or over a dark leafy green salad with fresh tomatoes and quinoa. I’d love to hear what types of dishes you paired your eggplant meatballs with!

[yumprint-recipe id=’36’]Fabulous recipes by Mandi at godsavethequinoa.com