Category: Under 15

  • Loaded Blueberry Balsamic Avocados

    Loaded Blueberry Balsamic Avocados

    Loaded Blueberry Balsamic Avocados Title Pic

    Step up your guacamole game by making loaded blueberry balsamic avocados instead. Simply swap tomatoes, onions, and lime juice for fresh blueberries, shredded parmesan cheese, and balsamic vinegar, mix together and viola! Thirty seconds later, you have a delicious dish just waiting to be devoured!  

    There are many, many things I love in life. With only four simple ingredients, this recipe is at the top of my list! What’s not to love about a super simple, no cook recipe that has some of my favorite food groups (avocados, blueberries, and cheese)? Not to mention, this is a fantastic post workout snack full of vitamins and nutrients to replenish your muscles and prepare your body for its next beating. 

    Loaded Blueberry Balsamic Avocados Ingredients

    Blueberries should be a staple in any endurance athlete’s diet. Thanks to the absence of cholesterol from blueberries, not only can the lower your risk of heart disease and cancer, they are also anti-inflammatory and are known to aid in muscle recovery and soreness. (AMEN!) 

    Loaded Blueberry Balsamic Avocados - blueberries

    How to pick out and store blueberries 

    When scoping out which package of blueberries to add to your shopping cart, look for firm that are not soft or bruised with a deep blue or purplish color. Note: the waxy, whitish-grey coloring on the blueberry is referred to as the “bloom” and is considered a sign of freshness. The “bloom” is mother nature’s natural protection that helps to prevent the berry from spoiling. To prolong their life expectancy,  only wash the blueberries you’re going to eat right before eat them. Do not wash them all at once and store them in the fridge if you want them to last! I also suggest conducting periodic inspections to remove any berries that have turned soft or moldy. You don’t want one bad apple… er, blueberry to spoil the bunch!

    When fresh blueberries are out of season frozen blueberries are a great alternative! When selecting frozen blueberries, shake the bag around to make sure the berries are rattling around, similar to a bag of peas. If a bag of blueberries appear to be in a big, frozen clump, keep looking. This is a sign the berries have already thawed and re-frozen. As always, make sure to avoid options with added sugars are sweeteners. Check the ingredients listed on the package. All you should see is “blueberries”. Plain and simple! To unthaw frozen blueberries, simply rinse them under cold running water and let thaw for a few minutes at room temperature. .

    Loaded Blueberry Balsamic Avocados - parmesean

    Do not, I repeat DO NOT skimp on the Parmesan cheese! Its rich in calcium, provides an excellent protein source and is easily digested. Trust me, your bones will thank you.

    I prefer to serve this dish with nutrient rich endives(hello vitamin A, K, folate and fiber!) They also provide a nice crunch, you know the kind you get from a big bag of chips. At first bite, endives may taste a tad bitter. I personally did not have this problem but know some who think they take a little getting used to. Rest assured, be sure to thoroughly wash them before eating and store in the refrigerator- this should help eliminate some of the bitterness. If you’re looking for other recipes to enjoy endives with, check out my Avocado Tuna Salad recipe.

    Loaded Blueberry Balsamic Avocados

    I told you this recipe was SUPER simple to make, so here we go.

    Step 1: Pick out a very large, soft, ready to eat avocado. Cut it in half lengthwise, otherwise known as “hot dog style”, remove the pit, and scoop the good stuff into a bowl with a large spoon and mash. If you’re looking for a way to impress your friends and up your food presentation game, be careful NOT to break the shell. I’ll tell you why in just a minute. 

    Step 2: Rinse, dry, and add your fresh (or frozen and dethawed) blueberries to the bowl. Next, sprinkle in your freshly grated parmesan cheese and gently stir to combine. 

    Step 3: Finally, in a slow, stead stream, carefully pour balsamic vinegar over the contents in the bowl. You should pour just enough so that the green color of the avocado becomes slightly darker, but not brown. I suggest starting slow and gradually adding more balsamic as needed. 

    Loaded Blueberry Balsamic Avocados

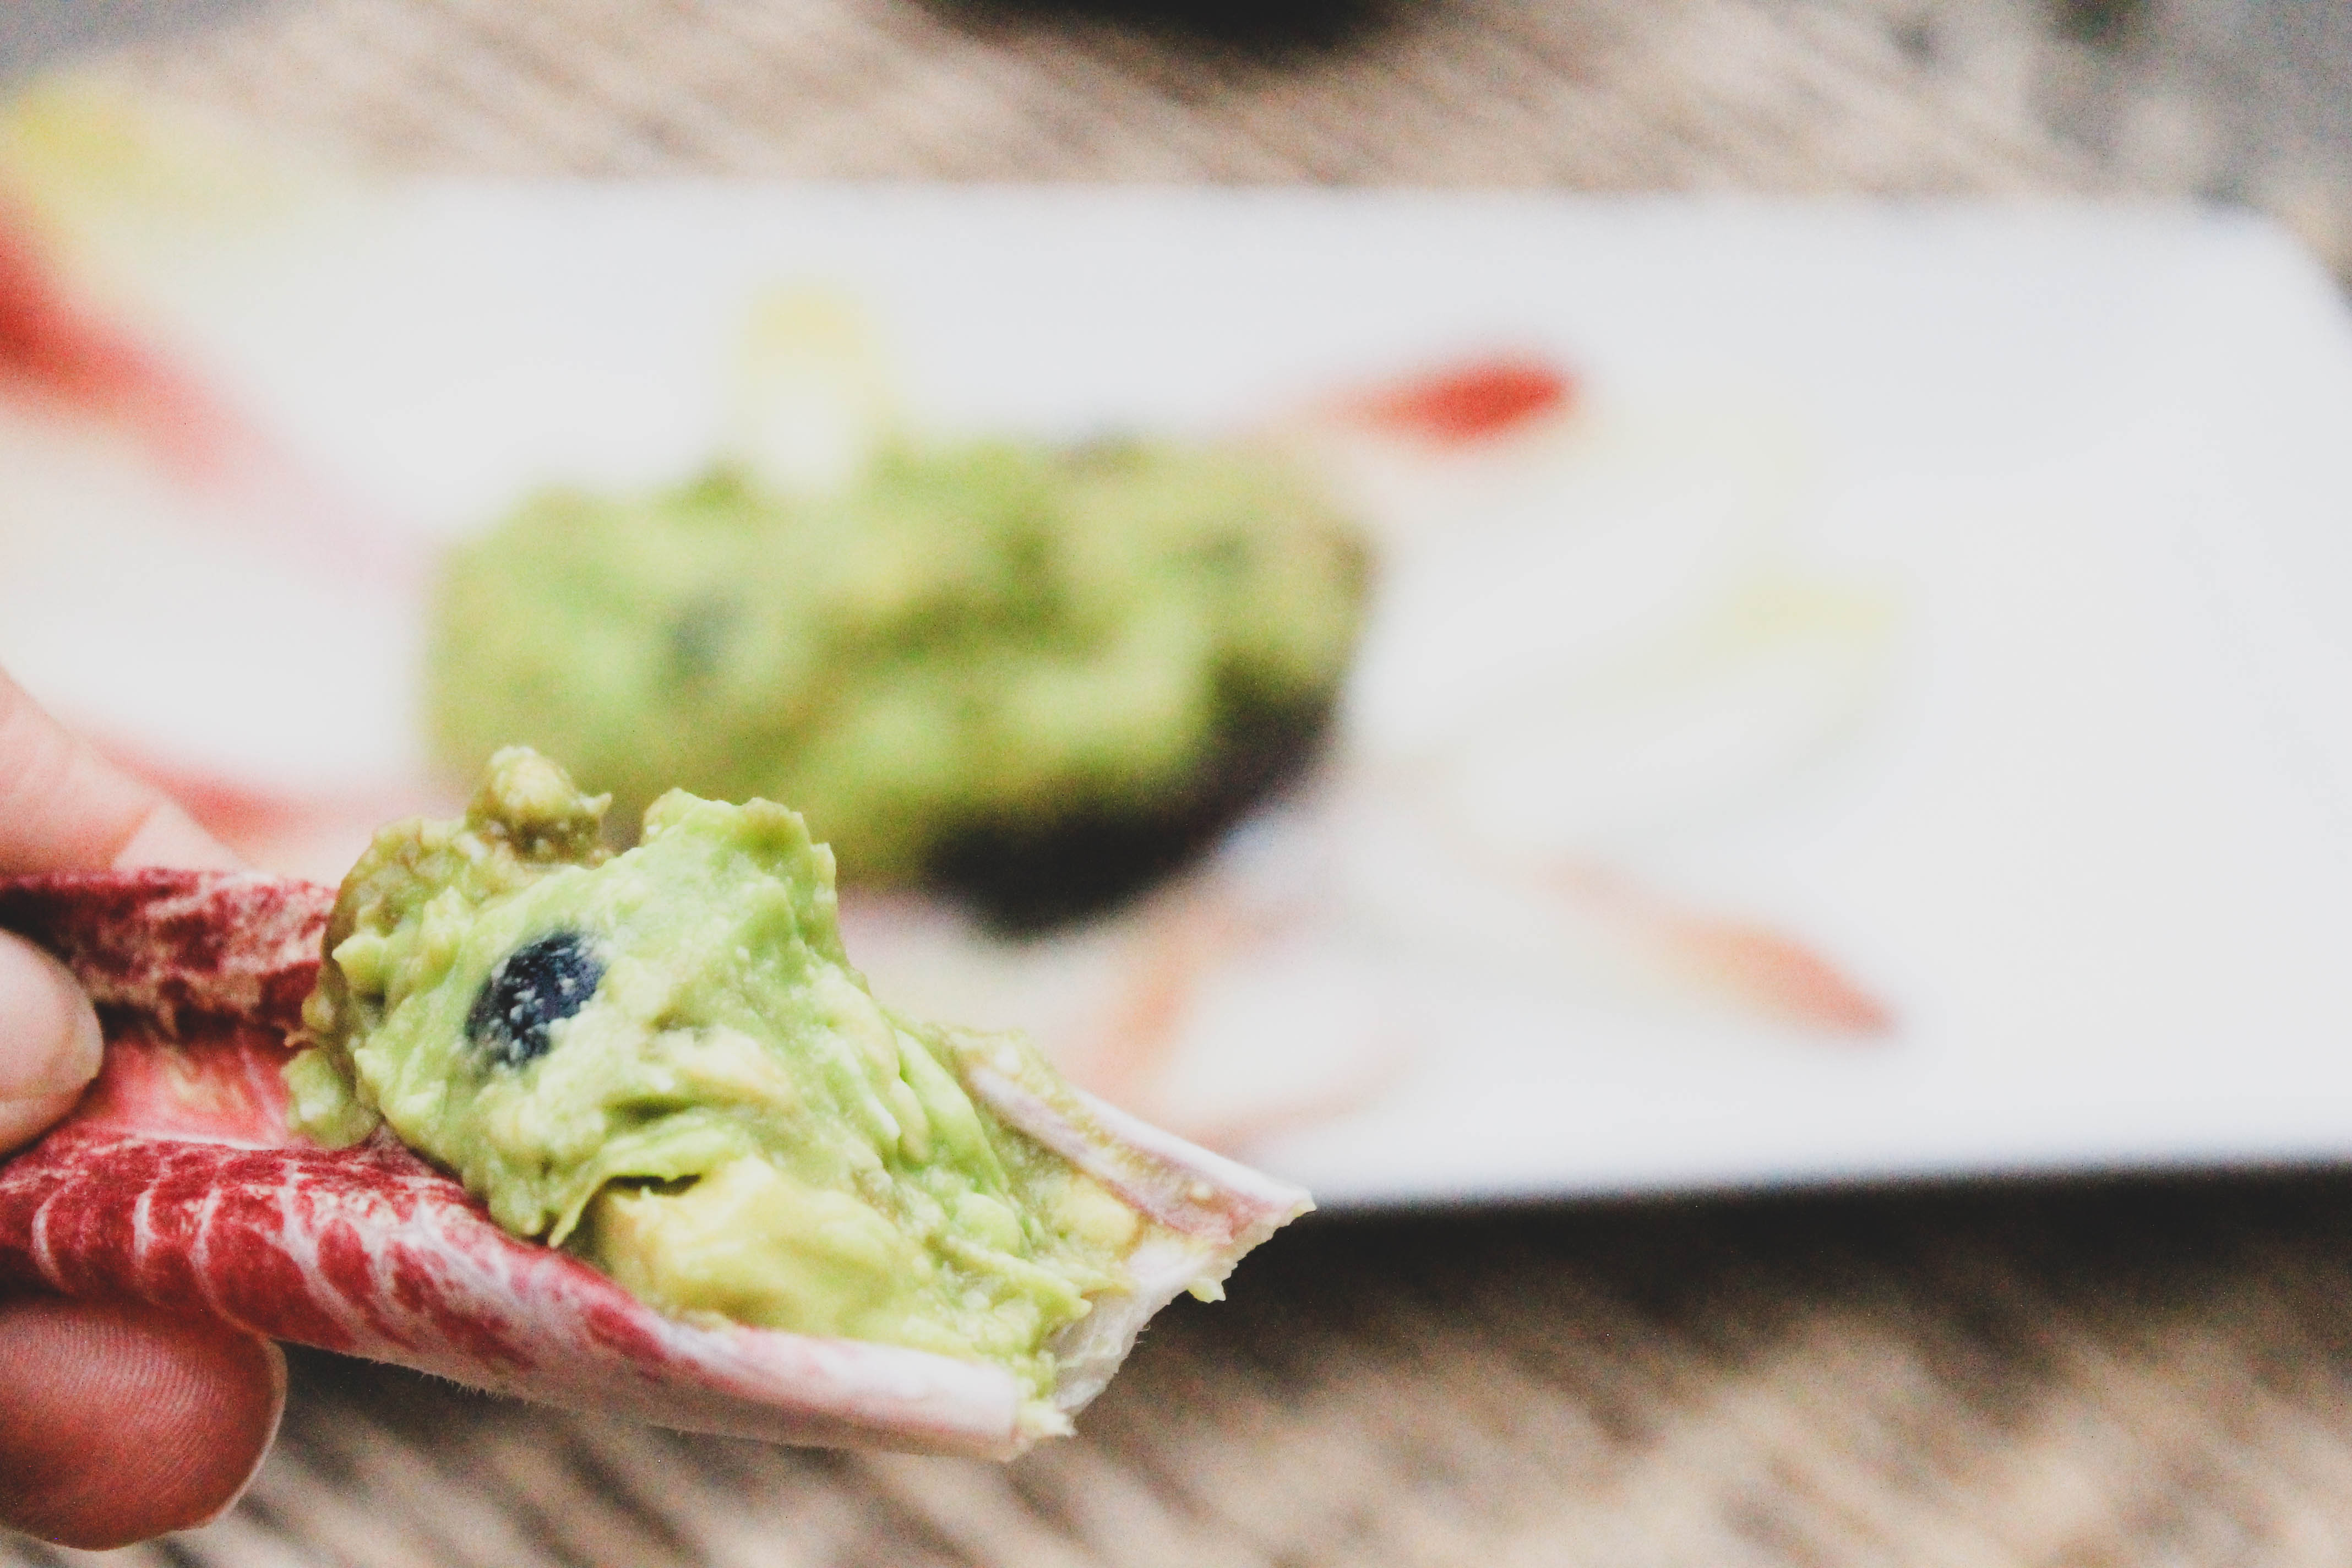
    Serve by placing contents into a bowl (quick but B O R I N G) or by packing contents tightly back into the avocado shell. Place on a plate and arrange endives as pictured above. 

    Use endives to scoop the avocado out of its shell and enjoy! 

    Loaded Blueberry Balsamic Avocados


    Loaded Blueberry Balsamic Avocados
    Serves 4
    Write a review
    Print
    Ingredients
    1. • 1 large, ready to eat avocado
    2. • 3/4 cup fresh blueberries*
    3. • 1/4 cup fresh Parmesan cheese, grated
    4. • 2 – 3 TBS balsamic vinegar**
    5. • Half of avocado shell for serving
    6. • 2 – 3 Endives for serving
    Instructions
    1. • Cut avocado in half, lengthwise and remove pit. Using a large spoon, carefully scoop avocado meat into large bowl and reserve at least one half of avocado shell for serving (optional). Mash avocado to desired consistency.
    2. • Wash and towel dry fresh blueberries*. Place blueberries and Parmesan cheese to bowl with avocado and gently stir to combine. Be careful not to smash blueberries.
    3. • In a slow steady stream, carefully pour balsamic vinegar over contents one Tablespoon at a time. Gently stir to combine, adding more balsamic as needed or desired.
    4. • Scoop, and tightly pack contents into one half of avocado shell.
    5. • Wash, cut, and arrange endives on plate around stuffed avocado shell, serve and enjoy!
    Notes
    1. * If using frozen blueberries, quick rinse under cold water and let sit at room temperature for 5 – 10 min to dethaw. Pat dry with paper towel to soak up any excess water before using.
    2. **Add balsamic vinegar in one TBS at a time, starting slow and gradually adding more balsamic as needed or desired.
    God Save the Quinoa https://www.godsavethequinoa.com/

    I’d love to hear what your think! 


    Recipes for endurance athletes

  • Homemade Basil Pesto

    Homemade Basil Pesto

    Homemade Basil Pesto

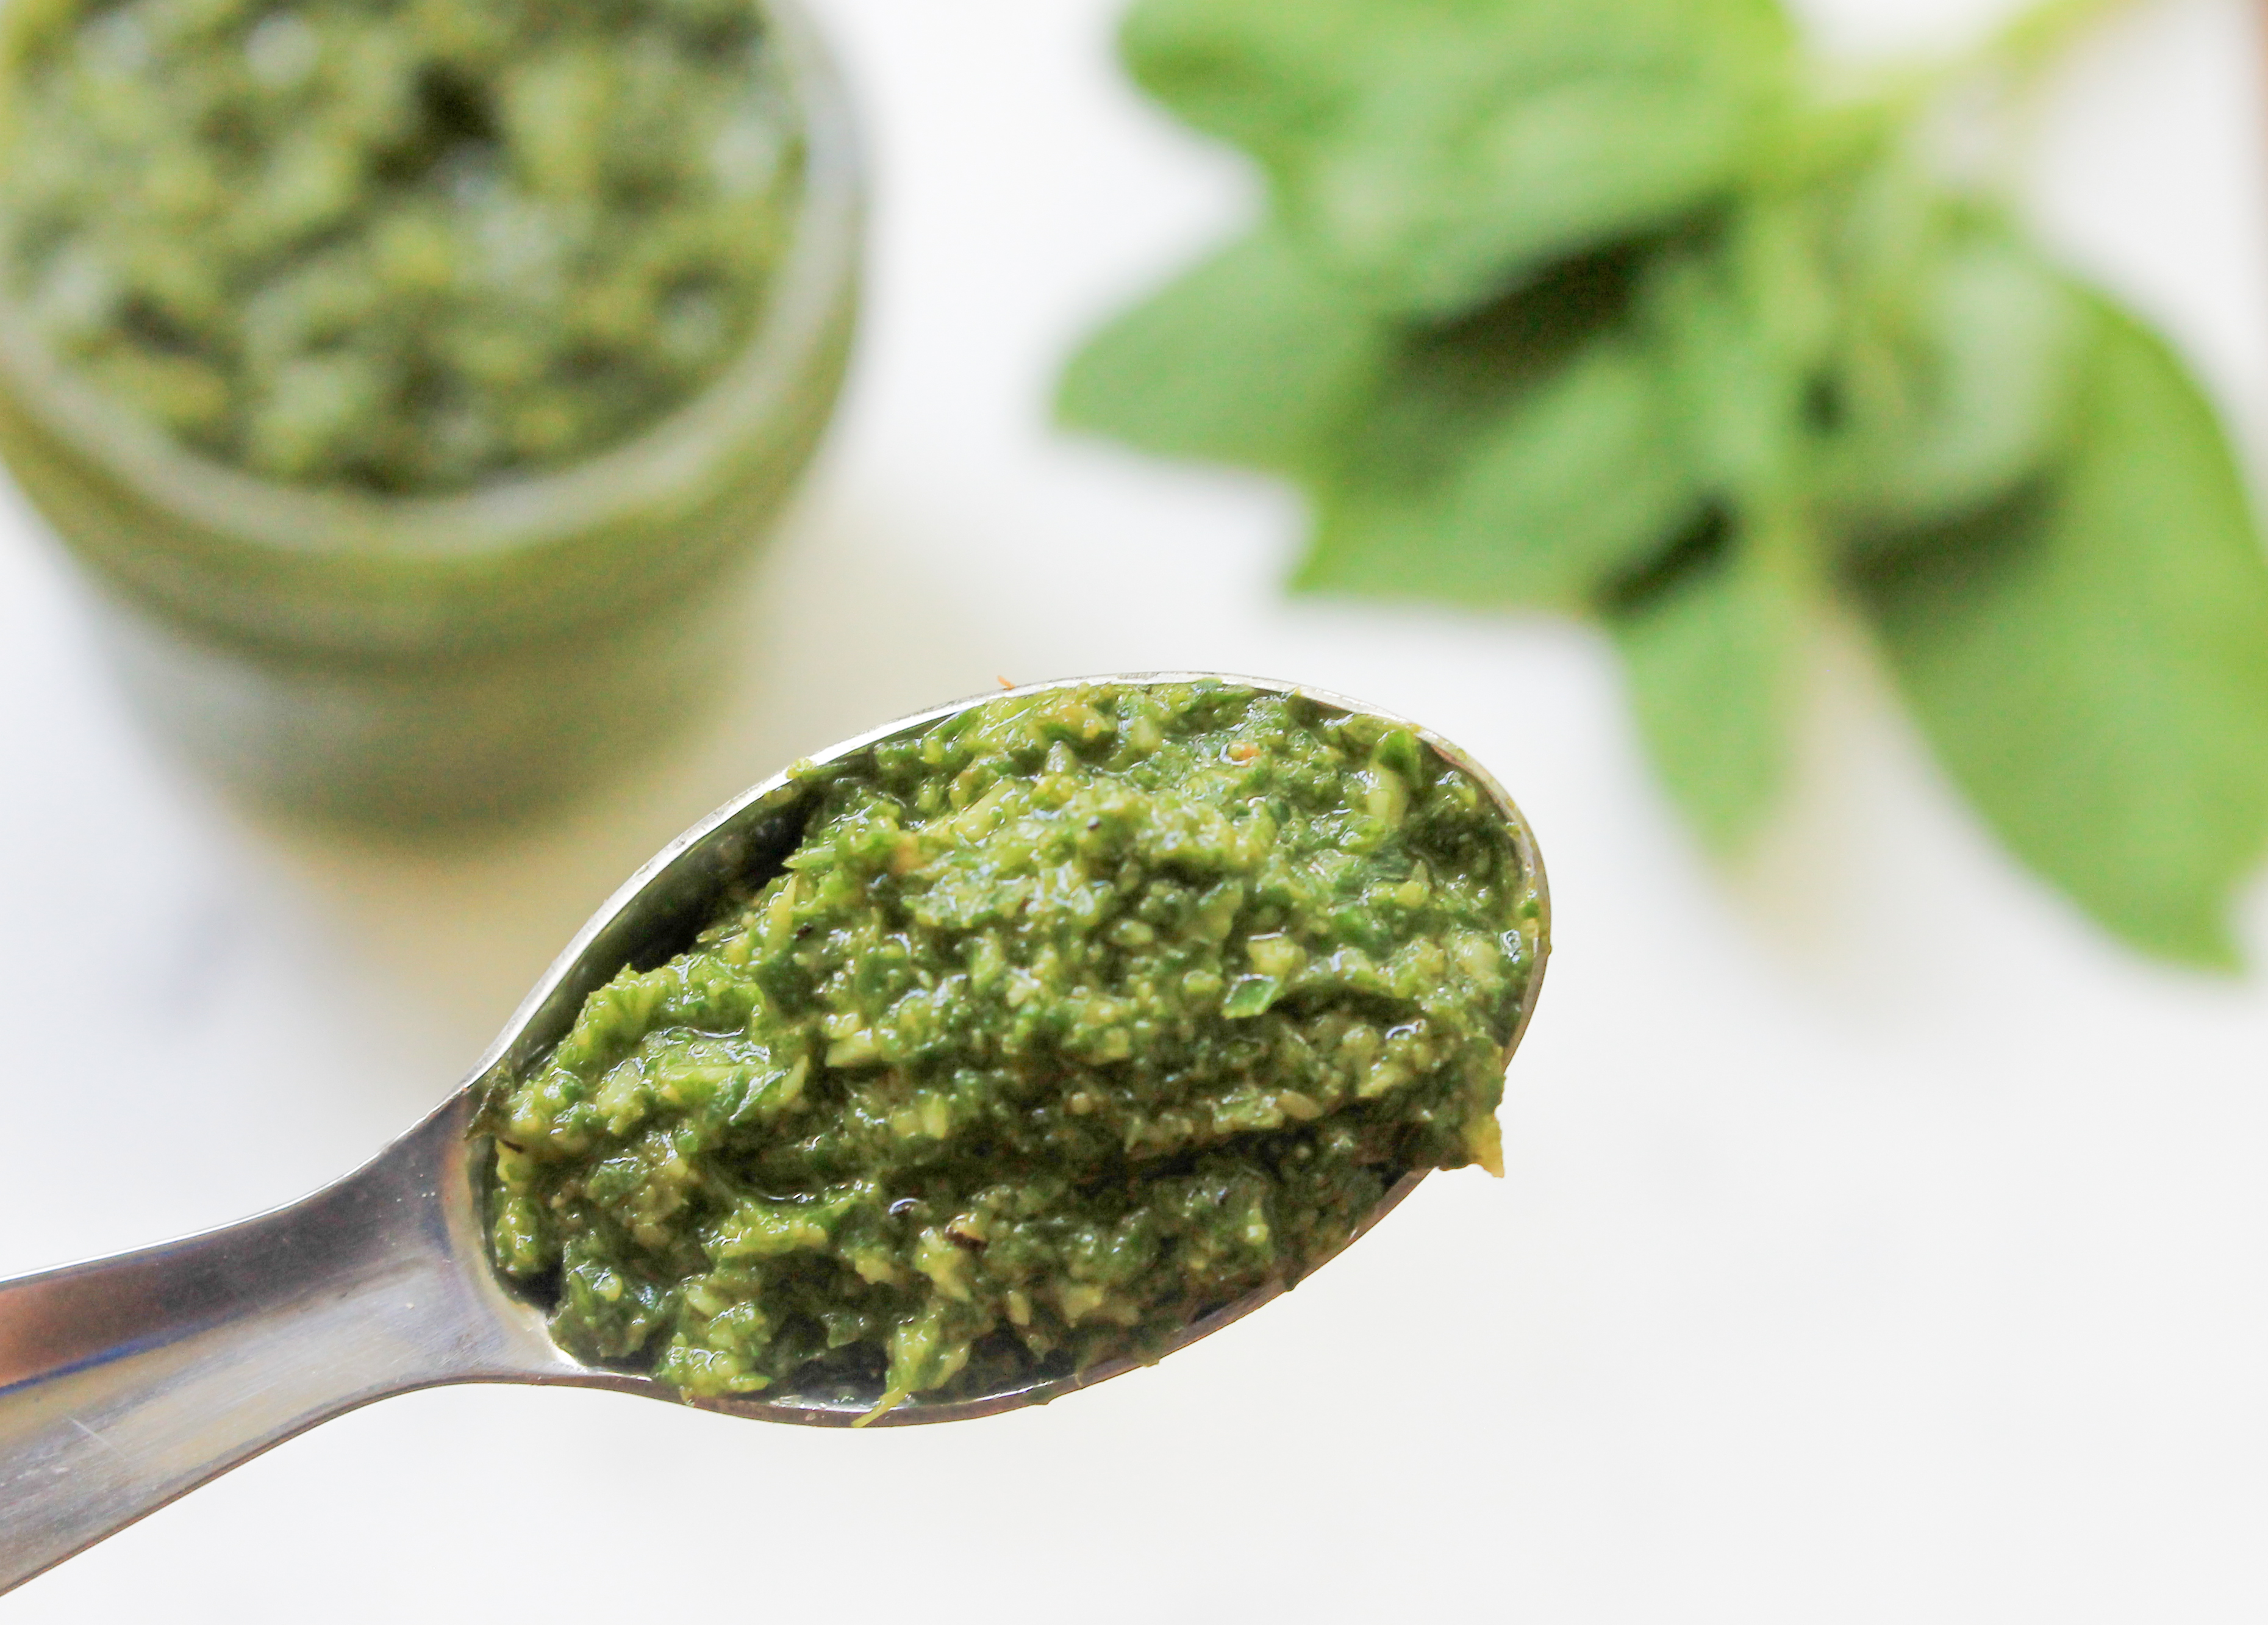
    This homemade basil pesto is packed with wholesome and fresh ingredients and can be made in less than 5 minutes! Oh, did I mention it only contains FIVE ingredients?! Don’t believe me? See for yourself! 

    Homemade Basil Pesto ingredients

    Fresh basil. Shredded parmesan. Garlic cloves. Raw pine nuts. Extra Virgin Olive Oli (EVOO).  5 ingredients + 5 minutes = this delicious pesto… yes, please! 

    5 ingredients + 5 minutes = this delicious pesto… yes, please! 

    Simply add all ingredients to a food processor or blender, add sea salt and cracked black pepper to taste, and combine. When adding salt and pepper to taste, I suggest using a 1:2 salt to pepper ratio; use twice as much pepper as salt. 

    There are limitless options for what you can pair this pesto with! A few of my favorites are to mix it into cooked quinoa, mix into noodles (regular noodles, zoodles, sweet potato noodles, etc.), spread on sandwiches, put a dollop inside a stuffed sweet potato, toss it with mixed veggies, smear on top of salmon before baking, stuff it in chicken breasts, mix in with mashed potatoes, sprinkle on salad… the list goes on and on! 

    Homemade Basil Pesto

    I’d love to hear how you put this recipe to use! Comment below to let me know! 

    Homemade Basil Pesto
    Yields 1
    This homemade basil pesto is packed with wholesome and fresh ingredients and can be made in less than 5 minutes!
    Write a review
    Print
    Prep Time
    5 min
    Prep Time
    5 min
    Ingredients
    1. • 4 oz. fresh basil
    2. • 4 garlic cloves
    3. • 1/4 cup shredded parmesan
    4. • 3 TBS raw pine nuts
    5. • 1/4 cup + 1 TBS EVOO
    6. • Sea Salt and Cracked Black Pepper to taste (1:2 ratio)
    Instructions
    1. • Pull basil leaves off the stems and add into a food processor or blender and add garlic cloves, shredded parmesan, pine nuts, and EVOO (extra virgin olive oil)
    2. • Sprinkle with sea salt and cracked black pepper using a 1:2 ratio with salt and pepper; use twice as much pepper as salt
    3. • Blend contents together in food processor or blender until well blended. Use a spatula to scrape the sides down to ensure all ingredients are completely combined.
    4. • Serve and enjoy!
    Notes
    1. Store in an airtight container in the refrigerator up to 2 weeks. EVOO may separate in fridge- this is completely normal! Simply stir contents before reusing to bring your pesto back to life!
    God Save the Quinoa https://www.godsavethequinoa.com/

    Fabulous recipes by Mandi at godsavethequinoa.com

  • Avocado Tuna Salad

    Avocado Tuna Salad

    Avocado Tuna Salad

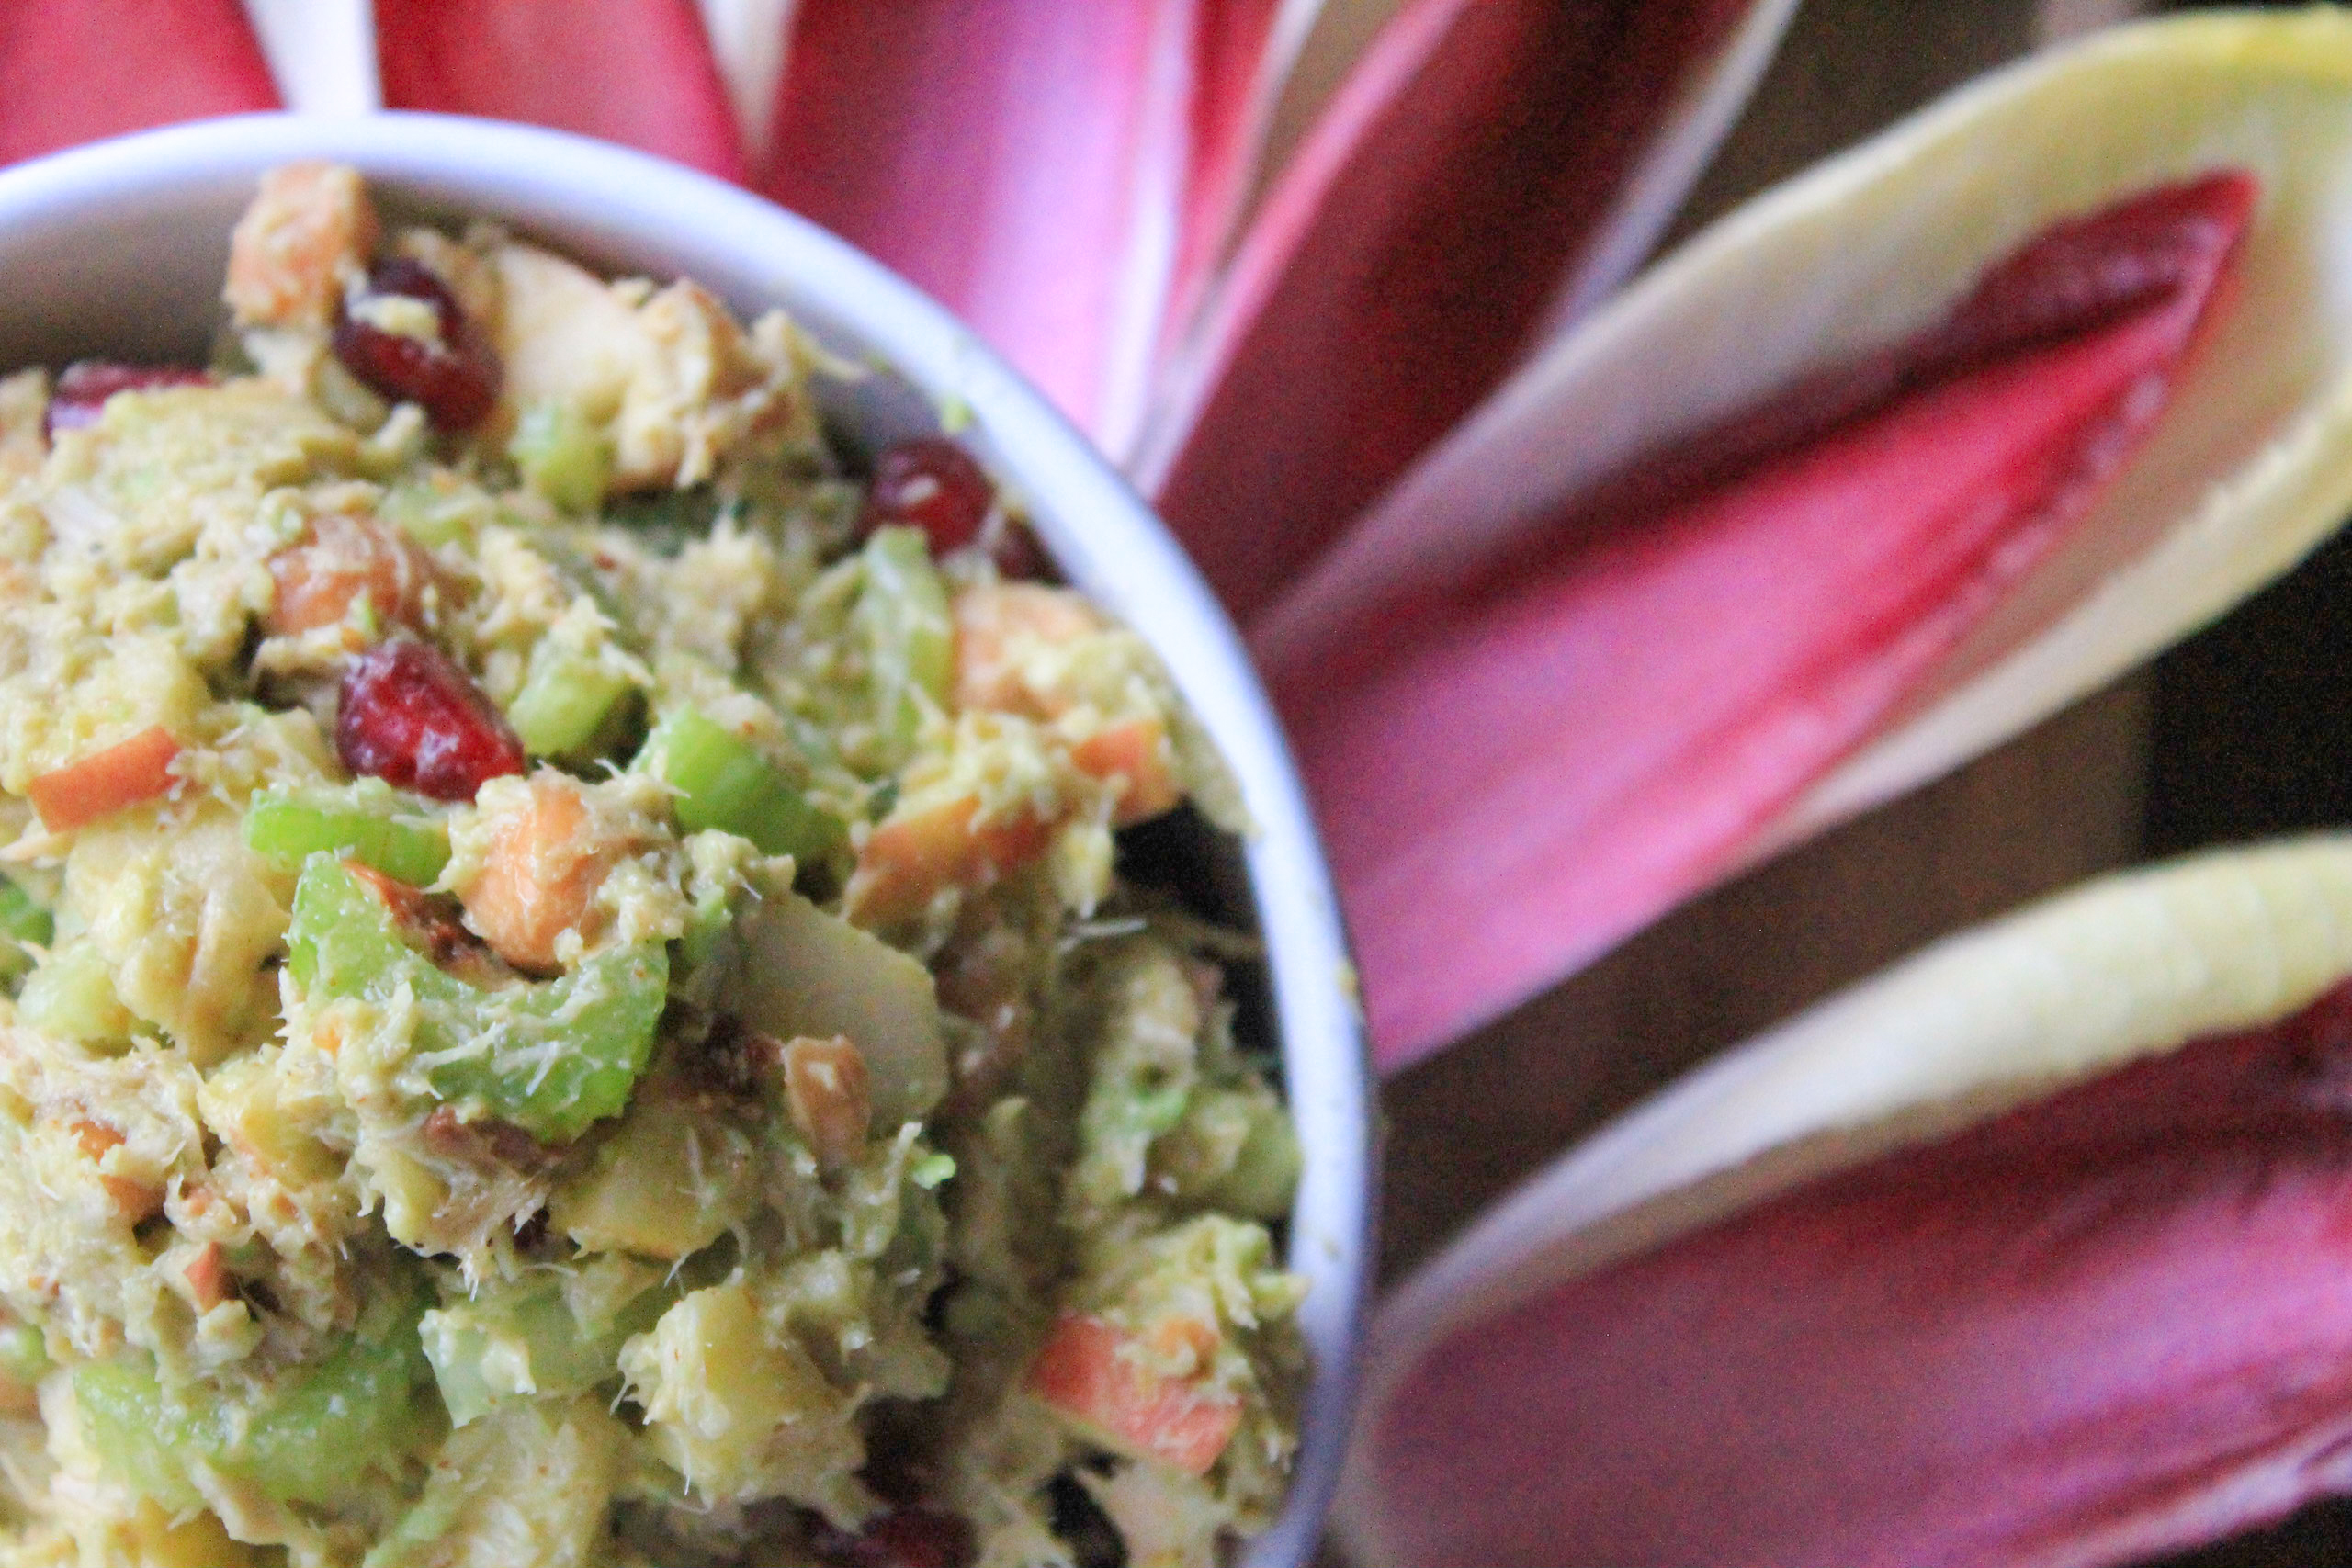
    Step up your salad game by making this quick and easy Avocado Tuna Salad. Those who are lucky enough to enjoy this gem of a recipe will never know the mayonnaise has been replaced with an avocado! Subbing an avocado for mayonnaise is a healthier choice not only because it contributes to your healthy omega-3 fatty acid servings for the day, it also adds flavor and a creamy mayonnaise-like texture. The celery, apple, and pecan pieces provide a nice crunch. The Spicy Roasted Chickpeas and Dijon Mustard give it a little extra kick. While the fresh pomegranate seeds provide a refreshing fruitful taste. Mix them all together and you’ve got yourself one heck of a meal! 

    Just look at all of those delicious ingredients! YUM!

    Avocado Tuna Salad Ingredients

    You can add normal chickpeas if you want, but I prefer to roast my chickpeas with spicy seasonings to add some extra kick when making this recipe.  I suggest following my Spicy Roasted Chickpea recipe. It’s one of my favorites and only takes 15 minutes. When I make this recipe I season my chickpeas, throw them in the oven on broil for 15 minutes, and chop all of the veggies while they’re cooking. The timing really does work out nicely! 

    Avocado Tuna Salad

    Once your chickpeas are done roasting (you can even roast them a few hours or a day before you’re ready to use them if you want to speed things up) the rest of this recipe is a piece of cake! All you have to do is combine all ingredients in a large mixing bowl and mix well. Seriously… it’s that easy! 

    One tip: make sure you use a very ripe avocado. Reach for a softer avocado because it will be easier to mix in. The softer the avocado the creamier your tuna salad will taste. Just make sure your avocado isn’t so soft that it has become rotten. When picking your avocado look for a dark greenish brown fruit. Once you’ve found one remove the stem from the top. If the color beneath the stem is bright green you’re good to go. If you see a white-ish green or brown color put it back and try again. 

    Avocado Tuna Salad (12 of 18)

    Growing up, my mom always served tuna salad on bread or with crackers. Now that I am older and a little more health conscious, I prefer to enjoy my Avocado Tuna Salad with endive leaves. I love endives because they provide the same crunch like you would get from a chip and are packed full of nutrients, such as vitamins A and K, folate, and fiber. Forewarning, they are a tad bitter at first bite and might take a little getting used to. Just be sure to wash them before eating- this should help eliminate some of the bitterness. 

    Avocado Tuna Salad- Endive Leaves

    If you elect to use endives, one or two endive stems should do the trick for this recipe. I usually buy mine at Trader Joe’s. They have a great 3-pack of “Red and White Belgian Endives” Stems, which are perfect for leftovers. They are usually located in the sam refrigerated area with all of the lettuce. If you’re not a loyal Trader Joe’s shopper like myself, you should be able to find these at your local grocery store in the same vicinity as the lettuce. You should store your endives in the refrigerator until you’re ready to use them. 

    Before cutting your endives rinse them with lukewarm water, stem side down (the water will help the leafy tops spread apart) and pat dry with a paper towel. Place endive stems on a cutting board and slice through the thick end of the stem, as pictured below. Next, simply peel the leaves apart and voila! your endives are ready to be eaten! 

    Simply scoop, eat, and enjoy! 

    Avocado Tuna Salad with endive scoop

    Avocado Tuna Salad
    Serves 4
    Enjoy this creamy tuna salad made with avocado, spicy roasted chickpeas, crunchy celery, apple pieces, pecans, and juicy pomegranate seeds over endive leaves.
    Write a review
    Print
    Prep Time
    10 min
    Cook Time
    15 min
    Total Time
    25 min
    Prep Time
    10 min
    Cook Time
    15 min
    Total Time
    25 min
    Ingredients
    1. • 1 (15 oz) can Albacore Tuna in water no salt, drained
    2. • 1 pink lady apple, chopped
    3. • 3 celery sticks, chopped
    4. • 1/4 cup of raw pecans, chopped
    5. • 1/2 cup fresh pomegranate seeds
    6. • 1/4 cup spicy Dijon Mustard
    7. • 1 can chickpeas, spicy roasted
    8. • 1 ripe avocado, cubed.
    9. • Endive leaves for serving (optional)
    Instructions
    1. • Roast your chickpeas if you have not done so already. (I suggest using my Spicy Roasted Chickpea recipe- it only takes 15 minutes!)
    2. • While chickpeas are roasting chop apple, celery sticks, and pecans and set aside.
    3. • De-seed pomegranate and set seeds aside.
    4. • Open canned tuna, drain water, and scoop tuna into a large mixing bowl
    5. • Add chopped apples, celery, pecans and pomegranate seeds in mixing bowl with tuna and combine. Mix in spicy roasted chickpeas when done cooking.
    6. • Pour spicy Dijon Mustard over contents and mix until all ingredients well combined.
    7. • Cut avocado into small cubes. Add cubed avocado into tuna and mix until avocado cubes are squished and all ingredients are well combined.
    8. • Wash and cut endive leaves. Scoop Avocado Tuna Salad with endive leaves, eat, and enjoy!
    Notes
    1. • If using Endive Leaves buy at least 2 Endive Stems. Store Endives in refrigerator until ready to use. Store left over endive leaves in an airtight container or zip lock baggie in the refridgerator.
    2. • Store left over Avocado Tuna Salad in refrigerator in an airtight container for up to three days. Stir Avocado Tuna Salad with a spoon before re-serving.
    God Save the Quinoa https://www.godsavethequinoa.com/
    Fabulous recipes by Mandi at godsavethequinoa.com


  • Chickpea, lemon, and tuna salad

    Chickpea, lemon, and tuna salad

    Lemon, chickpea, and tuna salad (14 of 16) copy

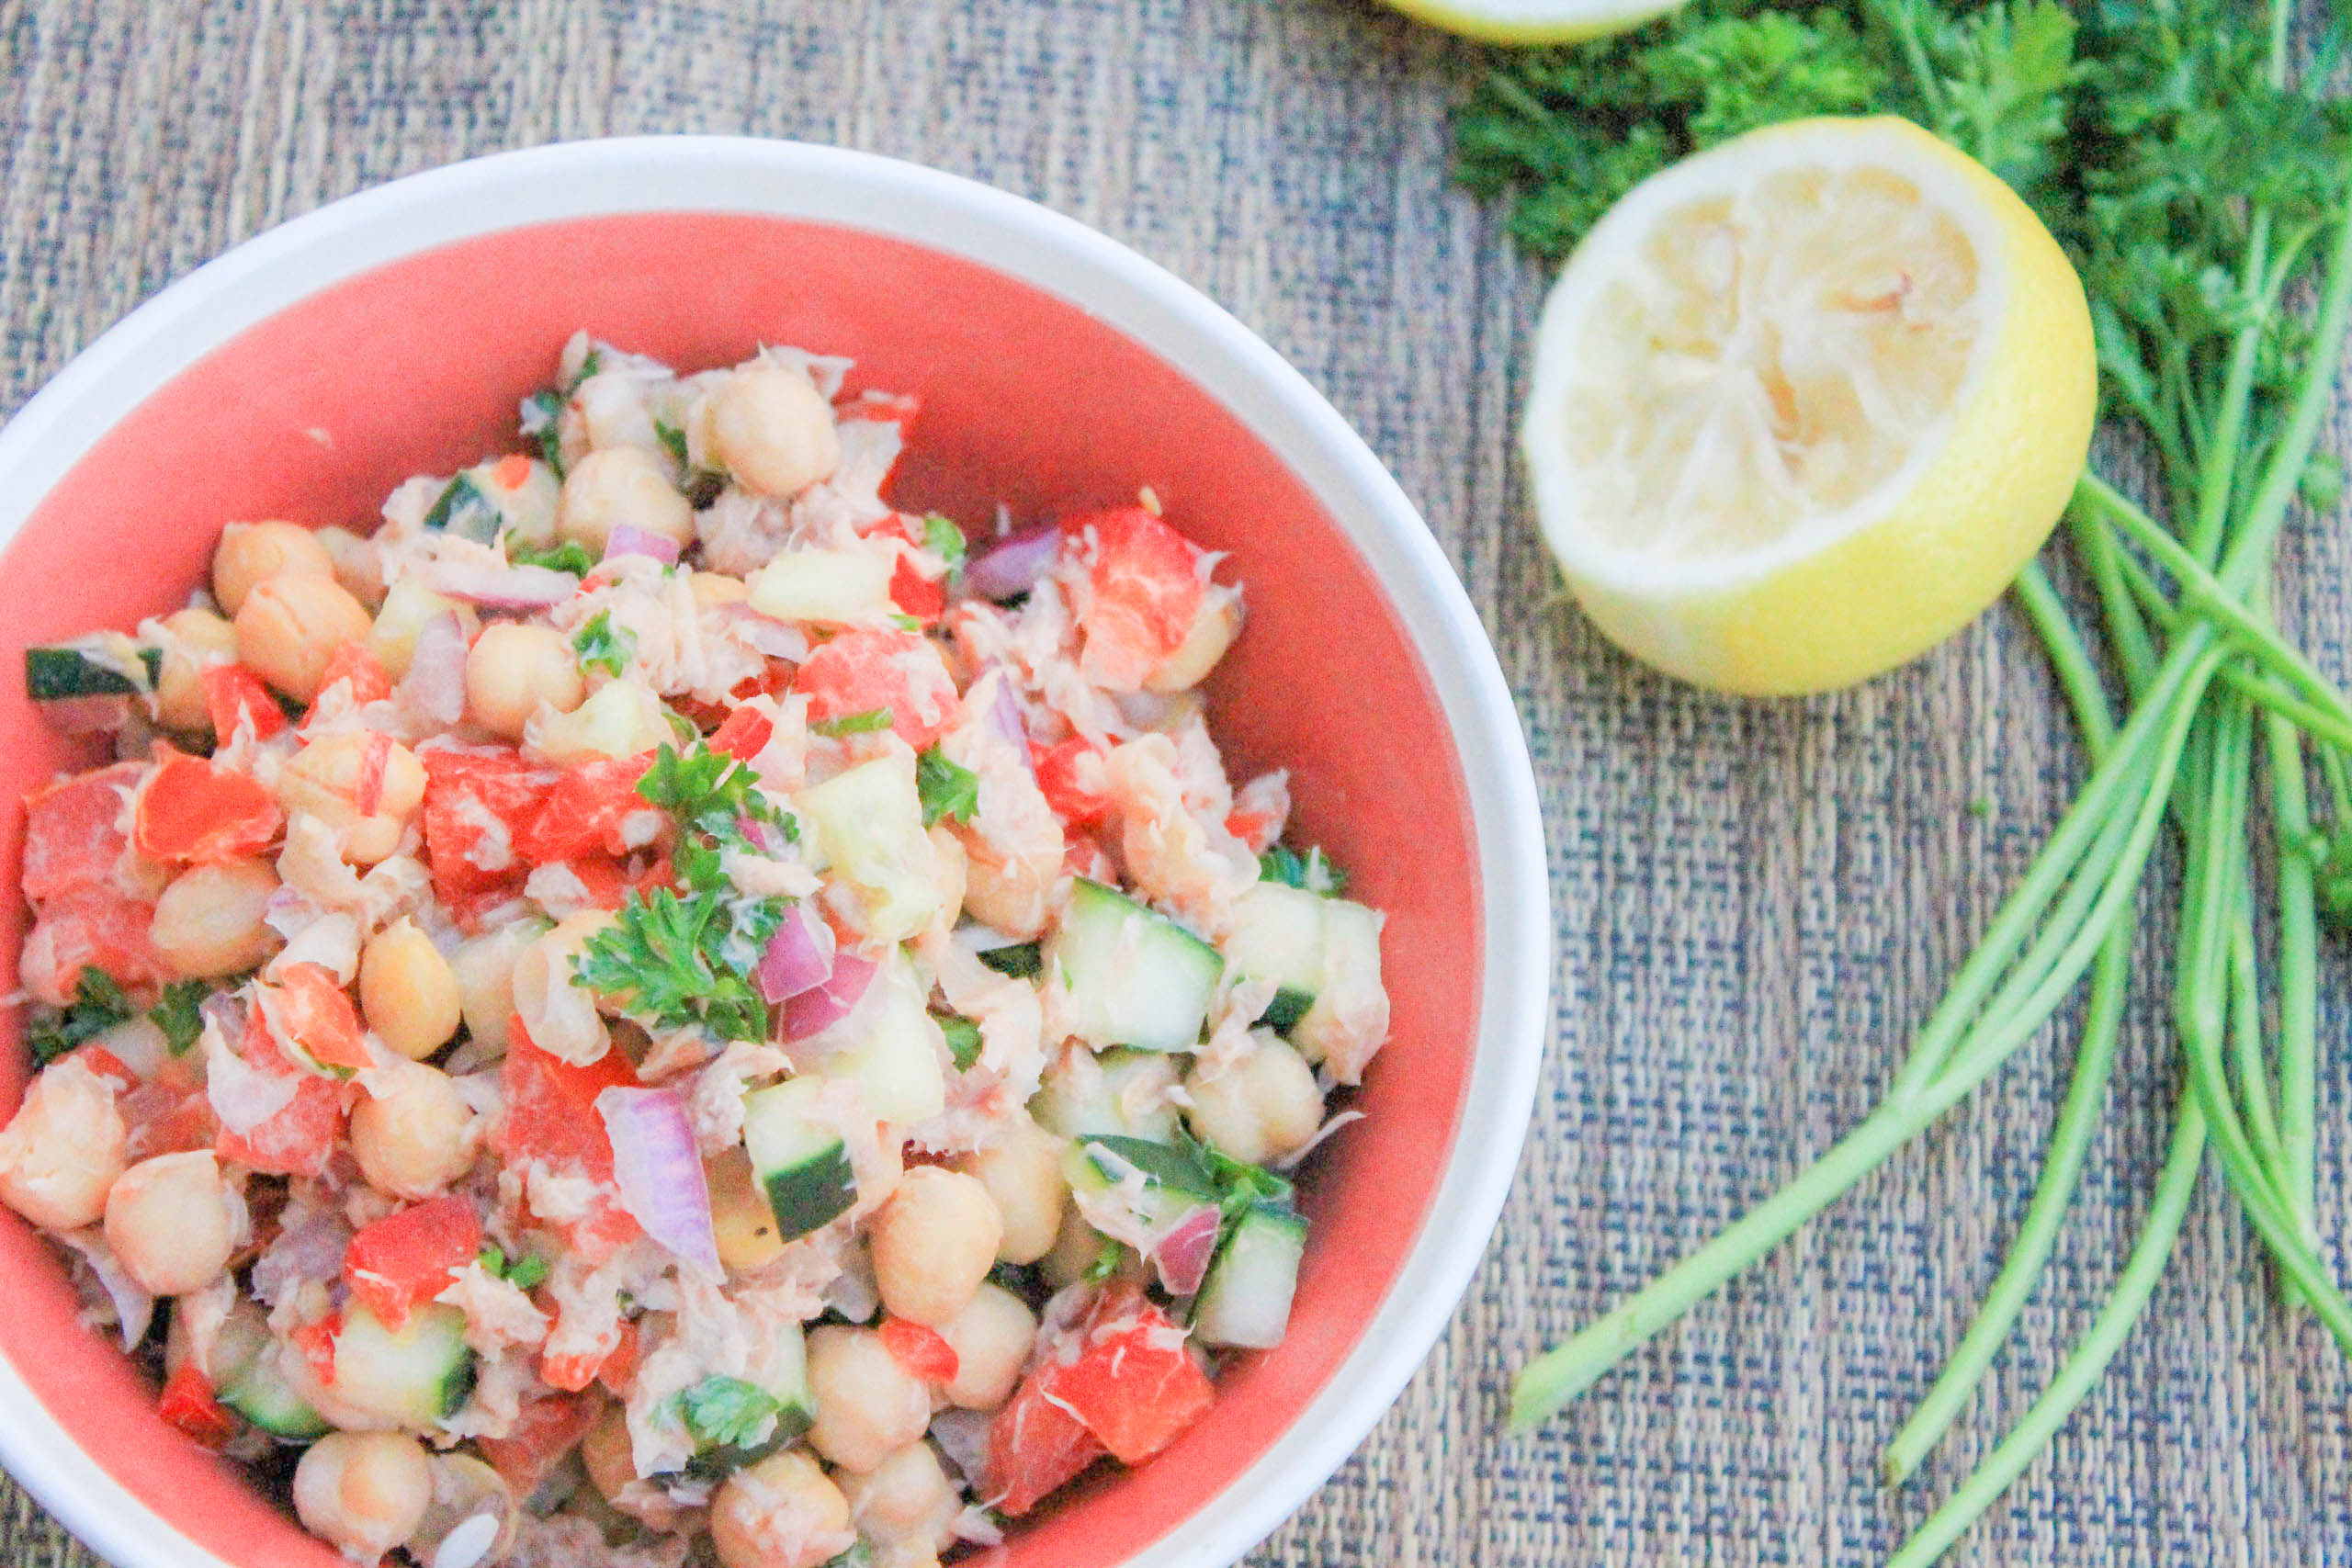
    Lately I’ve been using chickpeas non-stop in my recipes. They’re so versatile and easy to cook with, not to mention they have great health benefits! They’re an excellent source of fiber, full of iron, and believe it or not, actually have a lot of protein! With all these pro’s, I couldn’t resist adding them to this tuna salad recipe!

    Lemon, chickpea, and tuna salad (1 of 16)

    One thing I love about this tuna salad recipe is it requires NO cooking, making it the perfect recipe for one of those “I’m too lazy to cook” nights. All you have to do is chop the ingredients and mix them together.

    Chop and dice fresh cucumbers, onions, tomatoes, bell peppers, and parsley, then zest and juice your lemons.  


    In a large bowl combine your veggies and add in your chickpeas, lemon zest, fresh lemon juice and mix.

    Lemon, chickpea, and tuna salad (6 of 16)


    Lemon, chickpea, and tuna salad (9 of 16)

    Fold in your tuna and a dash of EVOO, followed by salt, pepper, and spicy dijon mustard to taste. Fold and mix all ingredients together until everything is completely combined. Scoop into a bowl or onto pita bread and enjoy! 

    Lemon, chickpea, and tuna salad (10 of 16)

    Lemon, chickpea, and tuna salad (11 of 16) Lemon, chickpea, and tuna salad (12 of 16) Lemon, chickpea, and tuna salad (13 of 16) Lemon, chickpea, and tuna salad (14 of 16) Lemon, chickpea, and tuna salad (15 of 16) Lemon, chickpea, and tuna salad (16 of 16)

    Chickpea, lemon, and tuna salad
    Serves 5
    A fresh medley of chickpeas, tomatoes, onions, cucumbers, and bell peppers, mixed with lemon juice and tuna. Mixed with spicy mustard instead of mayo, this tuna salad is a light and refreshing dish for you to enjoy anytime of the day!
    Write a review
    Print
    Prep Time
    15 min
    Prep Time
    15 min
    Ingredients
    1. • 1 (15.5 oz.) can of chickpeas, drained
    2. • 3 Roma tomatoes, chopped
    3. • 1/2 red onion, diced
    4. • 1 handful of chopped parsley
    5. • 1 red bell pepper, diced
    6. • 1 cucumber, diced
    7. • 1/2 tsp lemon zest
    8. • 3 Tbs lemon juice
    9. • 1 tsp extra virgin olive oil (EVOO)
    10. • Salt and pepper to taste
    11. • 1 (12 oz.) can chunk light tuna in water
    12. • 3 Tbs Dijon mustard
    Instructions
    1. • Combine all ingredients together in a bowl and fold tuna in last
    2. • Top with dijon mustard and mix until all ingredients are completely combined
    3. • Sever over a bed of lettuce, pita bread, crackers, or eat with fork and enjoy!
    Notes
    1. Store in airtight container in refridgerator for 4 – 5 days.
    God Save the Quinoa https://www.godsavethequinoa.com/
     Fabulous recipes by Mandi at godsavethequinoa.com


  • Tuna Salad in Tomato Cups

    Tuna Salad in Tomato Cups

    Tuna salad stuffed tomato cups (10 of 12)

    Ever since I was a child, I’ve loved tuna salad! My mom used to always make tuna sandwiches to put in my lunch or would serve tuna salad with crackers as a snack. Yum! As I got older and started eating out on my own at those deliciously cute little bakeries, I noticed the ridiculously high calorie count in tuna salad. I’m talking 600-900 calories. At least. For ONE SANDWICH?!?! Uhhh no thanks.

    Because of this, I would (and still do) avoid tuna sandwiches at those cute little bakeries like the plague! But I just couldn’t say goodbye to my beloved tuna salad forever, so I figured out how to make a tuna salad of my own. A tuna salad that is healthy and tastes just as good at the unhealthy kind, with 198 calories to be exact! So, attention all cute little bakeries with un-healthy tuna salad, serve this recipe and I’ll start eating your tuna salad again! 

    How do I make my tuna salad healthy you ask? Well, let’s start with what makes tuna salad so unhealthy in the first place. There’s one word for it, and that word is mayonnaise. And lots of it. In my recipe, I’ll admit that I do use a mere 2 teaspoons of mayonnaise…but that’s much healthier for you than 2 cups of it!

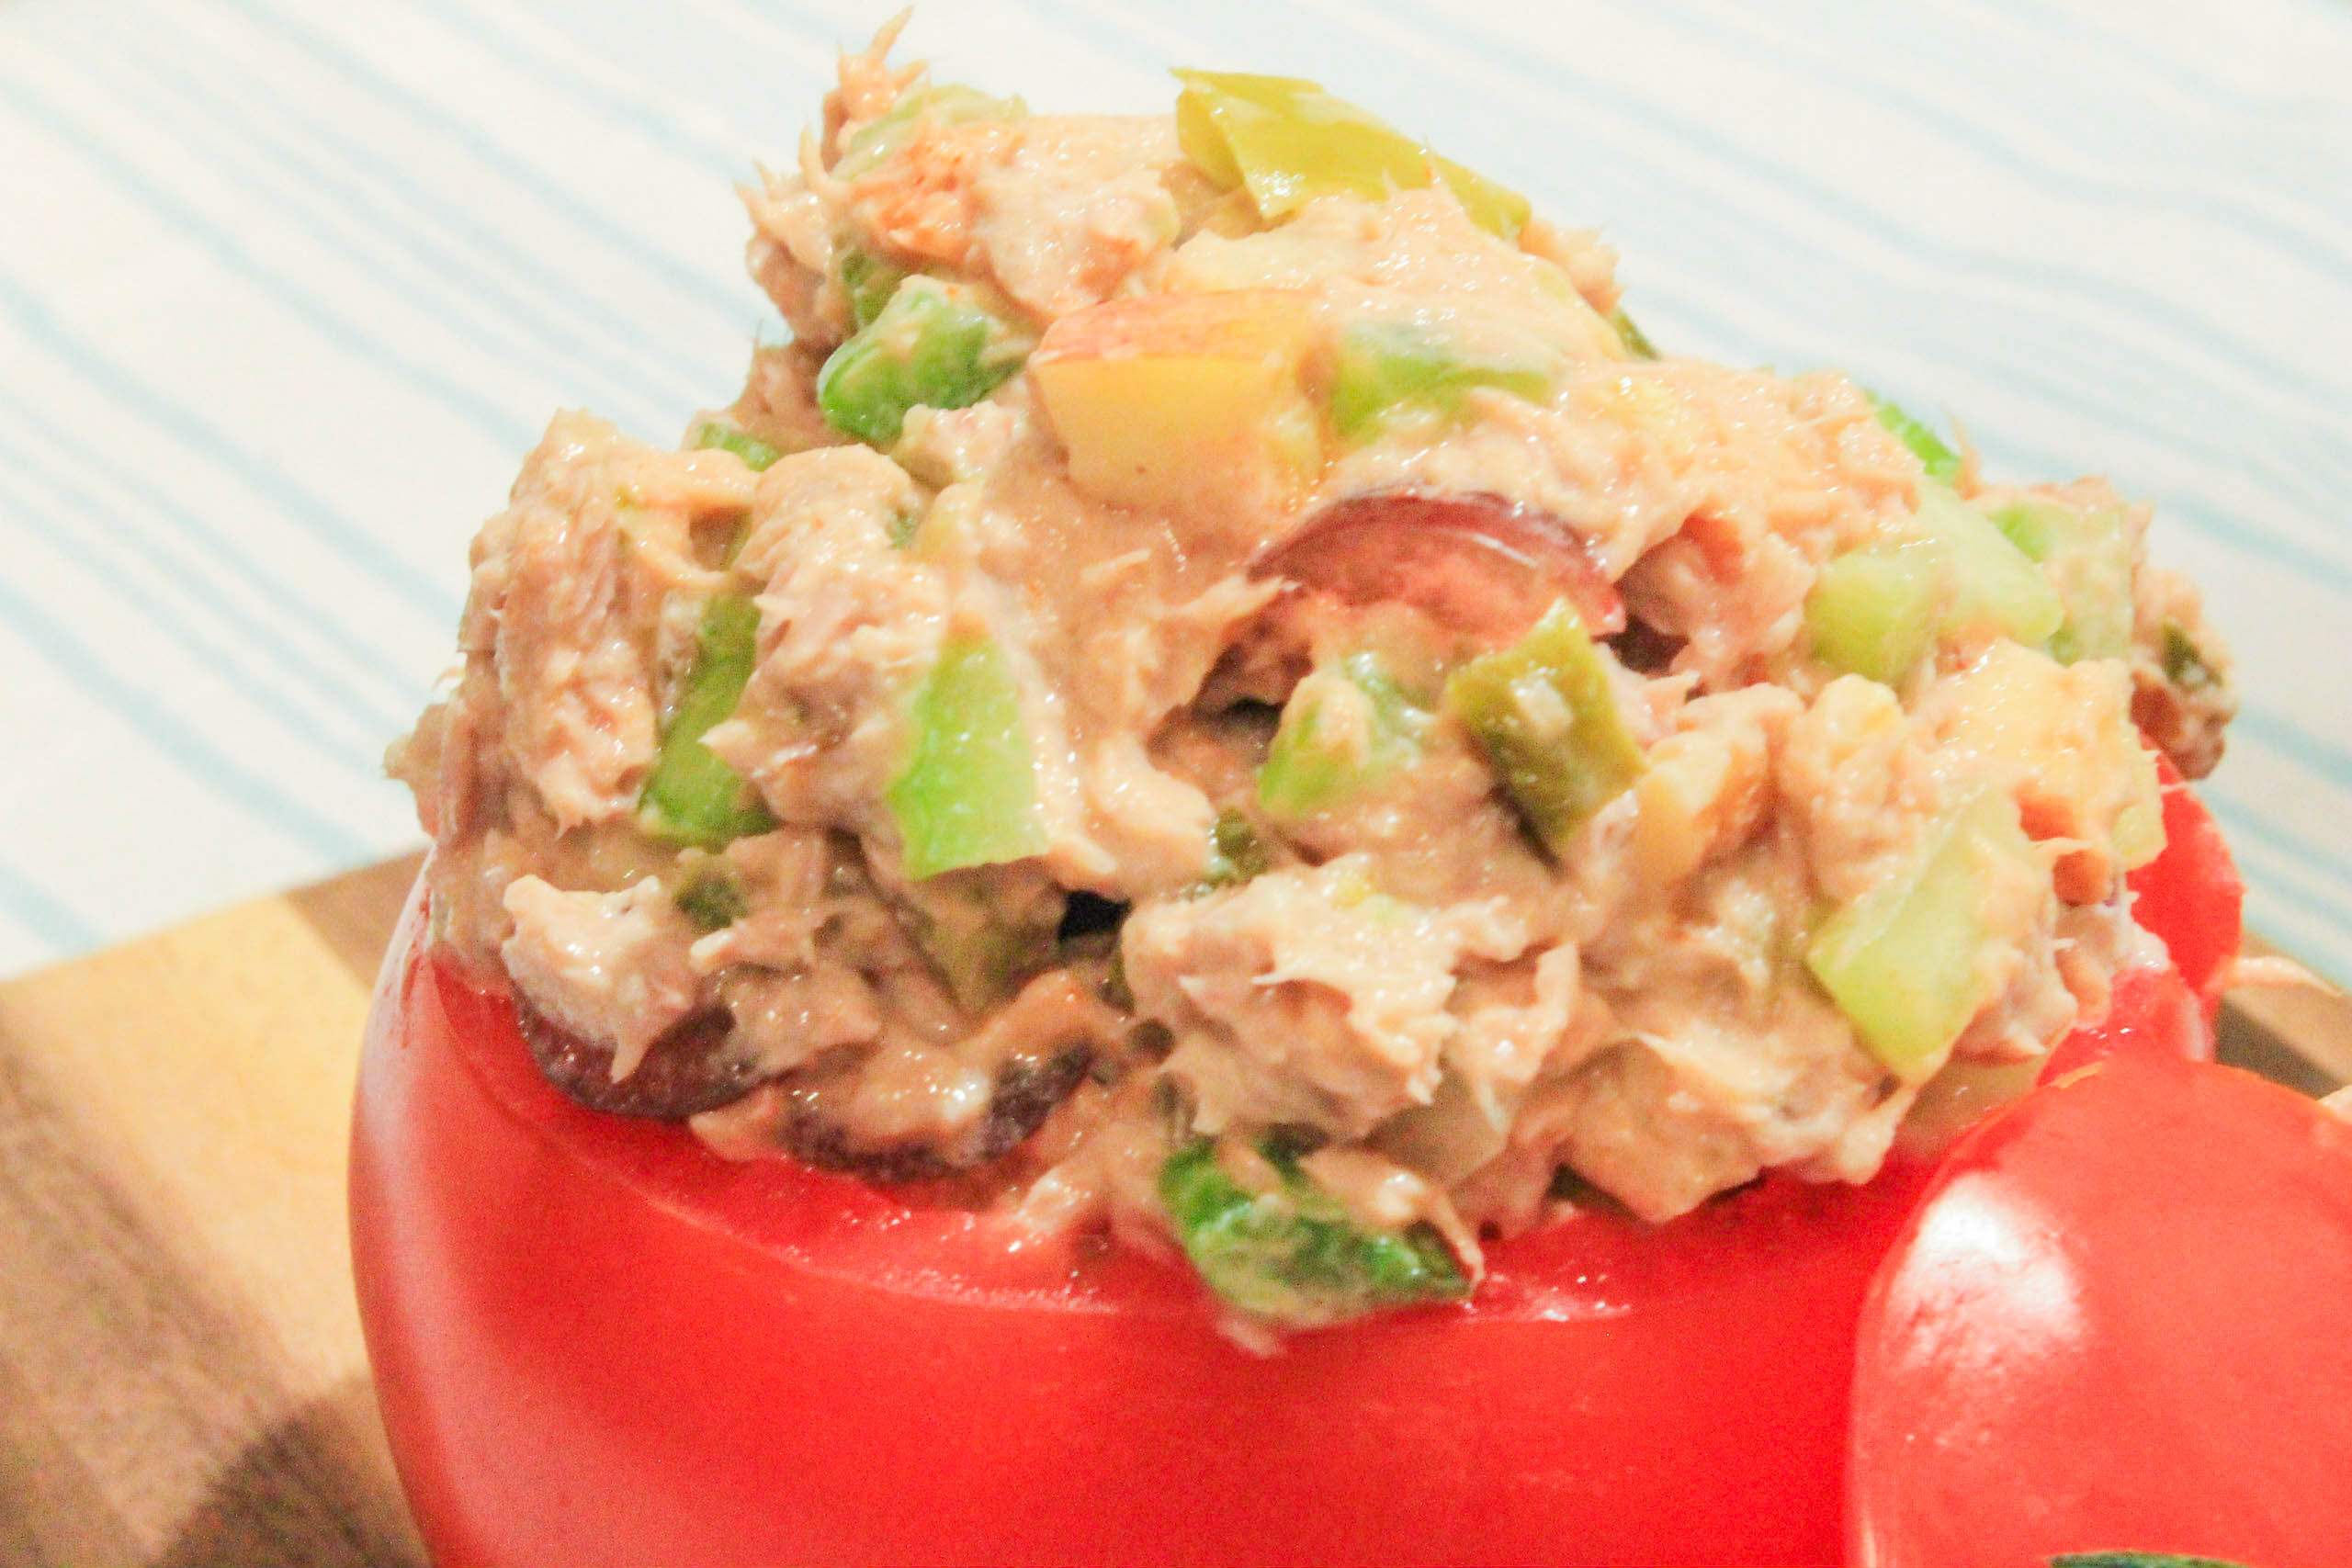
    To make this Healthy Tuna Salad Recipe, I used plain nonfat greek yogurt in lieu of mayo, added lots of fruit (apples and grapes), nuts (chopped walnuts), veggies (celery and white onion shreds), and a hard boiled egg for extra protein. These additions give the tuna salad a great texture and make it more filing for you! I spiced it up with sweet relish, spicy dijon mustard, and even added some sriracha to give it a little extra kick! If spicier foods aren’t your cup of tea- opt out of using the sriracha! 

    Now back to those cute little bakeries. I just love how “cute” everything is! If you don’t know what I’m talking about, next time you go into one of these places look around at the pictures decorating the walls, the table linens, the plates, the menus, and the cute little old ladies brunching together in the corner. All of these elements really contribute to the overall atmosphere. In an attempt to recreate this atmosphere at home, I decided to serve my tuna salad in tomato cups! 

    Creating these tomato cups is very simple to do! To learn how, simply follow the step by step directions below:

    1. Cut off the top of the tomato near the stem. Remove the stem and set aside. (This will be used as your lid later on.)

    Tuna salad stuffed tomato cups (1 of 12)


     2. Use a knife to “trace” around the edges of the tomato as if you are trying to separate the “core” of the tomato from the “wall”. Be careful not to cut all the way through the skin! You want your tomato to hold the tuna salad- not leak everywhere! 

    Tuna salad stuffed tomato cups (2 of 12)


     3. Using a large spoon, gently scoop out the insides of the tomato. Re-trace the path you carved out with your knife to continue separating the tomato “core” from the “walls”. Don’t be afraid to use a little force if you get stuck! Continue tracing the path with the spoon until you can insert the spoon all the way to the bottom of the tomato (without puncturing the tomato of course!)  

    Tuna salad stuffed tomato cups (4 of 12)


    4. By now you should be able to fit the spoon all the way around the core of the tomato and lift it up. To continue, simply lift the core out of the tomato and throw it away. You’re almost done! 

    Tuna salad stuffed tomato cups (5 of 12)


    5. Now that you have removed the core, your tomato should look like a bowl or a cup. Use your spoon to scrape the sides of the walls to remove any excess tomato insides remaining. When you’re satisfied with how your tomato looks, put your spoon down! You’re finished! 

    Tuna salad stuffed tomato cups (6 of 12)


    See, that wasn’t so bad!

    Now all you have to do is mix all of the tuna salad ingredients together, stuff the tuna salad in the tomato, out it on a plate and voila! you’re done in less than 15 minutes! NOTE: Don’t forget to hard boil the egg! I ALWAYS forget to do this! 

    Tuna salad stuffed tomato cups (7 of 12)


    Tuna Salad in Tomato Cups
    Serves 4
    A lighter version of tuna salad full of fruit and veggies made with greek yogurt, stuffed in a delicious tomato cup. It takes 15 minutes to whip up and will only cost you 198 calories!
    Write a review
    Print
    Prep Time
    15 min
    Total Time
    15 min
    Prep Time
    15 min
    Total Time
    15 min
    Ingredients
    1. • 1 (12 oz.) can chunk light tuna in water, drained
    2. • 1 cup celery, diced
    3. • 1 cup red or pink apple, diced
    4. • 1 cup of red grapes, quartered
    5. • 1/2 cup of raw unsalted walnuts, chopped
    6. • 1/4 yellow onion, shredded using cheese grater
    7. • 2 Tbs sweet relish
    8. • 1 hard boiled egg, chopped
    9. • 3 Tbs spicy Dijon mustard
    10. • 2 tsp olive oil mayonnaise
    11. • 1/2 cup non-fat greek yogurt
    12. • 2 tsp sriracha (for some extra kick- optional)
    13. • 4 heirloom or roma tomatoes
    Instructions
    1. • Hard boil one egg
    2. • While egg is boiling, hollow out tomatoes so they can be used as bowls.
    3. • When egg is done boiling, remove shell and chop.
    4. • In a bowl, combine tuna, celery, apples, grapes, walnuts, onion, relish, hard boiled egg, mustard, mayonnaise, greek yougurt, and sriracha (if desired). Mix well.
    5. • Scoop tuna mixture into tomato cups and enjoy!
    Notes
    1. 198 calories per tuna stuffed tomato cup.
    2. Store leftover tuna in refrigerator in an airtight container for up to 3 days. Serve leftover tuna in tomatoes or over lettuce.
    God Save the Quinoa https://www.godsavethequinoa.com/
    Fabulous recipes by Mandi at godsavethequinoa.com

  • Garden Fresh Salsa

    Garden Fresh Salsa

    Homemade salsa

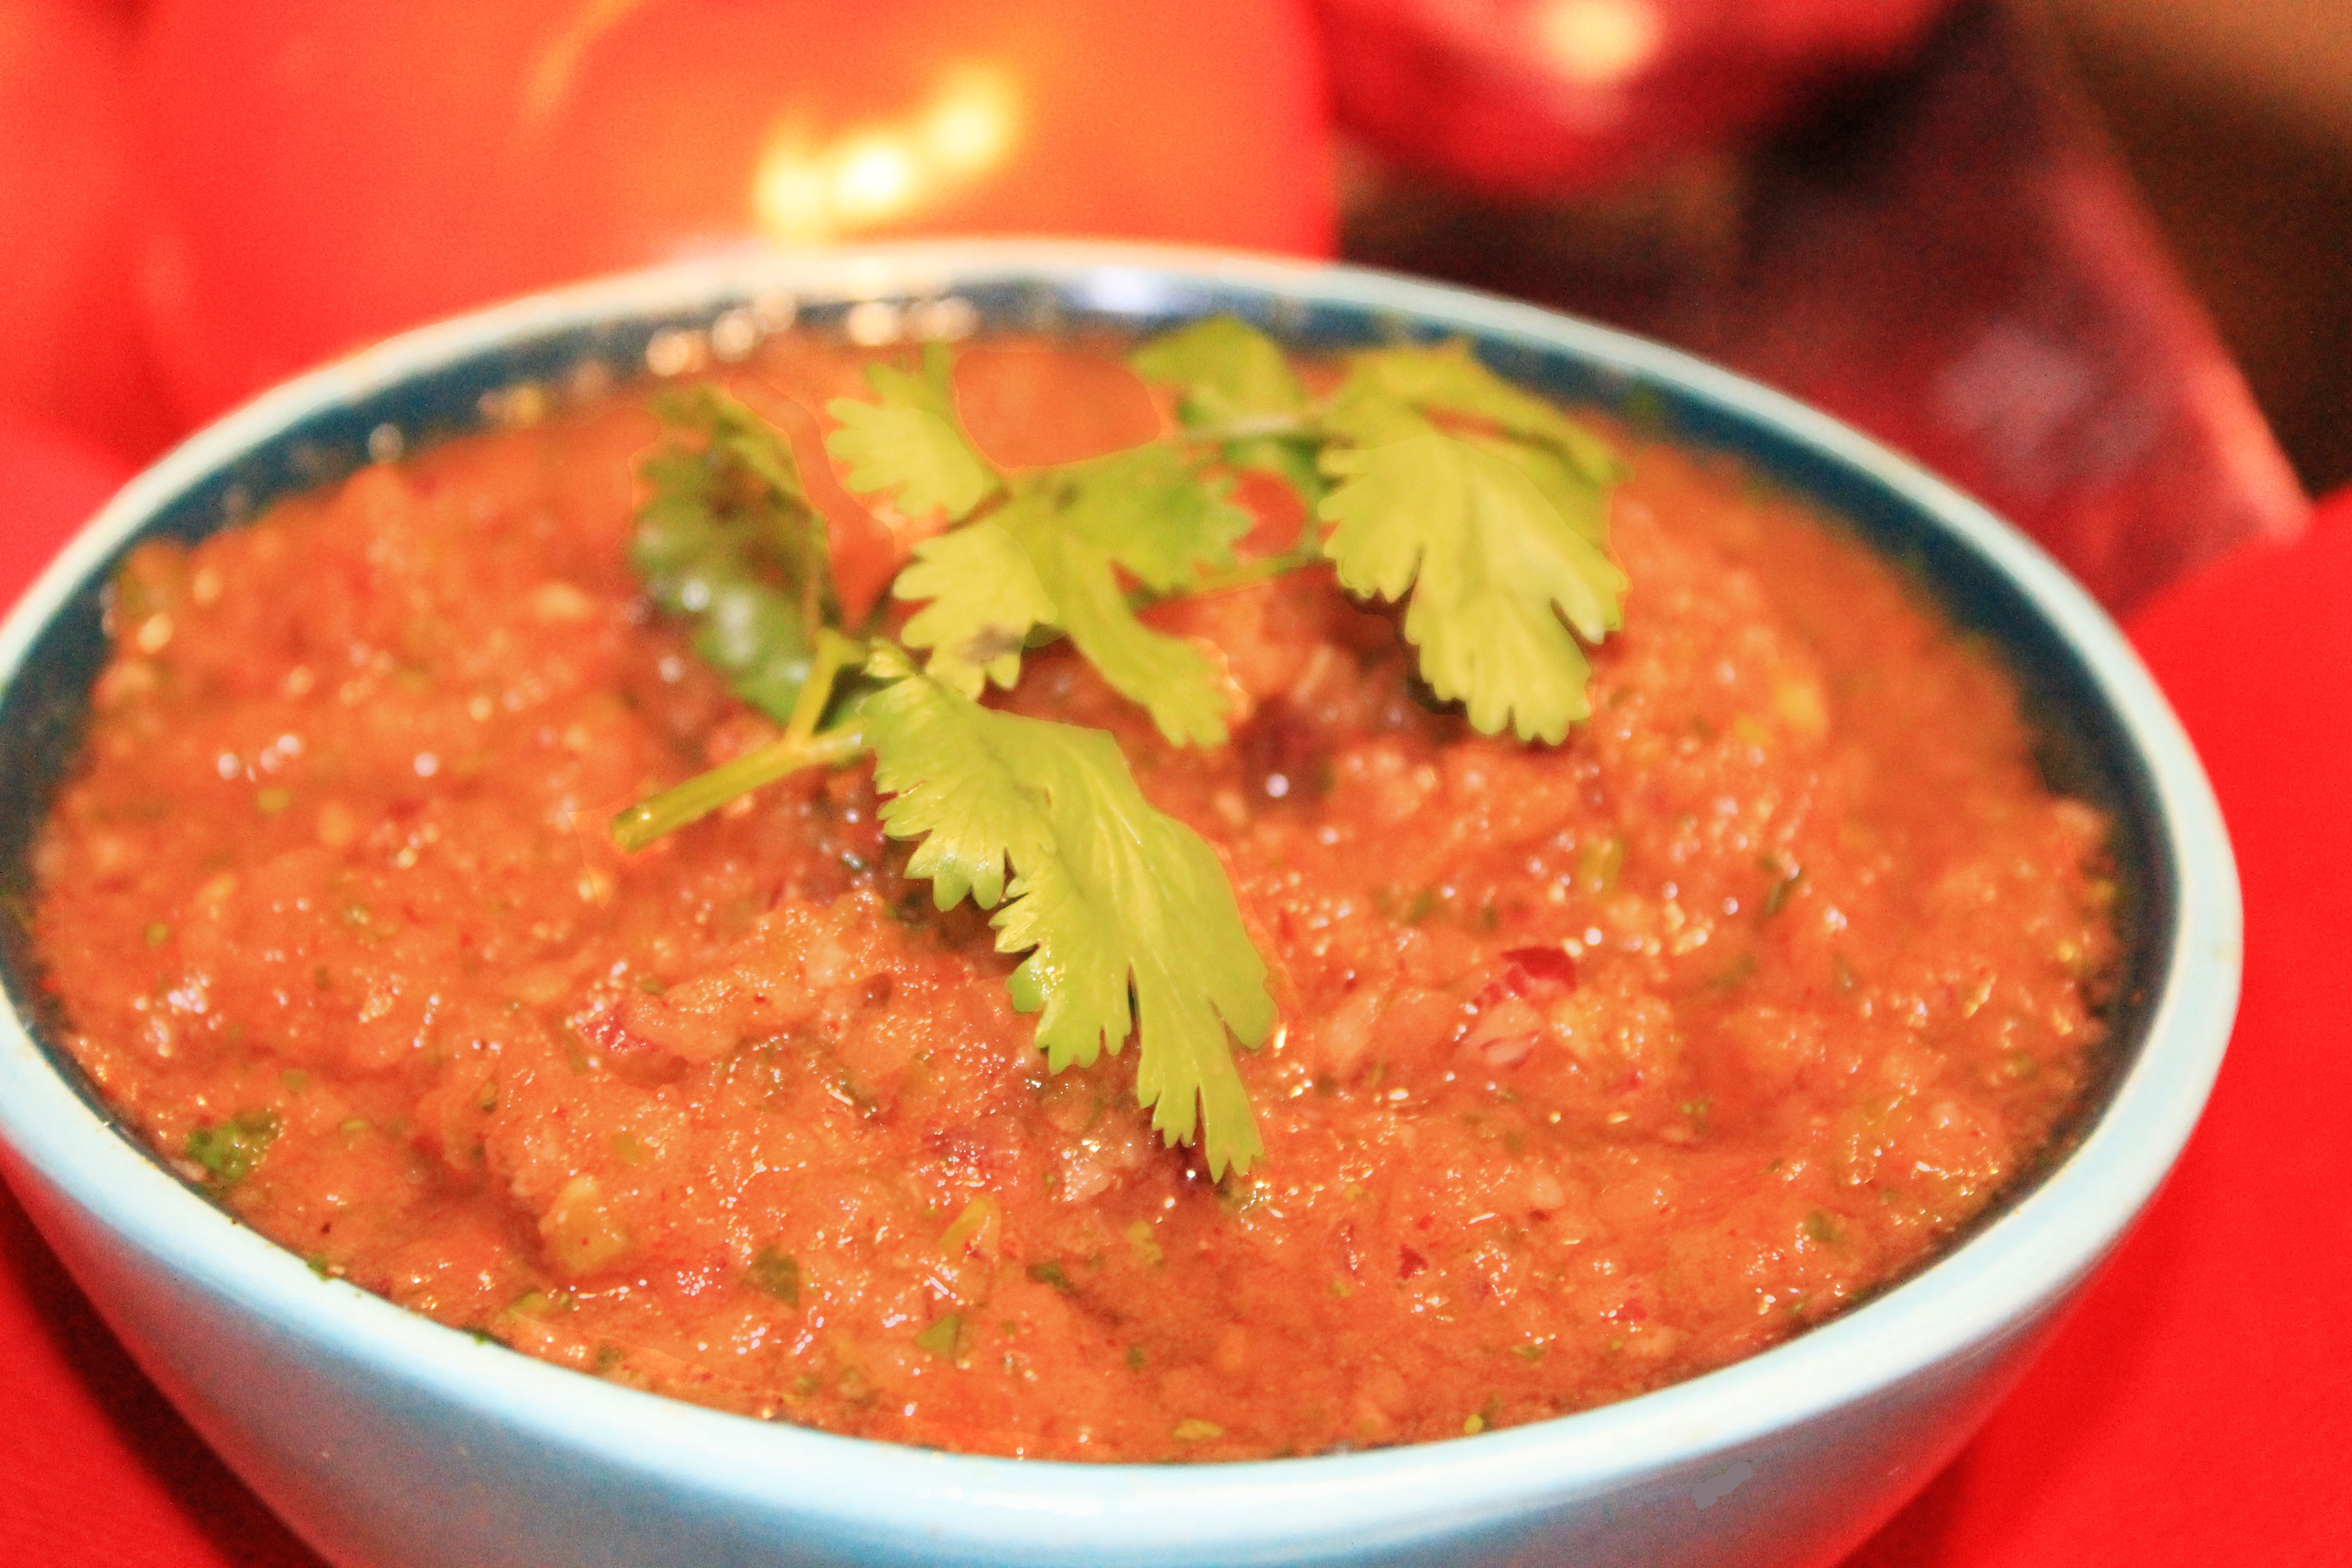
    I’ve said it before and I’ll say it again, I’m a Texas girl and therefore I love me some Tex-Mex. As you can probably guess from the picture above, this includes chips and salsa! YUM! My favorite Tex-Mex restaurants are the ones that make their own salsa in-house. There’s just something about wholesome, fresh, homemade salsa that always seems to hit the spot!

    My frequent cravings for fresh, wholesome salsa inspired me to make an in-house salsa of my own. Not only is homemade salsa delicious and refreshing, its MUCH healthier for you than the vast majority of the store bought options lining the shelves of the chip aisle. I don’t know if you’ve noticed, but your stereotypical store bought salsa has an INSANE amount of sodium. Think about this, if you’re like most people and enjoy your salsa with {salted} tortilla chips, don’t be surprised if you’re feeling a little {or a lot} bloated the next day. I know this feeling too well and let me tell you, it is not a fun feeling. Luckily, making homemade salsa can help alleviate this aftermath.

    Homemade salsa godsavethequinoa

    One of the great things about homemade anything is that you can see exactly what, and how much of a certain ingredient you put in. Don’t you just love being in control? I do. And I’ll take my salsa sans the 1100 mg of sodium! Having this type of control over what you eat is the best way to enjoy the foods you love without killing your diet! I’m sure you’re eager to read the recipe, but I wanted to mention that there are countless ways to enjoy your salsa other than with tortilla chips. Pair your salsa with fresh veggies, or drizzle it over salmon, chicken, or an omelette to get an extra kick! 

    Garden Fresh Salsa
    Yields 1 large cup.
    Write a review
    Print
    Ingredients
    1. • 2 heirloom tomatoes
    2. • 1 jalapeño, diced (keep seeds)
    3. • 1/2 red onion, diced
    4. • 1 garlic clove
    5. • Handful of cilantro
    6. • 1 Tbsp honey
    7. • 1 tsp salt
    8. • 1 tsp ground cumin
    9. • 2 tsp cayenne
    10. • 2 tsp chili powder
    11. • 1 splenda or sugar packet
    Instructions
    1. • Slice the tomato, jalapeño (keep the jalapeño seeds), and red onion and place in food processor.
    2. • Combine garlic clove, cilantro, honey, spices, and sugar with ingredients in food processor.
    3. • Pulse until reaching desired consistency and enjoy!
    Notes
    1. To adjust how spicy or mild your salsa is, adjust the amount of jalapeño seeds you use. To make your salsa more spicy add more jalapeño seeds. Use less jalapeño seeds if you want your salsa to be mild.
    2. BE CAREFUL not to touch your eyes or other sensitive areas after cutting your jalapeño. Doing so will result in painful burning. To alleviate burning pain from jalapeños, soak the affected area in milk.
    God Save the Quinoa https://www.godsavethequinoa.com/
    What’s your favorite way to enjoy salsa? Comment below to let me know! 

    Fabulous recipes by Mandi at godsavethequinoa.com


  • Super Simple Guacamole

    Super Simple Guacamole

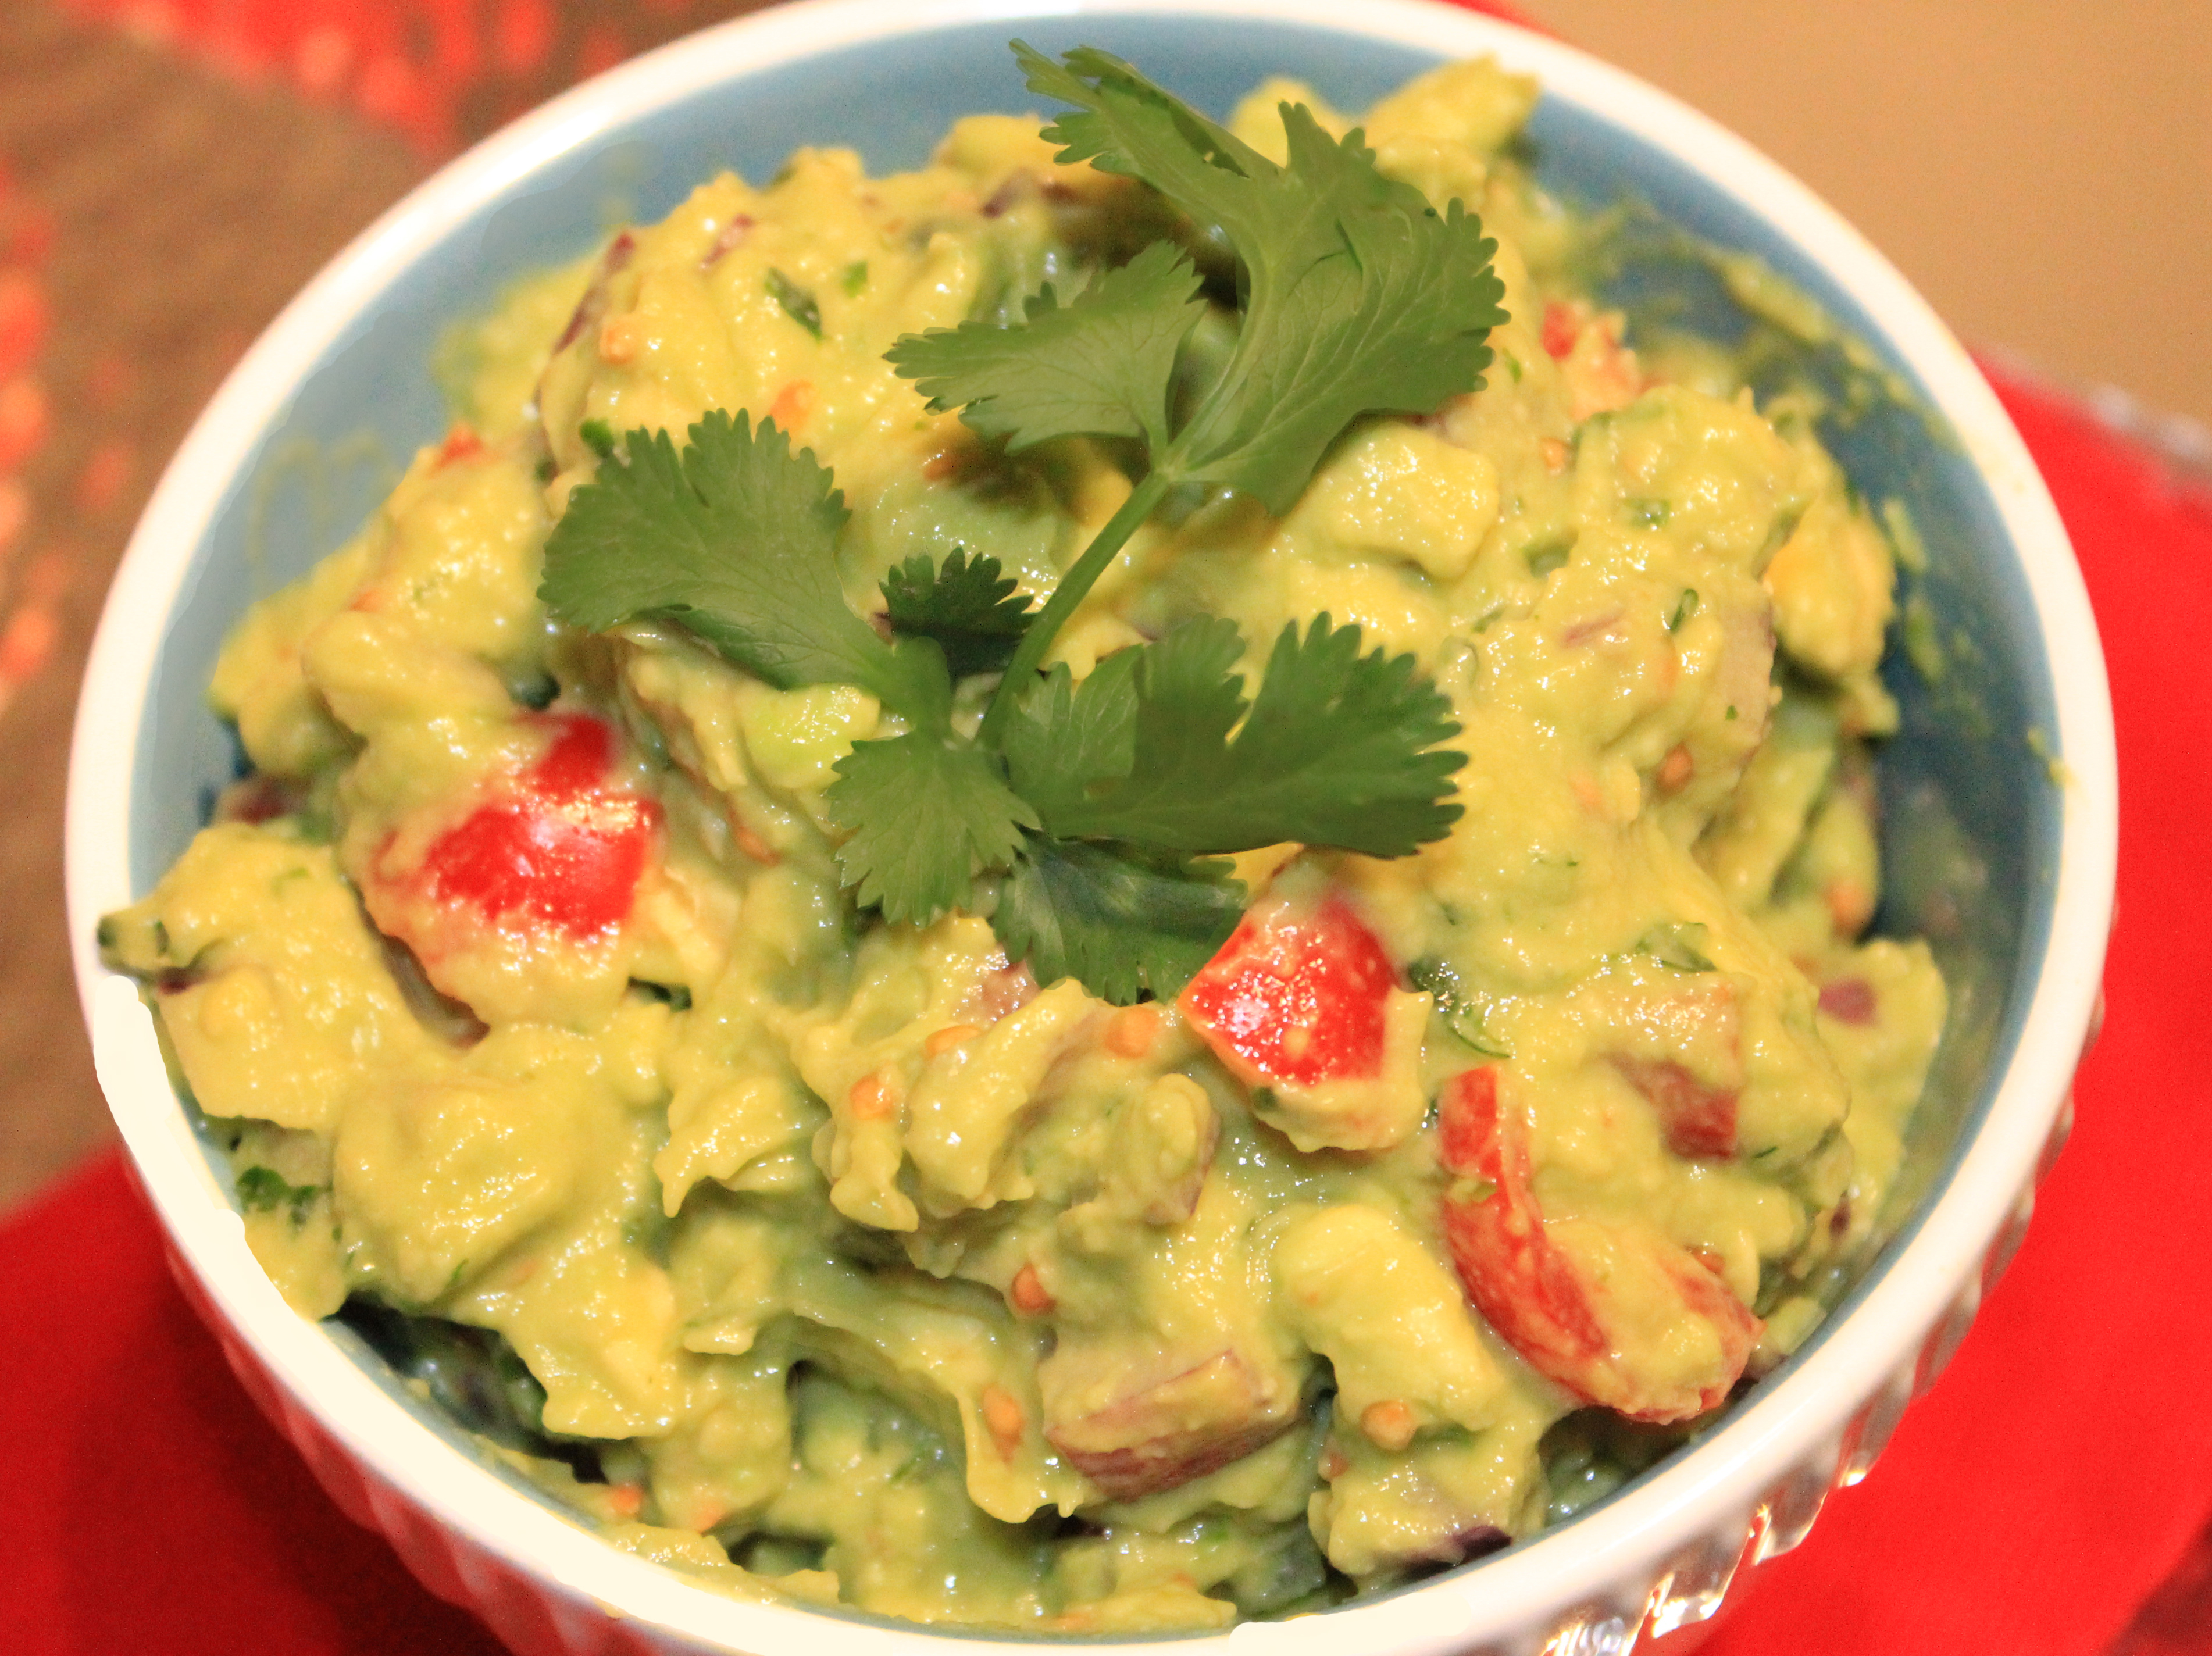
    Homemade Guacamole godsavethequinoa

    Being a Texas girl, I can’t help that I loooove me some Tex-Mex! I swear Mexican food is just not the same once you leave Texas! What could possibly be better than happy hour spent on a patio during “patio-perfect weather” sipping skinny margaritas and snacking on homemade guacamole? I’ll give you a minute to think.

    While you’re thinking, let me share my super simple guacamole recipe with you! This recipe is super simple (hence the name) and I suggest you keep it handy.

    …Why you ask? Well, when the guac is running low and your friends are hungry, don’t you want to be the hero who can run inside and whip up another serving of {deliciously good} guacamole in less than 5 minutes? Sure you do!

    Guacamole_godsavethequinoa_

    Psst- Be sure to check out my guacamole making tips & tricks for pointers on the easiest way to cut an avocado to make the avocado mashing part of guacamole-making seamless and more ways to keep your guacamole fresh! 

    Super Simple Guacamole
    Effortless guacamole that will leave your guests wanting more!
    Write a review
    Print
    Ingredients
    1. • 2 large Haas Avocados
    2. • 1/2 red onion, diced
    3. • 1 cup cherry tomatoes cut into quarters
    4. • Juice of one lime
    5. • Salt to taste
    6. •1/4 cup fresh cilantro
    Instructions
    1. • Slice avocado in half (lengthwise) and remove pit
    2. • Dice avocado in shell (see guacamole making tips & tricks) place in large bowl and mash until reaching desired consistency
    3. • Add red onions, cherry tomatoes, lime juice, and cilantro
    4. • Mix well and add additional salt to taste
    5. • Top with cilantro and enjoy!
    Notes
    1. Takes approx. 5-10 minutes to prepare
    2. Yields 2 cups based on size of avocados
    3. Add additional lime juice to preserve freshness
    God Save the Quinoa https://www.godsavethequinoa.com/
     Fabulous recipes by Mandi at godsavethequinoa.com