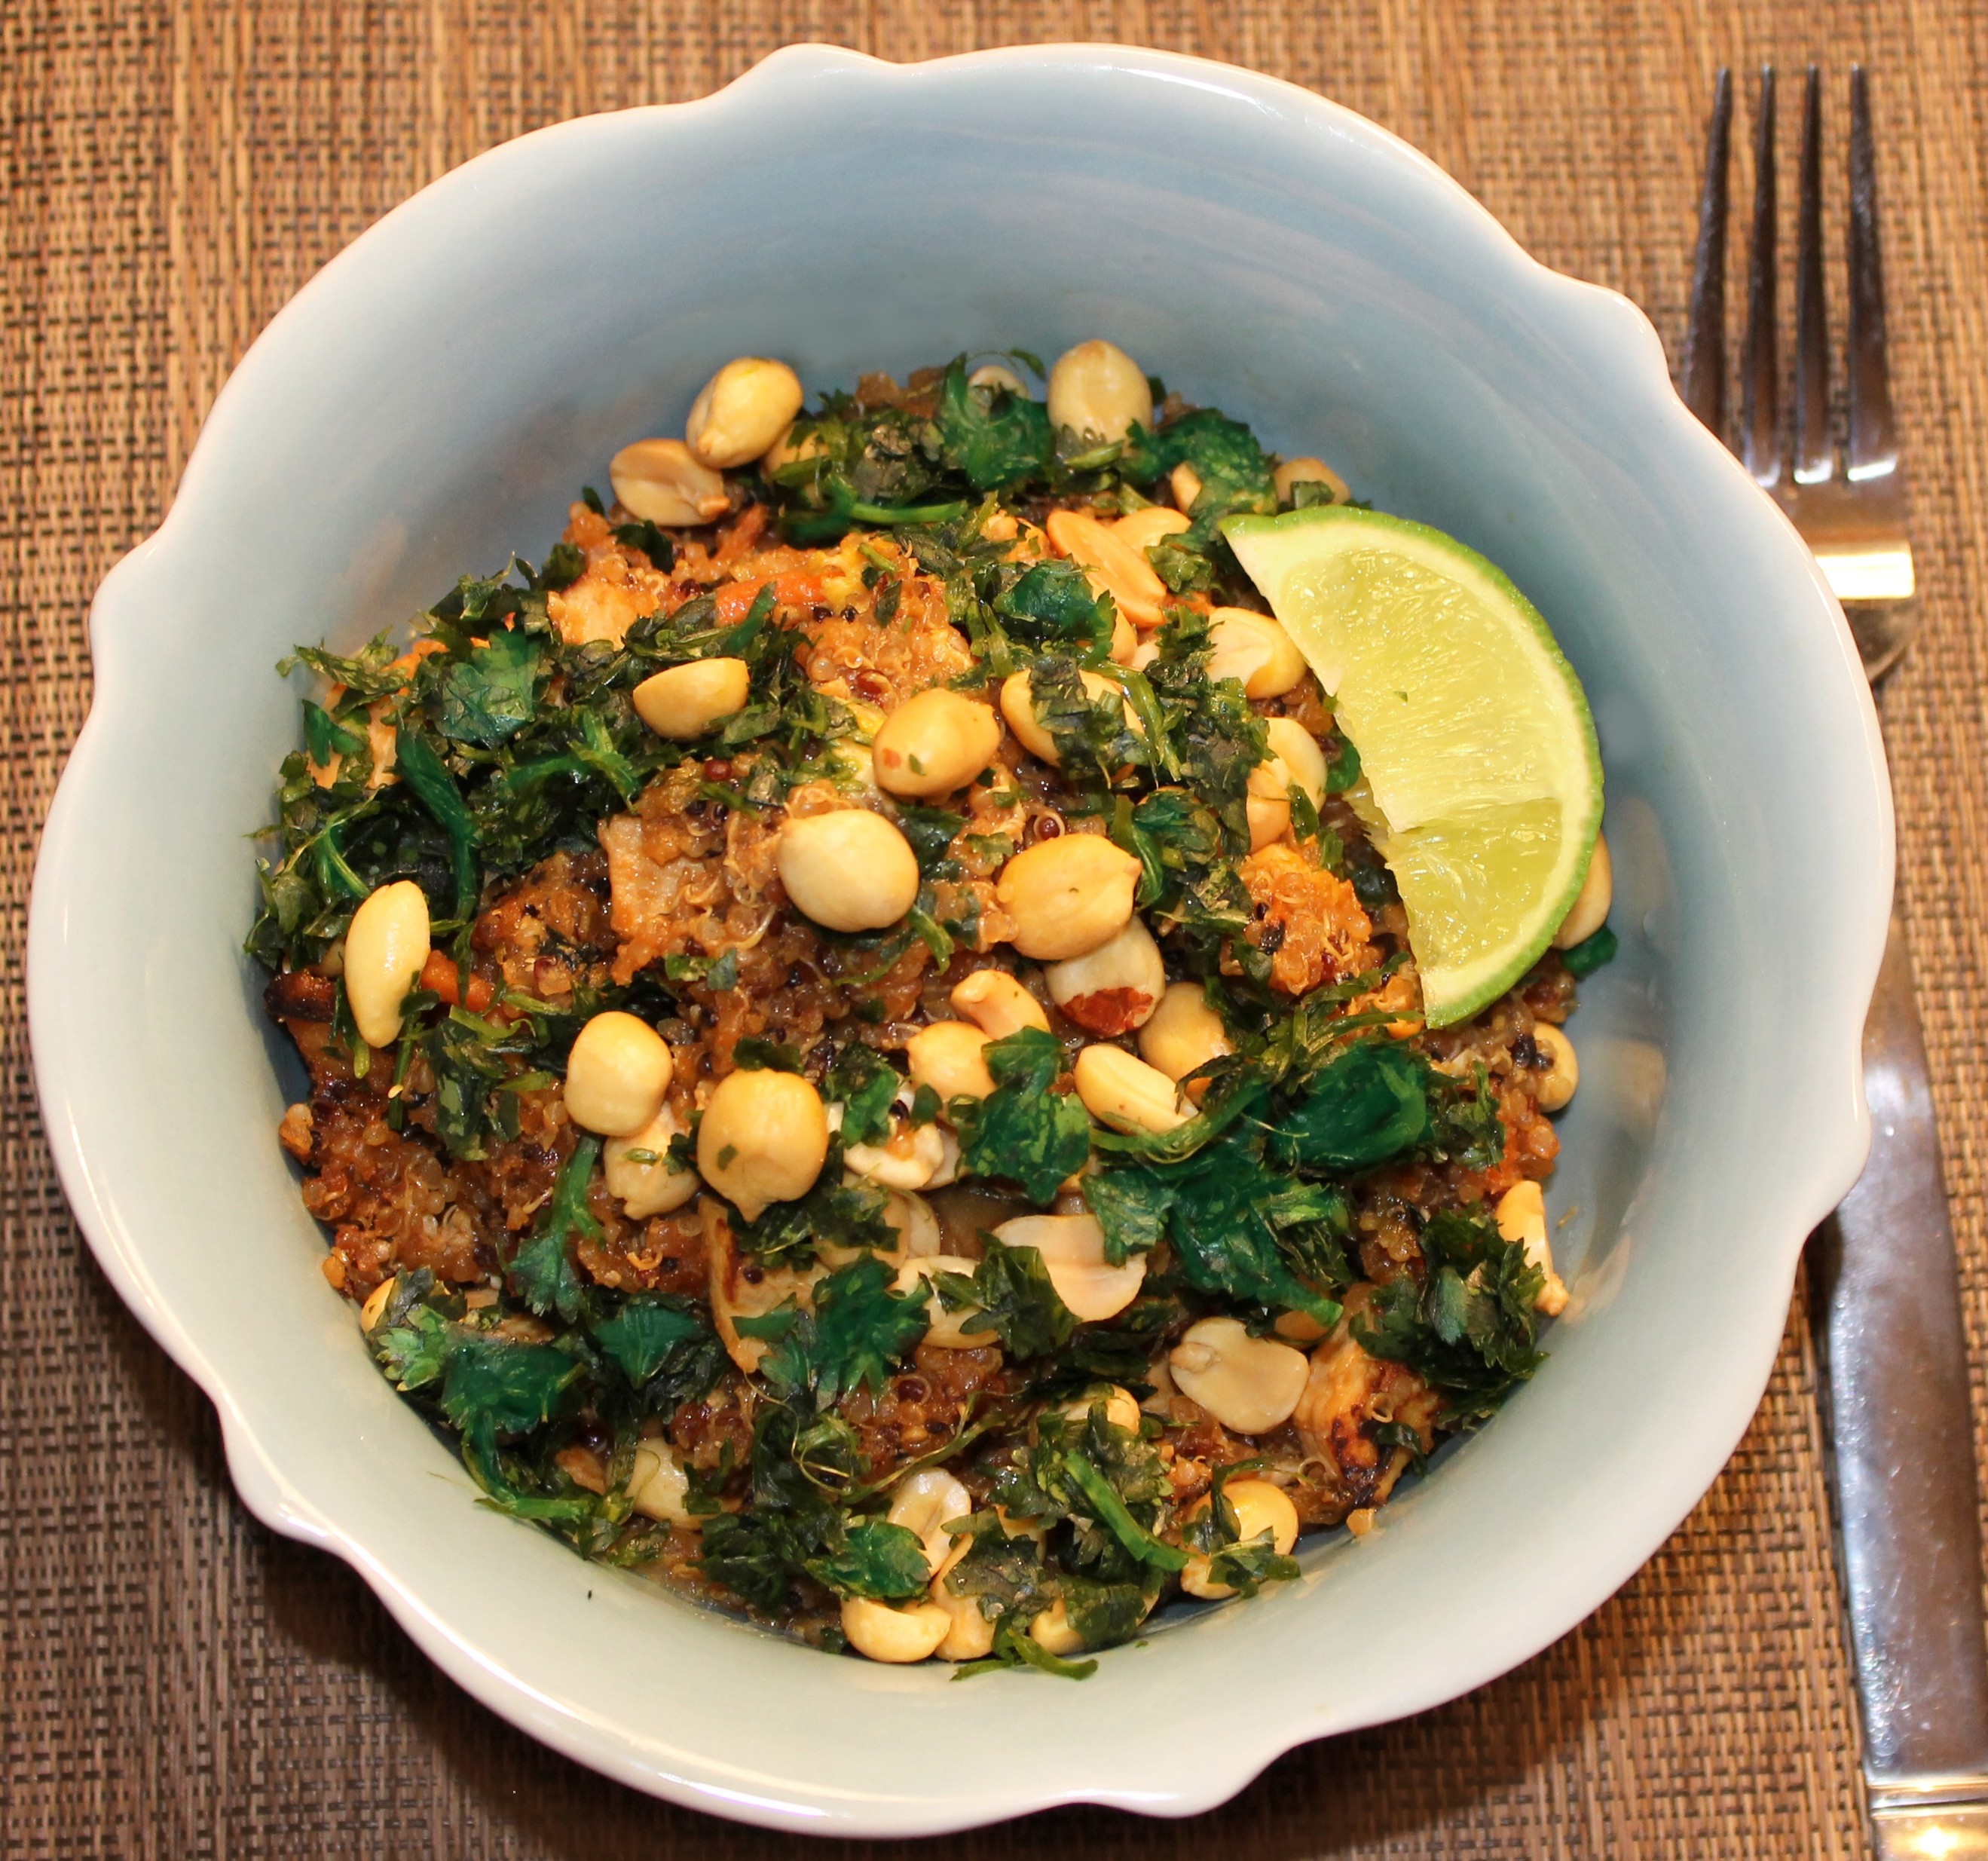
Category: Meat or Veggie Recipes

Quinoa Crust Pizza

Quinoa Pizza Cover Page

This 5 ingredient pizza crust made out of quinoa will change your life! It sure has changed mine! I love pizza, but try to only eat it on “special occasions” … AKA the night before a big race! That said, I enjoy this quinoa crust version ALL. THE. TIME.

Despite what you’re thinking, this is actually VERY EASY to make. I was intimidated the first time I tried it out too but all of those preconceived notions flew out the window as soon as I took my first bite.

Quinoa Crust Pizza

The first time I made this I didn’t even tell my husband what the crust was made of. I put it down in front of him and watched him scarf it down. When I asked him what he thought it was, he said “uh…pizza”. He had no clue the crust was made out of quinoa. I swear he asks me to make this at least once every other week. (I told you I eat this all the time!) 

The crust is made with 5 ingredients and 4 steps… well, 6 ingredients if you count the salt & pepper.

  1. Quinoa (uncooked): 3/4 cup soaked overnight and drained
  2. Baking Powder: 1/2 tsp
  3. Water: 1/4 cup
  4. Extra Virgin Olive Oil: 2 TBS
  5. Dried Oregano: 1 TBS
  6. Sea salt and generous amounts of pepper

The crust is vegan friendly, so depending on the toppings you select you have the freedom to make this a vegan, vegetarian, or meat lovers delight! 

STEP 1: Combine all ingredients in food processor and pour into a round, foil lined cake pan sprayed with non-stick spray. Your batter will resemble that of pancakes. Place in oven for 15 minutes. 

Quinoa Crust Pizza

I use a round 9-inch cake pan to give my pizza a traditional, circular pizza shape. A round 9-inch cake pan will result in one personal pizza. I usually cook two at the same time; one for me and one for my husband and place the pans side by side in the oven. If you don’t have a round cake pan, you can use a similar sized square, rectangle, or other shape pan. If you do this, make sure not to use one too big or you will end up with super thin (and most-likely burnt) pizza crust. I’ve never tried doubling the recipe to make a large two person pizza, so if you try this you must tell me how it turns out! 

STEP 2: Remove from oven. Let sit a few minutes, flip, and bake for another 12 – 15 minutes. 

Quinoa Crust Pizza

Your pizza crust should look more like a pizza crust when you open the oven to remove and flip after 15 minutes. After flipping your crust, you can place on a flat cookie sheet or back in the same cake pan. because I usually make two of these at the same time, I prefer to use a cookie sheet. If using a cookie sheet be sure to line with foil and spray with non-stick spray. Most importantly, make sure to let your pizza crust cool for a few minutes before you flip. DO NOT FORGET THIS! This is critical to making sure your pizza crust remains in tact!   

While crust is cooking, this is a great time to chop veggies and prepare your toppings! 

Step 3: Remove from oven. Add sauce, toppings, and cheese. Place back in oven for another 12 – 15 minutes. 

Quinoa Crust Pizza

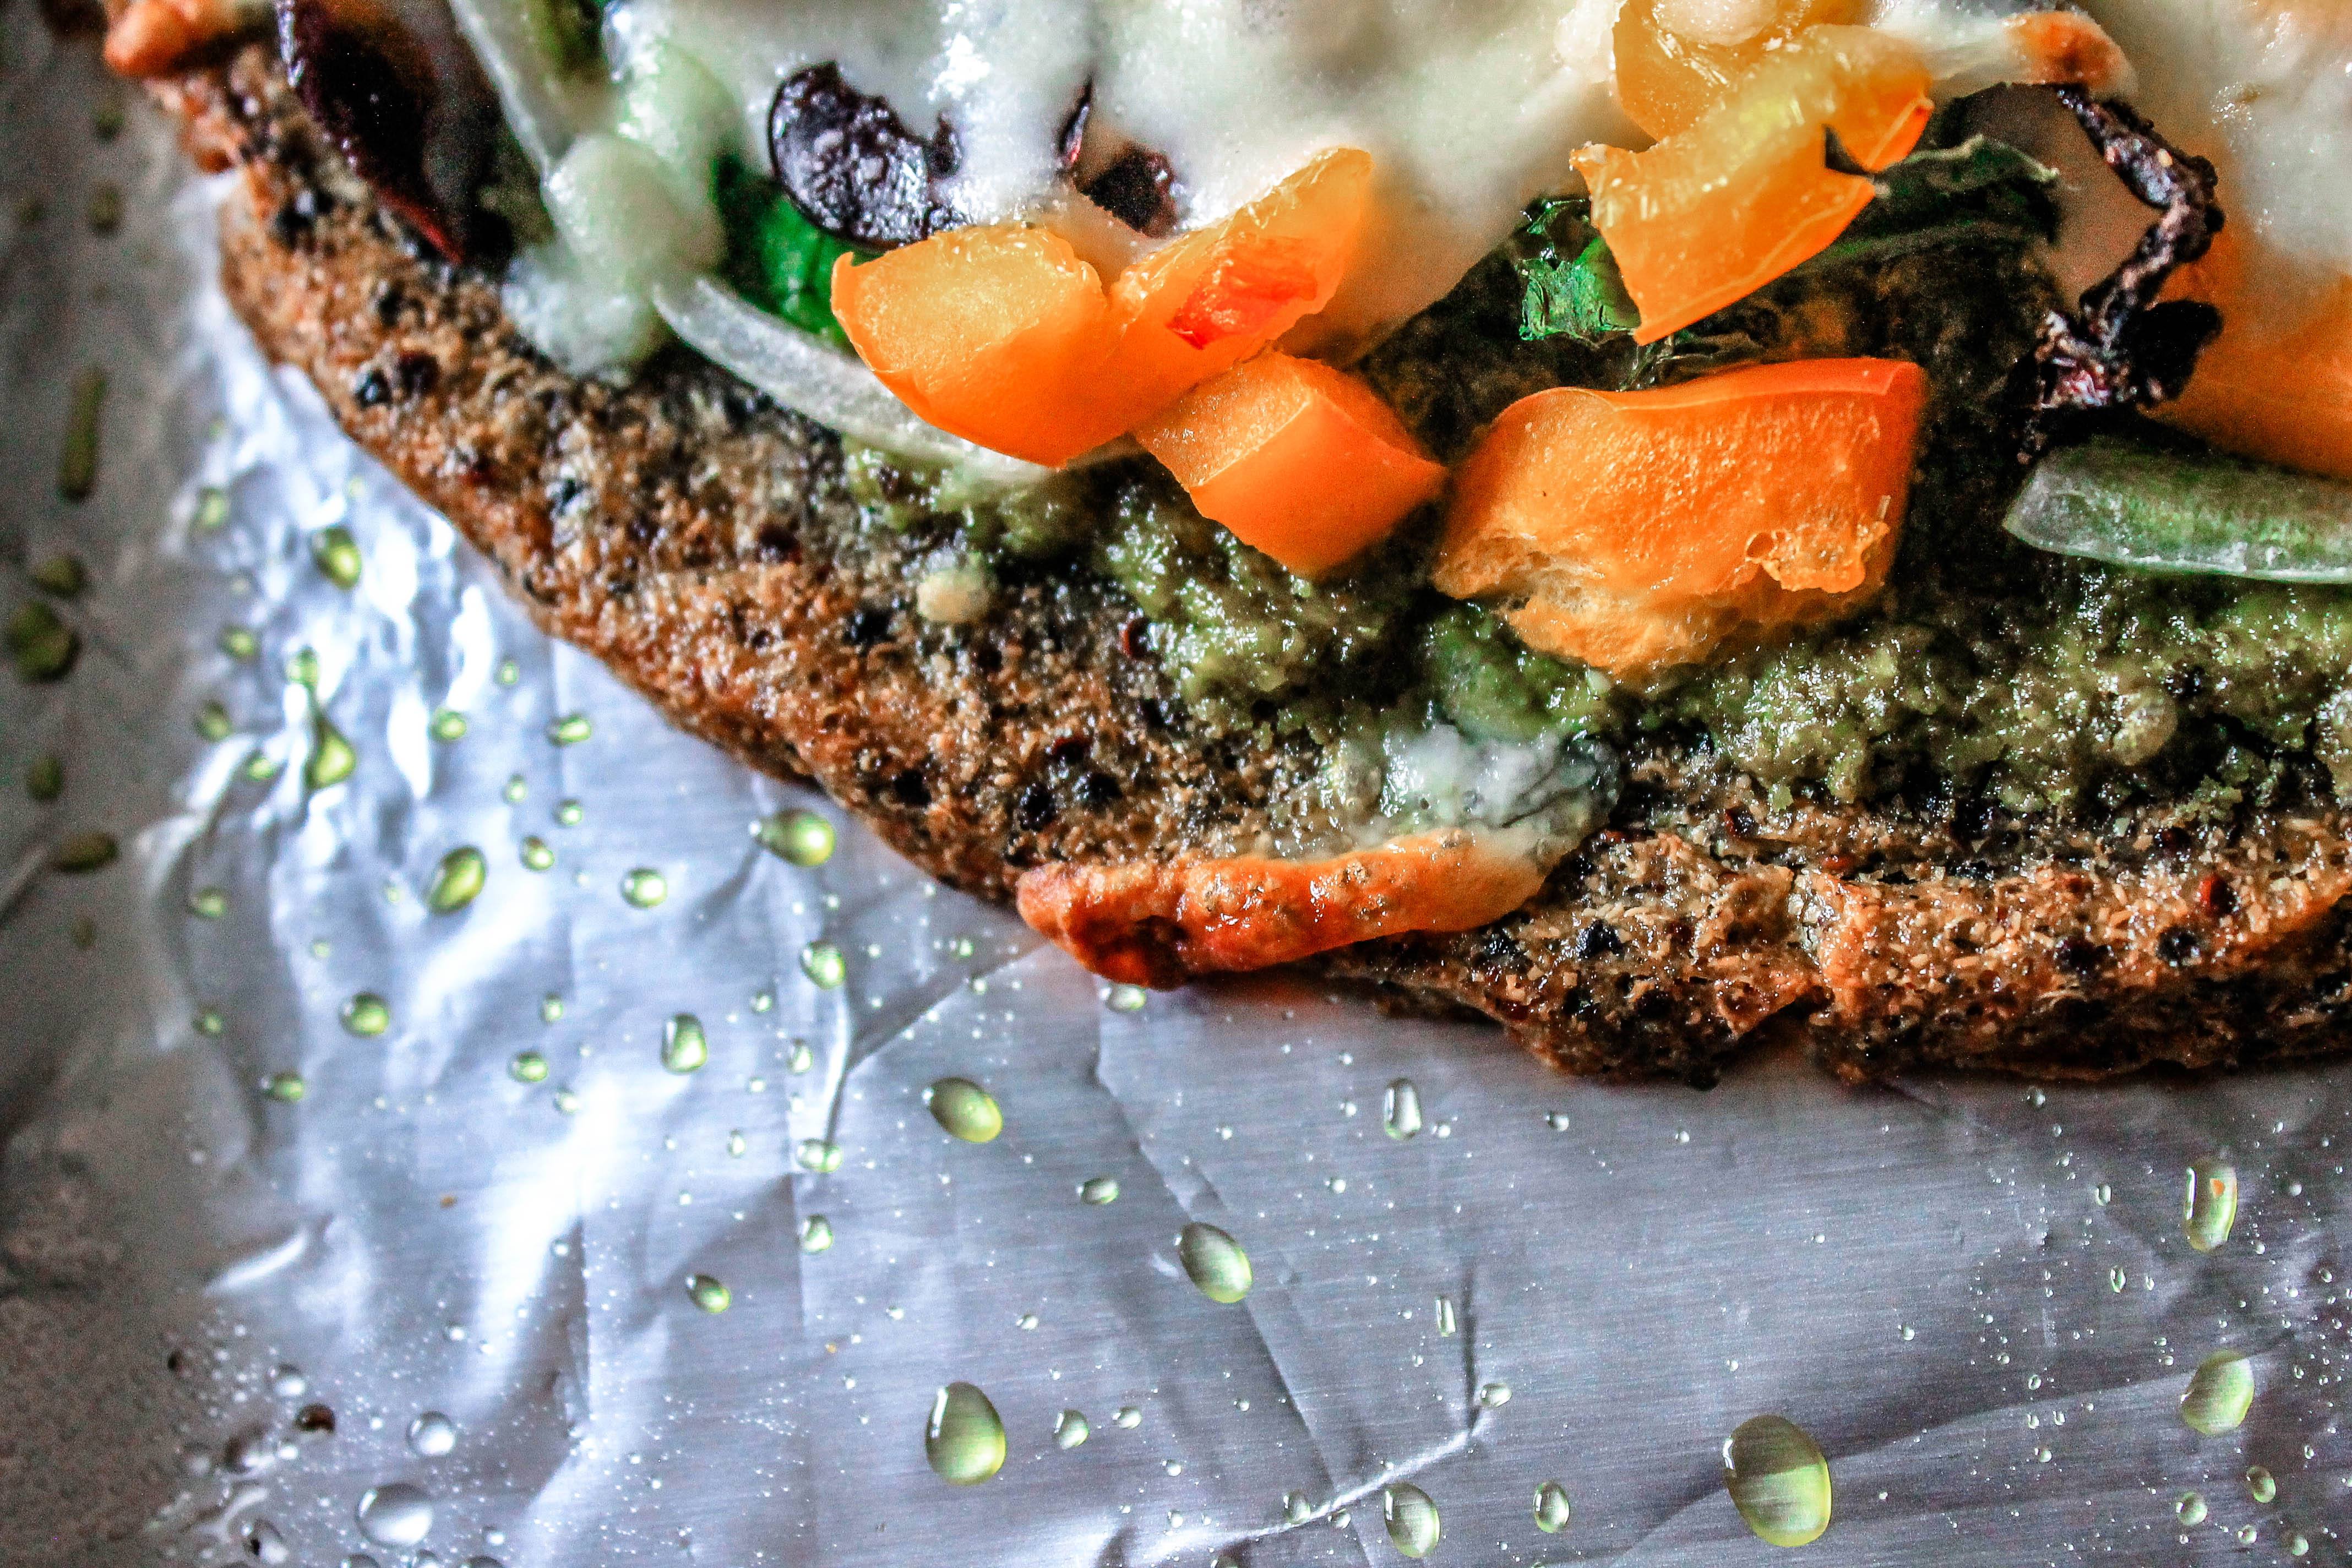
My pizza (pictured above) is a vegetarian option. Ingredients include:

  • Sauce: My Homemade Basil Pesto  Make this by combining 2 cups of fresh, chopped basil, 5 TBS EVOO, ¼ cup grated Parmesan cheese, 2 TBS pine nuts, 2 tsp minced garlic, and ¼ tsp salt 
  • Toppings: Tuscan Kale, Sweet Onions, Black Olives, Orange Bell Peppers, Sun-dried Tomatoes 
  • Cheese: Shredded Mozzarella 

Not pictured: Two to three dollops of ricotta. I didn’t realize we were out until I made this recipe! 

Greg’s pizza (pictured below) is made with Chicken and veggies. Ingredients include: 

  • Sauce: Fresh Marinara 
  • Toppings: Shredded Chicken, Tuscan Kale, Sweet Onions, Black Olives, Orange Bell Peppers, Homemade Basil Pesto 
  • Cheese: Shredded Mozzarella 

Quinoa Crust Pizza

Step 4: Remove from oven. Let cool a few minutes. Slice, serve, and enjoy! 

You’ll know your pizza is ready when the cheese begins to bubble and brown and the edges of your veggies begin to get crispy. 

Quinoa Crust Pizza

Quinoa Crust Pizza

BRB. Drooling over how good this looks. 

Quinoa Crust Pizza


See, easy peasy. 5 ingredients. 4 steps. One delicious meal! 

[envira-gallery id=”2174″]

[yumprint-recipe id=’47’] 


Quinoa Crust Pizza

Even Maggie is drooling over this recipe! 

Recipes for endurance athletes


Asian Lettuce Wraps

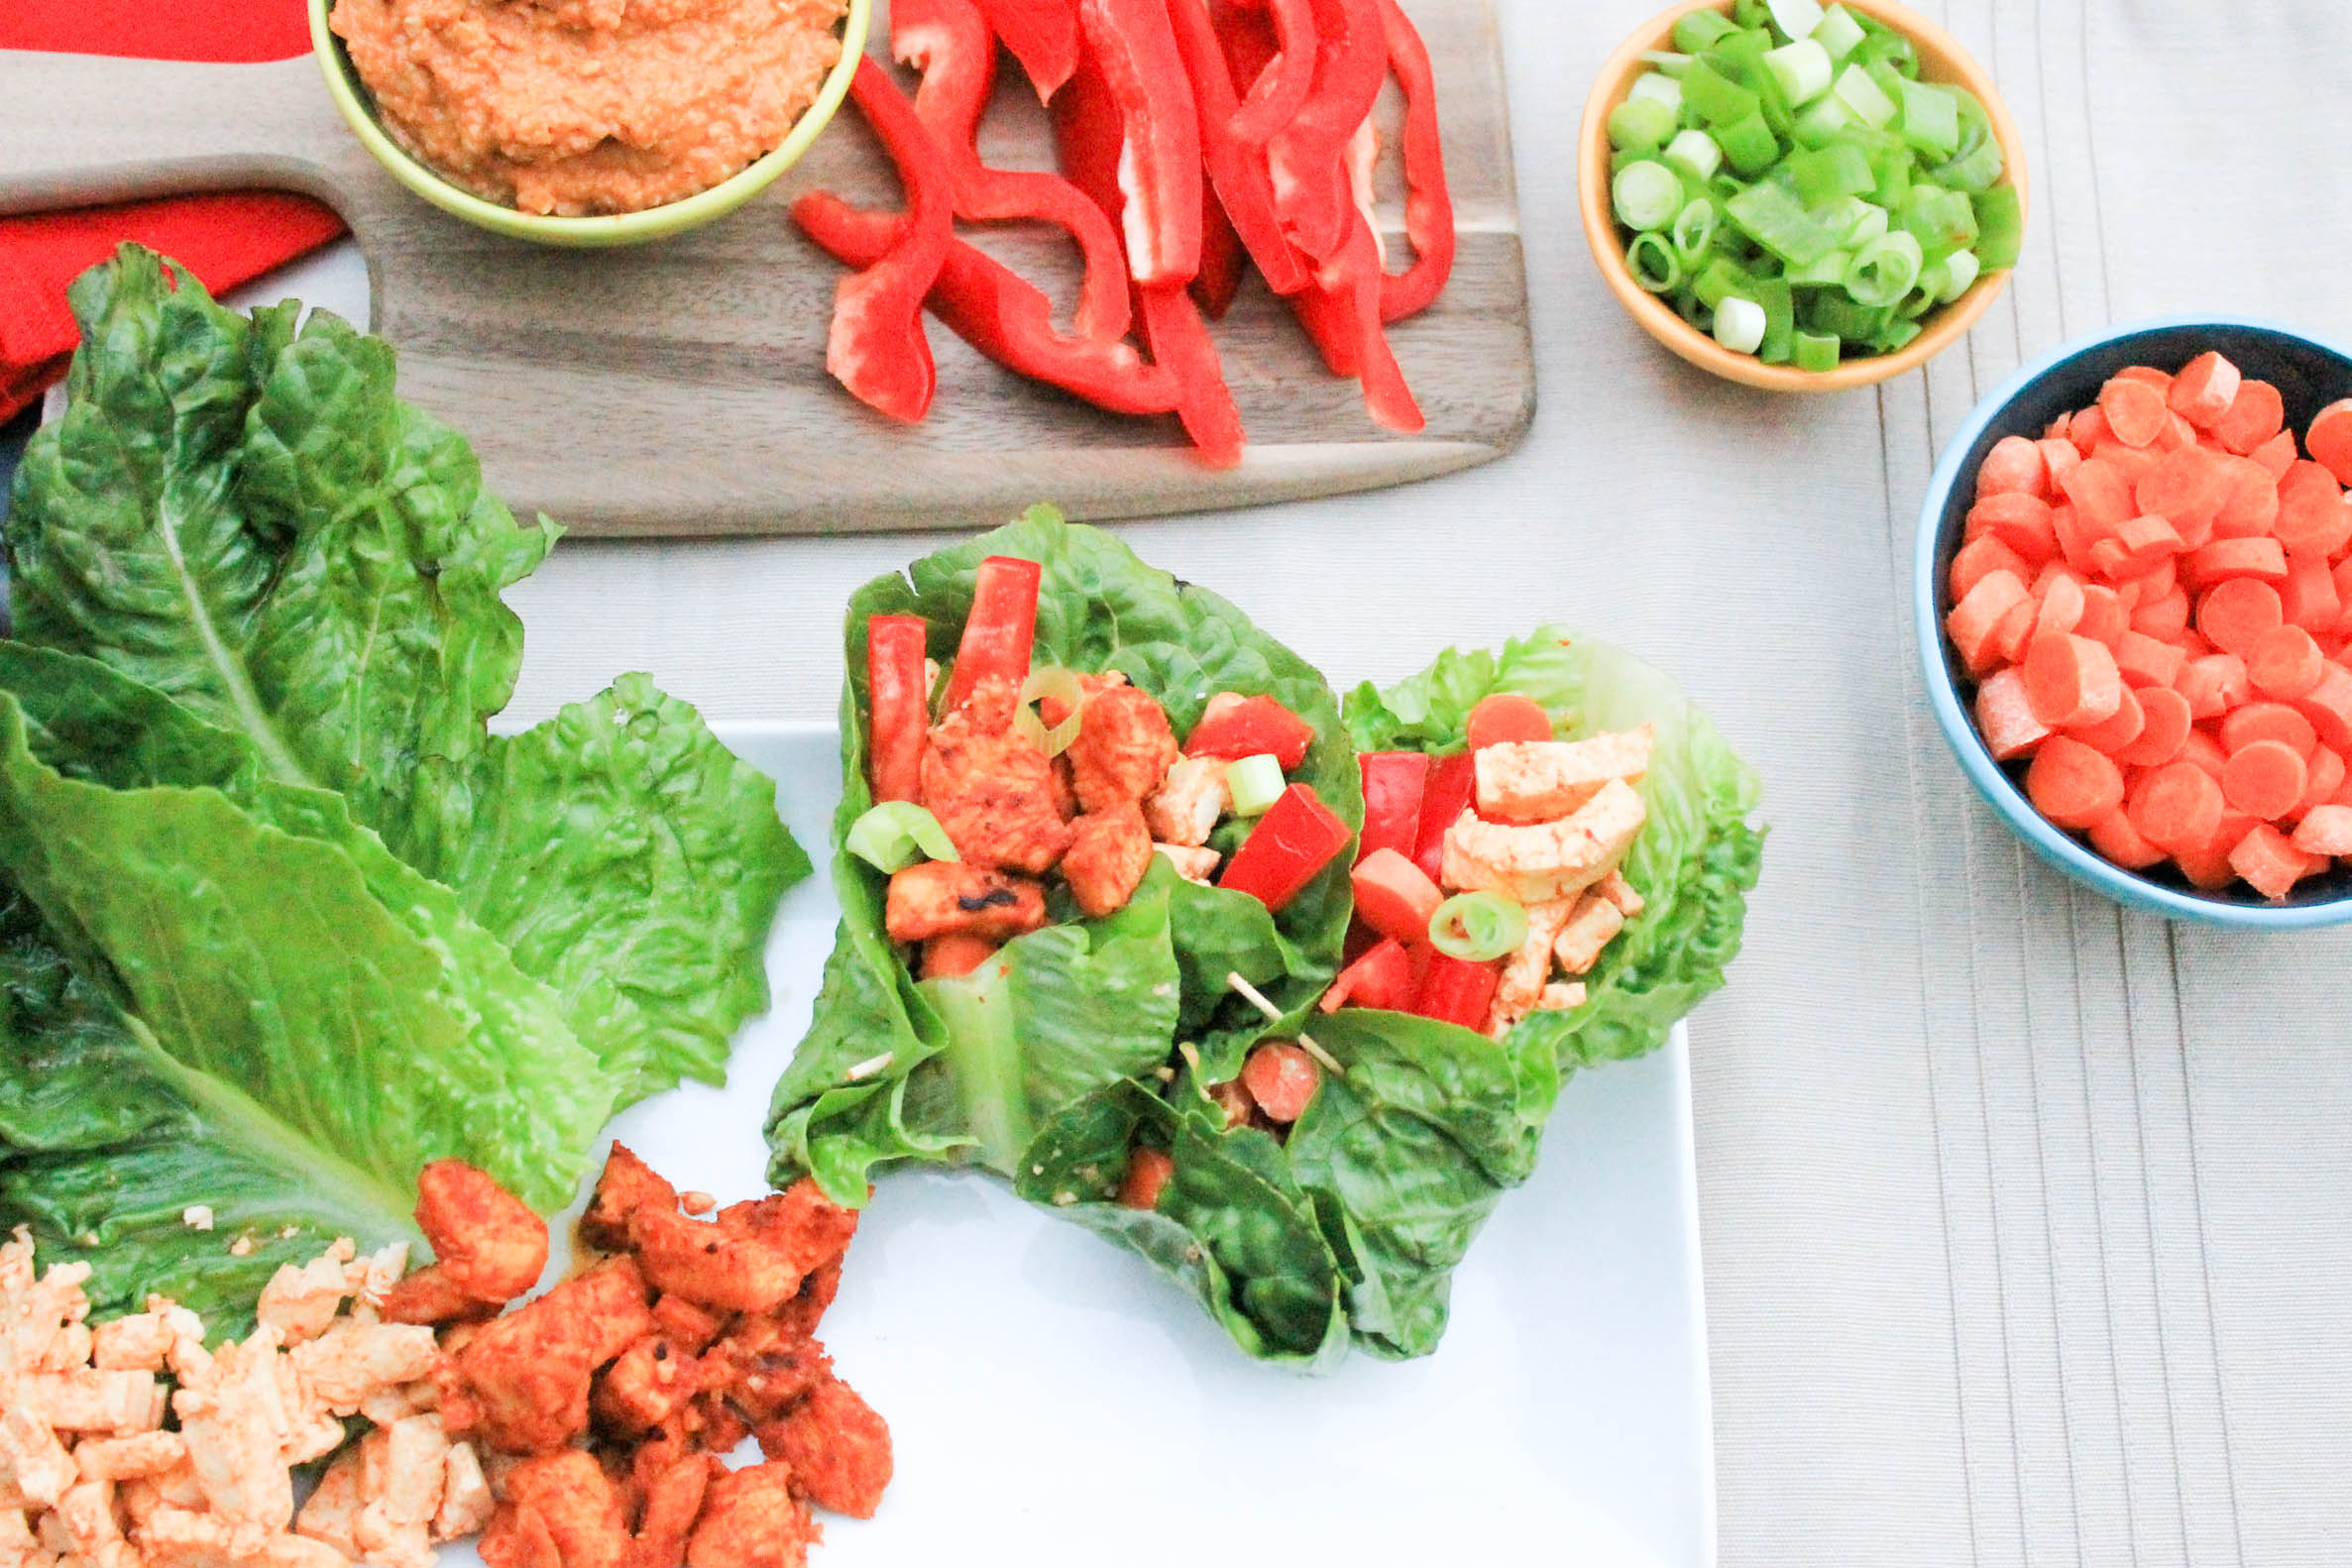
Asian Lettuce Wraps  Looking for a fresh but spicy dish? Look no further! These Asian Lettuce Wraps do not disappoint! I’ve always been a huge fan of lettuce wraps (especially from Pei Wei) and I’m so excited that I’ve {finally} perfected a lettuce wrap recipe of my very own to share with you! 

In this recipe, you’ll have the opportunity to enjoy fresh juicy red bell pepper slices, diced carrots and green onions, spicy marinaded tofu (if you opt for the no-meat option) or chicken, cradled in a cold giant lettuce leaf, topped with creamy cashew peanut sauce. My mouth is watering already! 

Asian Lettuce Wraps_ God Save the Quinoa (7 of 15)

You might have noticed above I mentioned you could have tofu OR chicken. That’s right! This recipe can easily be made to satisfy vegetarians and meat eaters!

If you’re making the vegetarian version use one container of extra firm tofu cubes (drained). This will be enough for 4 servings. (I ALWAYS eat these leftovers for snacks). Be sure to drain the tofu before you marinate it! 

Asian Lettuce Wrap If you’re making the meat eater version, use a one pound chicken breast for every two servings. (Hence if you want to make all chicken lettuce wraps for four people, I suggest using TWO one pound chicken breasts. But feel free to adjust the serving sizes depending on how hungry you are. 

Asian Lettuce Wraps_ God Save the Quinoa (10 of 15)

Let the tofu and chicken marinade in a rice wine vinegar and Sriracha mix for at least 30 minutes, or up to two hours. I’ve done both before and honestly, I don’t think the timing made a huge difference. Make sure you pour enough rice wine vinegar in the marinading meat (or meat substitute) so that the contents are completely submerged. Stir in about 3 tablespoons of Sriracha for a little added kick and let sit. NOTE: If you’re cooking chicken and tofu, be sure to let these marinade in separate bowls. No one wants salmonella from raw chicken. 

If you’re looking for things to do while the tofu/chicken is marinading, you can get started on prepping the veggies and making the {oh so good} creamy cashew peanut sauce. To prep the veggies simply slice the red bell peppers into long skinny slices, dice the carrots and green onions and set aside. Wash your lettuce leaves and carefully pull them off from the head (SLOWLY so they don’t rip…trust me I know from experience!) dry them with a paper towel and set them aside on a plate. If you’re not sure what type of lettuce to use, let me share a couple options with you. If you want something more crunchy go with iceberg lettuce. If you want something softer and easier to roll (this is what I prefer for this recipe) go with butter leaf lettuce (or Boston Bibb Lettuce). I think the name varies depending on where you live. But, if I’m wrong they look and taste extremely similar to one another! You can’t go wrong with either option! 

After the veggies are washed and chopped, make the cashew peanut sauce. Yall, I LOVE this sauce. I can {and do} eat it with a fork! Its sooooo good and easy to make! All you have to do is mix raw (unsalted) cashews, a garlic clove, some peanut butter, water, a little bit of rice wine vinegar, and sriracha in a food processor or blender and mix! SO. SIMPLE. 

Asian Lettuce Wraps_ God Save the Quinoa (1 of 15)

If you store the cashew peanut sauce in an airtight container like a jar or tupperware, it will keep in the fridge for about 2 weeks! Make extra to have something fun to snack on! 

Asian Lettuce Wraps_ God Save the Quinoa (3 of 15)

Okay, by now your tofu/chicken should be done marinating. I’ll start with tofu instructions first! All you have to do is pour the bowl of marinated tofu (INCLUDING the marinade) into a pan on the stove and bring to a boil. When juices start to boil reduce heat and simmer for 2-3 minutes. Your marinade will start to bubble up (almost like if you were to blow bubbles into milk) and this is perfectly fine! It just means you need to give the simmering tofu a quick stir! Pour the majority of the marinade out into the sink and sauté the tofu until it turns golden brown and set aside. 

Asian Lettuce Wraps_ God Save the Quinoa (6 of 15)

To make the chicken, similar to the tofu (and you can use the same pan but ONLY if you cook the tofu first) pour the chicken AND marinade into the pan on high heat. Sauté chicken stirring constantly. Something cool is about to happen. The marinade will turn thick and sticky, taking on the appearance of a teriyaki like sauce. Just FYI I discovered this by accident and Greg said it was “really really good” so blame him if you don’t like it since I’ve never tasted it! If anyone knows why this happens when you cook rice wine vinegar, Sriracha, and chicken let me know! I’ve tried googling it and couldn’t find any explanations! Continue stirring the chicken on medium to high heat until all of the marinade has thickened and chicken is cooked all the way through. 

Asian Lettuce Wraps_ God Save the Quinoa (15 of 15)

You’re done! All you have left to do is assemble the lettuce wraps! Do this by placing the bell peppers, carrots, green onions, tofu or chicken, and cashew peanut sauce in a lettuce leaf and wrap it like a burrito (use a toothpick to keep the wraps together if they’re not cooperating) and enjoy! 

[yumprint-recipe id=’21’]Let me know what you think! 

Fabulous recipes by Mandi at godsavethequinoa.com

Pimento Cheese Jalapeño Poppers

pimento cheese jalapeno poppers

Pimento Cheese Jalapeno Poppers

In the spirit of The Masters, I spent my Sunday afternoon munching on pimento cheese and sipping Arnold Palmers. If I owned a green blazer I would’ve totally been wearing it… but green has never really been my color and truth be told, golf has never really been my thing. This is ironic because I grew up on a golf course- my parent’s house backs up to a tee box. In my adult age, the only “golf” I ever play is Top Golf. For those of you who don’t know what Top Golf is, let me explain. Top Golf is a multi-story (most of them are 3 stories tall) driving range that doubles as a bar. Needless to say, if there’s one in your town and you haven’t been, go!…But not until AFTER you make this recipe!

I’ve never really been a huge golf fan. I usually only watch it because either a) there’s nothing else on or b) Greg makes me and I have nothing else better to do. I try to pay attention to the game but usually end up focusing on the players looks, their outfits, or both. Well, since the Master’s is like the “super bowl of golf”  {and to keep myself entertained during Greg’s watch party} I promised I’d be on food making duty.

The Master's Pimento Poppers

Did you know that pimento cheese sandwiches are famous at The Masters? Random, I know, but rumor has it this dish has been a Master’s favorite since the late 1940’s. Each year spectators at the Master’s flock to the concession stands to taste a piece of Master’s history, and at the price of $1.50 per sandwich how could anyone resist? I don’t know about you, but I don’t think I’ve ever been to a professional sporting event that sells sandwiches (or anything for that matter) for a mere $1.50!

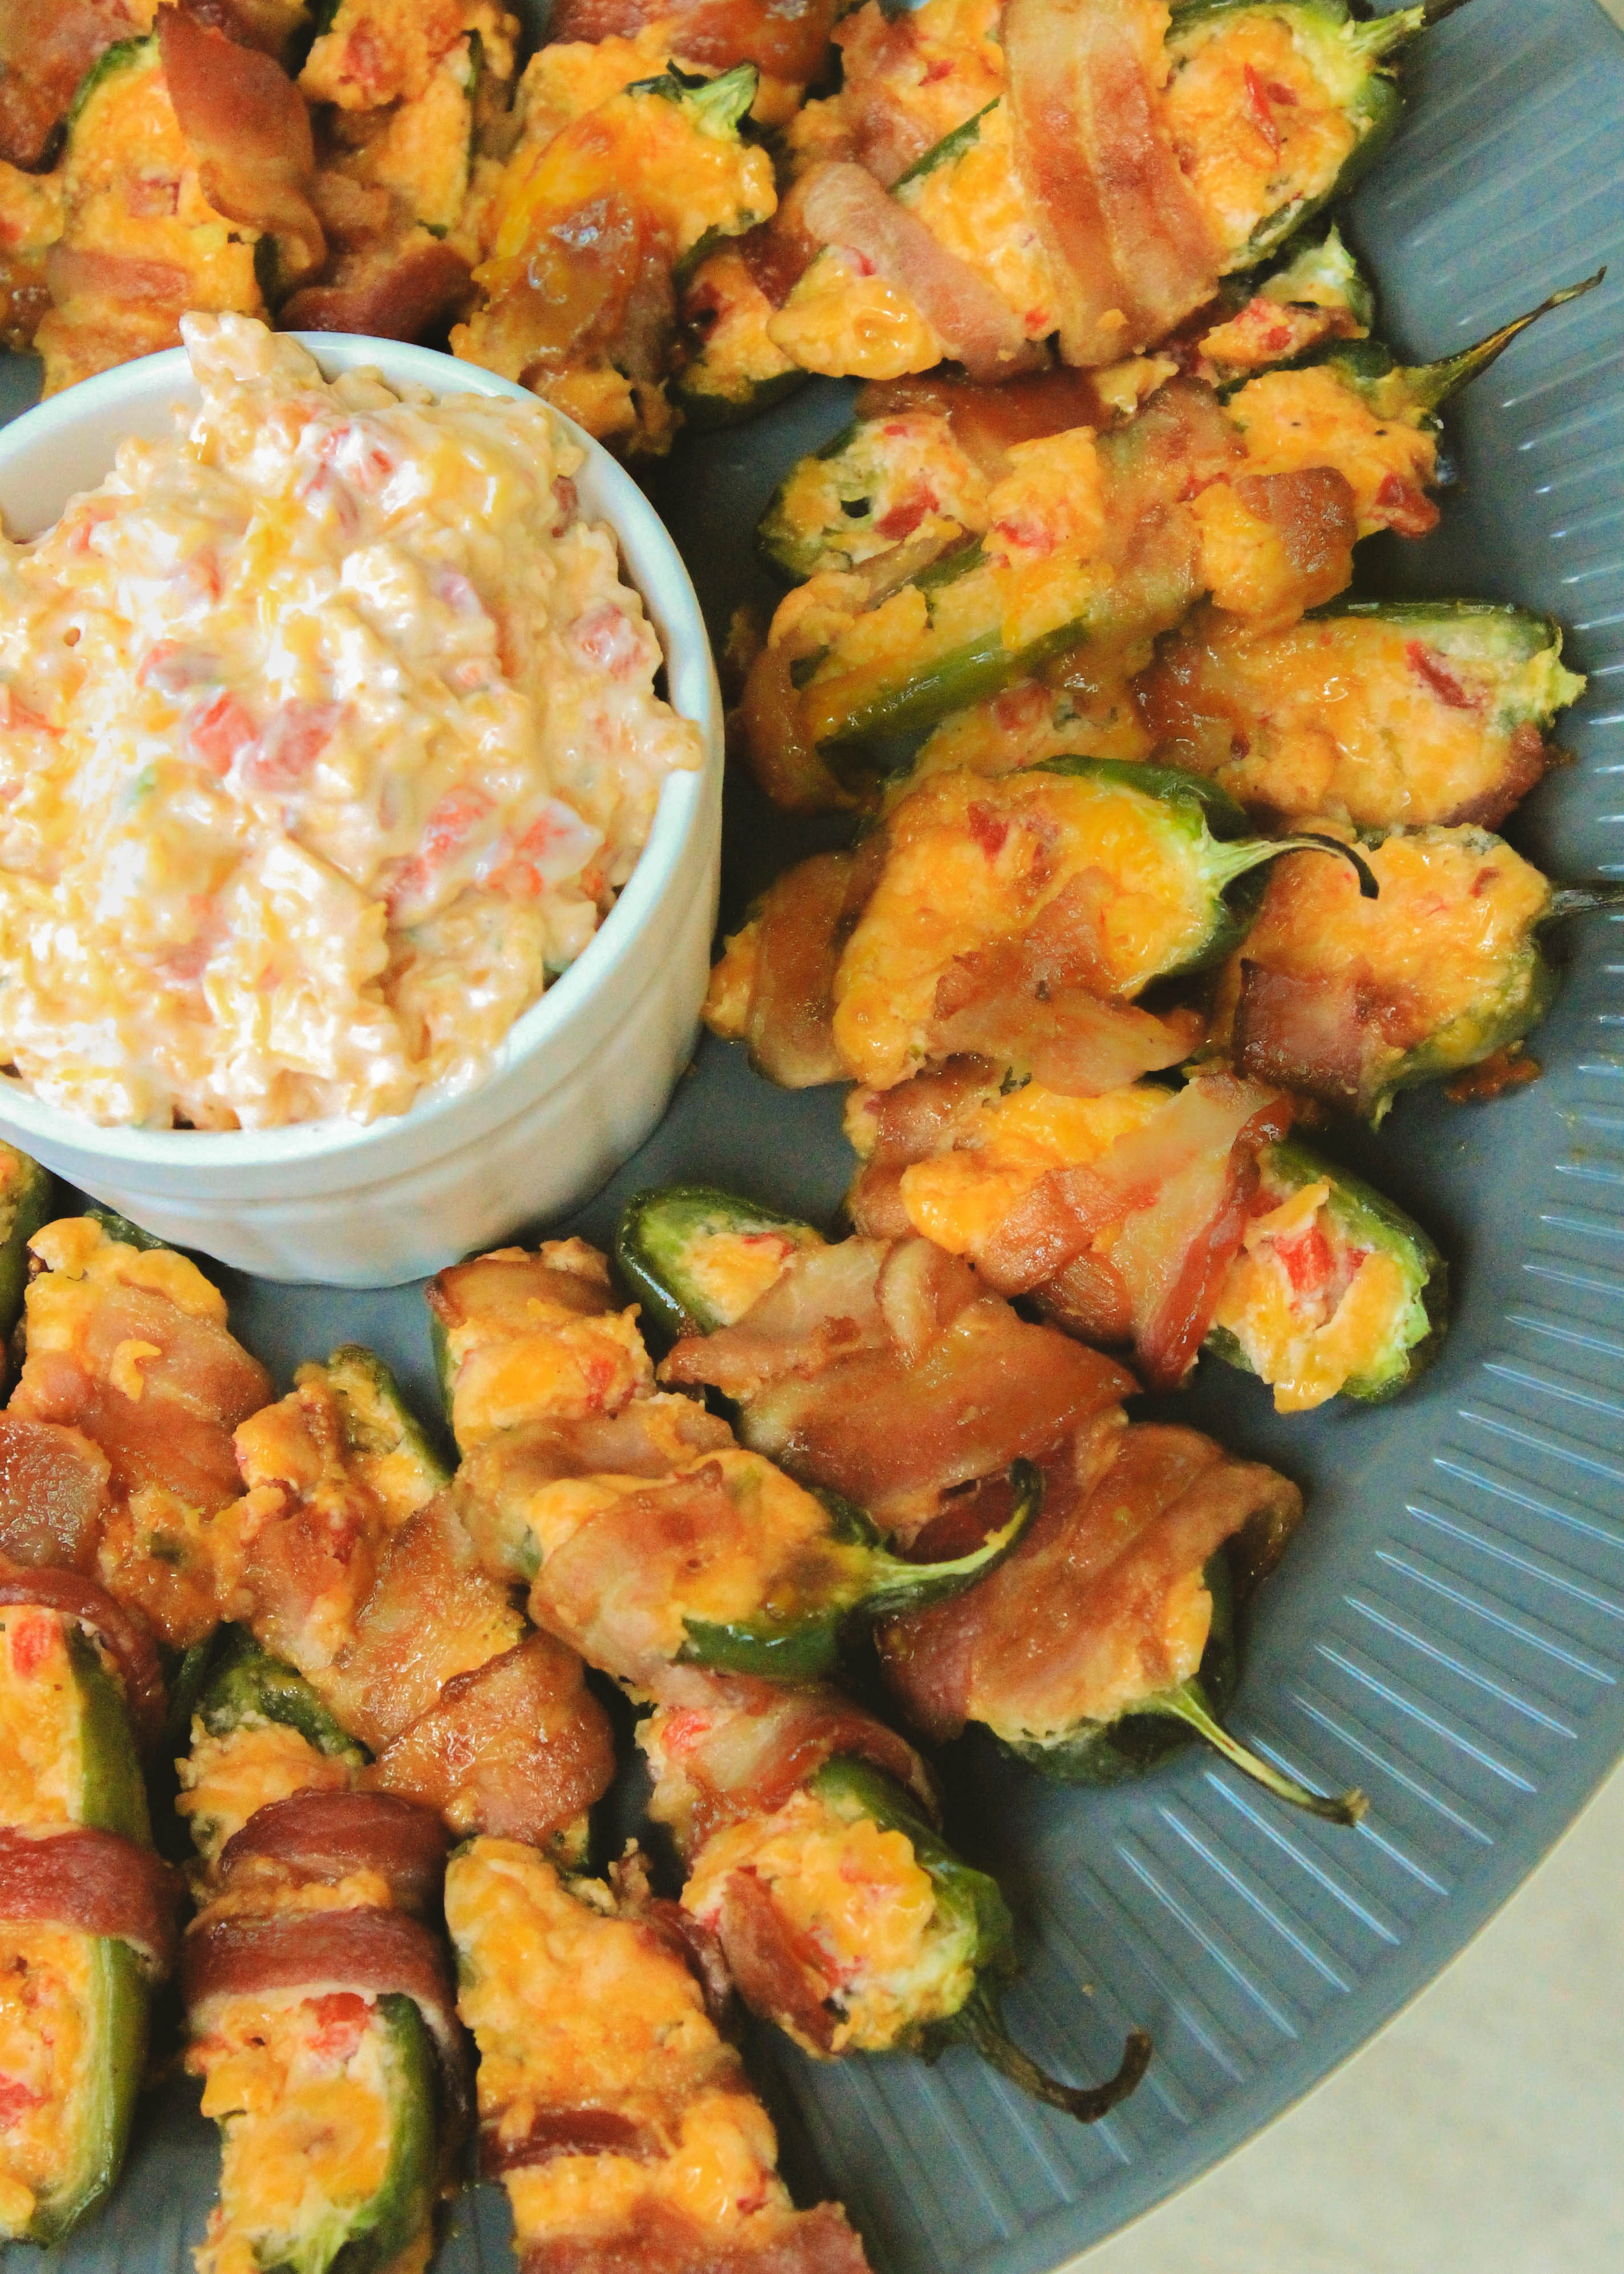
Because of this, I thought that a pimento cheese dish was the only thing that would suffice. Since all boys love bacon, and the boys I was cooking for loved the Master’s, I decided to put a spin on the Master’s traditional pimento cheese sandwiches and opted to make pimento cheese jalapeño poppers instead.

Pimento Cheese Jalepeno Poppers, the Master's

This recipe makes about two cups of pimento cheese as well as 24 pimento poppers. We ate the pimento cheese with crackers, but it can be used to make sandwiches, or placed on burgers. PS- did I mention that this is a lighter version of the classic pimento cheese you can buy pre-packaged at the store? By using weight watchers cream cheese and non-fat greek yogurt, my version only has about 115 calories per serving. That being said, please raise your Arnold Palmer and let’s toast to that!

Pimento Cheese Jalepeno Poppers_Arnold Palmer (1 of 1)

[yumprint-recipe id=’12’]Fabulous recipes by Mandi at godsavethequinoa.com

Pesto Pasta with Veggies

Pesto Pasta with Veggies

Pasta is always one of my go to recipes when I want to make something quick and easy. If you love pasta, you’re not alone! Did you know that the average American consumes about 20 pounds of noodles each year? Unfortunately, the majority of these consumed carbs tend to be your traditional, refined “white” noodles. So, if this statistic applies to you, make a goal to be one of the “average Americans” that eats 20 pounds of whole-wheat noodles per year. Now, don’t freak out and start googling “what’s going to happen to me if I ate 20 pounds of white noodles last year”. Nothing is wrong with you and you’re going to be fine, I promise.

So why should you eat whole-wheat noodles instead of their white counterparts? Well, white pasta is made from refined flour and during the refinement process the germ and bran are removed from the kernel, leaving only the endosperm, which is grinded up and used to make the white noodles we all know and love. This causes a problem because the majority of the nutrients in grains come from the germ and bran. Since the germ and bran are removed during the refinement process white noodle eaters are missing out on the nutrients and health benefits associated with eating whole-wheat noodles. We’re talking natural fibers, iron, B vitamins, protein, and micronutrients such as magnesium, potassium, and selenium. To put it simply fiber will fill you up so you won’t overeat, B vitamins help speed up your metabolism, Magnesium helps strengthen bones and promote muscle function, and Selenium helps protect your immune system. Need I say more?

pesto-pasta-2-

Now that you know the health benefits whole-wheat pasta provides, here’s a little FYI. If you’ve never cooked with whole-wheat pasta be aware that it usually takes a little longer to cook and depending on the brand you buy can have a weird texture. Don’t worry, as long as you don’t over cook your pasta, the texture should not be an issue. If you’re not sure which “whole-wheat” version to buy (beware of impostors) one of my favorites brands is Healthy Harvest. In fact, it’s the brand I used in this recipe, which I’m sure you’re dying to know about. Moving on. 🙂

This is a great on-the-go recipe! This dish can be made in 30 minutes or less, and what’s even better is its chock full of veggies. This recipe calls for basil pesto, and I usually make my basil pesto at home. If you want to take a stab at it, it’s extremely easy to make as long as you have a food processor. If you don’t have one I highly suggest getting one! The big ones can be pretty expensive, but you don’t need a big one, well not for my recipes at least! I have a small 4-cup Cuisinart one that I bought for $39! It works like a charm and I guarantee you that its money well spent!

Basil pesto

If you want to make basil pesto at home (pictured above) all you have to do is chop 2 cups fresh basil in the food processor, then add 5 TBS EVOO, ¼ cup grated parmesan cheese, 2 TBS pine nuts, 2 tsp minced garlic, and ¼ tsp salt and combine until reaching desired consistency. Voila! Now you have fresh homemade basil pesto!

Roasted Asparagus

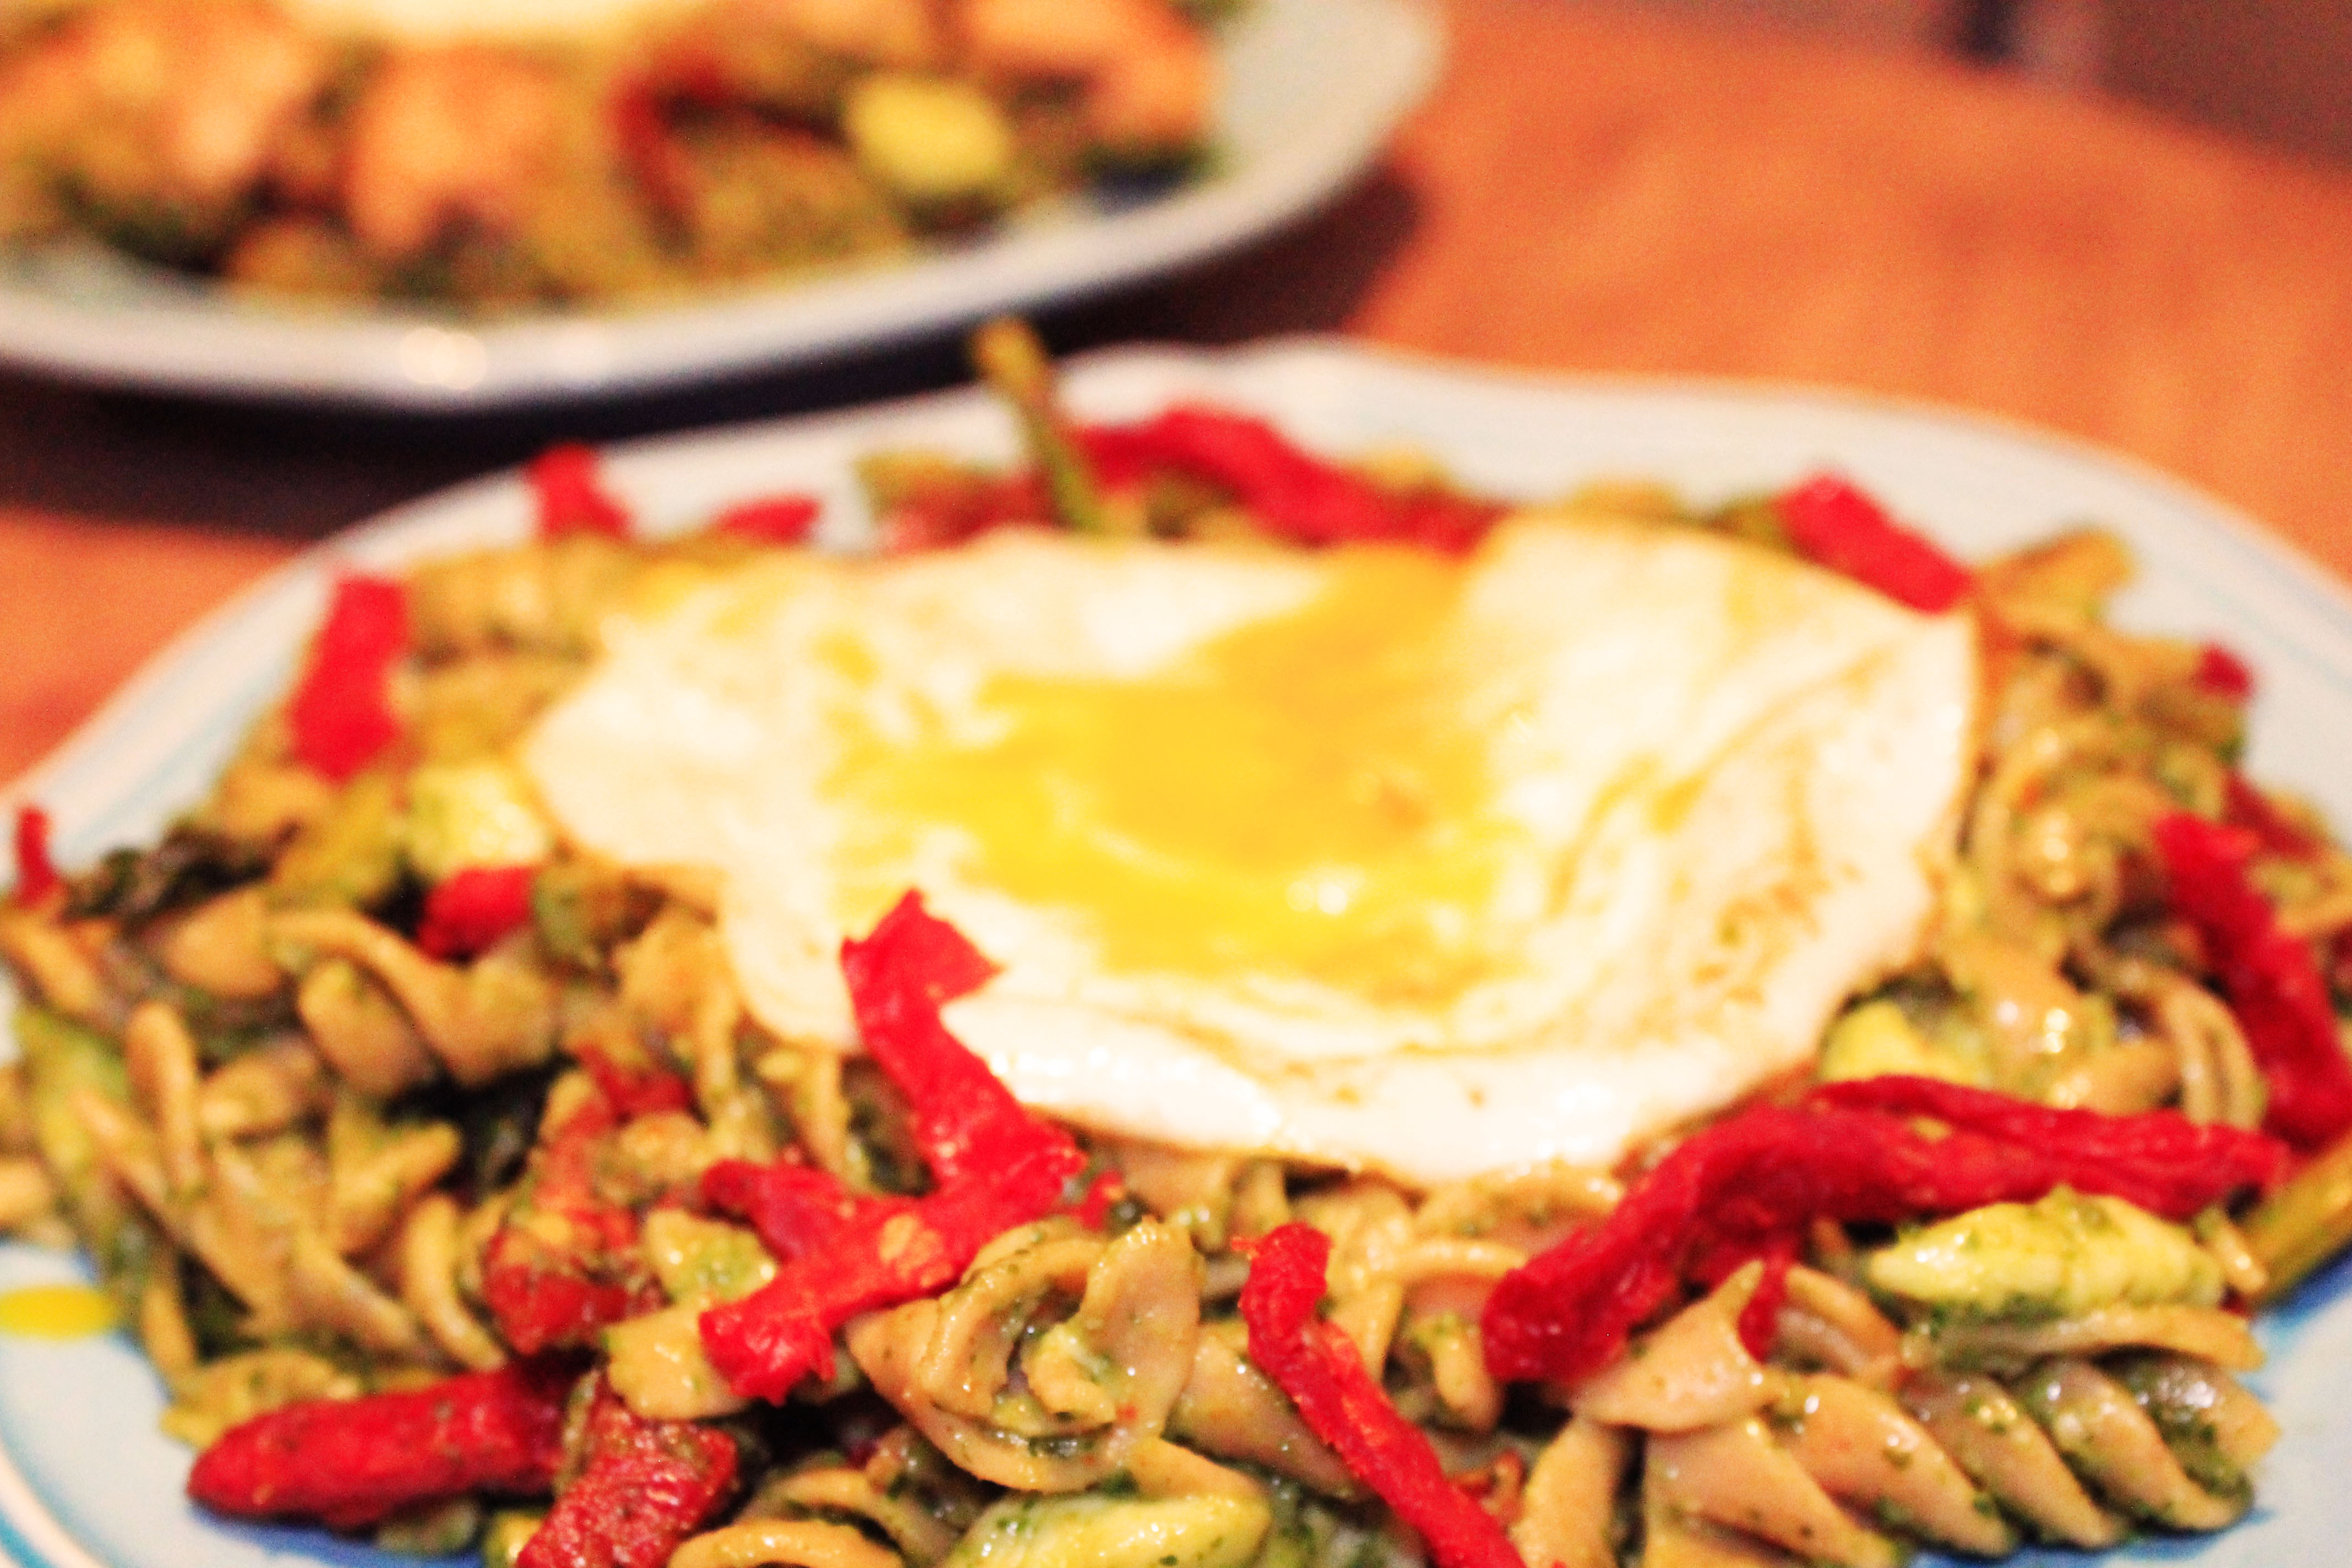
Like I mentioned, this recipe can be made in under 30 minutes. Timesaving tip: While the asparagus is roasting in the oven cook the pasta and make the basil pesto (if you decide to go the homemade route) so that when your asparagus is done cooking, you’ll be over halfway finished! All you’ll have left to do is combine the mozzarella, basil, asparagus pieces, and sun dried tomatoes with the pasta and fry an egg or two to place on top! 


[yumprint-recipe id=’11’]Fabulous recipes by Mandi at godsavethequinoa.com

Skinny Orange Chicken (or tofu)

Skinny Orange Chicken

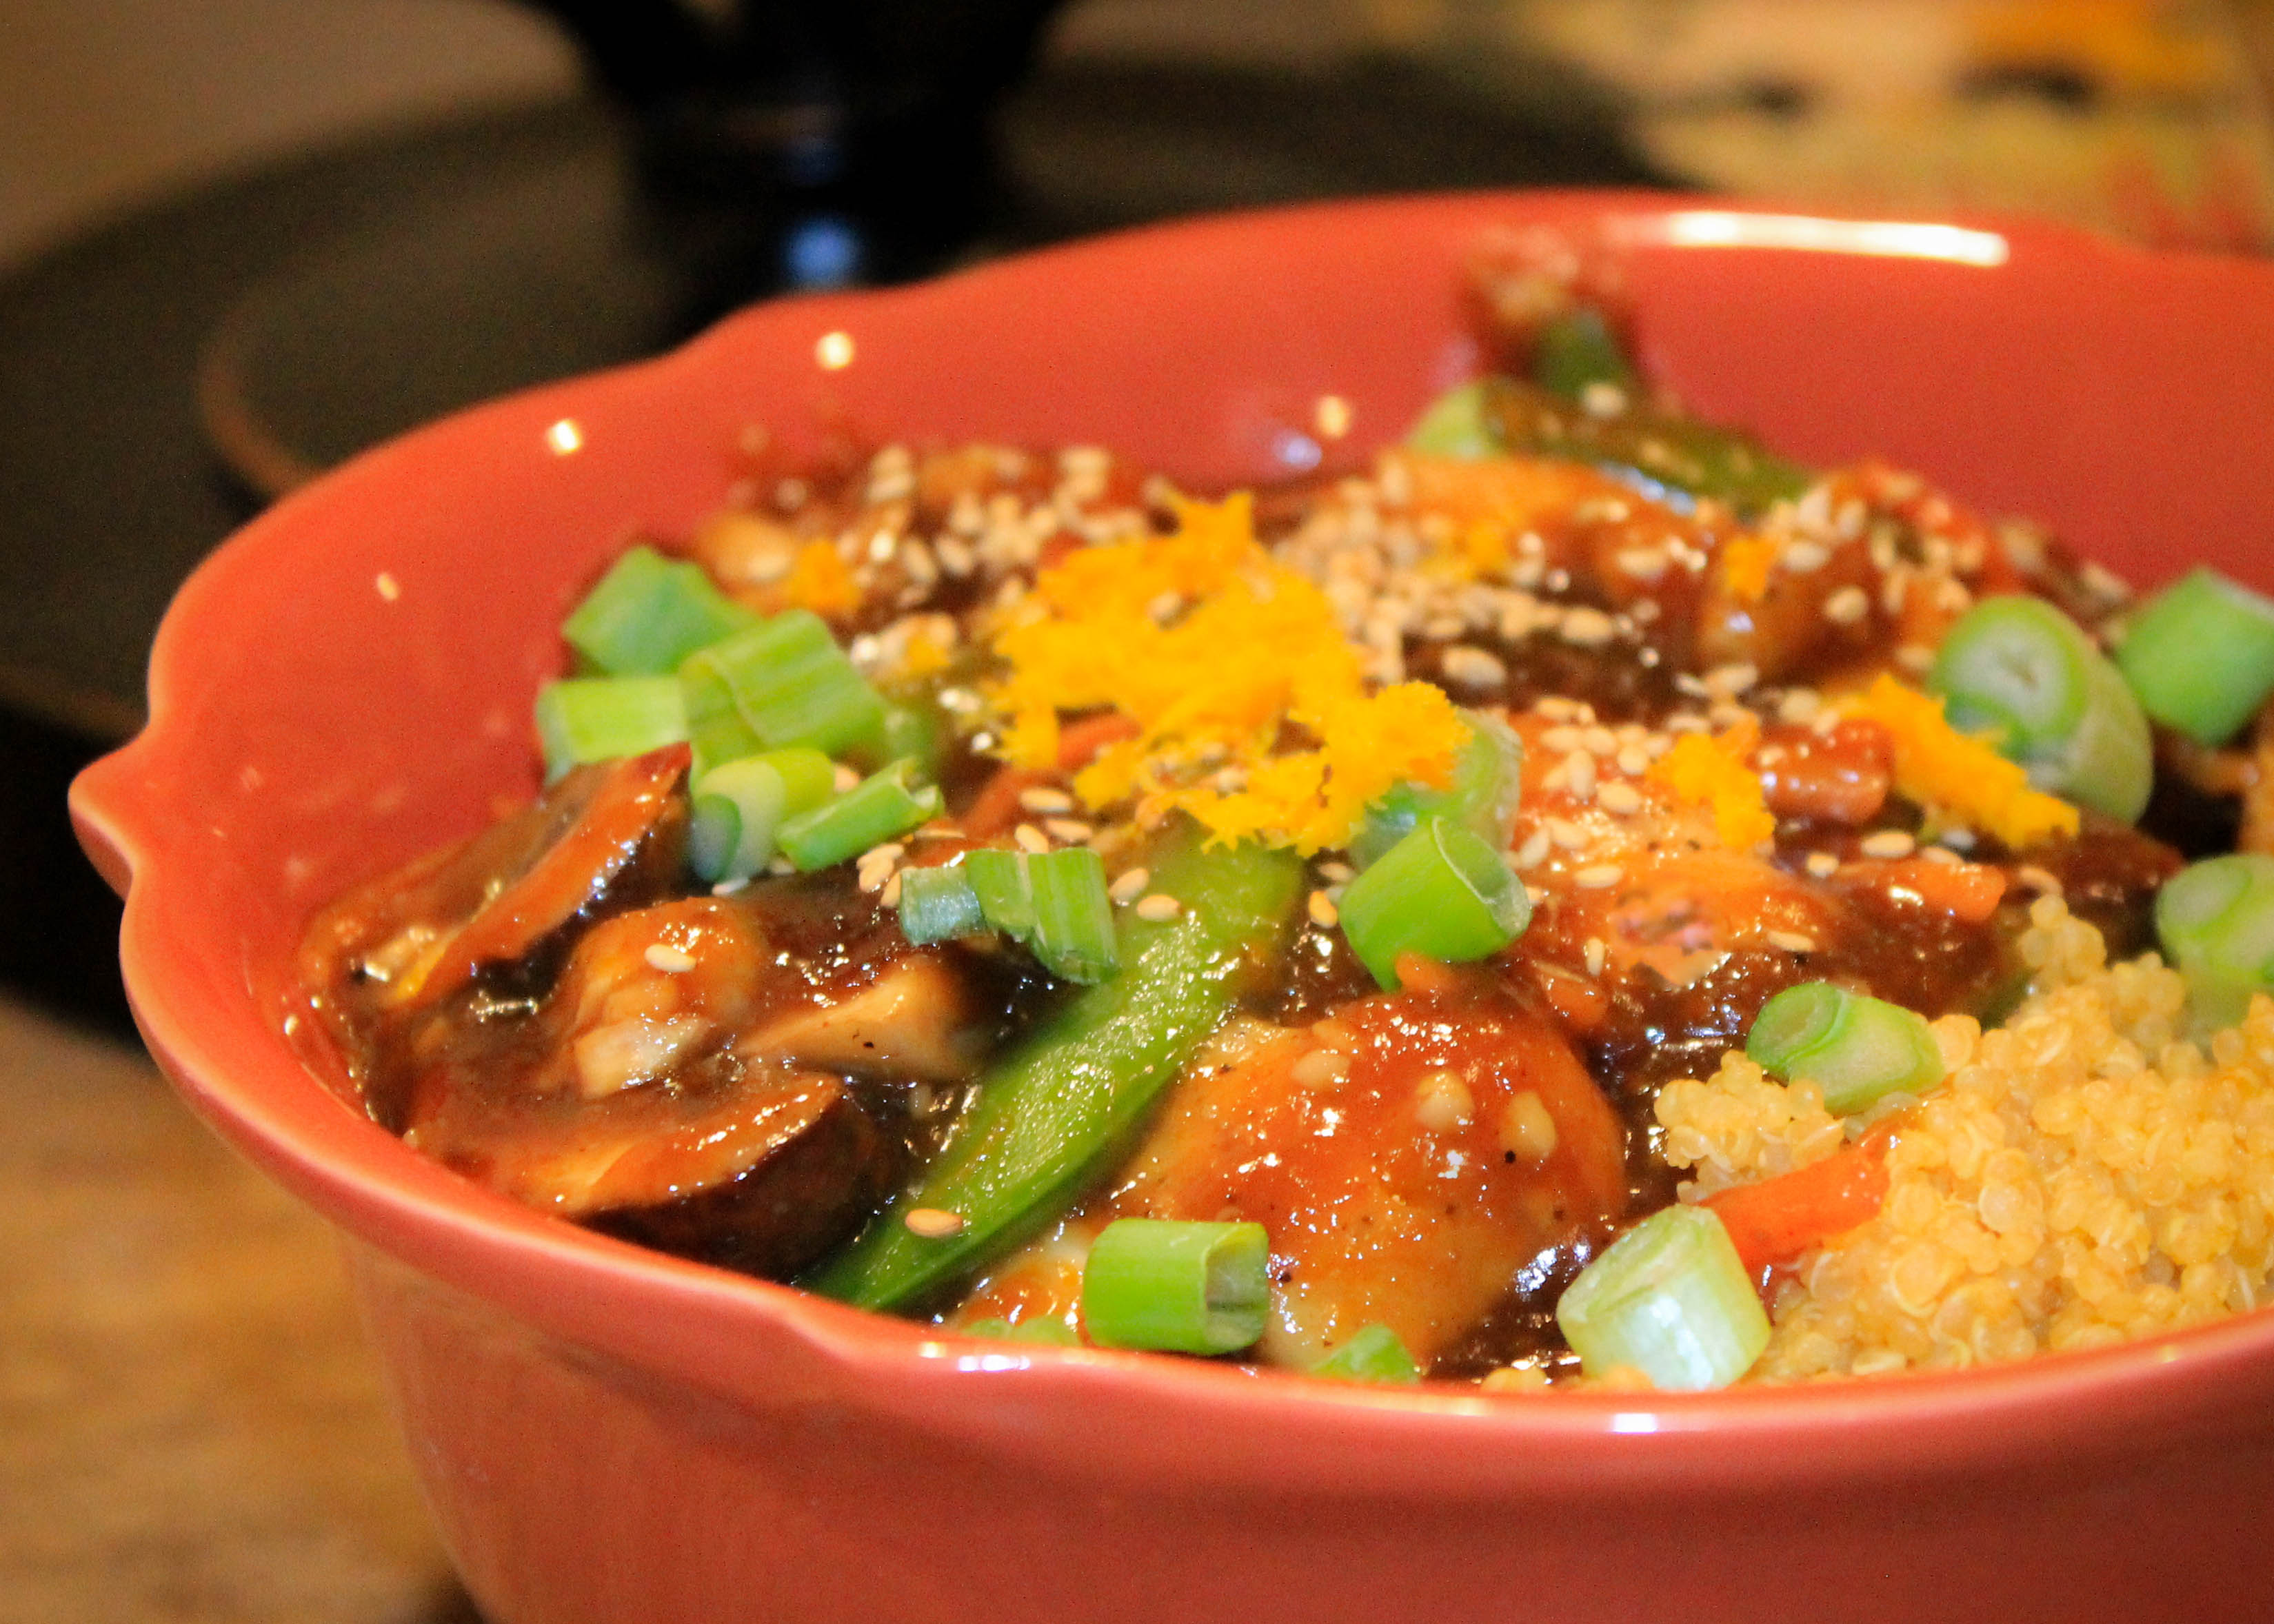
I don’t know about you, but this week has been c r a w l i n g by. For some reason I keep thinking today is Wednesday, when in reality its only Tuesday… Don’t you hate when that happens? I sure do! Anyways, if your week seems to be inch worming by the way mine is and you want something to look forward to, check out my skinny orange chicken recipe! Yes, the title says it all… SKINNY! This recipe allows your tastebuds to enjoy the satisfaction of one of the most popular Asian dishes, but with a THIRD of the calories so your waistline can rejoice!

If you’re confused by the title “skinny orange chicken (or tofu)” and are wondering if this dish is vegetarian friendly the answer is YES! I would never let my fellow veggies down! 😉 You can definitely sub the chicken for tofu. The directions are included in the recipe below. Just remember, if you’re cooking half chicken and half tofu, be sure to cook the TOFU FIRST to avoid cross contamination. (I sound like my mother!) 

Skinny Orange Chicken recipe

This recipe makes about 4 servings and can be stored for 4-5 days in an airtight container. If you’re trying to be on your best healthy-eating behavior at the office, you should highly consider bringing your leftovers to work to enjoy for lunch. I bring my lunch to work 99% of the time not only because its cheaper for me since I go to the grocery store on a regular basis, but it helps me maintain my healthy eating habits. What’s that you say? Someone is catering greasy pizza down the hall? No thanks, I’ll enjoy my skinny orange chicken (or tofu) bowl! 

[yumprint-recipe id=’9′]Fabulous recipes by Mandi at godsavethequinoa.com

Quinoa Pad-Thai

Quinoa Pad Thai-home

I LOVE Pad Thai but I don’t love all of the calories and sodium that accompany my Pad Thai takeout orders {sigh}. I was craving a Pad Thai dish that was both delicious AND nutritious. After doing a lot of research and a little grocery shopping, I ended up concocting a healthier version of my beloved Pad Thai take-out,- Quinoa Pad Thai- which I guarantee does NOT disappoint!

As you can probably guess from the title, this Pad Thai recipe uses quinoa instead of noodles. I know you’re probably thinking “you can’t have Pad Thai without noodles”, and this was the EXACT reaction I got from Greg the first time I made this. I promised him that he would like it and agreed that if he didn’t I would buy Pad Thai takeout for both of us. The pressure was on! But, sure enough after he took this first bite, I think the words that came out of his mouth were something along the lines of “I don’t like it…I LOVE it“. It was hard to tell because hardly stopped to breathe until he had finished his entire bowl! Success! 

Quinoa Pad-Thai up close

This recipe generously serves 4 people, meaning that depending on how hungry you are, you will probably have leftovers. This is one of my go-to recipes for when I know I’m going to have a hectic week because it reheats very well and lasts for about 5 days sealed in a Tupperware container. I like to make it towards the beginning of the week, usually on Sunday, and eat the leftovers on those days when I’m exhausted and/or get home from work too late to cook.

FYI, this is one of my FAVORITE recipes, and I’m excited to share it with all of you!

Before you get started, I want you to know that I designed this recipe to be made three ways. You can elect to make this recipe using 1) only chicken, 2) only tofu, or 3) half chicken, half tofu. I usually make half chicken and half tofu version. Be sure to pay close attention to the instructions for “all chicken or all tofu” or “half chicken, half tofu” highlighted in the recipe for serving sizes and directions so that you can confidently make the rendition of this dish that you prefer!

I would like to mention that regardless of the version you are making, you will cook the Quinoa and sauce FIRST. Once the Quinoa and Sauce are finished, you will cook your stir-fry, which you will add the Quinoa and sauce into later. If you are making the “half chicken, half tofu” version, please note that you will cook the tofu version first using half of the veggie mix, quinoa, and sauce.

Let’s get started!


[yumprint-recipe id=’2′] CHeers_turquoise and grey

Follow my blog with Bloglovin