Category: Appetizer Recipes

Loaded Blueberry Balsamic Avocados

Loaded Blueberry Balsamic Avocados Title Pic

Step up your guacamole game by making loaded blueberry balsamic avocados instead. Simply swap tomatoes, onions, and lime juice for fresh blueberries, shredded parmesan cheese, and balsamic vinegar, mix together and viola! Thirty seconds later, you have a delicious dish just waiting to be devoured!  

There are many, many things I love in life. With only four simple ingredients, this recipe is at the top of my list! What’s not to love about a super simple, no cook recipe that has some of my favorite food groups (avocados, blueberries, and cheese)? Not to mention, this is a fantastic post workout snack full of vitamins and nutrients to replenish your muscles and prepare your body for its next beating. 

Loaded Blueberry Balsamic Avocados Ingredients

Blueberries should be a staple in any endurance athlete’s diet. Thanks to the absence of cholesterol from blueberries, not only can the lower your risk of heart disease and cancer, they are also anti-inflammatory and are known to aid in muscle recovery and soreness. (AMEN!) 

Loaded Blueberry Balsamic Avocados - blueberries

How to pick out and store blueberries 

When scoping out which package of blueberries to add to your shopping cart, look for firm that are not soft or bruised with a deep blue or purplish color. Note: the waxy, whitish-grey coloring on the blueberry is referred to as the “bloom” and is considered a sign of freshness. The “bloom” is mother nature’s natural protection that helps to prevent the berry from spoiling. To prolong their life expectancy,  only wash the blueberries you’re going to eat right before eat them. Do not wash them all at once and store them in the fridge if you want them to last! I also suggest conducting periodic inspections to remove any berries that have turned soft or moldy. You don’t want one bad apple… er, blueberry to spoil the bunch!

When fresh blueberries are out of season frozen blueberries are a great alternative! When selecting frozen blueberries, shake the bag around to make sure the berries are rattling around, similar to a bag of peas. If a bag of blueberries appear to be in a big, frozen clump, keep looking. This is a sign the berries have already thawed and re-frozen. As always, make sure to avoid options with added sugars are sweeteners. Check the ingredients listed on the package. All you should see is “blueberries”. Plain and simple! To unthaw frozen blueberries, simply rinse them under cold running water and let thaw for a few minutes at room temperature. .

Loaded Blueberry Balsamic Avocados - parmesean

Do not, I repeat DO NOT skimp on the Parmesan cheese! Its rich in calcium, provides an excellent protein source and is easily digested. Trust me, your bones will thank you.

I prefer to serve this dish with nutrient rich endives(hello vitamin A, K, folate and fiber!) They also provide a nice crunch, you know the kind you get from a big bag of chips. At first bite, endives may taste a tad bitter. I personally did not have this problem but know some who think they take a little getting used to. Rest assured, be sure to thoroughly wash them before eating and store in the refrigerator- this should help eliminate some of the bitterness. If you’re looking for other recipes to enjoy endives with, check out my Avocado Tuna Salad recipe.

Loaded Blueberry Balsamic Avocados

I told you this recipe was SUPER simple to make, so here we go.

Step 1: Pick out a very large, soft, ready to eat avocado. Cut it in half lengthwise, otherwise known as “hot dog style”, remove the pit, and scoop the good stuff into a bowl with a large spoon and mash. If you’re looking for a way to impress your friends and up your food presentation game, be careful NOT to break the shell. I’ll tell you why in just a minute. 

Step 2: Rinse, dry, and add your fresh (or frozen and dethawed) blueberries to the bowl. Next, sprinkle in your freshly grated parmesan cheese and gently stir to combine. 

Step 3: Finally, in a slow, stead stream, carefully pour balsamic vinegar over the contents in the bowl. You should pour just enough so that the green color of the avocado becomes slightly darker, but not brown. I suggest starting slow and gradually adding more balsamic as needed. 

Loaded Blueberry Balsamic Avocados

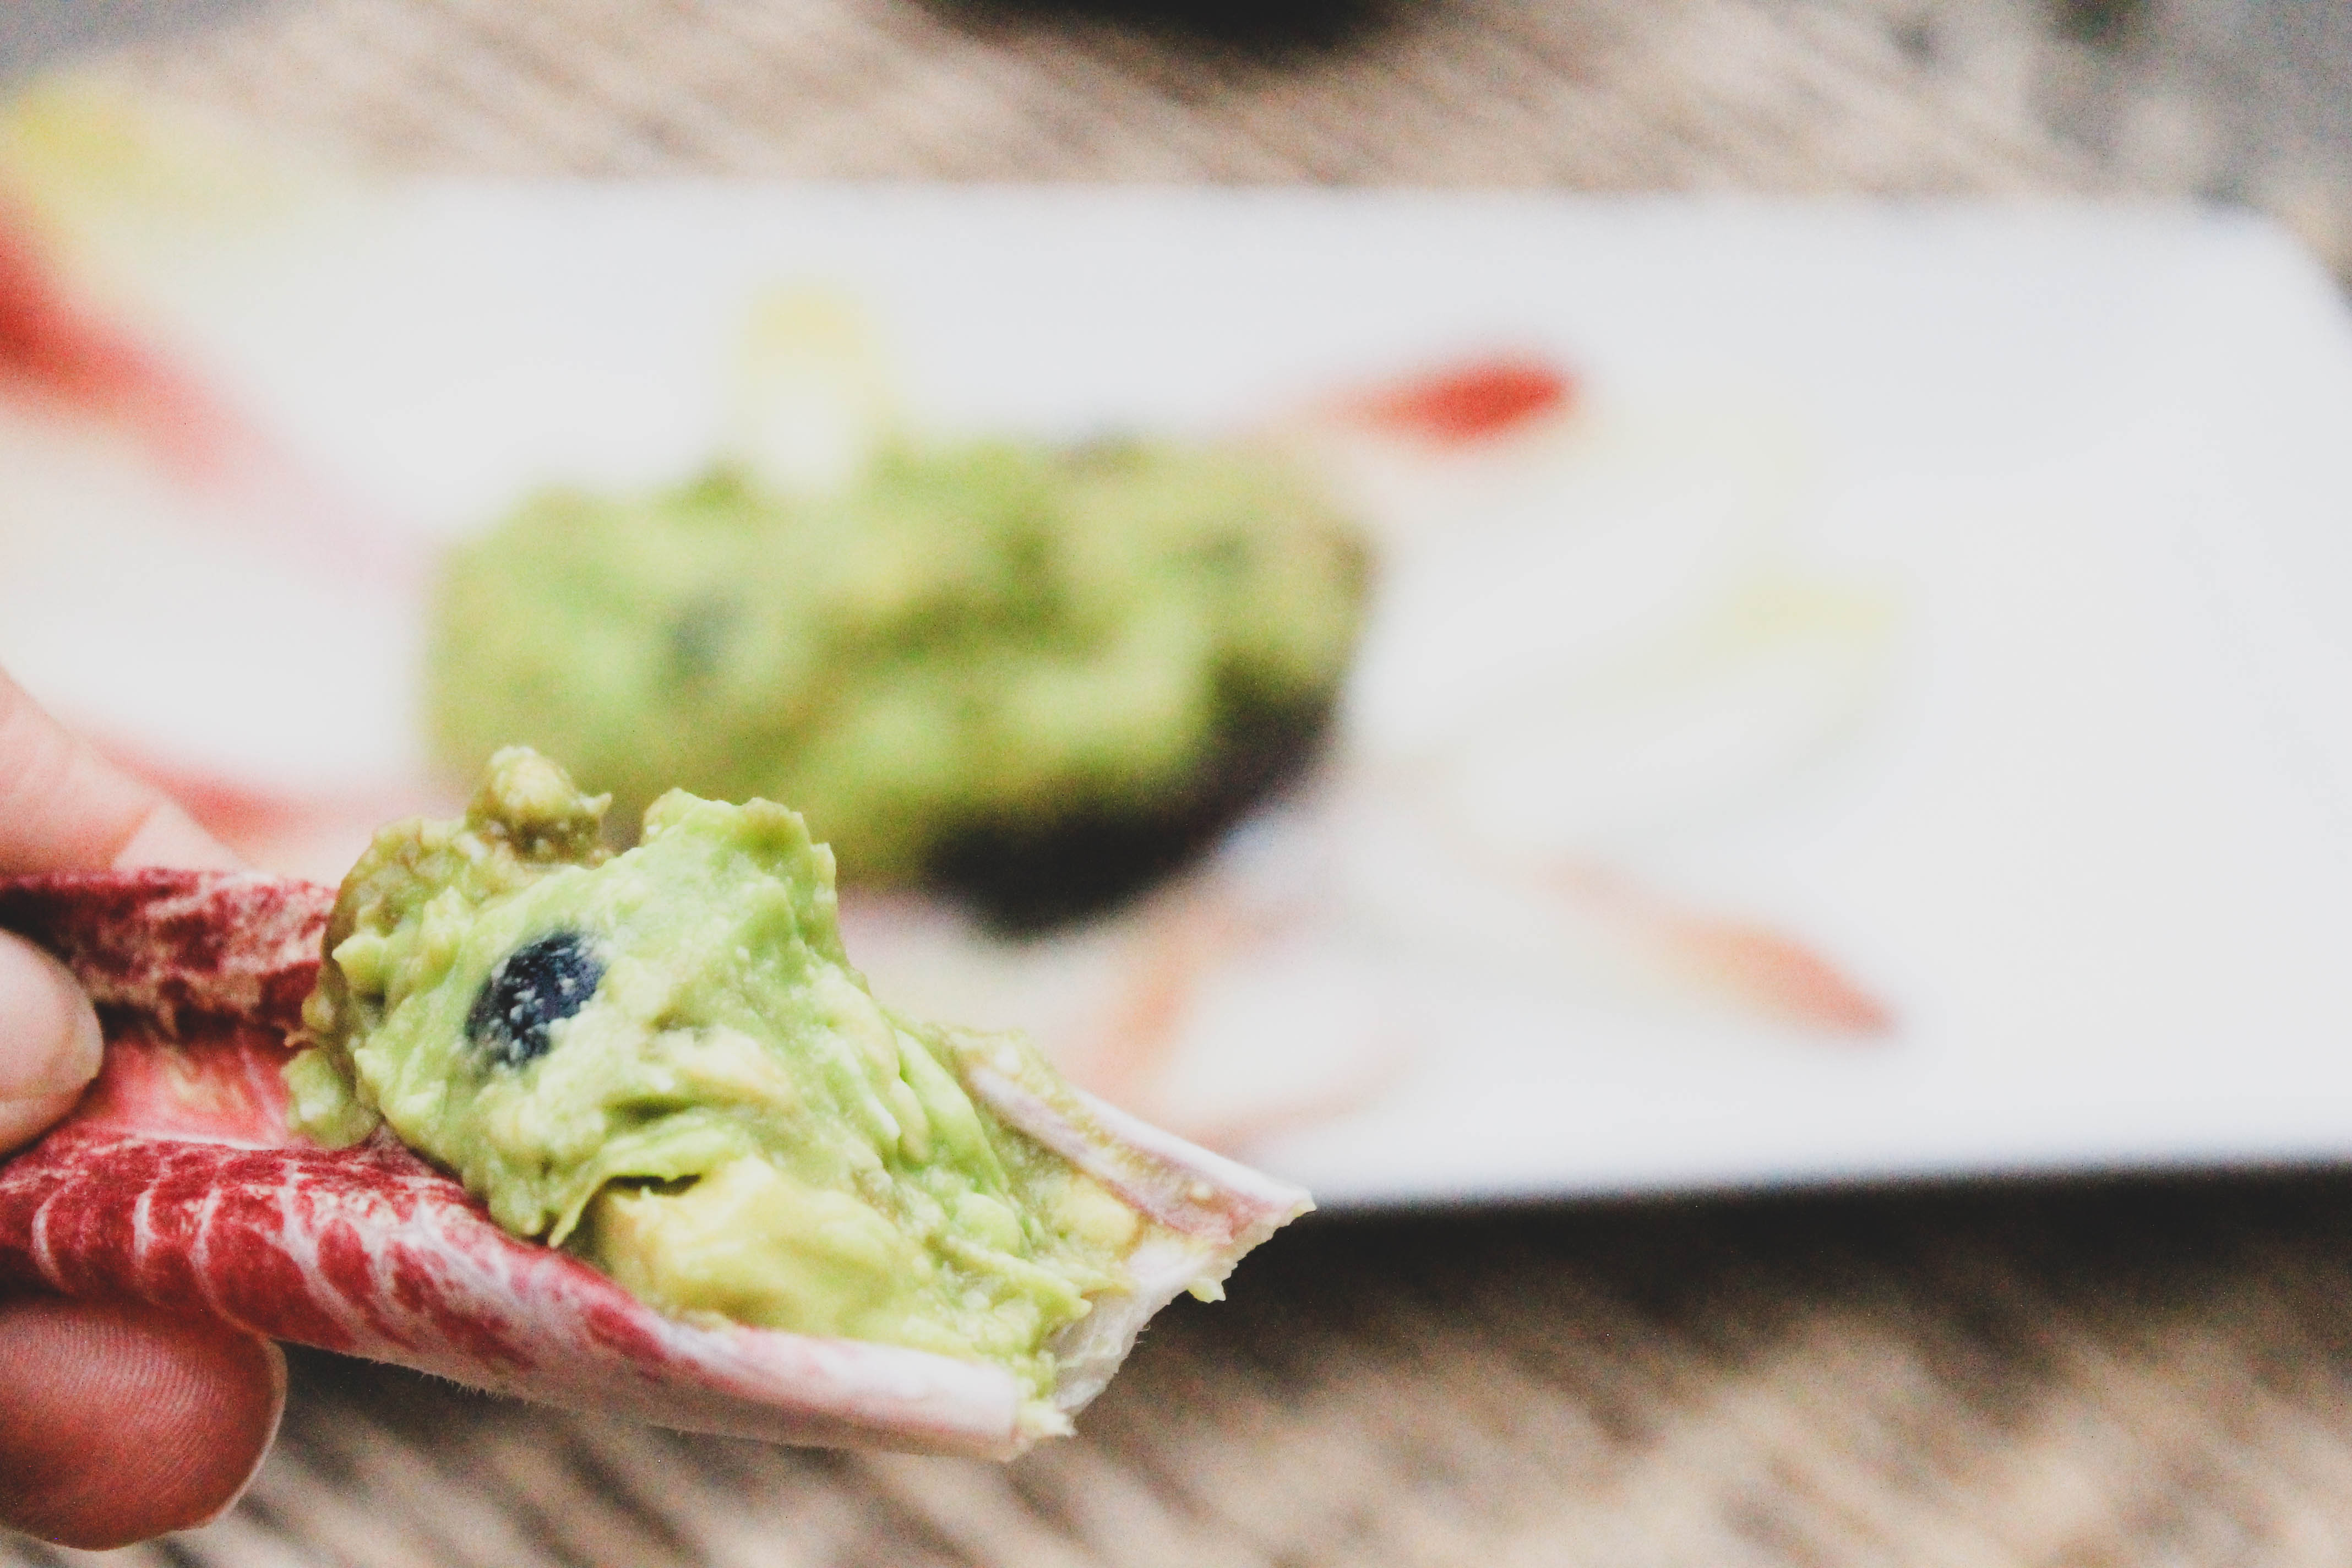
Serve by placing contents into a bowl (quick but B O R I N G) or by packing contents tightly back into the avocado shell. Place on a plate and arrange endives as pictured above. 

Use endives to scoop the avocado out of its shell and enjoy! 

Loaded Blueberry Balsamic Avocados


[yumprint-recipe id=’46’] 

I’d love to hear what your think! 


Recipes for endurance athletes

Avocado Tuna Salad

Avocado Tuna Salad

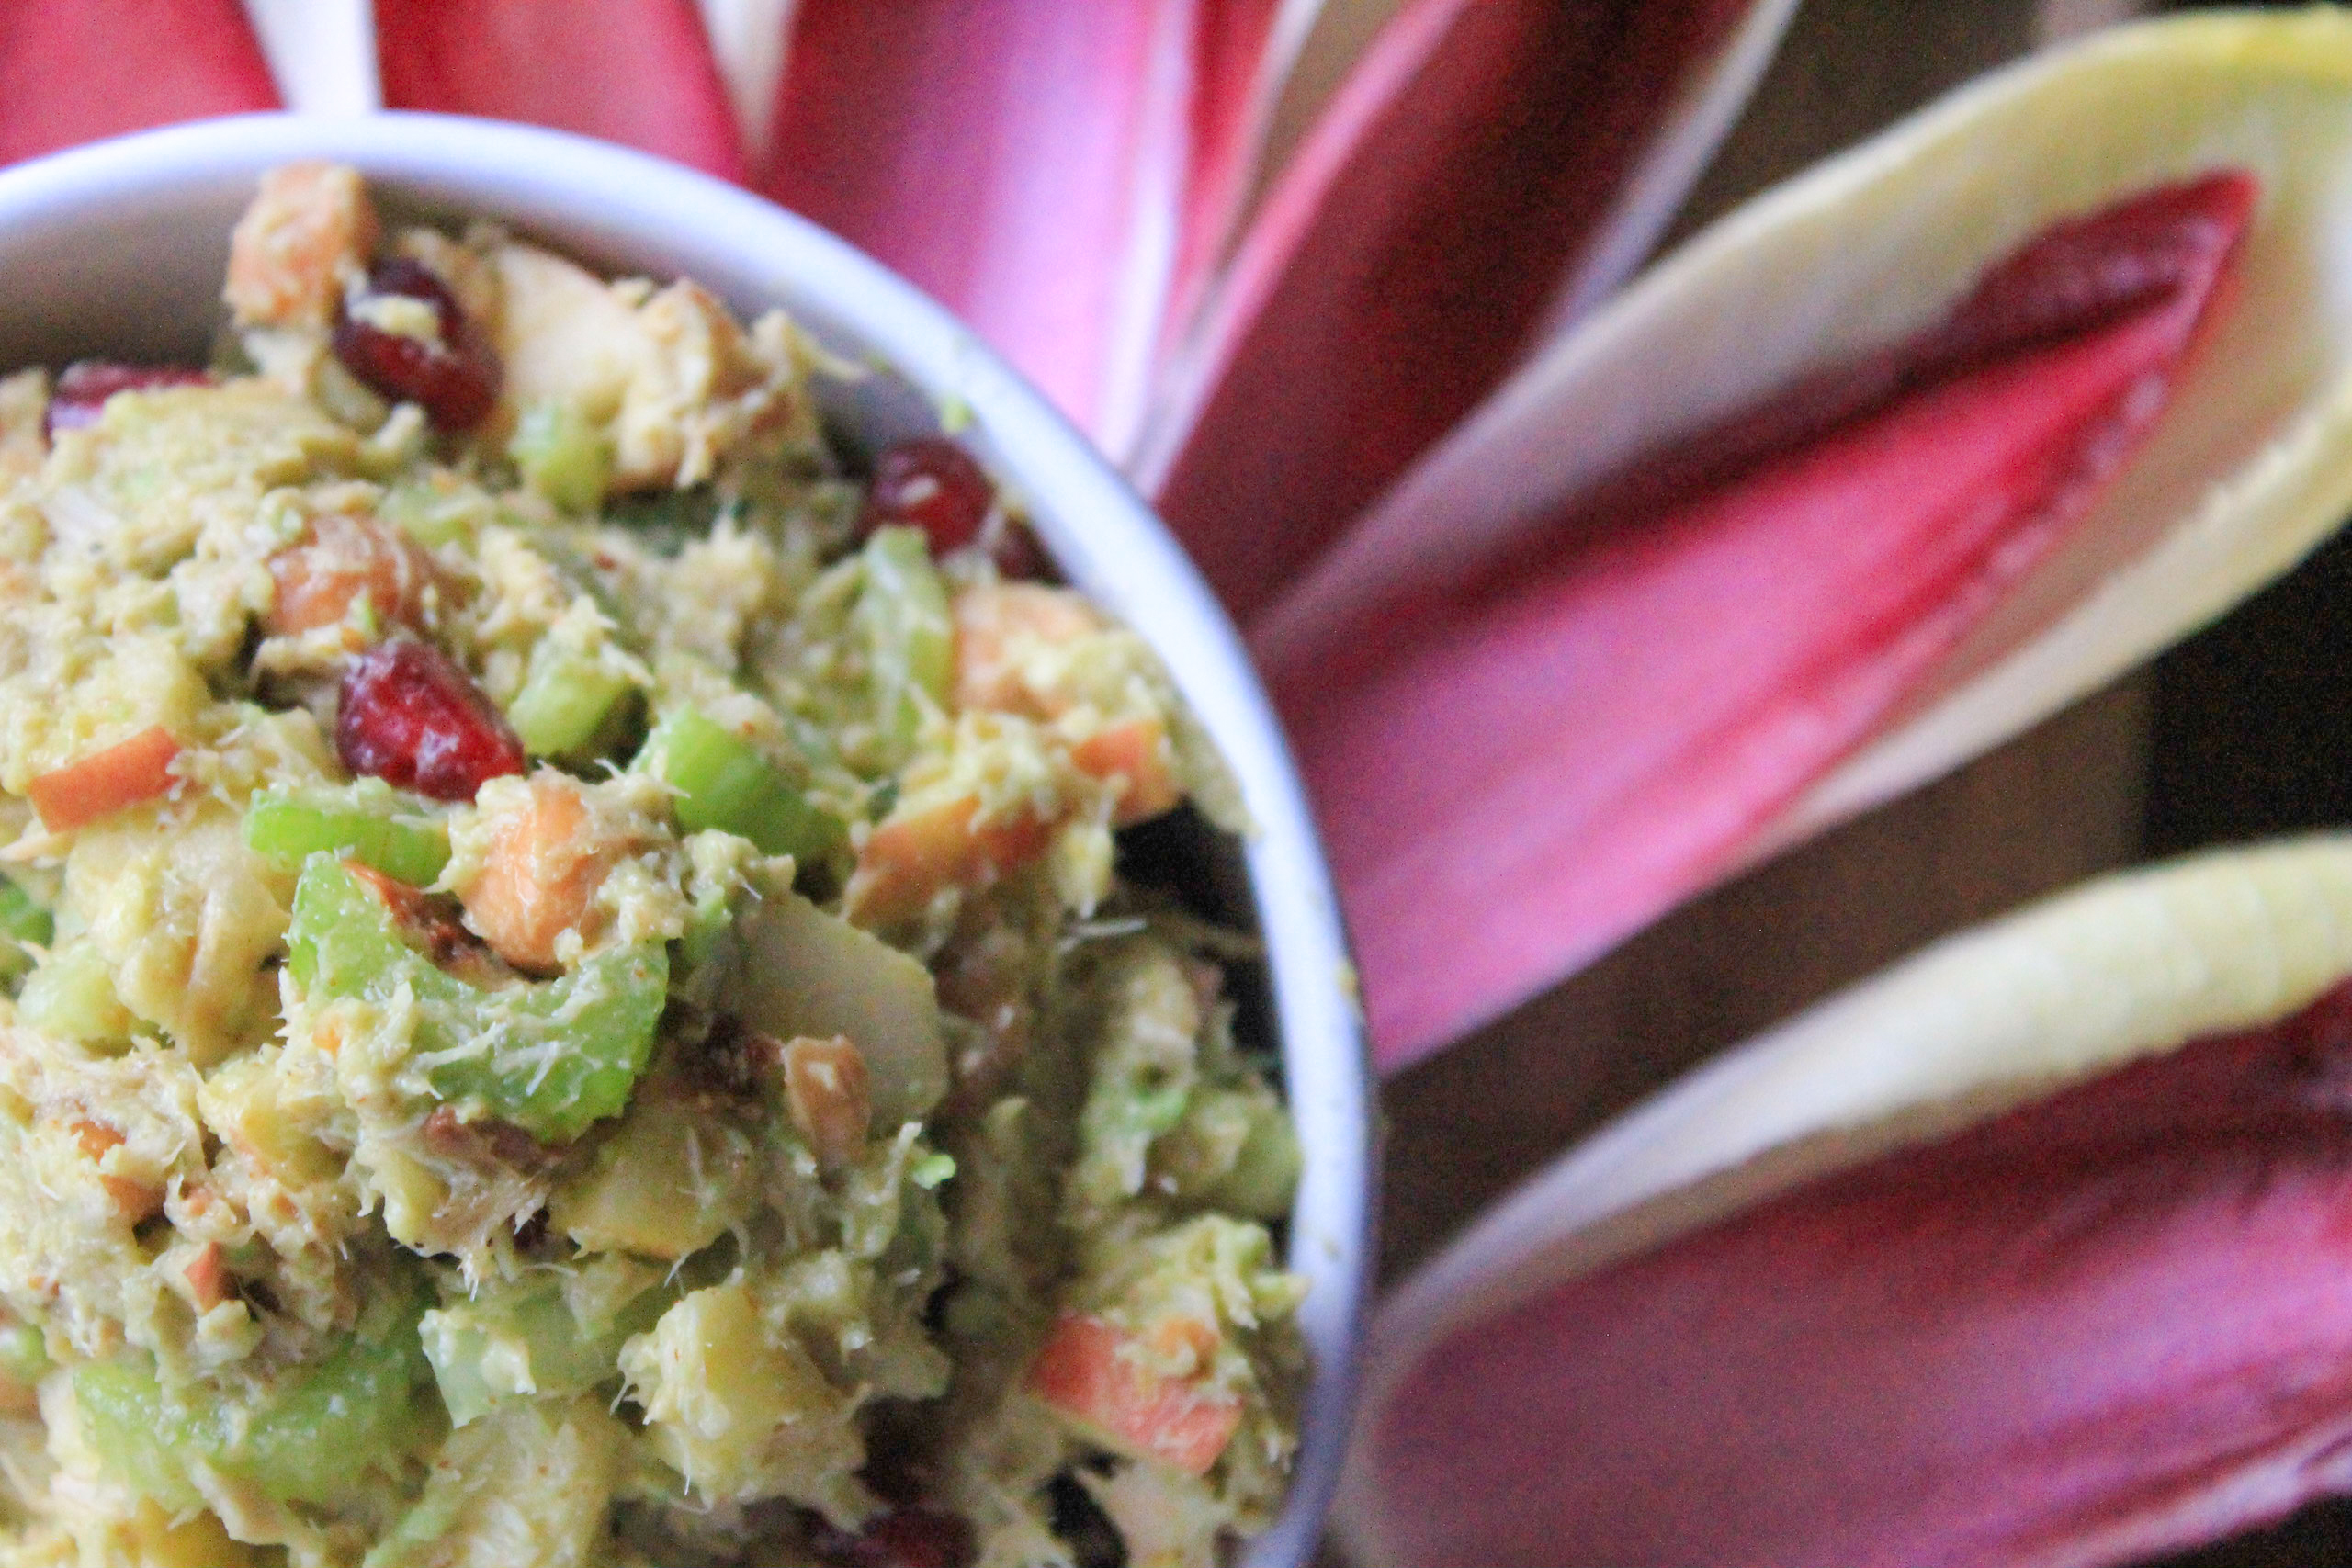
Step up your salad game by making this quick and easy Avocado Tuna Salad. Those who are lucky enough to enjoy this gem of a recipe will never know the mayonnaise has been replaced with an avocado! Subbing an avocado for mayonnaise is a healthier choice not only because it contributes to your healthy omega-3 fatty acid servings for the day, it also adds flavor and a creamy mayonnaise-like texture. The celery, apple, and pecan pieces provide a nice crunch. The Spicy Roasted Chickpeas and Dijon Mustard give it a little extra kick. While the fresh pomegranate seeds provide a refreshing fruitful taste. Mix them all together and you’ve got yourself one heck of a meal! 

Just look at all of those delicious ingredients! YUM!

Avocado Tuna Salad Ingredients

You can add normal chickpeas if you want, but I prefer to roast my chickpeas with spicy seasonings to add some extra kick when making this recipe.  I suggest following my Spicy Roasted Chickpea recipe. It’s one of my favorites and only takes 15 minutes. When I make this recipe I season my chickpeas, throw them in the oven on broil for 15 minutes, and chop all of the veggies while they’re cooking. The timing really does work out nicely! 

Avocado Tuna Salad

Once your chickpeas are done roasting (you can even roast them a few hours or a day before you’re ready to use them if you want to speed things up) the rest of this recipe is a piece of cake! All you have to do is combine all ingredients in a large mixing bowl and mix well. Seriously… it’s that easy! 

One tip: make sure you use a very ripe avocado. Reach for a softer avocado because it will be easier to mix in. The softer the avocado the creamier your tuna salad will taste. Just make sure your avocado isn’t so soft that it has become rotten. When picking your avocado look for a dark greenish brown fruit. Once you’ve found one remove the stem from the top. If the color beneath the stem is bright green you’re good to go. If you see a white-ish green or brown color put it back and try again. 

Avocado Tuna Salad (12 of 18)

Growing up, my mom always served tuna salad on bread or with crackers. Now that I am older and a little more health conscious, I prefer to enjoy my Avocado Tuna Salad with endive leaves. I love endives because they provide the same crunch like you would get from a chip and are packed full of nutrients, such as vitamins A and K, folate, and fiber. Forewarning, they are a tad bitter at first bite and might take a little getting used to. Just be sure to wash them before eating- this should help eliminate some of the bitterness. 

Avocado Tuna Salad- Endive Leaves

If you elect to use endives, one or two endive stems should do the trick for this recipe. I usually buy mine at Trader Joe’s. They have a great 3-pack of “Red and White Belgian Endives” Stems, which are perfect for leftovers. They are usually located in the sam refrigerated area with all of the lettuce. If you’re not a loyal Trader Joe’s shopper like myself, you should be able to find these at your local grocery store in the same vicinity as the lettuce. You should store your endives in the refrigerator until you’re ready to use them. 

Before cutting your endives rinse them with lukewarm water, stem side down (the water will help the leafy tops spread apart) and pat dry with a paper towel. Place endive stems on a cutting board and slice through the thick end of the stem, as pictured below. Next, simply peel the leaves apart and voila! your endives are ready to be eaten! 

[envira-gallery id=”1477″]

Simply scoop, eat, and enjoy! 

Avocado Tuna Salad with endive scoop

[yumprint-recipe id=’38’]Fabulous recipes by Mandi at godsavethequinoa.com


Spicy Roasted Chickpeas

Spicy Roasted Chickpeas

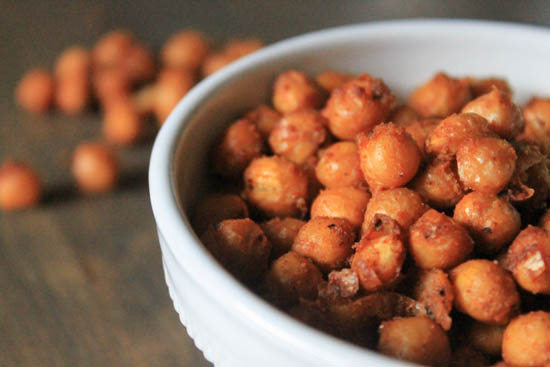
These no-effort, spicy roasted chickpeas are one snack you will never feel guilty about munching on! This spicy roasted chickpea recipe has quickly become one of my new go-to’s. I can’t remember the last grocery list I made that didn’t have at least two cans of  “chickpeas” on it. One of the reasons I love them so much is because they go with just about anything! Seriously, you can enjoy these delicious little nuggets a la carte, on top of a salad, over soups, in pastas, combined with trail mix… the options are truly limitless!  

Spicy Roasted Chickpeas

Start by lining a cookie sheet with foil and turning your oven on broil. Next, open your canned chickpeas and drain. Try and get all of the liquid out- the drier your chickpeas are, the better! Pat them dry with a paper towel or dish cloth if needed and place in a large bowl. Personally, I like to use a bowl with a lid that seals so I can shake everything together. I have some really awesome kitchenaid prep bowls that are PERFECT for this recipe! If you don’t have a bowl with a lid, don’t worry! You can always rely on a trusty tupperware container! Just make sure there’s enough room for everything to shake around! 

Pour one tablespoon of olive oil over your chickpeas followed by lemon juice and laundry list of spices: cumin, smoked paprika, chili powder OR use chipotle peppers for some extra heat, garlic powder, lemon pepper, and cardamom. Put the lid on your bowl and shake away! You’ll want to shake until chickpeas are completely coated in olive oil, lemon juice, and spices. (Bet you didn’t think you’d get a workout in when making these!) 

Spicy Roasted Chickpeas

Once chickpeas are completely coated, transfer all of the contents in your bowl onto a baking sheet. You’ll probably need to use a spatula to scrape the excess spices and oil off the sides of your bowl and onto your chickpeas. Once your bowl has been emptied use your spatula to evenly spread your chickpeas. You do not want them to overlap each other! 

Sprinkle chickpeas with a dash or two (or three if you’re feeling super spicy) and place in the oven. Let your new favorite snack broil for 10 minutes. I recommend you place your cookie sheet in the center of the middle rack for best results! 

Spicy Roasted Chickpeas

After 10 minutes open your oven to remove your cookie sheet and toss your chickpeas. I usually flip and rotate them around, mainly to prevent them from sticking to the foil and having one side be more crispy than the other. Once you’ve successfully tossed the chickpeas, put them back in the oven. I know… it’s a lot to ask, but you’ll have to wait for 5 more minutes until these bad boys are binge worthy!

Once the timer goes off remove them from the oven and prepare your taste buds for your new favorite snack! Make sure you let them cool so you don’t burn yourself! 

I hope you enjoy these as much as I do! 🙂 

[yumprint-recipe id=’37’] Fabulous recipes by Mandi at godsavethequinoa.com

Eggplant Meatballs

Eggplant Meatballs

Eggplant Meatball Recipe

Add a healthy spin on your favorite Italian dish by using hearty eggplant in lieu of meat to make these delicious, flavorful “meatballs”. If you are not regularly eating eggplants, you should consider doing so. This is one vegetable that has no shortage of health benefits and this eggplant meatball recipe is the perfect place to start!


Eggplant Meatballs

Eggplants contain many different vitamins such as Vitamin C, Folate, B Vitamins, and Vitamin A, to name a few. These vitamins are important because they help improve your body’s overall health, boost your immune system, and can even help improve resistance to various diseases. You’ll also find Phosphorous, Calcium, Magnesium, and Potassium in eggplants. These minerals are known to help prevent arthritis, osteoporosis, and heart disease. Last but not least, eggplants are an excellent source of Dietary Fiber. Consuming foods with Dietary Fibers are good for you because they help you feel full after a meal, keep your digestive system working properly and protect against colon cancer. At 35 calories per cup, eggplants are one veggie you can’t help but love! 


Eggplant Meatballs

True story- when I first made these my husband walking into the kitchen and asked, “why are you making meatballs”. For those of you who are not aware, I do not eat meat. That being said, I do eat fish (there’s no way I could stay away from sushi) and I do cook meat, but only for others to enjoy.

When I told him what I was making, eggplant meatballs over my favorite zucchini noodle recipehe seemed a little confused. He was taken aback by the fact that I was using eggplants to make “meatballs” and remained skeptical, wondering how a veggie-on-veggie dish was going to fill him up.  

Eggplant Meatballs

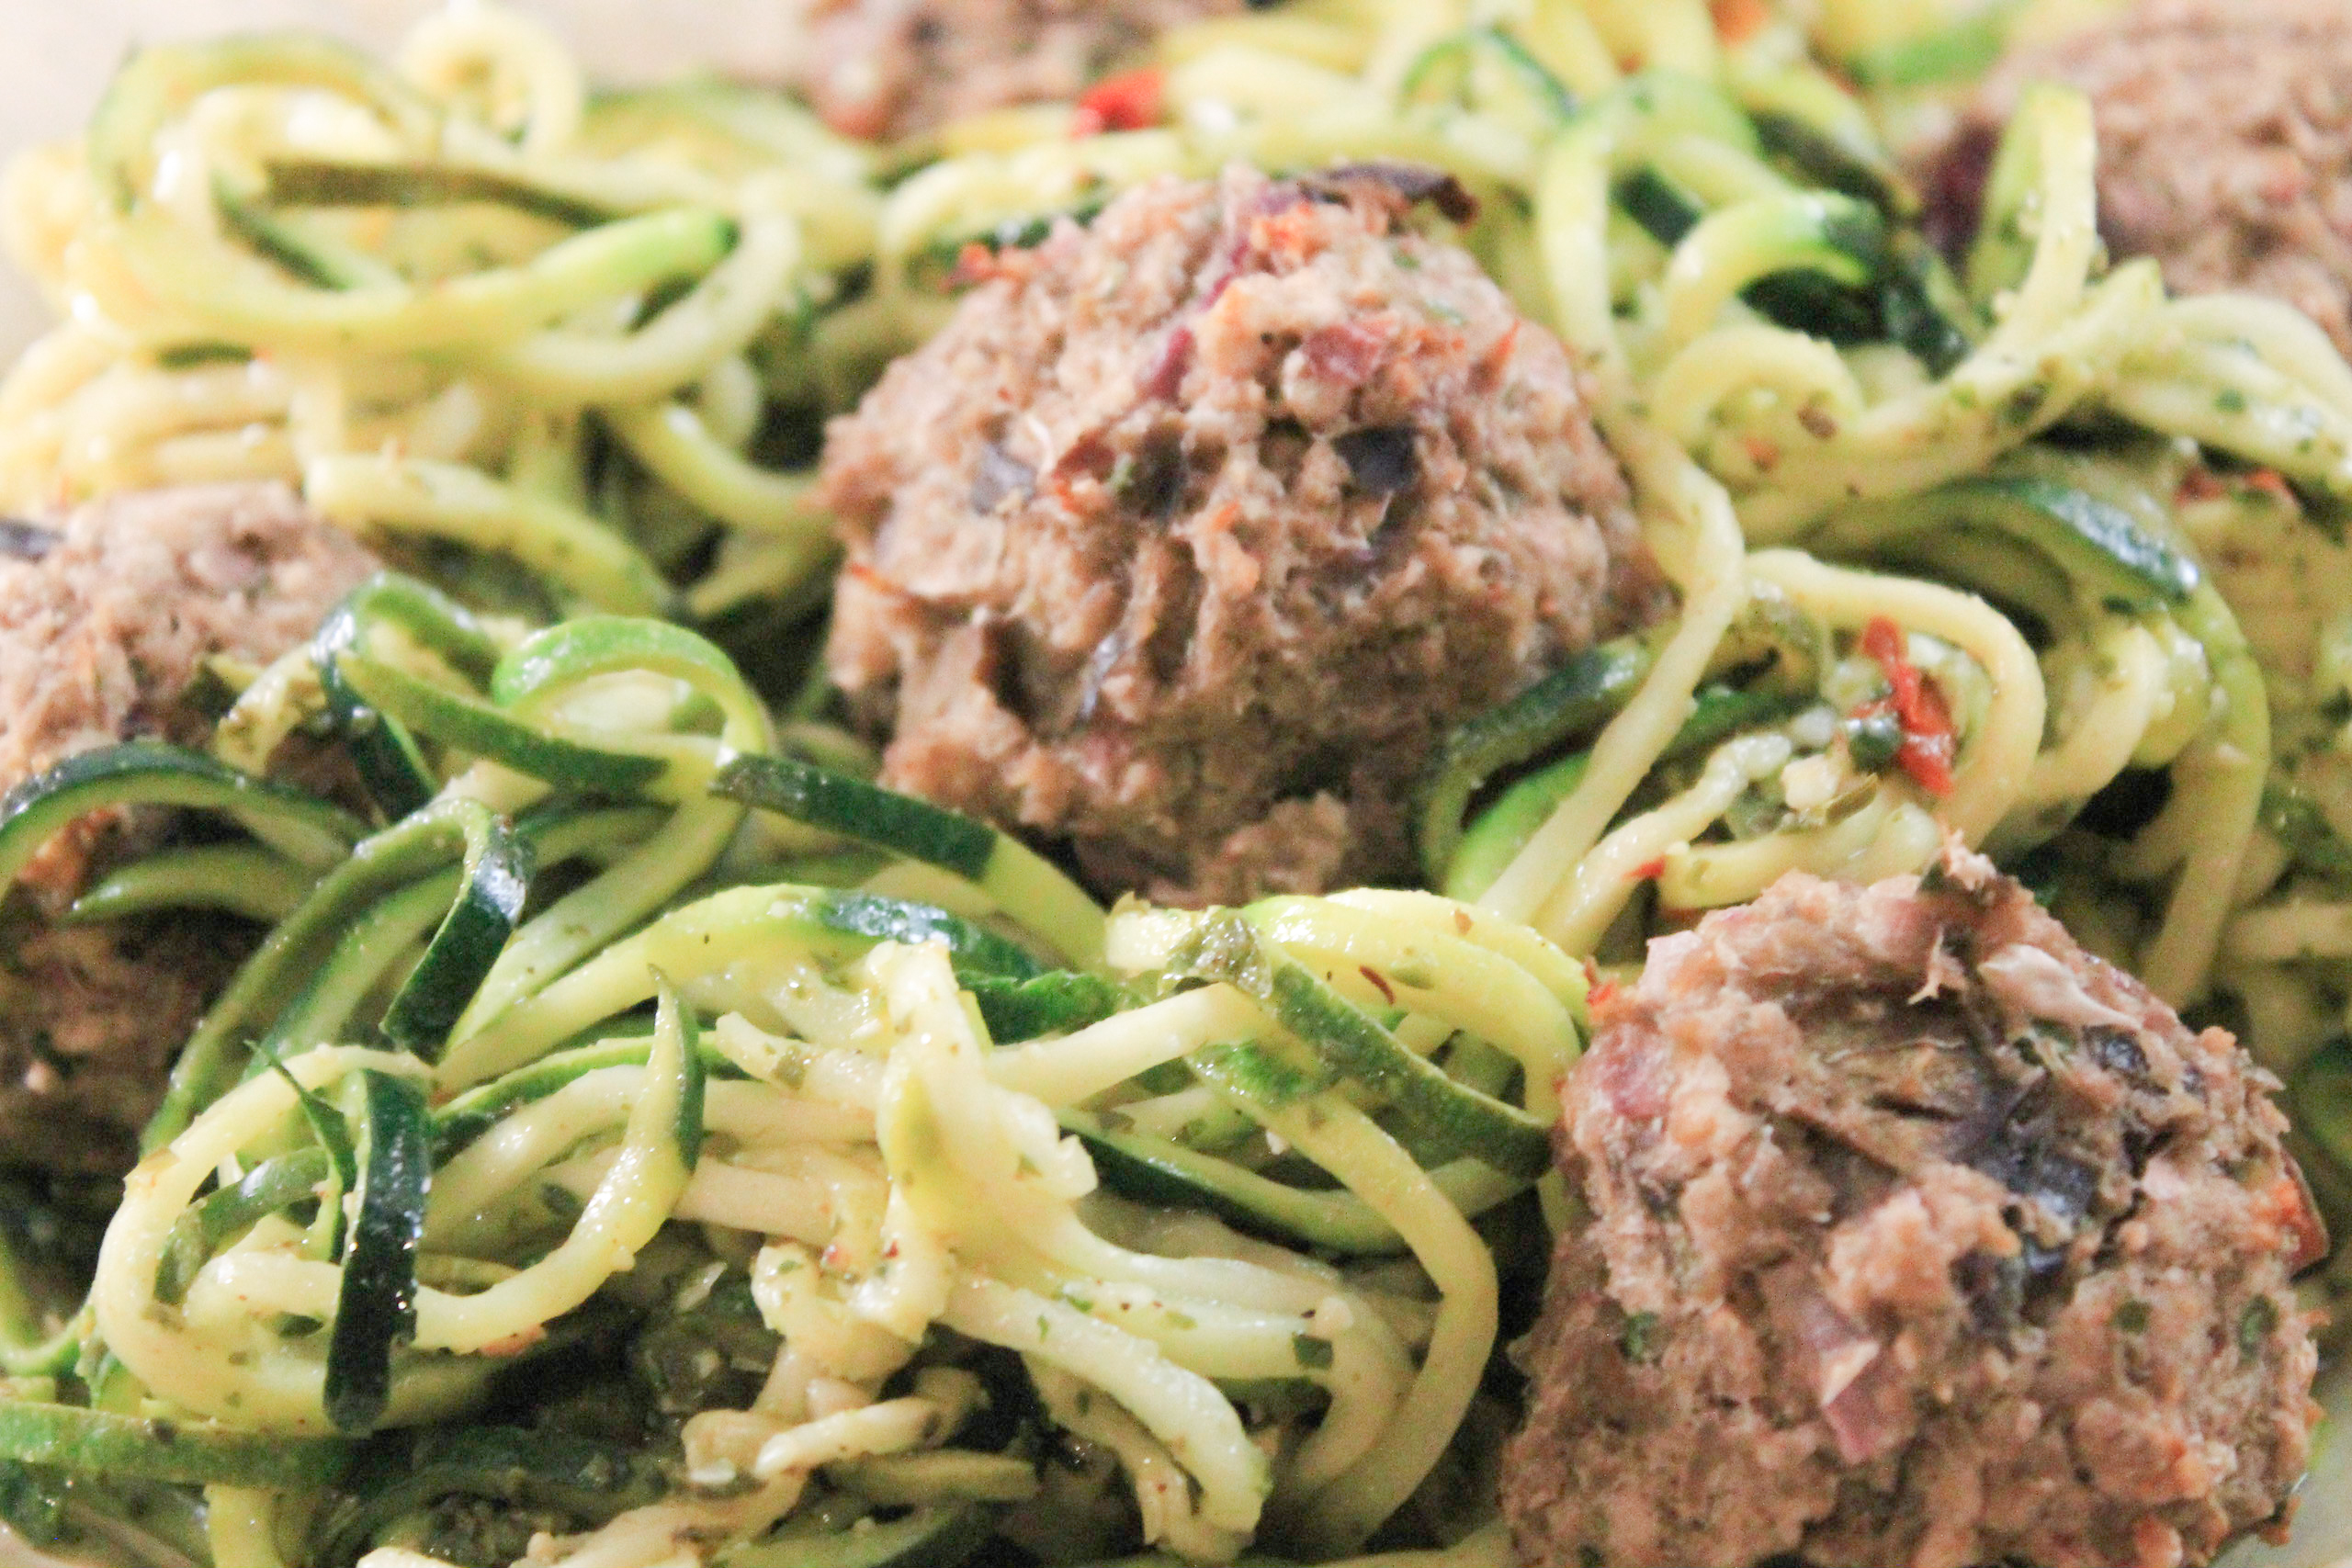
I have to be honest, it did take a little bit of convincing him that  “no, these will not taste like rubber”, “yes, you will like them”, and “no, I’m not making you eat tofu”. Whether he believed me or not, I guess I will never know. He was a trooper and helped me roll the steamy eggplant concoction sitting in my food processor into the delicious “meatballs” pictured below. 

Eggplant Meatballs

Once your “meatballs” are arranged on a cookie sheet, pop them in the oven for 20 – 30 minutes. As these cook, they should change color and turn a darker shade of brown and the outer shell should become firm, but not burned. If you can stick a fork through them while they’re still in the oven, let them cook a little bit longer. You should expect the very bottom of your meatballs to be darker and crispier than the tops. Don’t worry- this is perfectly normal! The non-stick cooking spray you sprayed on your foil lined cookie sheet is the culprit. 

Eggplant Meatballs

Personally, I love serving these over zucchini noodles. My Favorite Zucchini Noodle Recipe is perfectly timed with how long it will take these “meatballs” to cook in the oven. Start cooking your zoodles immediately after you put your “meatballs” in the oven to avoid waiting around or snacking before dinner. This recipe is posted on my blog.

If you want to mix it up a little and incorporate these “meatballs” into other dishes throughout the week, I also enjoy eating these with whole wheat pasta (any kind) or over a dark leafy green salad with fresh tomatoes and quinoa. I’d love to hear what types of dishes you paired your eggplant meatballs with!

[yumprint-recipe id=’36’]Fabulous recipes by Mandi at godsavethequinoa.com

Basil Roasted Eggplant with Balsamic Drizzled Heirlooms

Basil Roasted Eggplant with Balsamic Drizzled Heirlooms Recipe

This Basil Roasted Eggplant with Balsamic Drizzled Heirlooms recipe is bursting with the fresh flavors (and colors) spring dreams are made of. Serve it as a main dish, snack, or appetizer during the cold winter months or while enjoying the refreshing spring air! Note: this dish pairs fabulously with the 70 degree weather we’re having in Dallas today! If you’re not in Dallas, and are snowed in or stuck in the cold, I’m sorry for bragging. Use this recipe to get you through the cold and into spring! 

 Don’t shy away from this dish because one of the main ingredients is eggplant. Eggplant can be tricky to cook. Believe me, I’ve had my fair share of eggplant disasters in the kitchen and have ended up throwing everything away and getting takeout instead. But luckily, this recipe is fairly simple and I think I’ve FINALLY figured out where I’ve been going wrong. It’s not me its the eggplant! At least that’s what I like to tell myself 😉 

Basil Roasted Eggplant with Balsamic Drizzled Heirlooms

But seriously, picking out the perfect eggplant is key to making any eggplant recipe. When picking out an eggplant, look for one with a smooth and shiny skin. An eggplant with a dull skin indicates that the eggplant is starting to turn bitter. Also, avoid purchasing an eggplant with streaking or blemishes on the skin. The perfect eggplant should have a deep dark purple-black color with no streaking or spots and should have a vibrant green stem. The flesh should be firm and should indent slightly when pressure is applied, but should spring back immediately. If a depression remains in the eggplant after poking, the eggplant is old.

Basil Roasted Eggplant with Balsamic Drizzled Heirlooms Recipe

This recipe is pretty easy and straightforward- which is why I love it! Wash and completely dry your eggplant before slicing. Place the eggplant on the table “hot-dog” style and cut off both the top and bottom  (each of the rounded ends) of your eggplant. Next, slice your eggplant lengthwise (still using the hot-dog style analogy here) into THREE 1 – 2 inch thick, skinless slices. NOTE: Your eggplant slices should have skin on the edges… just make sure neither of the “faces” has any of the purple-black skin on it. Dap each eggplant slice with a paper towel to remove all excess water. This is IMPORTANT to do!

When dry, brush the eggplant with EVOO and sprinkle with salt and pepper. Place in the oven  at 400 degrees to cook for about 10 minutes. 

Basil Roasted Eggplant with Balsamic Drizzled Heirlooms Recipe

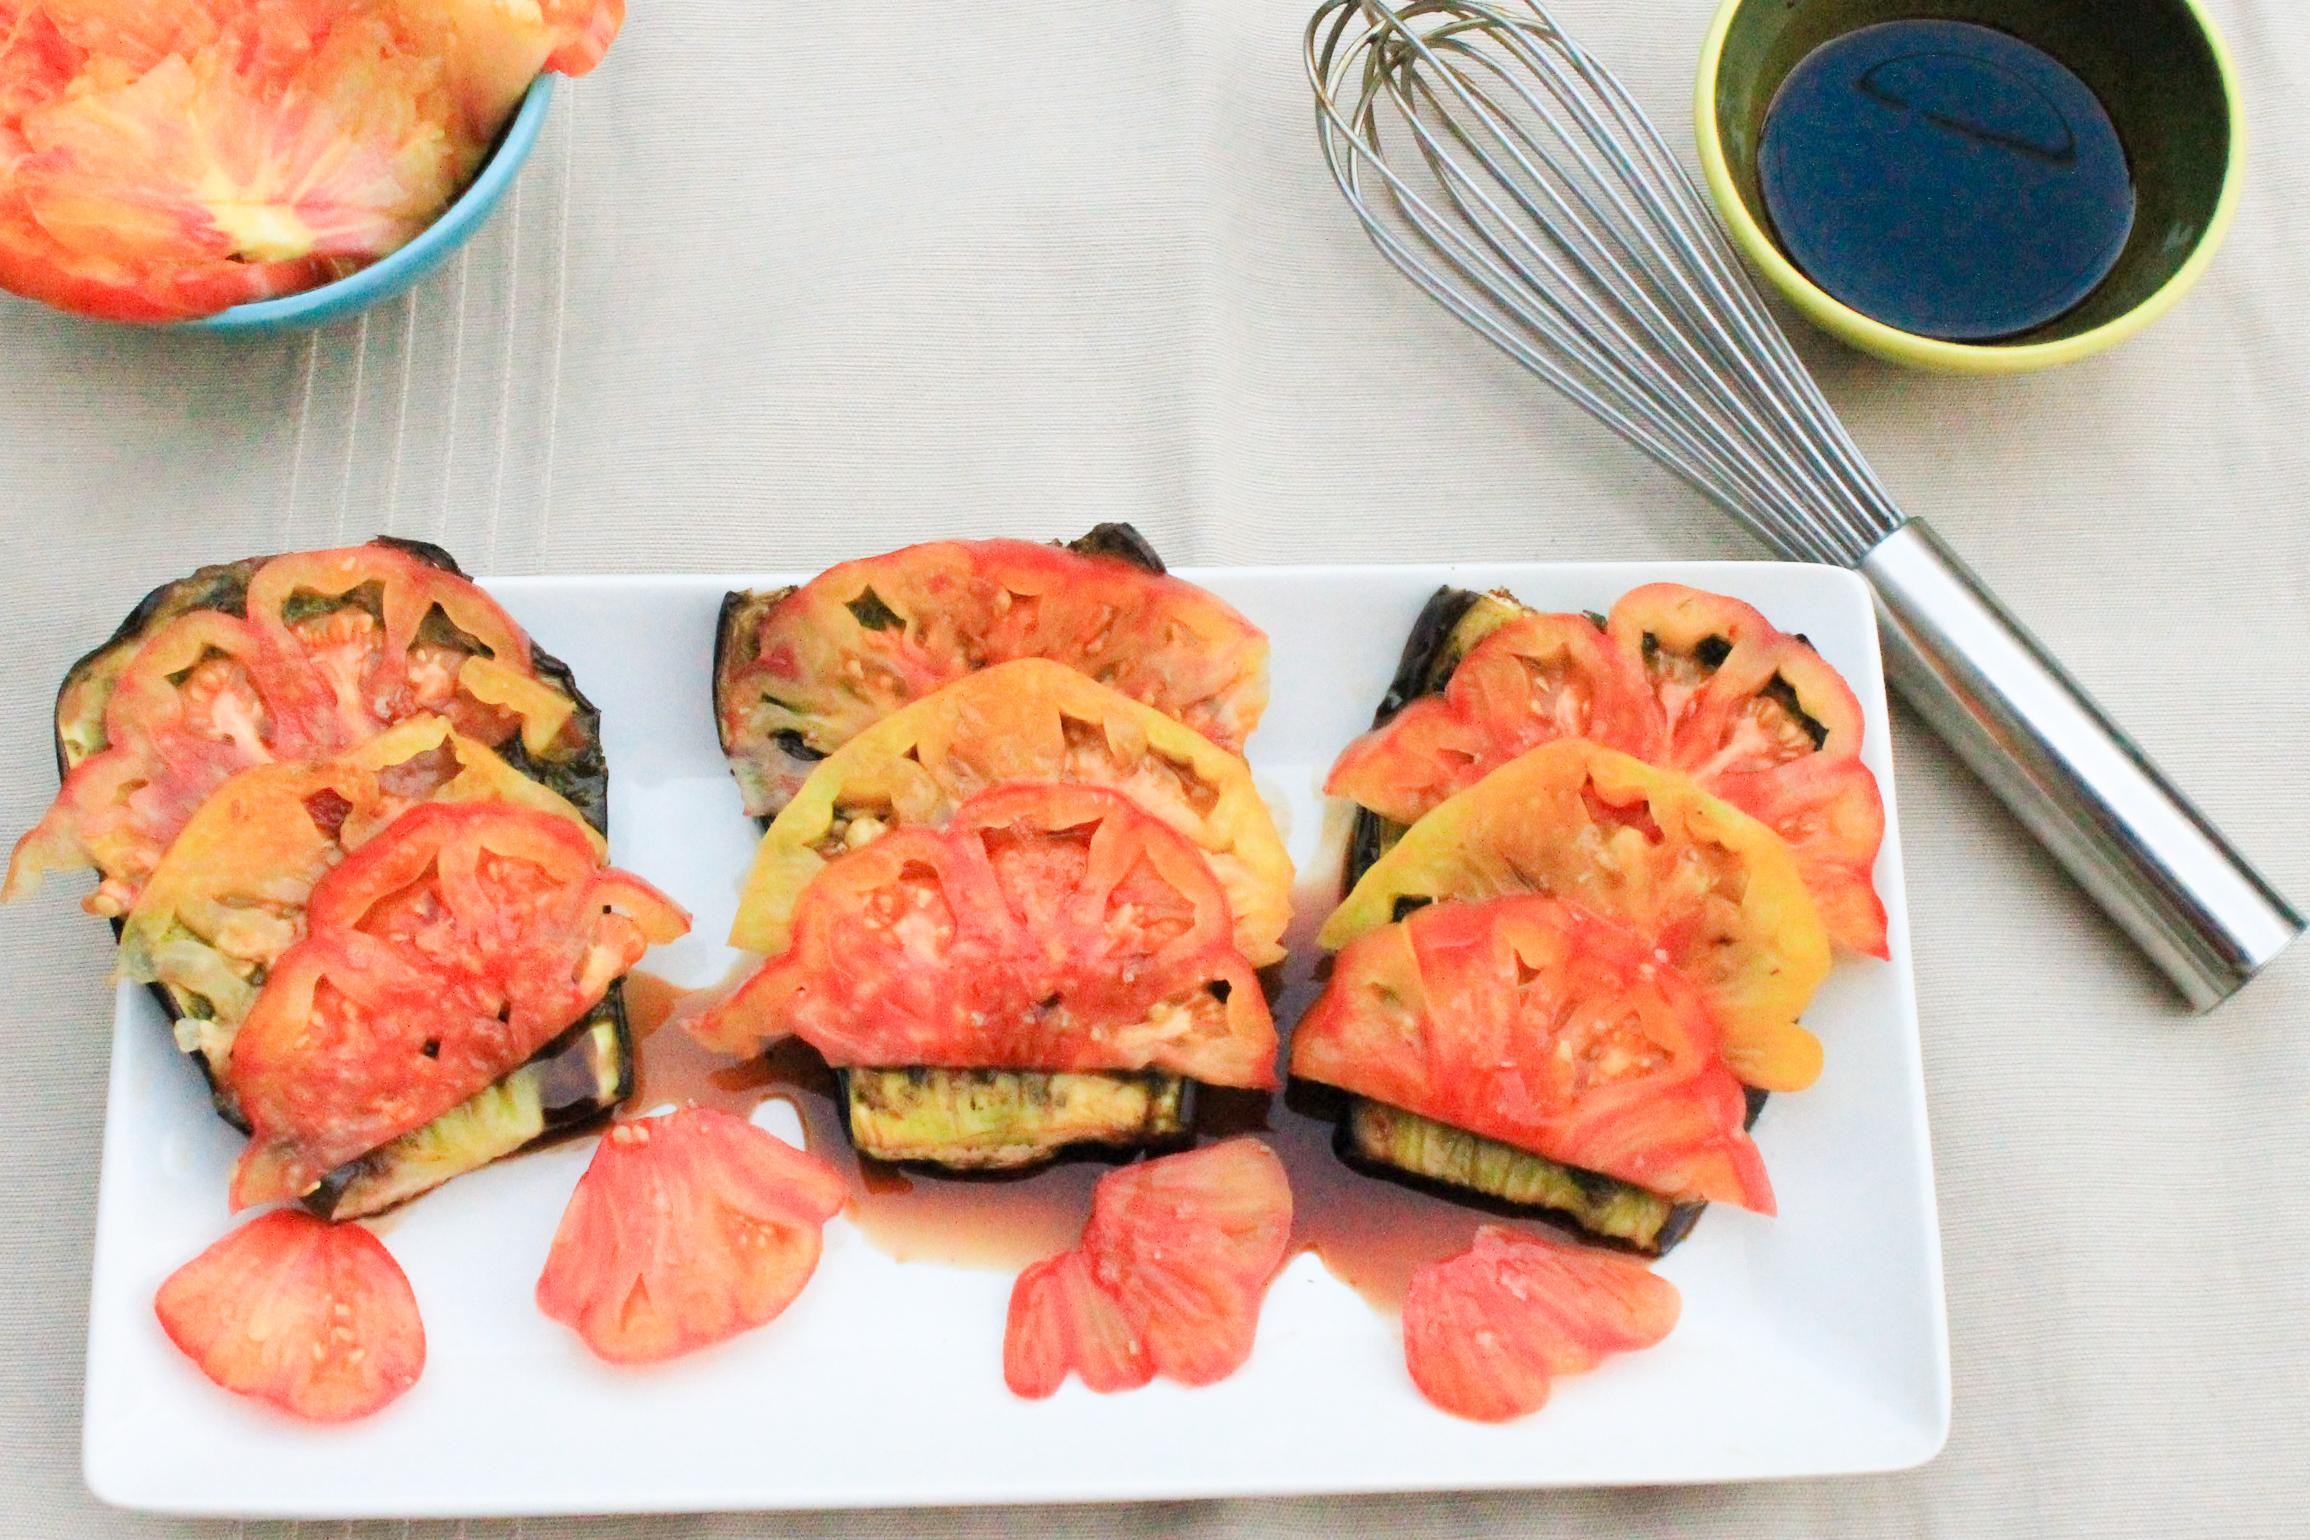
What you can’t see pictured is the amazing basil spread, hiding between the eggplant and the heirloom tomatoes. Make this while the eggplant slices are roasting. Combine lemon juice, salt, pepper, 2 Tbs EVOO, 1 cup of fresh basil leaves, and garlic in a blender or food processor and blend until completely smooth. After 10 minutes, when your eggplant slices are finished roasting, remove them from oven and flip them over. Spread your basil mixture over the tops of the recently flipped eggplant slices and roast in the oven for about 10 more minutes, so they are brown and soft throughout.

Basil Roasted Eggplant with Balsamic Drizzled Heirlooms Recipe

You will place sliced heirloom tomatoes on top of the roasted eggplant slices. Why heirlooms and not another type of tomato for this recipe? Well, I chose heirlooms for this recipe because of how flavorful they are! They really compliment the flavors in the eggplant and basil spread. 

How to pick out Heirloom Tomatoes, Basil Roasted Eggplant with Balsamic Drizzled Heirlooms

A few tips when picking out your heirlooms:

  1. Appearances don’t matter. Unlike standard tomatoes, heirlooms are often misshapen. This is a GOOD thing, and in case you’re wondering, the shape of an heirloom will not have an impact on how it tastes…so don’t be put off by cracked skins. It will be safe to east as long as it isn’t leaking juice or moldy. 
  2. Pick it up before you buy it. An heirloom tomato should feel heavy for its size. That heaviness belies a volume that should provide good flavor.
  3. Smell it. Ripe heirlooms should have an earthy, green scent. Avoid those that smell musty.
  4. Handle with care. Don’t pile heirloom tomatoes on top of each other. Heirlooms are delicate and the weight of too many tomatoes can result in squashed or bruised tomatoes.
  5. Room temperature is key. When you get home, do NOT refrigerate your tomatoes. A temperature lower than 50 degrees will destroy both flavor and texture

Now that you know how to pick out the perfect Heirlooms, wash and slice the heirlooms while eggplant and basil are roasting. When eggplants are finished roasting, you will arrange heirlooms on top (as pictured). To add the finishing touches, you’ll top off this dish with a sweet balsamic drizzle. This takes about 10 – 15 minutes to make, so I suggest making it towards the beginning of the recipe if you’re in a hurry to feast your eyes! 

Basil Roasted Eggplant with Balsamic Drizzled Heirlooms Recipe

Whenever you decided to make the balsamic drizzle, do this by whisking together balsamic vinegar and honey in a saucepan over low-medium heat. When combined, slowly raise heat until contents come to a boil then reduce heat completely and let sit for 10 – 15 minutes.  This will allow mixture to thicken. 

Basil Roasted Eggplant with Balsamic Drizzled Heirlooms Recipe

When the oven timer finally goes off and your eggplants are done roasting, transfer slices to a plate or serving dish. Arrange sliced heirlooms on top of the roasted eggplant slices and generously drizzle balsamic glaze on top and enjoy! 


[yumprint-recipe id=’31’]
 
 Fabulous recipes by Mandi at godsavethequinoa.com


Black-Eyed Pea Tomato and Vegetable Soup

Black-Eyed Pea Tomato and Vegetable Soup

HAPPY NEW YEAR!!! I hope everyone had a very happy holiday season! Mine was fabulous and I enjoyed celebrating the holidays and the New Year with the best of friends and family! 2014 will be hard to top but I have high expectations that 2015 will be even better! 

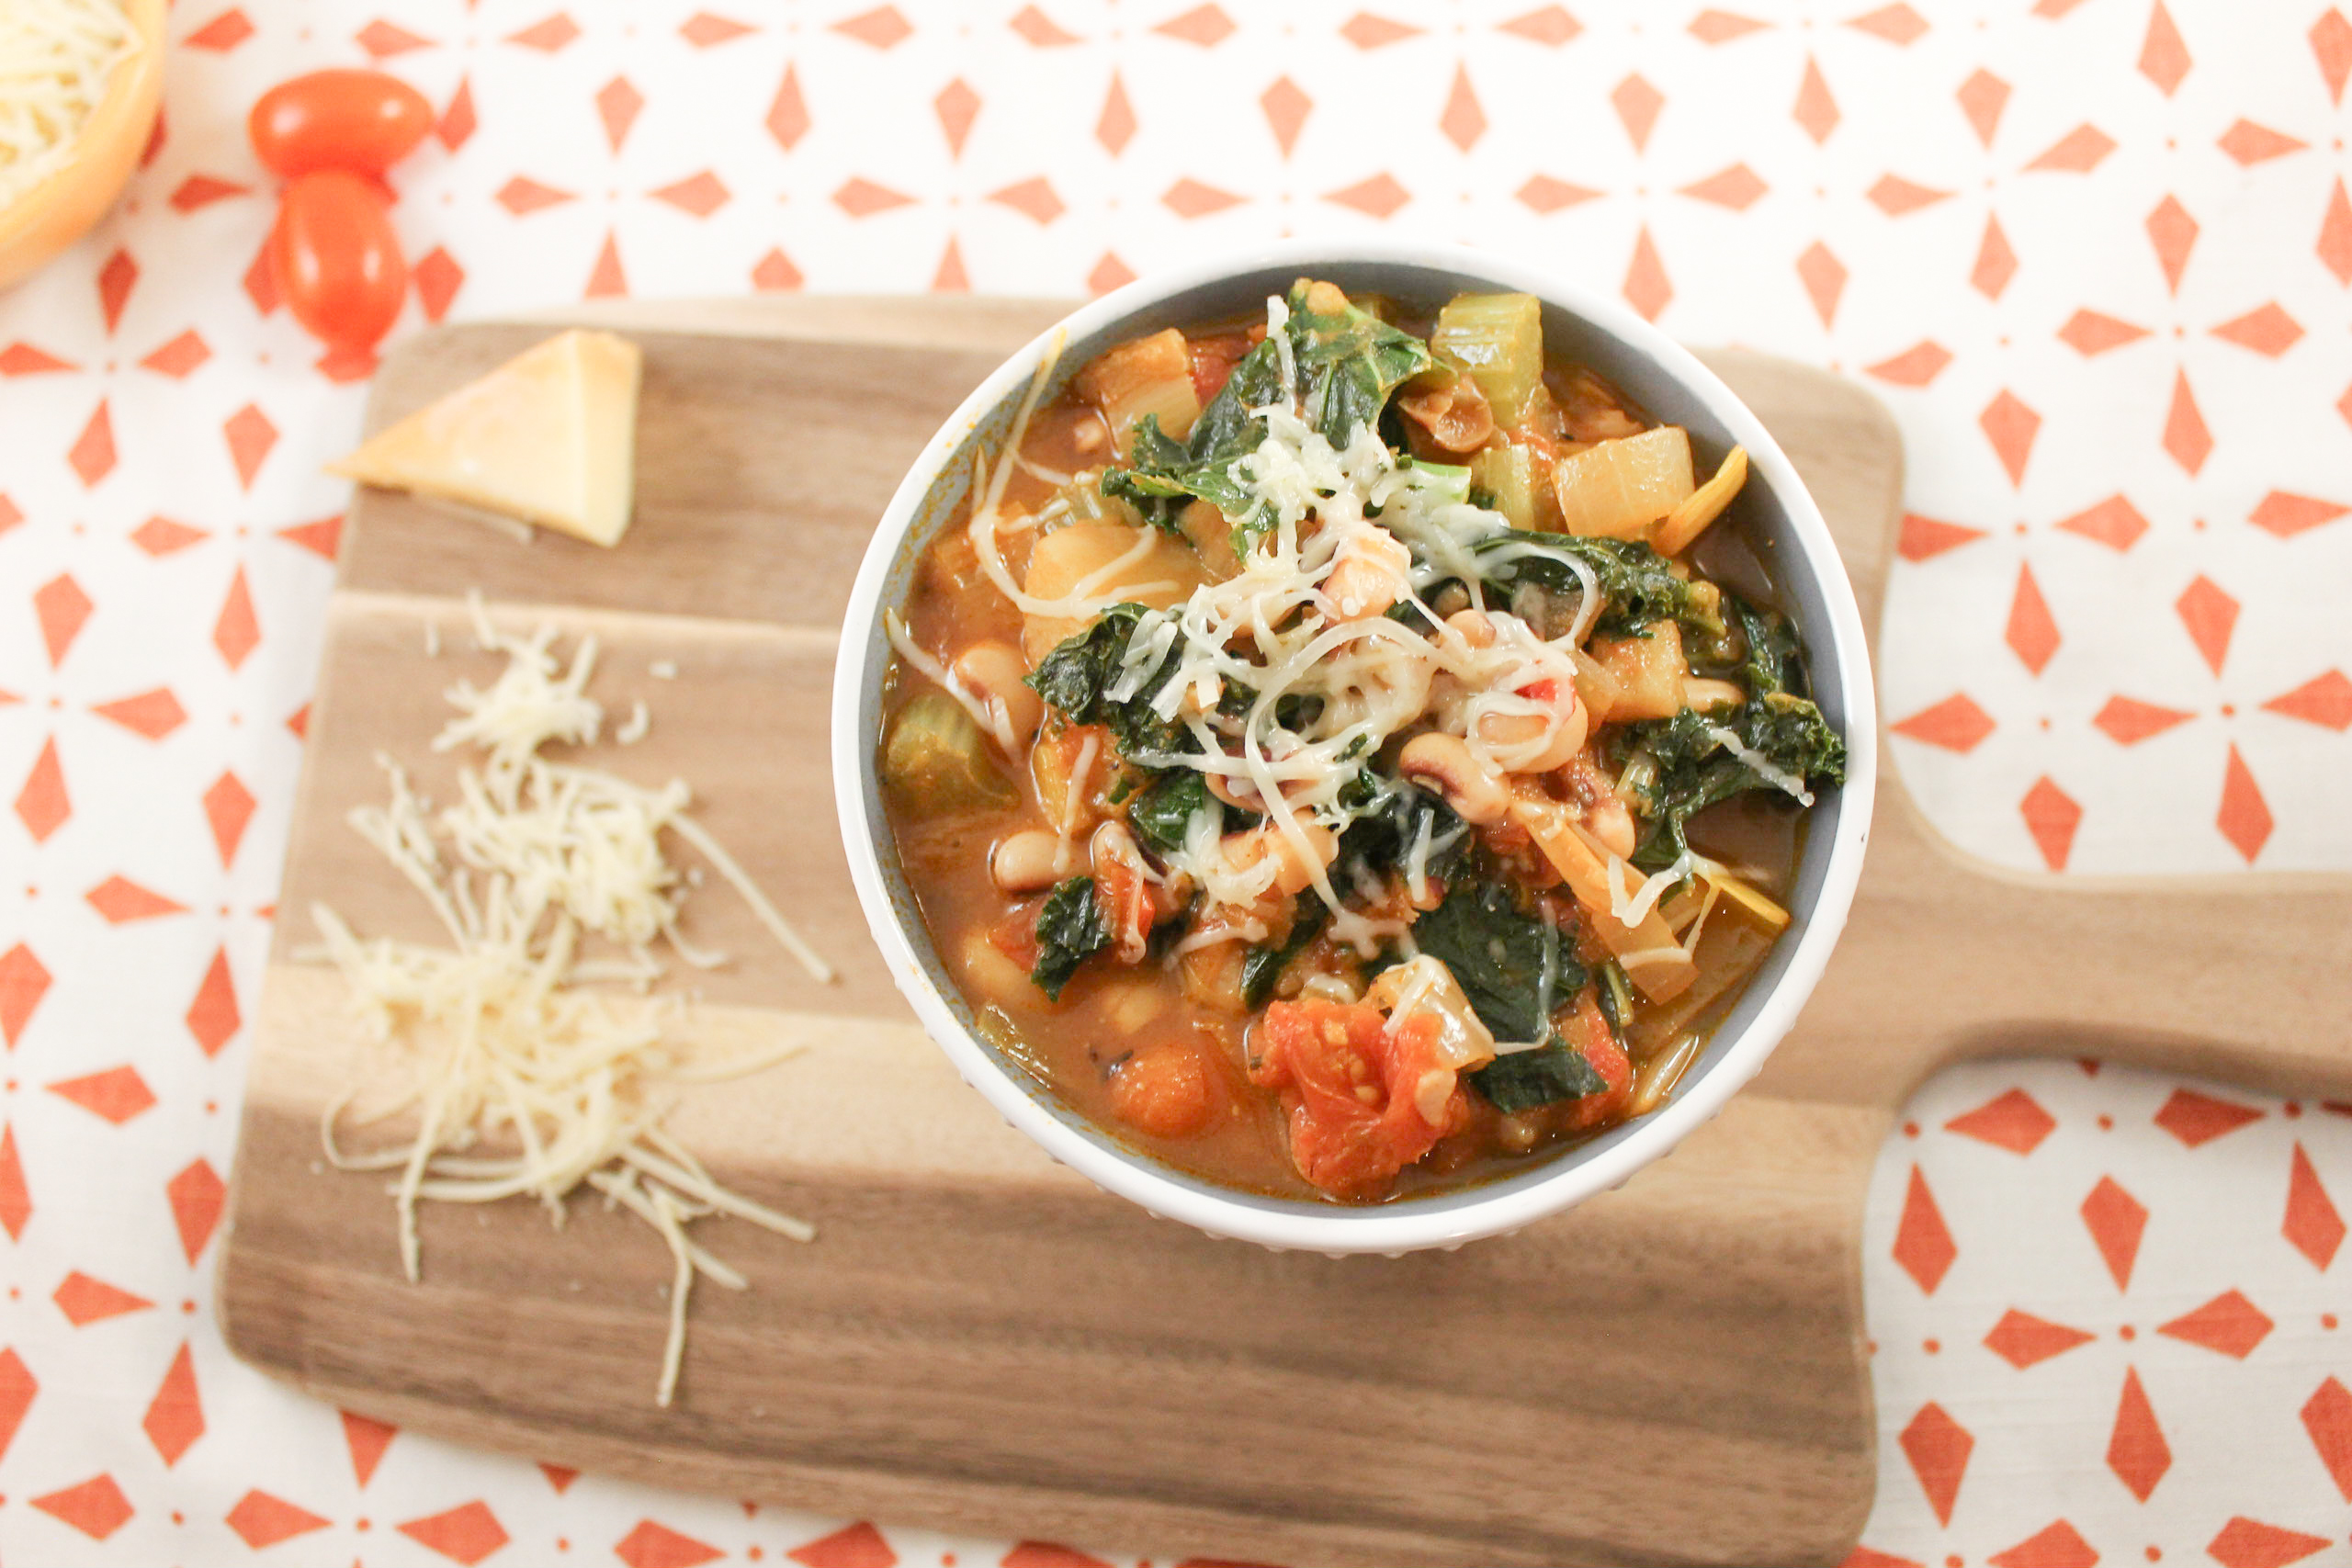
In the South, we believe that eating black-eyes peas on New Years day will bring you luck and prosperity throughout the year. This Black-Eyed Pea Tomato and Vegetable Soup recipe is healthy, full of hearty vegetables, and is the PERFECT good luck dish to enjoy on this chilly New Year’s Day! 

I wanted to create something tasty and filling that can be enjoyed as an appetizer or main dish, alone or with a group of friends or family members. This is a pretty simple recipe and involves minimal cooking, so its a great dish to make while entertaining company! 

Before cooking, drizzle 2 Tablespoons of Olive Oil over 2 cups of whole cherry tomatoes and 6 baby red potatoes (cut into eighths) and sprinkle with salt, pepper, and dried rosemary. Roast in the oven at 400 degrees for 20 minutes. 

Black-Eyed Pea Tomato and Vegetable Soup- tomatoes and potatoes

 While tomatoes and potatoes are roasting chop 1 sweet onion, 1 and half cups of baby carrots, 2 leeks, 4 celery sticks, and 5 cups of fresh kale. Set aside. Prepare 24 oz. of black-eyed peas. You can cook bulk black-eyed peas or use canned black-eyed peas. If using canned black-eyed peas, be sure to drain them. 

Black-Eyed Pea Tomato and Vegetable Soup: fresh veggies

Once everything is chopped, heat 2 tablespoons of olive oil in a large pot and add minced garlic, onions, and leeks. Sauté for about 5 minutes or until leeks and onions are translucent. Once your tomatoes and potatoes are done roasting add them to the pot along with a 15 oz. can of diced tomatoes, 4 cups of veggie broth, black-eyed peas, chopped celery, baby carrots, and one 4 oz. can of diced green chilies. Bring burner to high heat and stir 1 teaspoon of cayenne, 1 tablespoon of cumin, 1 tablespoon of dried rosemary and 1 teaspoon of salt and pepper into contents of pot. Mix well so all ingredients are combined. Cover with a lid and let sit for about 20 – 25 minutes. Contents in pot should come to a steady boil. Let ingredients boil for about 5 – 10 minutes, then reduce to medium heat for remainder of time.  

After 20 – 25 minutes, ingredients should look soupy and translucent. (Your house should be smelling pretty delicious at this point too!) Add your chopped kale to the pot, quickly stir, and cover for about 5 more minutes on medium-low heat. The steam in the pot will cause your kale to wilt to the perfect consistency. 

Black-Eyed Pea Tomato and Vegetable Soup (8 of 8)

After about 5 minutes, give your soup a quick stir, reduce heat to low, and spoon into bowls, top with freshly shaved parmesan and serve! Leave soup coverd on low heat. This will keep it warm incase anyone wants seconds… or thirds! 

Black-Eyed Pea Tomato and Vegetable Soup (5 of 8)

You can store your leftovers in an airtight container in the refrigerator. Re-heat in the microwave to enjoy again and again! 

MEAT OPTION: If you want to add meat or make a meat-frendly version, I suggest adding 3 cups of chopped sausage and 1 cup of chopped bacon. Stir your cooked meat in when adding the veggie broth and chopped veggies. Again, be sure to cook the sausage and bacon before adding! 

[yumprint-recipe id=’29’]Fabulous recipes by Mandi at godsavethequinoa.com 

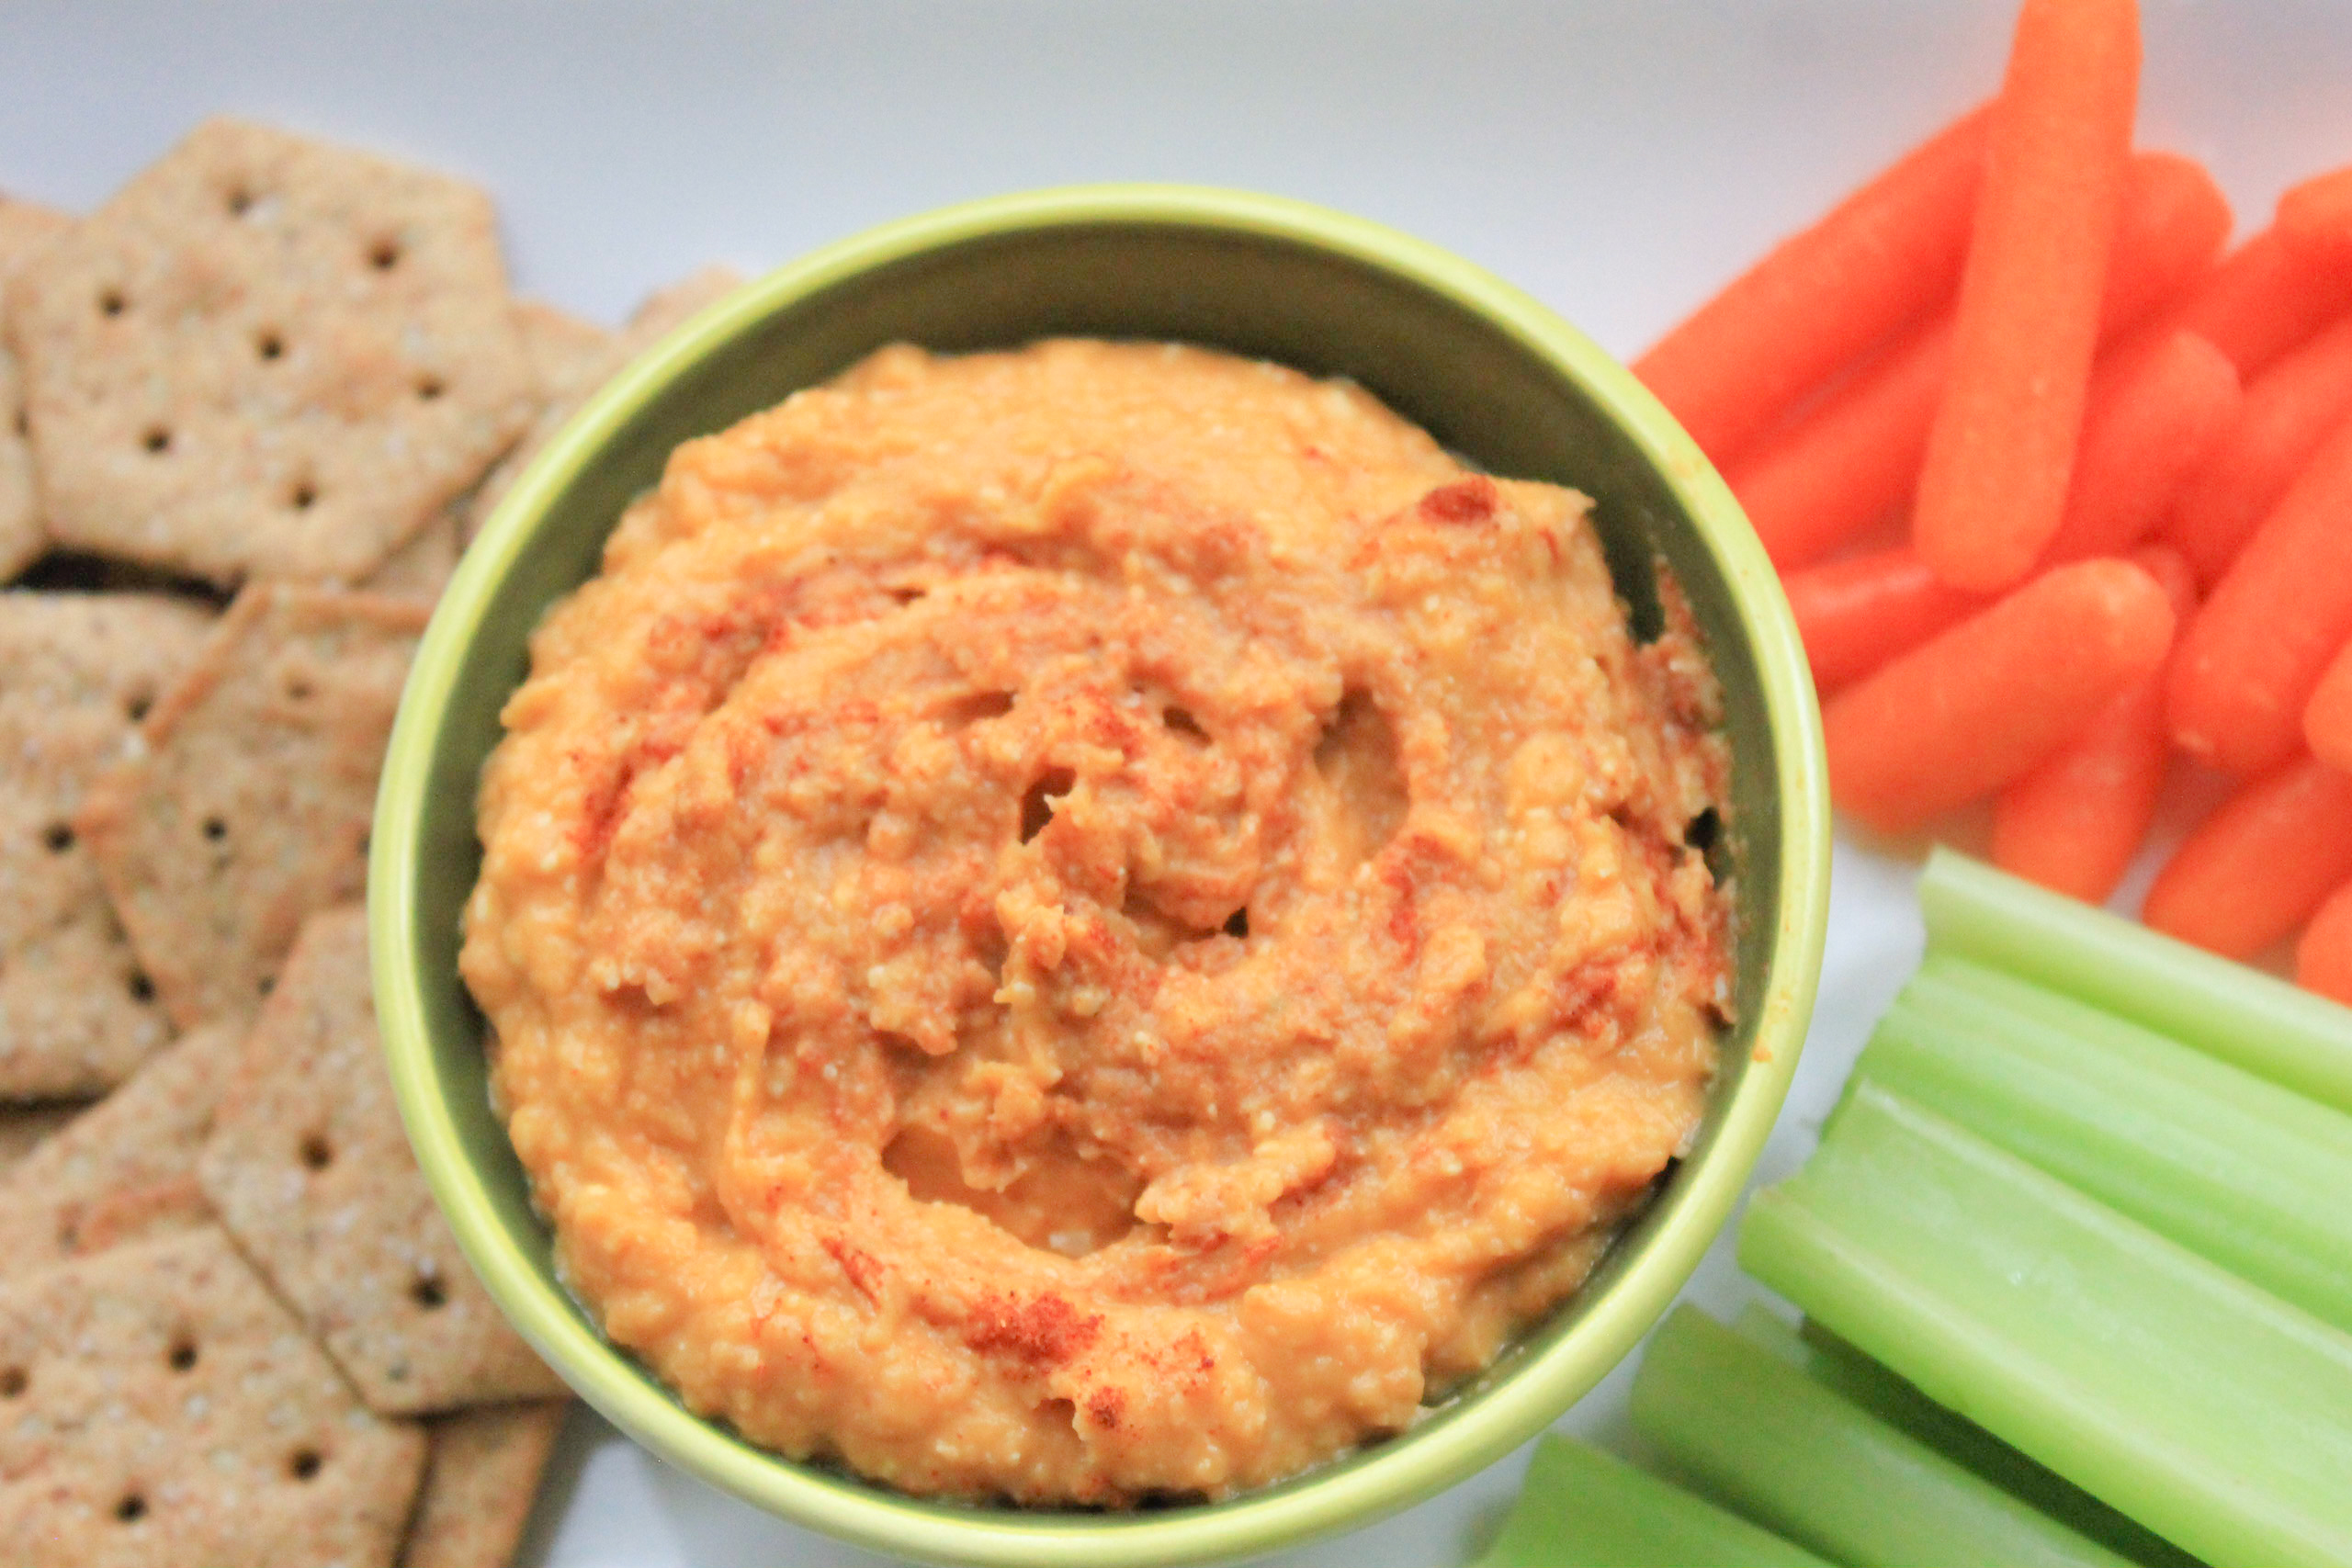
Pumpkin Hummus

Pumpkin Hummus  (9 of 12)

Happy Fall yall! I don’t know about you, but Fall is most certainly my FAVORITE time of year! The weather is finally starting to cool off and its seasonally appropriate to cook and eat pumpkin inspired goodies! (Hence the pumpkin hummus recipe you’re looking at now). 

Pumpkin Hummus  Recipe

This recipe is probably one of the easiest things I’ve ever made. All it takes is 9 simple ingredients: raw cashews, pumpkin puree, minced garlic, salt, white cannellini beans, cumin, paprika, fresh lemon juice, and EVOO. 

Pumpkin Hummus  (4 of 12)

Simply place ingredients into a food processor.

Pumpkin Hummus  (6 of 12)

(Use a blender if you don’t have a food processor.) 

Pumpkin Hummus  (7 of 12)

Combine until ingredients reach desired consistency. 

Pumpkin Hummus  (8 of 12)

Pair with chips, bread, or veggies, serve, and enjoy! 

Pumpkin Hummus  (10 of 12) Pumpkin Hummus  (11 of 12) Pumpkin Hummus  (12 of 12)

Did I mention there’s only 82 calories per serving? That’s right! (PS- one serving is 4 Tablespoons!) So, if you eat too much your waistline will forgive you. If you want more, you can make some more in a matter of seconds. You can thank me later! 

[yumprint-recipe id=’28’]Fabulous recipes by Mandi at godsavethequinoa.com

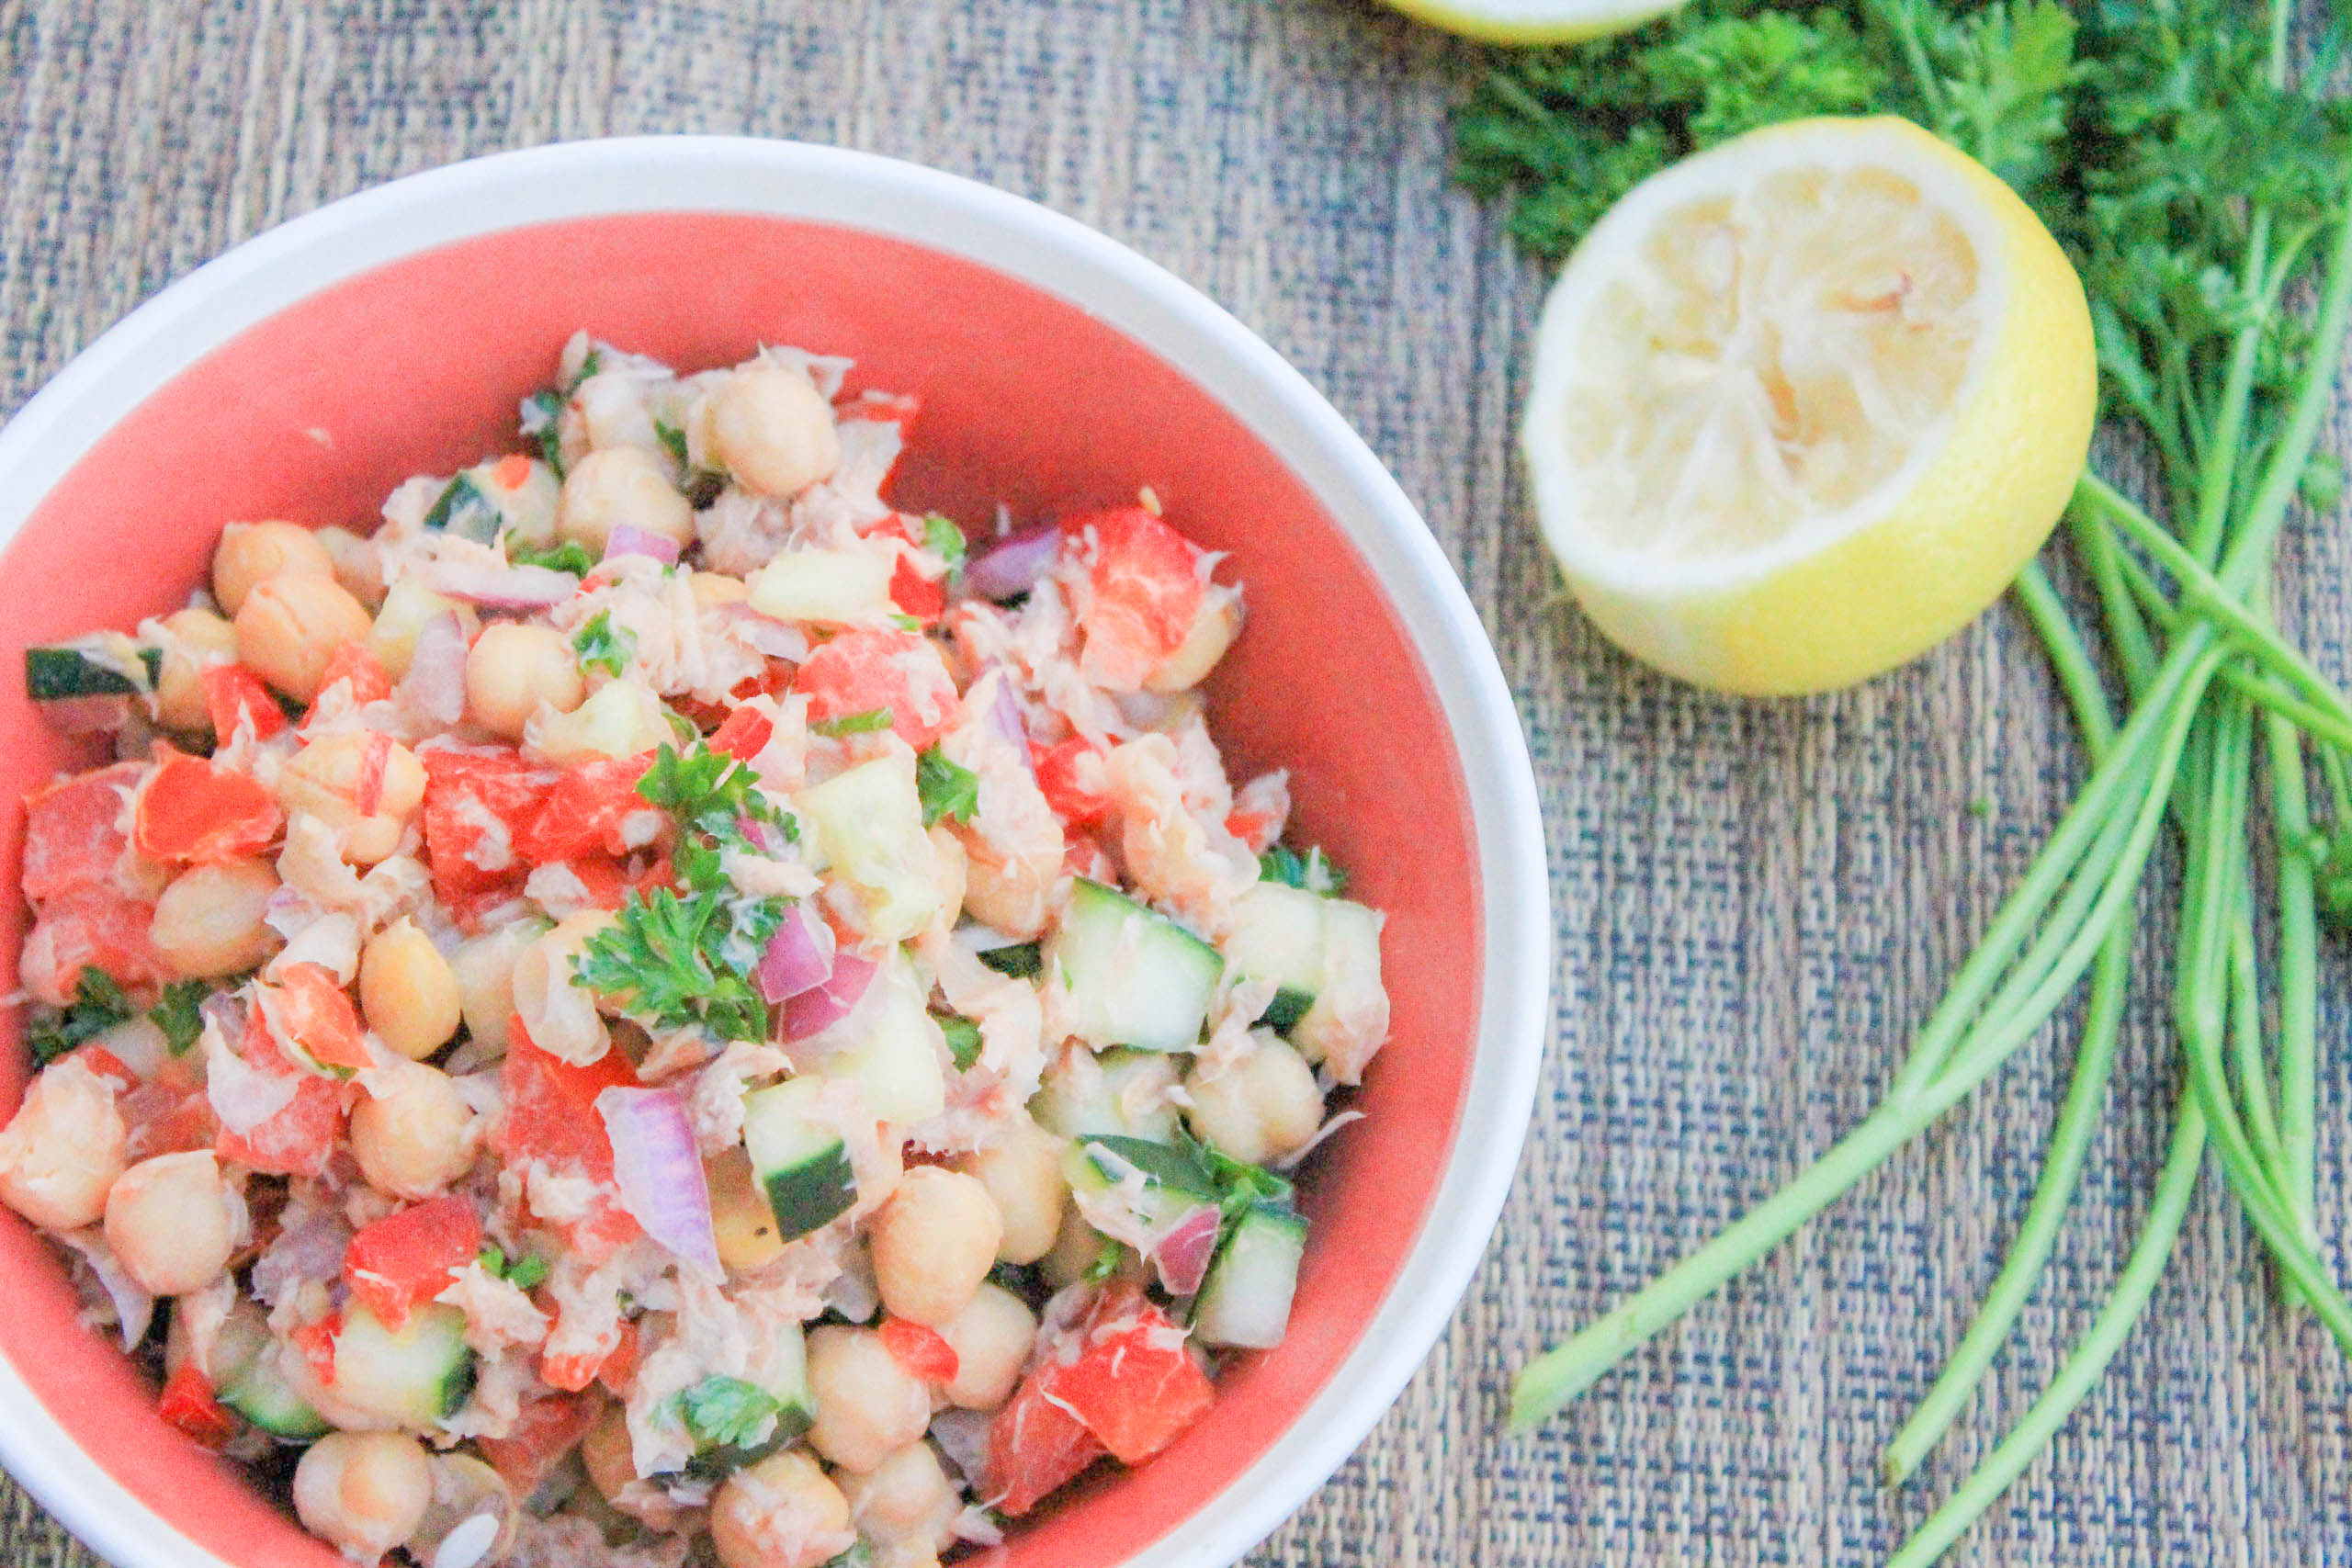
Chickpea, lemon, and tuna salad

Lemon, chickpea, and tuna salad (14 of 16) copy

Lately I’ve been using chickpeas non-stop in my recipes. They’re so versatile and easy to cook with, not to mention they have great health benefits! They’re an excellent source of fiber, full of iron, and believe it or not, actually have a lot of protein! With all these pro’s, I couldn’t resist adding them to this tuna salad recipe!

Lemon, chickpea, and tuna salad (1 of 16)

One thing I love about this tuna salad recipe is it requires NO cooking, making it the perfect recipe for one of those “I’m too lazy to cook” nights. All you have to do is chop the ingredients and mix them together.

Chop and dice fresh cucumbers, onions, tomatoes, bell peppers, and parsley, then zest and juice your lemons.  

[envira-gallery id="970"] 
[envira-gallery slug="chickpea-lemon-tuna-salad"]

In a large bowl combine your veggies and add in your chickpeas, lemon zest, fresh lemon juice and mix.

Lemon, chickpea, and tuna salad (6 of 16)

[envira-gallery id="992"] 
[envira-gallery slug="lemon-chickpea-tuna-salad-ingredients"]

Lemon, chickpea, and tuna salad (9 of 16)

Fold in your tuna and a dash of EVOO, followed by salt, pepper, and spicy dijon mustard to taste. Fold and mix all ingredients together until everything is completely combined. Scoop into a bowl or onto pita bread and enjoy! 

Lemon, chickpea, and tuna salad (10 of 16)

Lemon, chickpea, and tuna salad (11 of 16) Lemon, chickpea, and tuna salad (12 of 16) Lemon, chickpea, and tuna salad (13 of 16) Lemon, chickpea, and tuna salad (14 of 16) Lemon, chickpea, and tuna salad (15 of 16) Lemon, chickpea, and tuna salad (16 of 16)

[yumprint-recipe id=’27’] Fabulous recipes by Mandi at godsavethequinoa.com


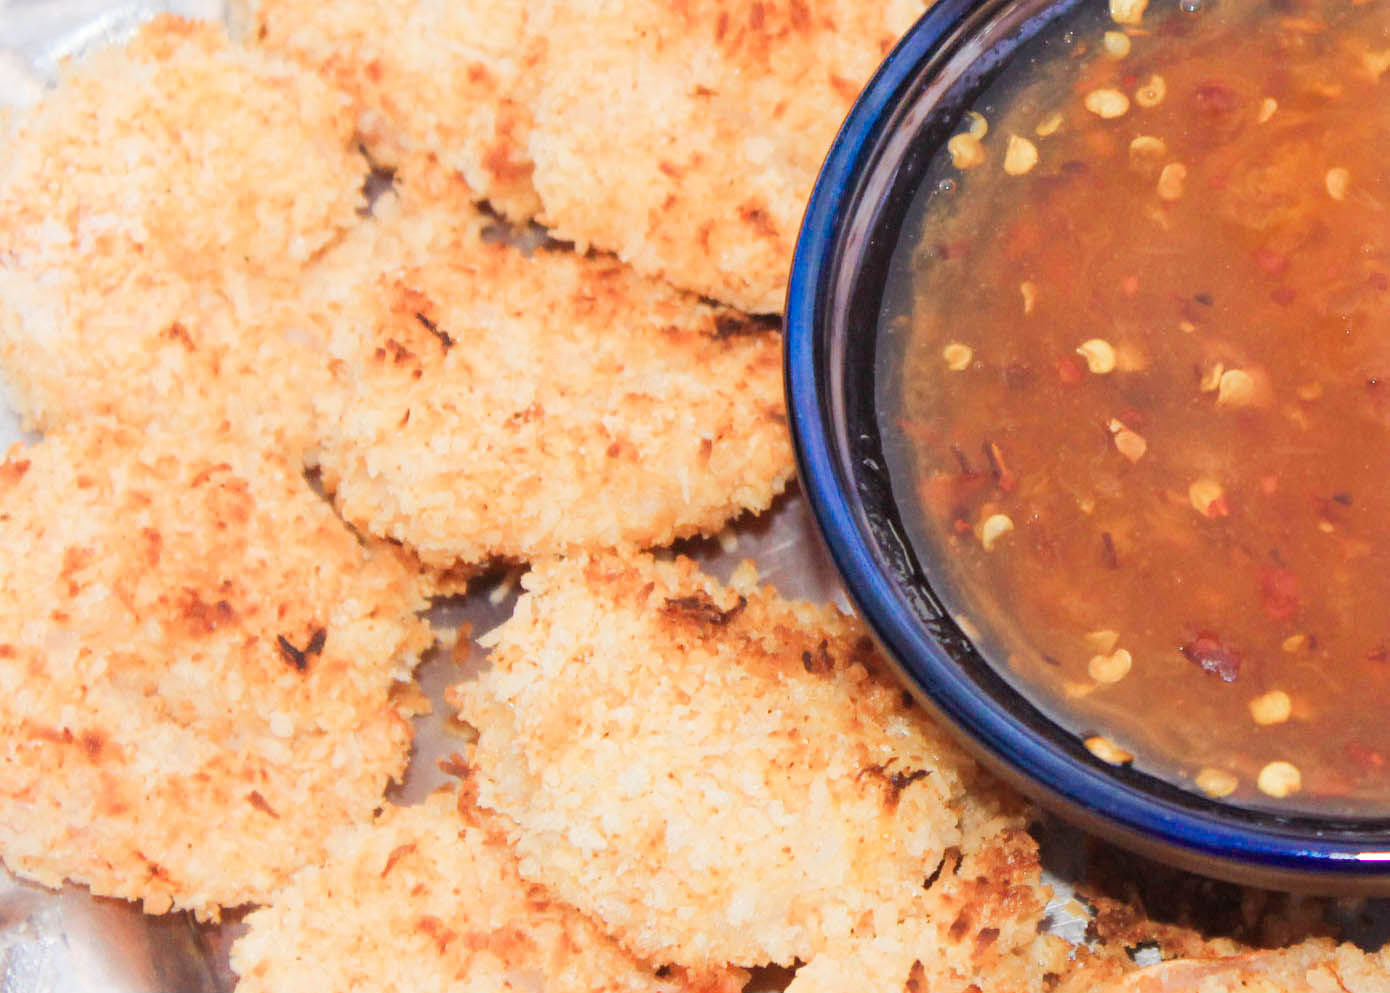
Skinny Coconut Shrimp

Skinny coconut shrimp_title2Looking for a fun appetizer or dinner recipe that’s both delicious AND healthy? Want to make all of your friends think you spent HOURS making dinner without the effort? Well, have I got a recipe for you! At 328 calories per serving, these tasty Skinny Coconut Shrimp will make your friends question if you stole them from a celebrity chef. 

If you’re wondering what makes this typical comfort-food soo healthy, let me tell you my secret. My recipe uses Japanese style breadcrumbs mixed with shredded coconut flakes cooked in the oven instead of coconut infused batter fried in a grease pit. 

Skinny Coconut shrimp_6

You’ll need 24 TAIL ON large (jumbo or butterfly) shrimp for this recipe. It doesn’t matter if they’re pre-frozen or not, but you’ll save some major prep time if you buy your shrimp already peeled and de-veined. If you elect to buy fresh shrimp, the fishmonger at the grocery store will usually do this chore for you, free of charge, if you ask! 

skinny coconut shrimp_plate

Set your oven to 425 degrees F so you can prepare your shrimp while things are heating up. To do this, arrange three plates in the following order: one plate of flour, one plate with a whisked egg, and one plate with your coconut/panko mix. One by one cover each individual shrimp in flour, then egg, then coconut/panko mix. Arrange seasoned shrimp on a foil lined cookie sheet, sprayed with cooking spray. Continue doing this until all shrimp have been prepared, then place in the oven for 8 minutes. 

Skinny Coconut Shrimp_2While you shrimp are cooking, make your apricot dip. This is seriously the EASIEST thing to make! All you have to do is stir your apricot preserves, crushed red pepper flakes, and rice wine vinegar in bowl until they’re combined, and place it in the oven until your shrimp are ready. 

Skinny Coconut Shrimp_4After 8 minutes, grab a spatula and flip over your shrimp so the other side can cook. You only have to wait 6 more minutes or until your shrimp turn golden brown before you can enjoy them! When time’s up, remove from the oven, serve with the apricot dipping sauce and enjoy! 

[yumprint-recipe id=’26’]If you come back for seconds… or thirds I promise I won’t tell! 🙂 

Fabulous recipes by Mandi at godsavethequinoa.com

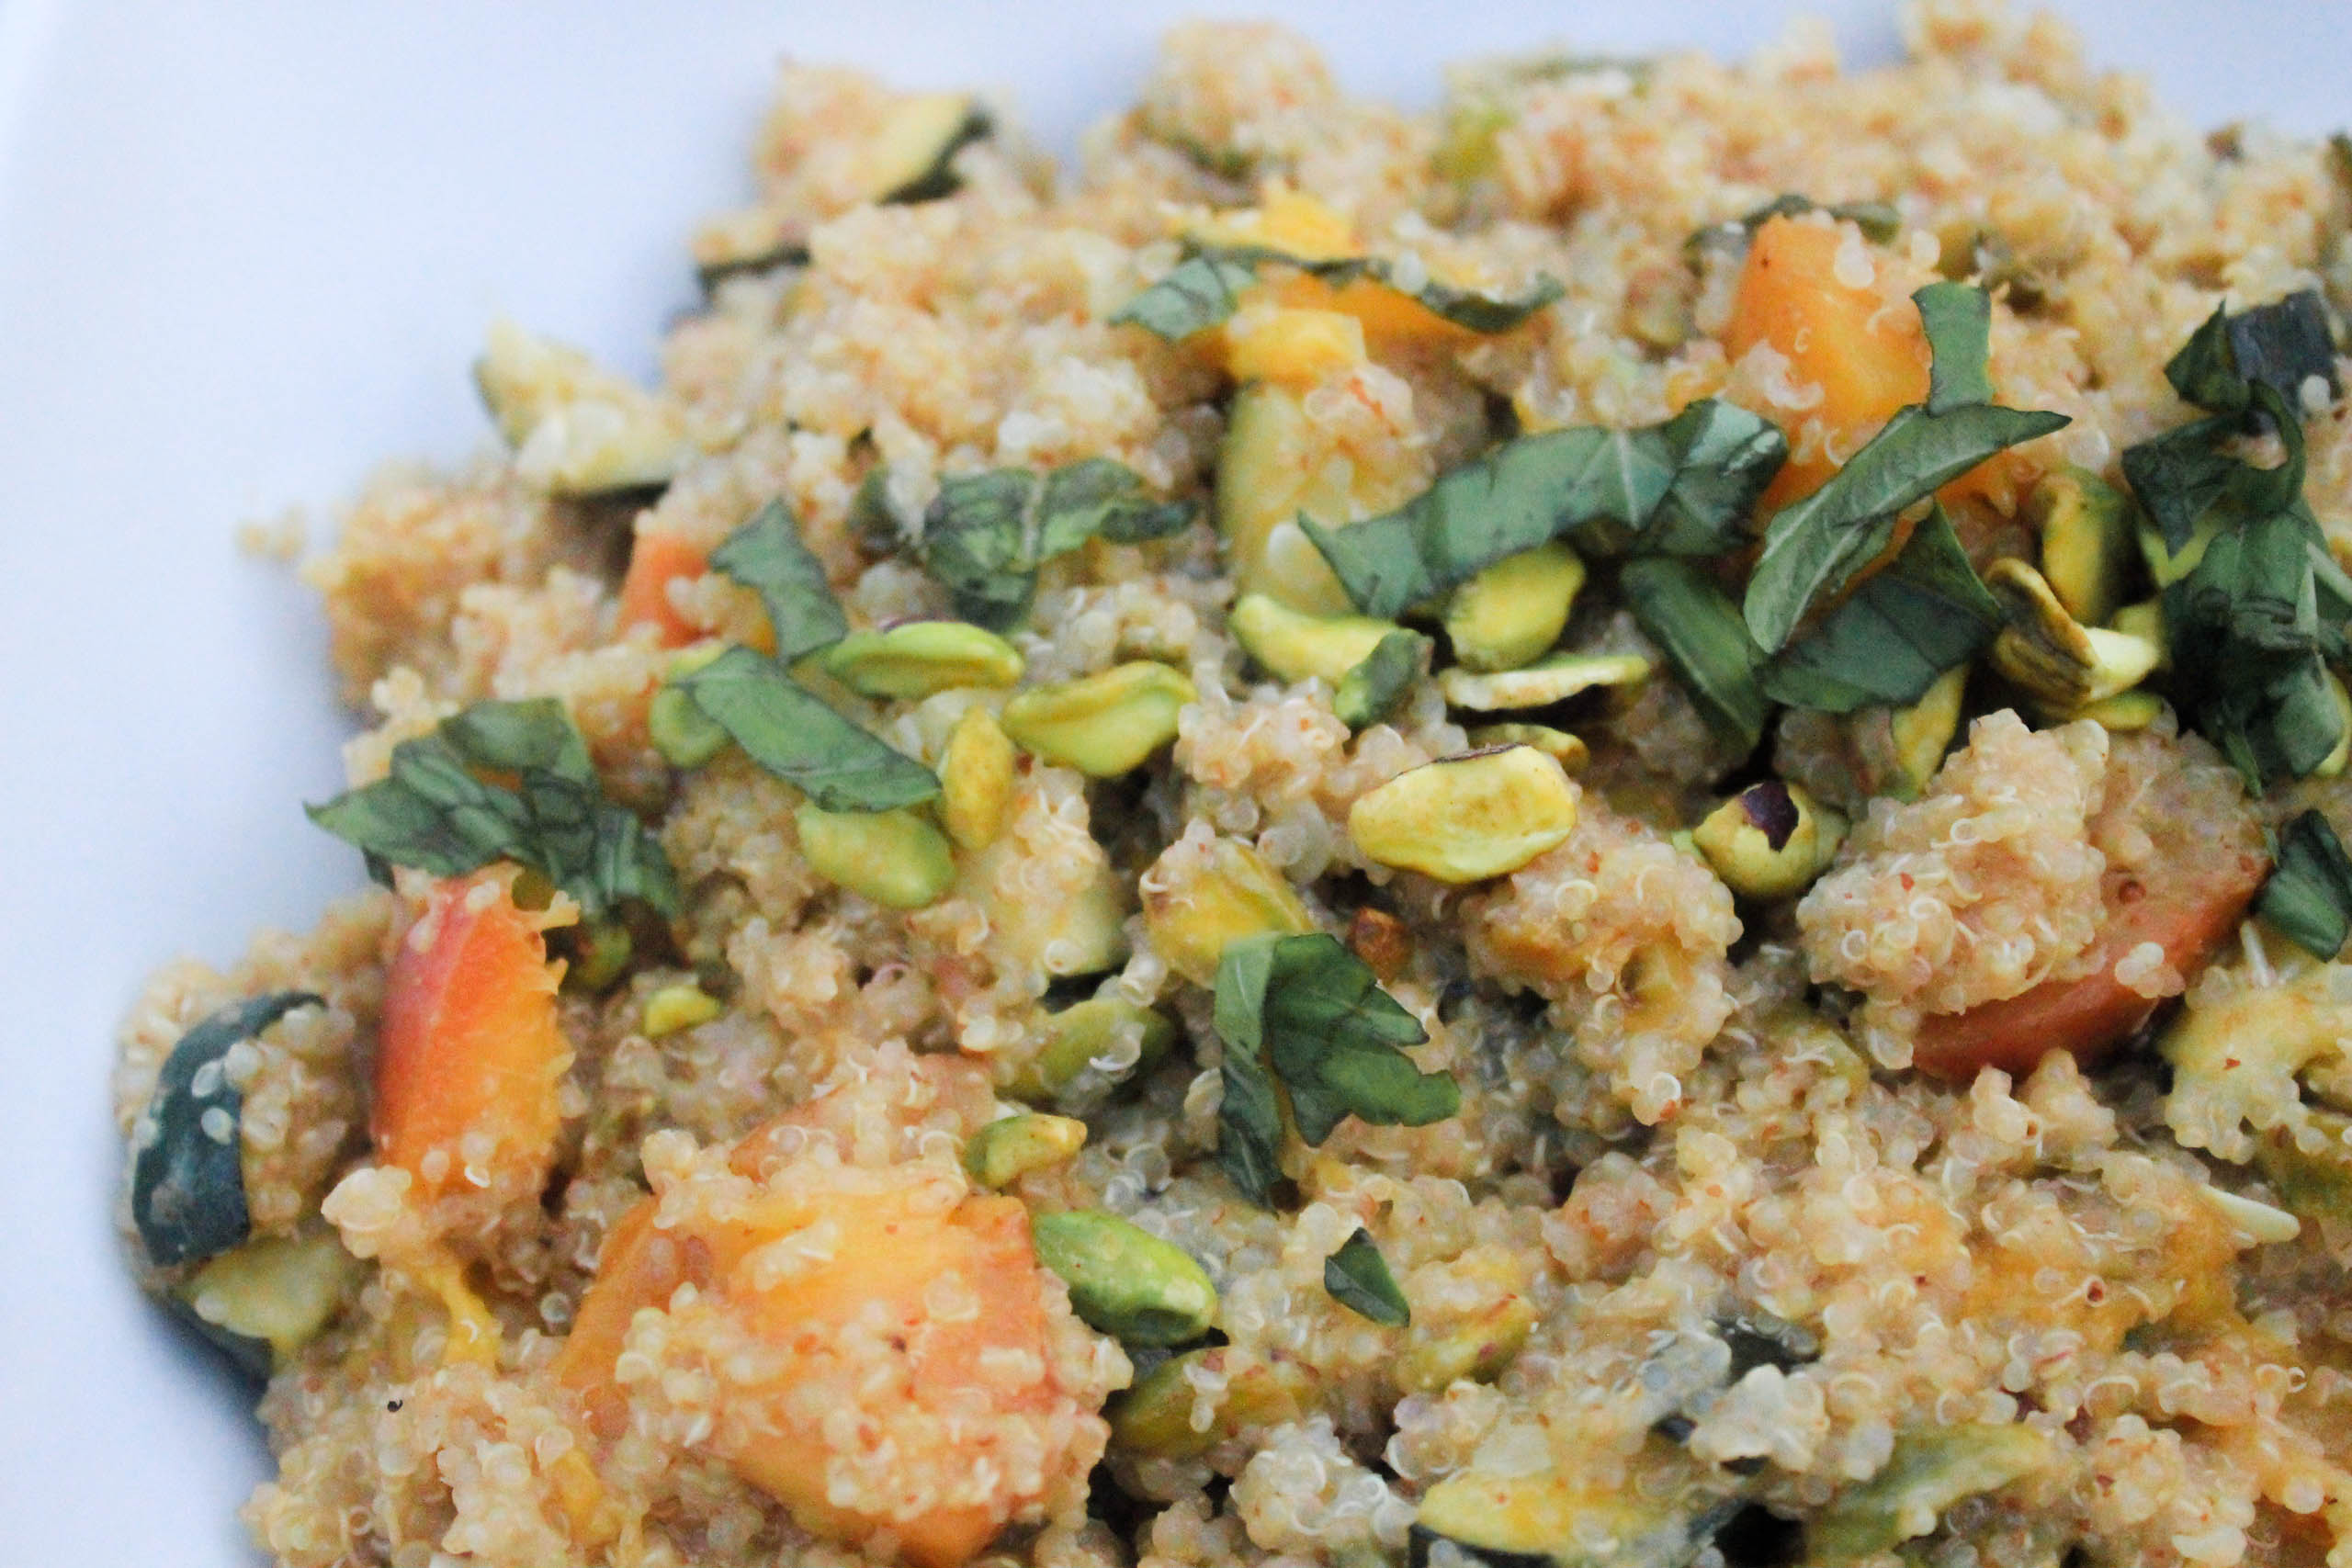
Grilled nectarine & pistachio quinoa salad

Grilled nectarine & pistachio quinoa salad (3 of 7)

Greetings! I hope summer is treating everyone well, I’m sorry I haven’t posted in a while…I’ve been SO busy lately! But get excited because I have tons of recipes to be posted, so stay tuned! 

Anyways, let me introduce you to one of my favorite summer recipes: Grilled nectarine and pistachio quinoa salad. This dish combines the soft, sweet flavors of grilled nectarines with the crunchy, salty flavors of raw pistachios. (I’m getting hungry just thinking about this!) Mix that together with warm quinoa and fresh veggies drizzled in a lemon-dijon basil dressing, and you’ve got yourself the ultimate summer evening dish! 

With 8 main ingredients, this dish is SUPER easy to make and can be cooked in about 30 minutes. All you have to do is cook the quinoa, sauté the nectarines followed by the zucchini, and make your dressing. See, its literally as easy as 1, 2, 3! 

Ingredients with words

 Step 1: Start by cooking the quinoa in half water half veggie broth. Need some quinoa cooking tips? Look here! 

Step 2: While quinoa is cooking cut the nectarines (the same way as you would an apple slice), quarter the zucchini, and slice the basil. Brush the nectarines with olive oil and arrange them on a grill pan to caramelize. You want grill marks to show up on the sides of the fruit, so  cook each side for about 2 minutes. When nectarines are done cooking, set them aside, add a little extra olive oil to the pan and sauté the zucchini until pieces become soft and translucent. This should take about 5-7 minutes. When this is done, remove zucchini pieces from heat and set aside. 

Don’t forget to check on the profess of step 1! By now your quinoa should be done cooking (or close to it). When the quinoa is al dente, fluff with a form, remove from heat, set aside and cover with a lid. 

Grilled nectarine & pistachio quinoa salad (4 of 7)

Step 3: Last but not least, you will make the dressing. To do this, start by combining the dijon and lemon juice in a small bowl and stir with a fork or whisk both ingredients are combined. Very, very slowly (while constantly stirring dijon lemon mixture) pour olive oil into bowl in a smooth, steady stream. DO NOT FORGET TO STIR DIJON LEMON MIXTURE WHILE POURING OLIVE OIL INTO BOWL. I cannot tell you how important this is!! Stirring the ingredients already in the bowl while simultaneously pouring in the olive oil will allow ingredients to emulsify. Emulsify is a fancy word used to describe two ingredients that aren’t meant to blend together but will become “one” under the right conditions… sounds like a love story, right? 

Anyways, if you start to notice that the olive oil isn’t playing nice with the dijon lemon mixture, stop pouring the olive oil and in the words of the late MJ “just beat it”. All jokes aside, stir your little heart out until ingredients start to combine. When they finally start to blend, continue stirring while you (more slowly this time) pour the rest olive oil into the bowl, pausing to stir ingredients as needed. When finished, add in basil and salt and pepper to taste.  

Grilled nectarine & pistachio quinoa salad (6 of 7)

You’re almost done! In a large bowl simply combine the cooked quinoa, grilled nectarines, and sautéed zucchini. Next, fold in the dressing so it is evenly dispersed throughout the quinoa. Top with chopped pistachios and left over basil and ENJOY! 

Grilled nectarine & pistachio quinoa salad (2 of 7)

[yumprint-recipe id=’23’]I hope you enjoy this dish as much as I do! Comment below and let me know what you think! I’d love to hear from you! 

Fabulous recipes by Mandi at godsavethequinoa.com