Month: May 2014

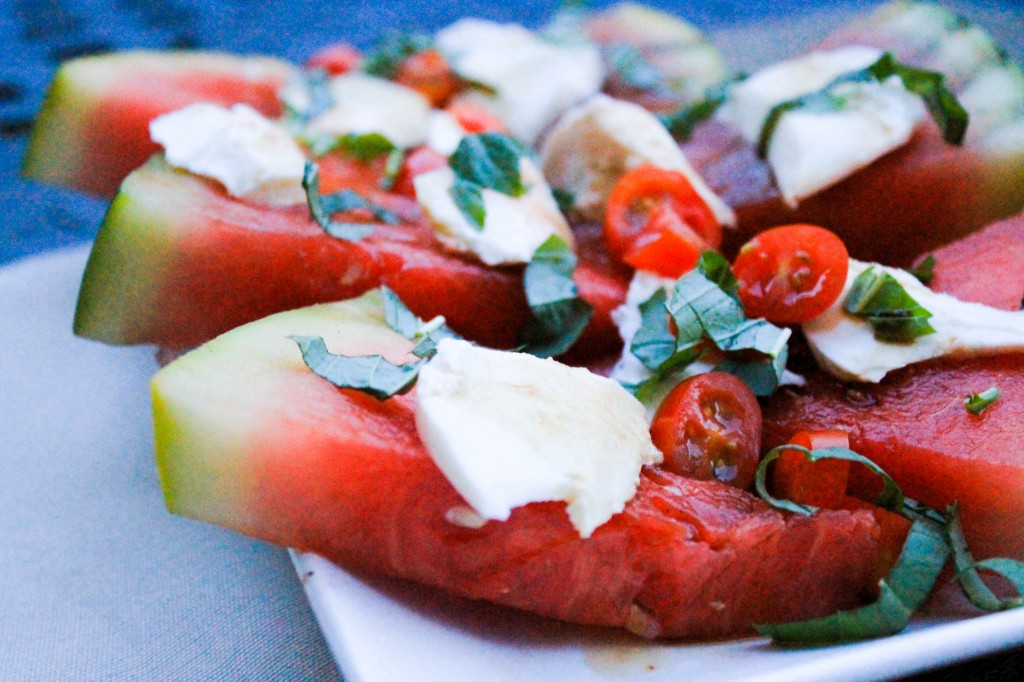
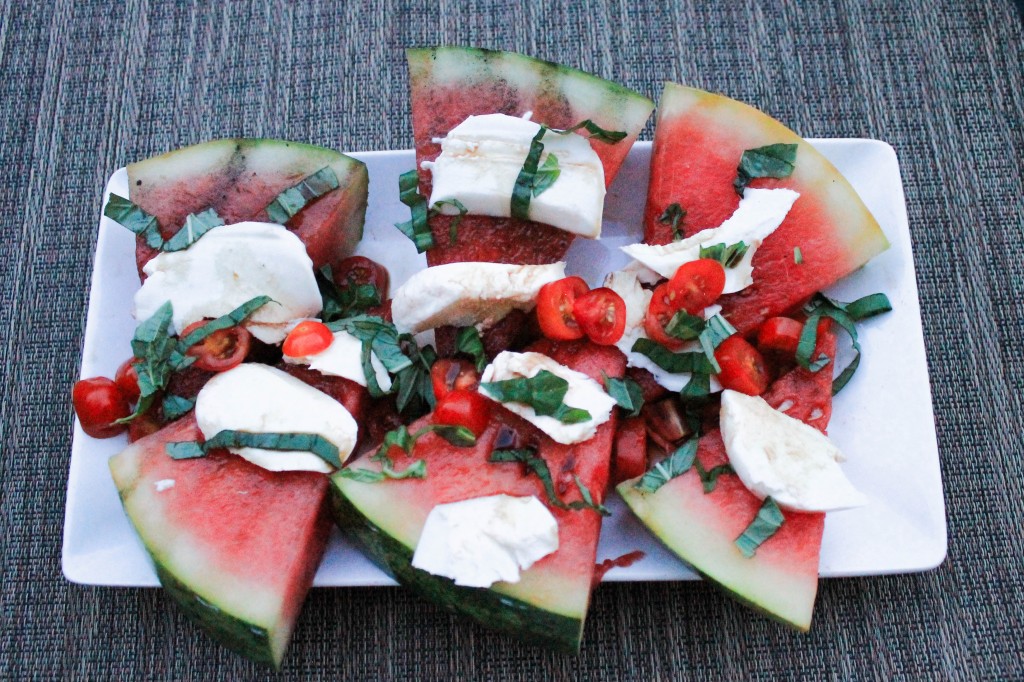
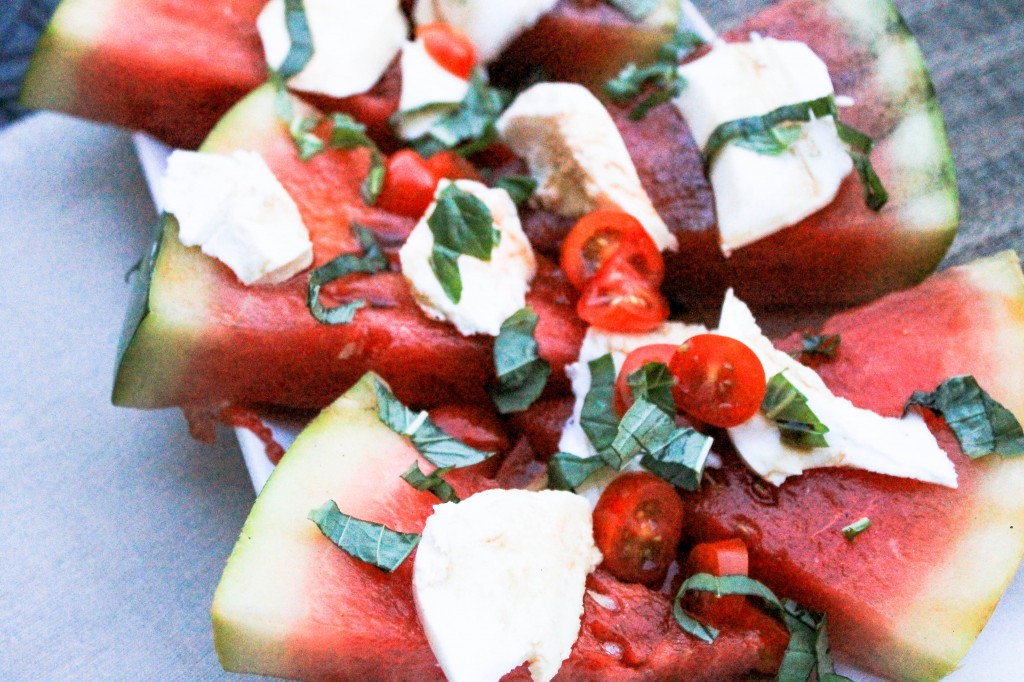
Honey Grilled Watermelon Caprese Salad

Tuna salad stuffed tomato cups (6 of 9)

 Happy Memorial Day weekend! I don’t know about you, but I sure am looking forward to a much needed three day weekend!

As you know, this time of year its popular to have cookouts or BBQ’s in the backyard or out by the pool with friends and family. I’m personally a huge fan of potlucks- where each person brings a different dish to share with the group. Its such a fun way to taste new things and discover new recipes. Not to mention, it makes the hostess’s life much easier! 

If you’re looking for a fun summer dish to bring along to a Memorial Day potluck, or serve at your own outing, my honey grilled watermelon caprese salad is a guaranteed crowd pleaser.  

Honey Grilled Watermelon Caprese Salad

I know honey grilled watermelon and mozzarella sounds like a funny combination, but trust me, once you taste it you won’t be able to get enough! The creamy mozzarella pairs perfectly with the sweetness in the watermelon, creating a perfect and refreshing party food!

Watermelon, olive oil, honey, fresh mozzarella, basil, cherry tomatoes, and balsamic vinegar. Thats all you need. So. Simple. 

Simply cut the watermelon into triangular slices, mix the olive oil and honey together in a bowl until well combined- adding some salt and pepper as desired. Brush each side of the watermelon slices with the olive oil honey mix and grill each side of the watermelon on medium heat for 2 minutes. 

Arrange grilled watermelon slices on a plate and place fresh mozzarella slices, chopped cherry tomatoes, and fresh basil shreds on top. Drizzle plate with balsamic vinegar and serve! 

Honey Grilled Watermelon Caprese Salad

 See, I told you it was simple! Be prepared to make seconds and thirds. 

Happy Memorial Day, everyone! Remember to thank our troops! 

[yumprint-recipe id=’19’]Fabulous recipes by Mandi at godsavethequinoa.com


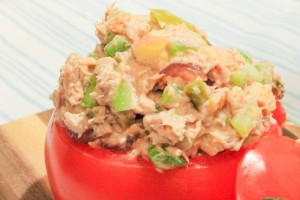
Tuna Salad in Tomato Cups

Tuna salad stuffed tomato cups (10 of 12)

Ever since I was a child, I’ve loved tuna salad! My mom used to always make tuna sandwiches to put in my lunch or would serve tuna salad with crackers as a snack. Yum! As I got older and started eating out on my own at those deliciously cute little bakeries, I noticed the ridiculously high calorie count in tuna salad. I’m talking 600-900 calories. At least. For ONE SANDWICH?!?! Uhhh no thanks.

Because of this, I would (and still do) avoid tuna sandwiches at those cute little bakeries like the plague! But I just couldn’t say goodbye to my beloved tuna salad forever, so I figured out how to make a tuna salad of my own. A tuna salad that is healthy and tastes just as good at the unhealthy kind, with 198 calories to be exact! So, attention all cute little bakeries with un-healthy tuna salad, serve this recipe and I’ll start eating your tuna salad again! 

How do I make my tuna salad healthy you ask? Well, let’s start with what makes tuna salad so unhealthy in the first place. There’s one word for it, and that word is mayonnaise. And lots of it. In my recipe, I’ll admit that I do use a mere 2 teaspoons of mayonnaise…but that’s much healthier for you than 2 cups of it!

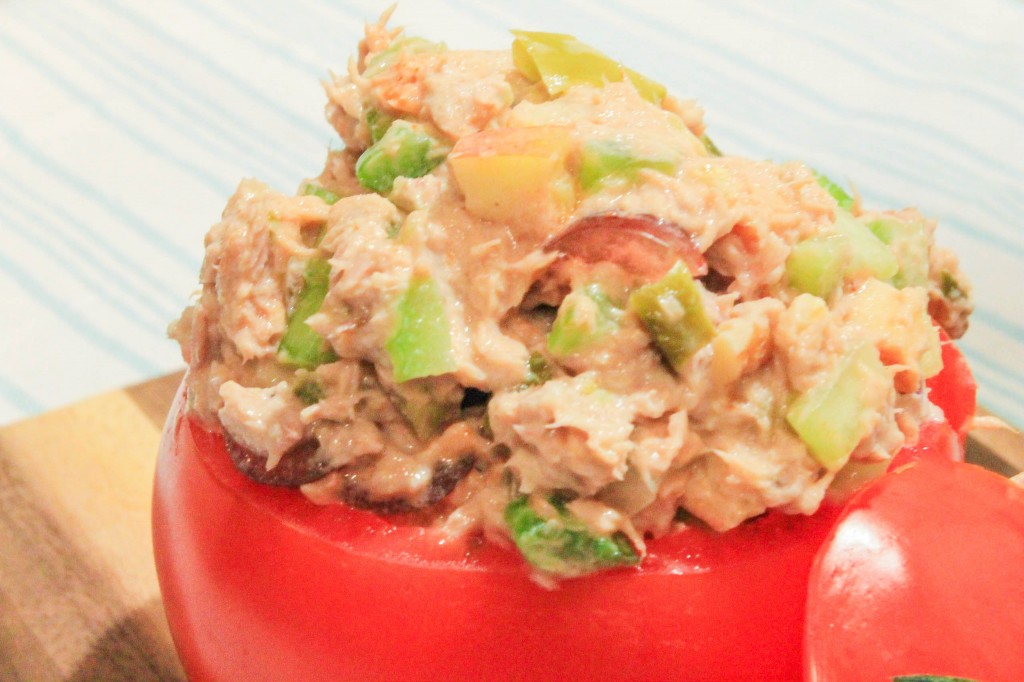
To make this Healthy Tuna Salad Recipe, I used plain nonfat greek yogurt in lieu of mayo, added lots of fruit (apples and grapes), nuts (chopped walnuts), veggies (celery and white onion shreds), and a hard boiled egg for extra protein. These additions give the tuna salad a great texture and make it more filing for you! I spiced it up with sweet relish, spicy dijon mustard, and even added some sriracha to give it a little extra kick! If spicier foods aren’t your cup of tea- opt out of using the sriracha! 

Now back to those cute little bakeries. I just love how “cute” everything is! If you don’t know what I’m talking about, next time you go into one of these places look around at the pictures decorating the walls, the table linens, the plates, the menus, and the cute little old ladies brunching together in the corner. All of these elements really contribute to the overall atmosphere. In an attempt to recreate this atmosphere at home, I decided to serve my tuna salad in tomato cups! 

Creating these tomato cups is very simple to do! To learn how, simply follow the step by step directions below:

1. Cut off the top of the tomato near the stem. Remove the stem and set aside. (This will be used as your lid later on.)
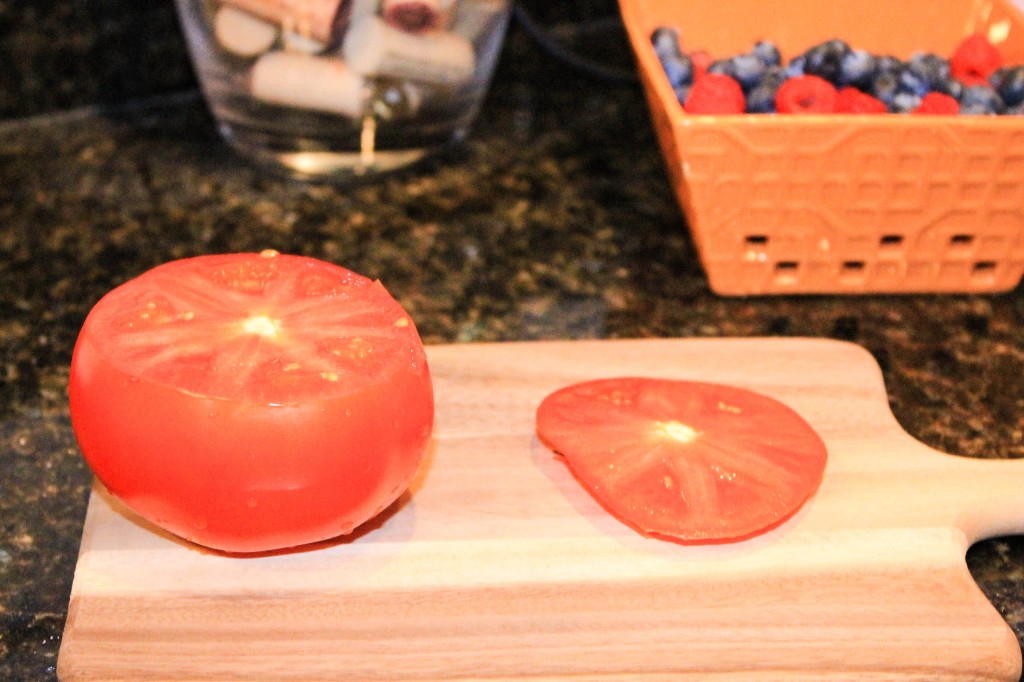
Tuna salad stuffed tomato cups (1 of 12)


 2. Use a knife to “trace” around the edges of the tomato as if you are trying to separate the “core” of the tomato from the “wall”. Be careful not to cut all the way through the skin! You want your tomato to hold the tuna salad- not leak everywhere! 
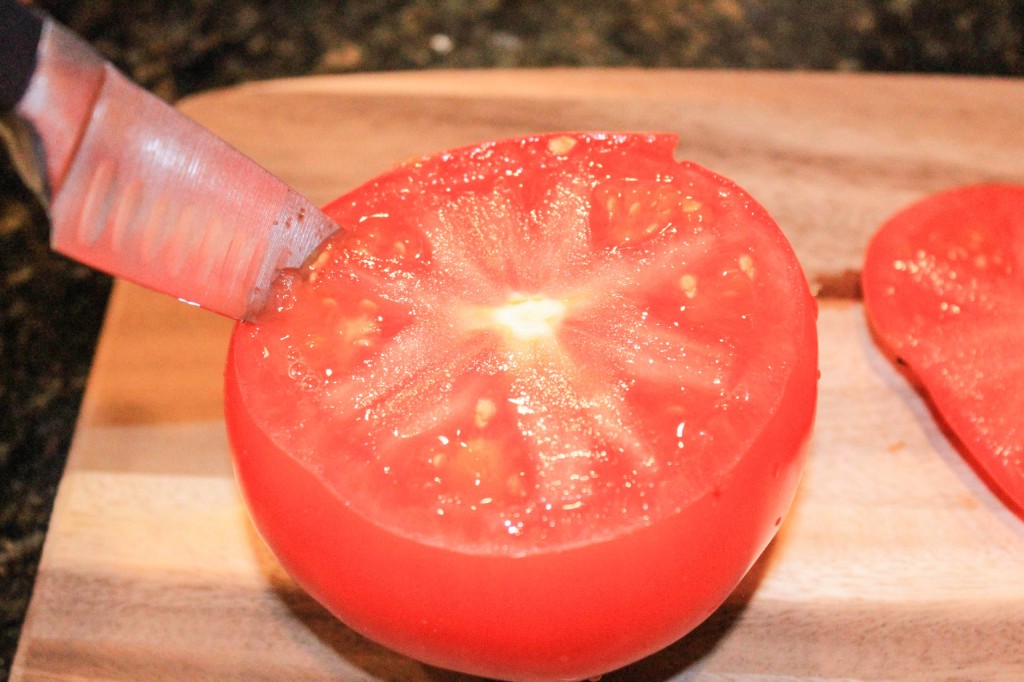
Tuna salad stuffed tomato cups (2 of 12)


 3. Using a large spoon, gently scoop out the insides of the tomato. Re-trace the path you carved out with your knife to continue separating the tomato “core” from the “walls”. Don’t be afraid to use a little force if you get stuck! Continue tracing the path with the spoon until you can insert the spoon all the way to the bottom of the tomato (without puncturing the tomato of course!)  
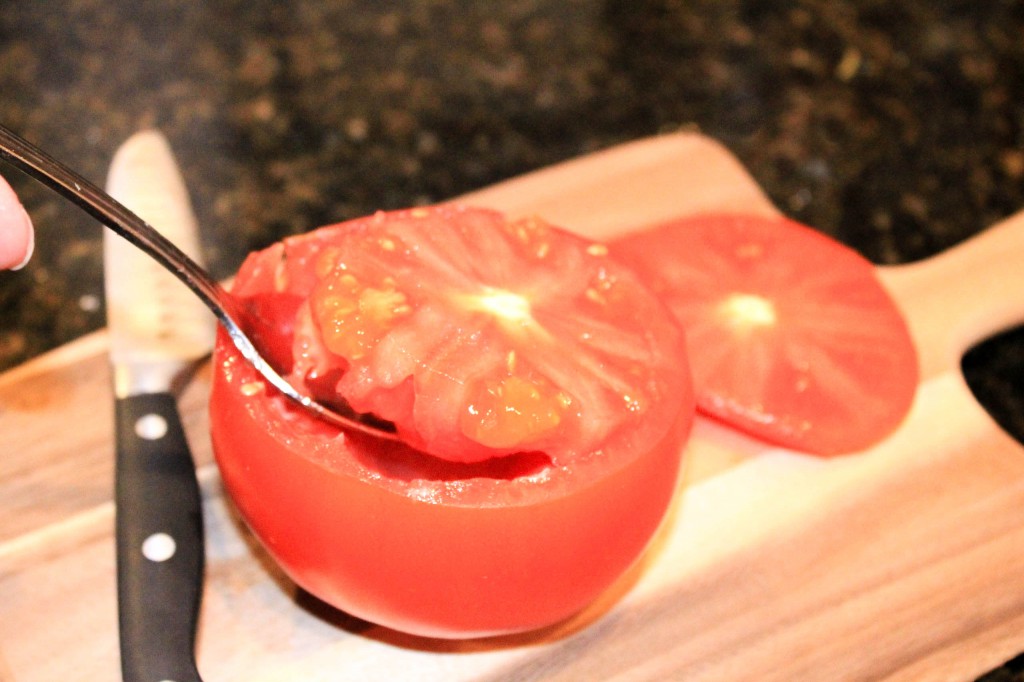
Tuna salad stuffed tomato cups (4 of 12)


4. By now you should be able to fit the spoon all the way around the core of the tomato and lift it up. To continue, simply lift the core out of the tomato and throw it away. You’re almost done! 
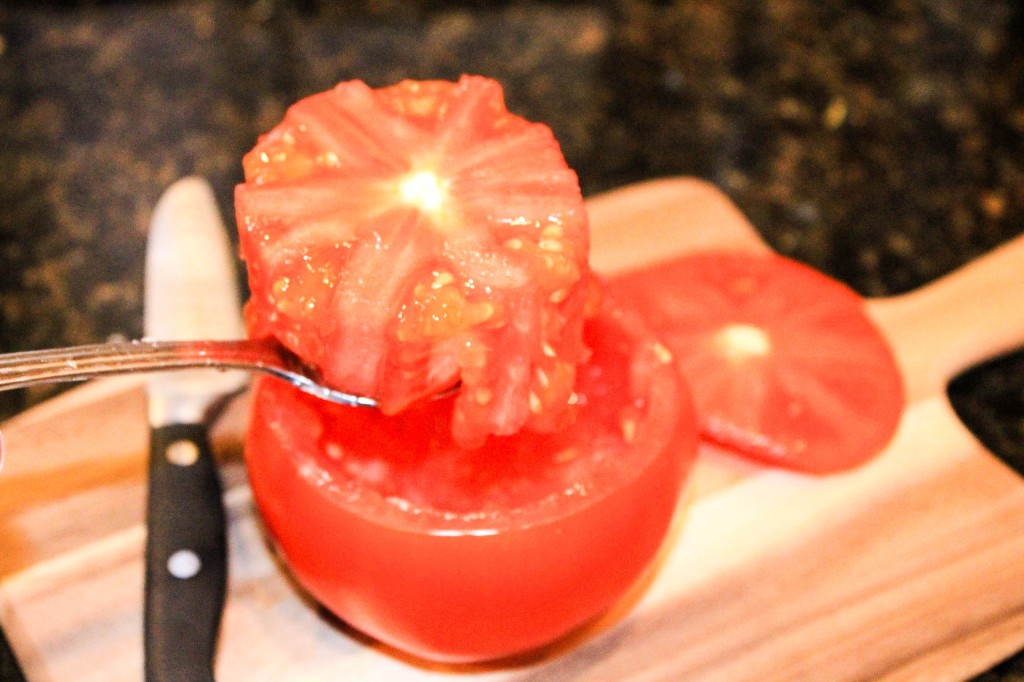
Tuna salad stuffed tomato cups (5 of 12)


5. Now that you have removed the core, your tomato should look like a bowl or a cup. Use your spoon to scrape the sides of the walls to remove any excess tomato insides remaining. When you’re satisfied with how your tomato looks, put your spoon down! You’re finished! 
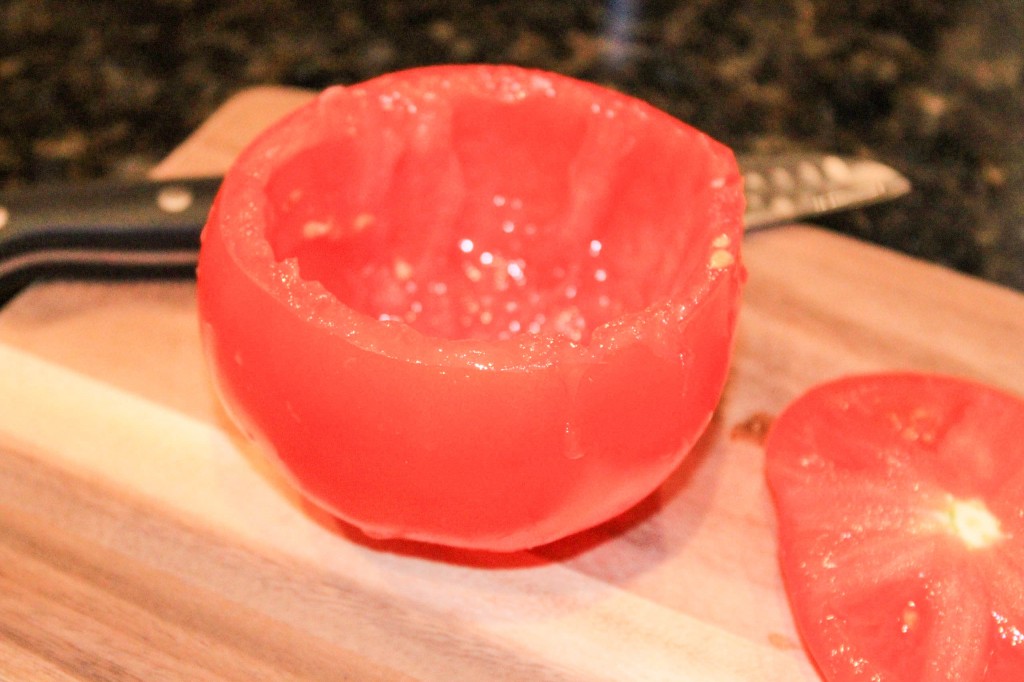
Tuna salad stuffed tomato cups (6 of 12)


See, that wasn’t so bad!

Now all you have to do is mix all of the tuna salad ingredients together, stuff the tuna salad in the tomato, out it on a plate and voila! you’re done in less than 15 minutes! NOTE: Don’t forget to hard boil the egg! I ALWAYS forget to do this! 
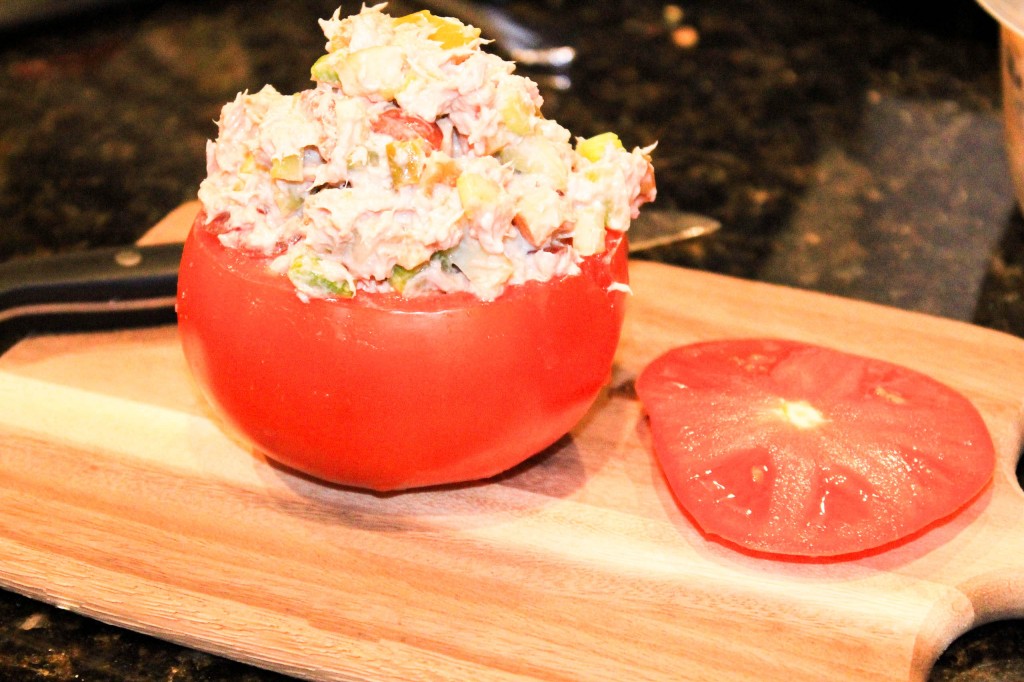
Tuna salad stuffed tomato cups (7 of 12)


[yumprint-recipe id=’18’]Fabulous recipes by Mandi at godsavethequinoa.com

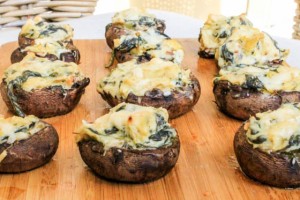
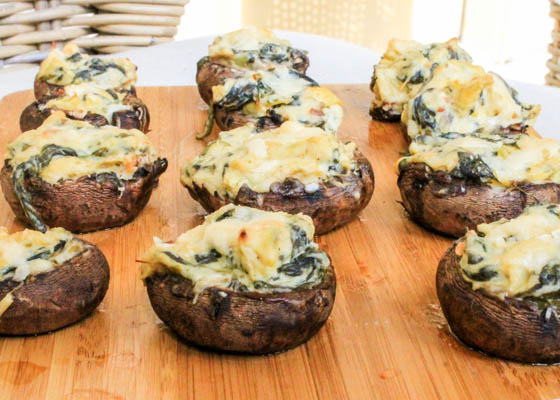
Spinach and Artichoke Stuffed Mushrooms

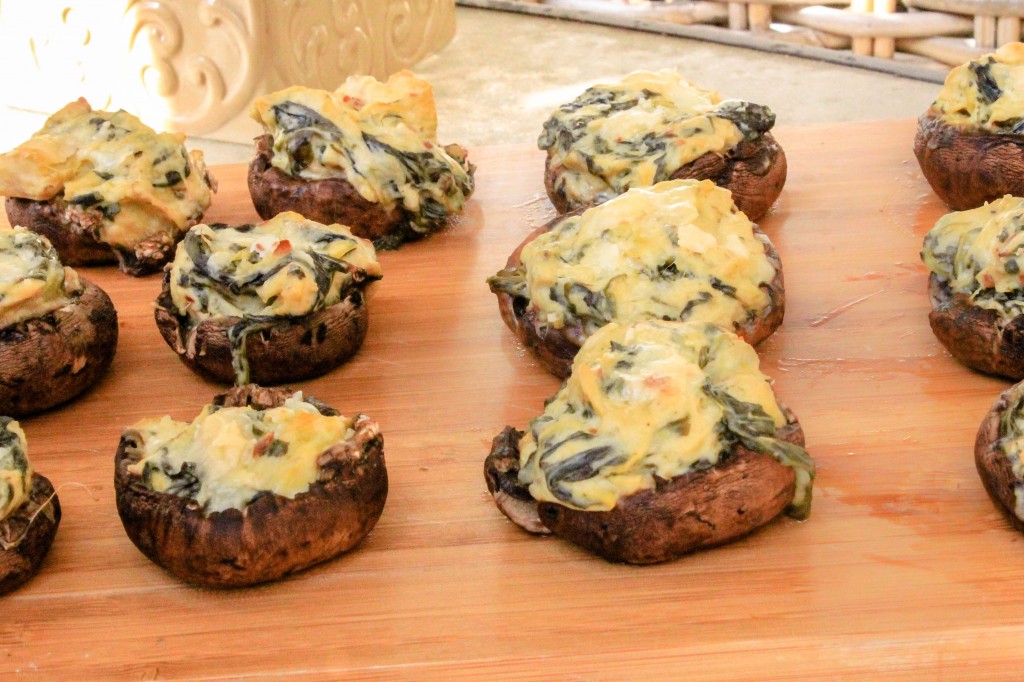
Spinach and Artichoke Stuffed Mushrooms

Looking for a fun appetizer to serve at your next pool party or get together? Look no further! These spinach and artichoke stuffed mushrooms are an exciting (and healthy) way for you and your compadres to enjoy spinach and artichoke dip, which in my opinion is one of the most crowd pleasing appetizers out there! Did I mention that each mushroom only has 35 calories? if you didn’t have an excuse to throw a party, now you do! 

Like many of my recipes, I used non-fat greek yogurt and weight watchers cream cheese instead of heavy whipping cream, sour cream, mayonnaise, and other high fat dairy products traditional spinach and artichoke recipes call for. I did use ONE tablespoon of olive oil mayonnaise for taste, but I didn’t think anyone would mind since all 45 calories of this mayo is divided between twenty servings, which brings me to my next point: portobello mushrooms. 

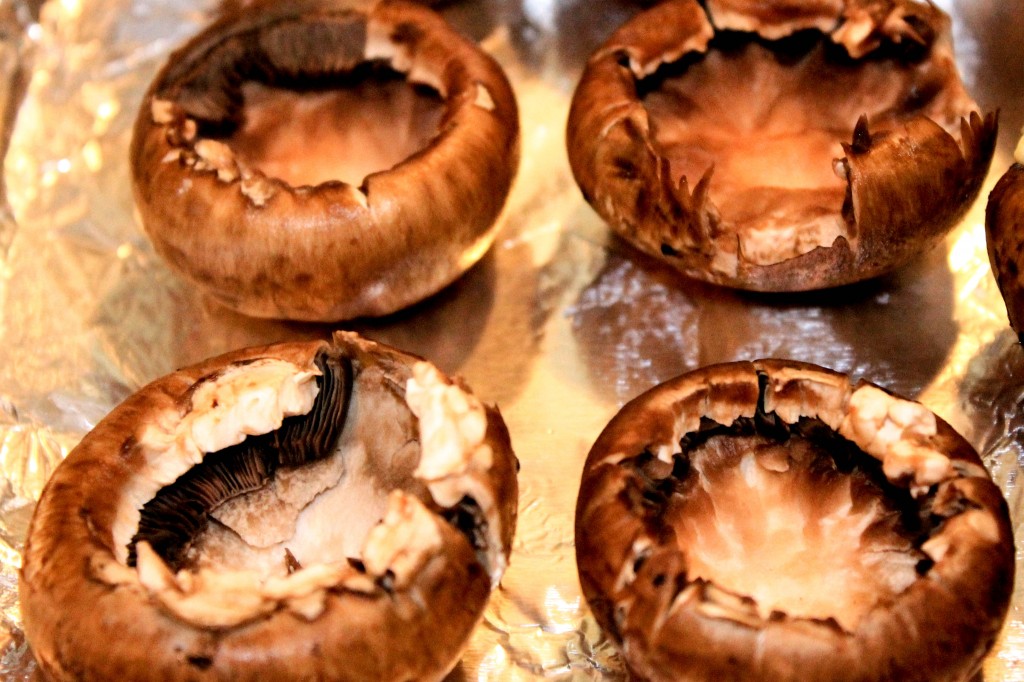
This recipe calls for 20 baby portobello mushrooms (hence the “twenty servings” mentioned above). You’ll start by rinsing and hollowing out each of the mushrooms, and lining them hollow-side-up on a foil-covered baking sheet (pictured below). Be gentle when hollowing out your mushrooms. Portobellos tend to be more delicate than other mushrooms with thicker, more round, bulb-like caps.

Hold the mushroom stem side up and use a small pairing knife to cut the stem out of the mushroom. Cut off the entire stem, but be very careful not to cut into the bulb (walls) of the mushroom since the mushroom. It will be more difficult for the mushroom to take on the bowl-like shape needed to hold the spinach and artichoke dip if it has no walls! Next, with a small spoon, carefully scoop out as much of the “gills” or “insides” of the mushroom as possible.  Once your mushrooms are nice and hollow, arrange them on a foil lined baking sheet. Make sure you spray the foil with plenty of PAM or non-stick spray before arranging your mushrooms. 

Hollowed out baby portobello mushrooms

Important note: your hollowed out mushrooms do not need to (and probably will not) be perfect. Mine, as you can tell from the picture above, most certainly were not perfect. If you come across a mushroom that just won’t seem to cooperate, don’t be alarmed! Simply try your best to hollow it out as much as possible. I promise the finished product will taste great…even if your mushroom still has some insides! 

Now that the mushrooms are ready to go, you need to make the spinach and artichoke dip to stuff the mushroom caps with. To do this, fill a pot with water and place your fresh spinach and drained artichoke hearts in the pot on top of the stove and raise temperature until water starts to boil. Once water reaches a rolling boil, reduce heat and simmer for about 5 minutes until spinach begins to wilt and artichoke hearts turn very soft. Remove pot from heat and drain the water.

Place the spinach and artichokes back in the same pot on low heat. Stir in the weight watchers (or fat-free) cream cheese, greek yogurt, all 45 calories of the olive oil mayo, red pepper flakes, salt, pepper, and continue stirring until all ingredients are well combined.

The spinach and artichoke mix should be thick and goopy. However, depending on the type of greek yogurt used, your mix could be fairly runny. If it is, do not worry! This is completely normal! To thicken up your mix, simply add flour in 1/2 teaspoon (teaspoon NOT tablespoon) increments until mix thickens. You should not exceed more than 2 teaspoons of flour during this process. Once your mix becomes thick and goopy fold in the parmesan cheese and you’re ready to fill the mushroom caps! 

Spinach and artichoke stuffed mushrooms (1 of 1)-3

Using a large spoon, place a heaping spoonful of the spinach and artichoke mix into each mushroom cap, sprinkle remaining parmesan cheese on top and pop them in the oven for 15 – 20 minutes at 350 degrees. You’ll know they’re finished when the tops begin to turn a light golden brown color, but don’t take them out just yet! Turn the oven to broil and cook mushrooms for another 2 minutes, until cheese on top starts to melt. 

Congratulations! You’re done! Remove your mushrooms from the oven to cool for about 3 minutes before serving. It might just be the longest 3 minutes of your life but I promise its worth the wait! 


[yumprint-recipe id=’17’] 

 Fabulous recipes by Mandi at godsavethequinoa.com

Tropical Shrimp Salad

A light and fresh, spicy and sweet salad so tropical, you'll think you're in the Caribbean.

Lately I’ve been craving something light and fresh with a tropical flare. After all, summer is right around the corner and I can’t stop day dreaming about spending my weekends laying out and relaxing next to the pool, getting a tan, and pretending I’m in a fabulous tropical paradise drinking some fruity drink with an umbrella sticking out of the top. If Dallas was closer to a beach, perhaps this daydream would come true! Unfortunately its not so I guess its time for me to come back to reality…{sigh}.
 
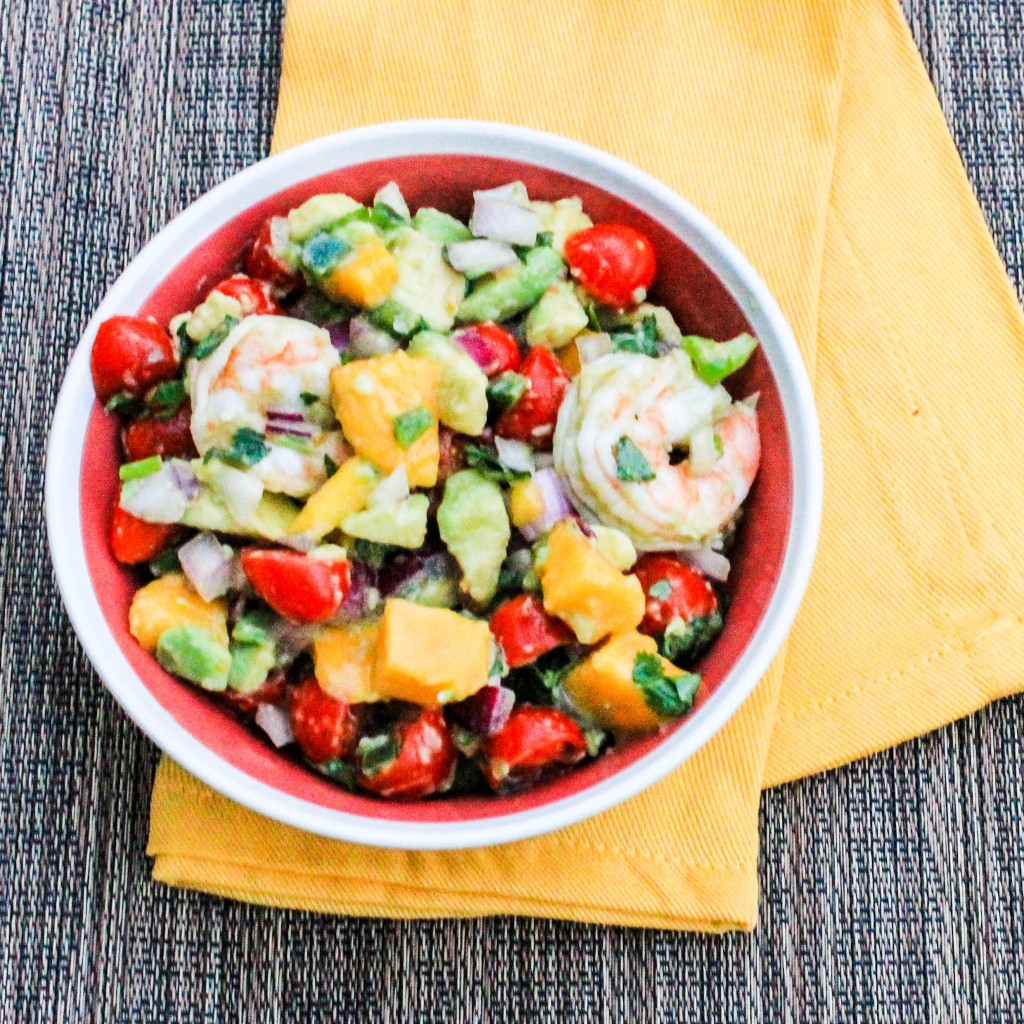
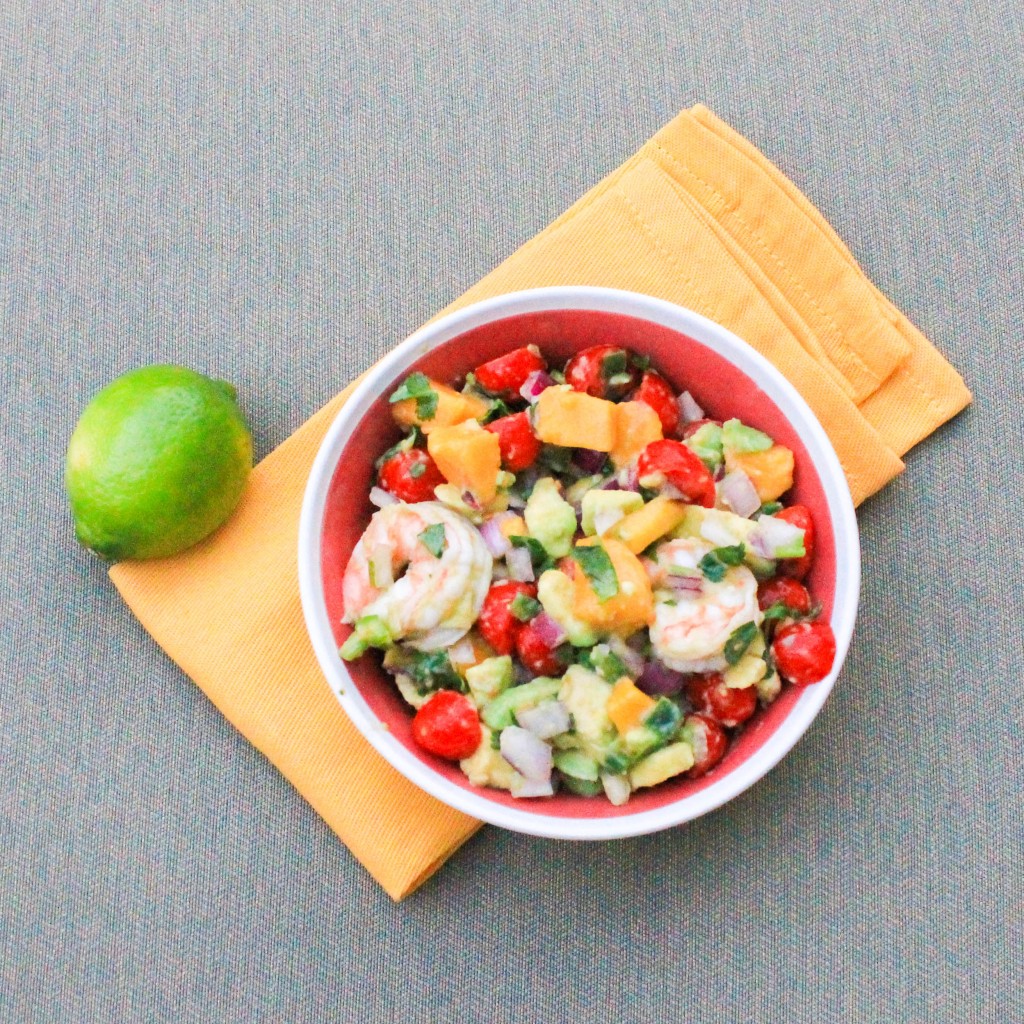
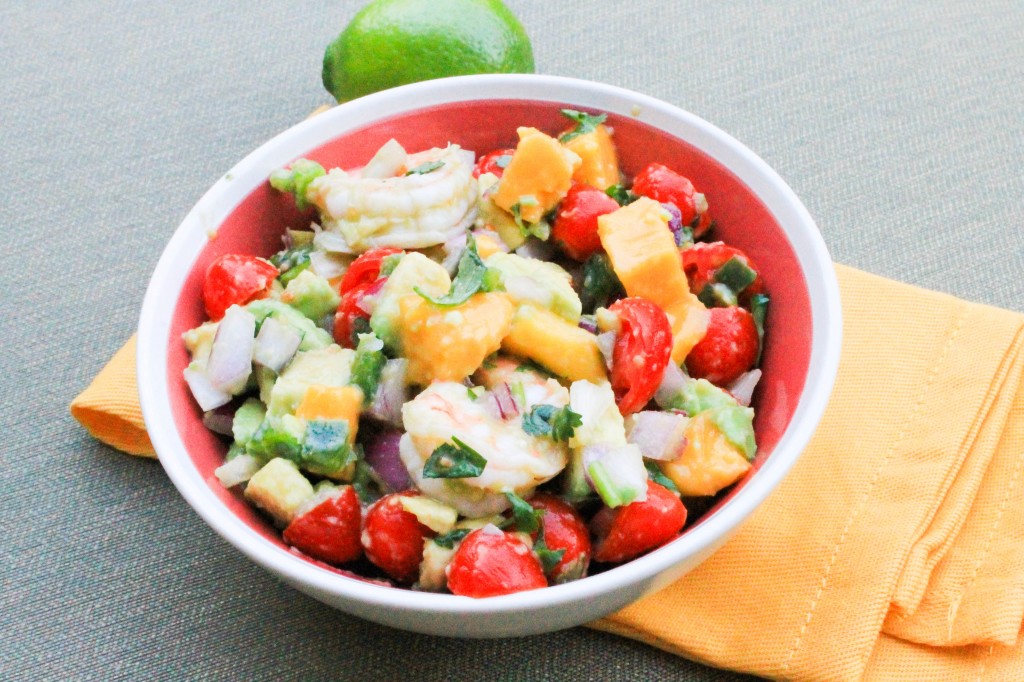
Tropical Shrimp Salad
 
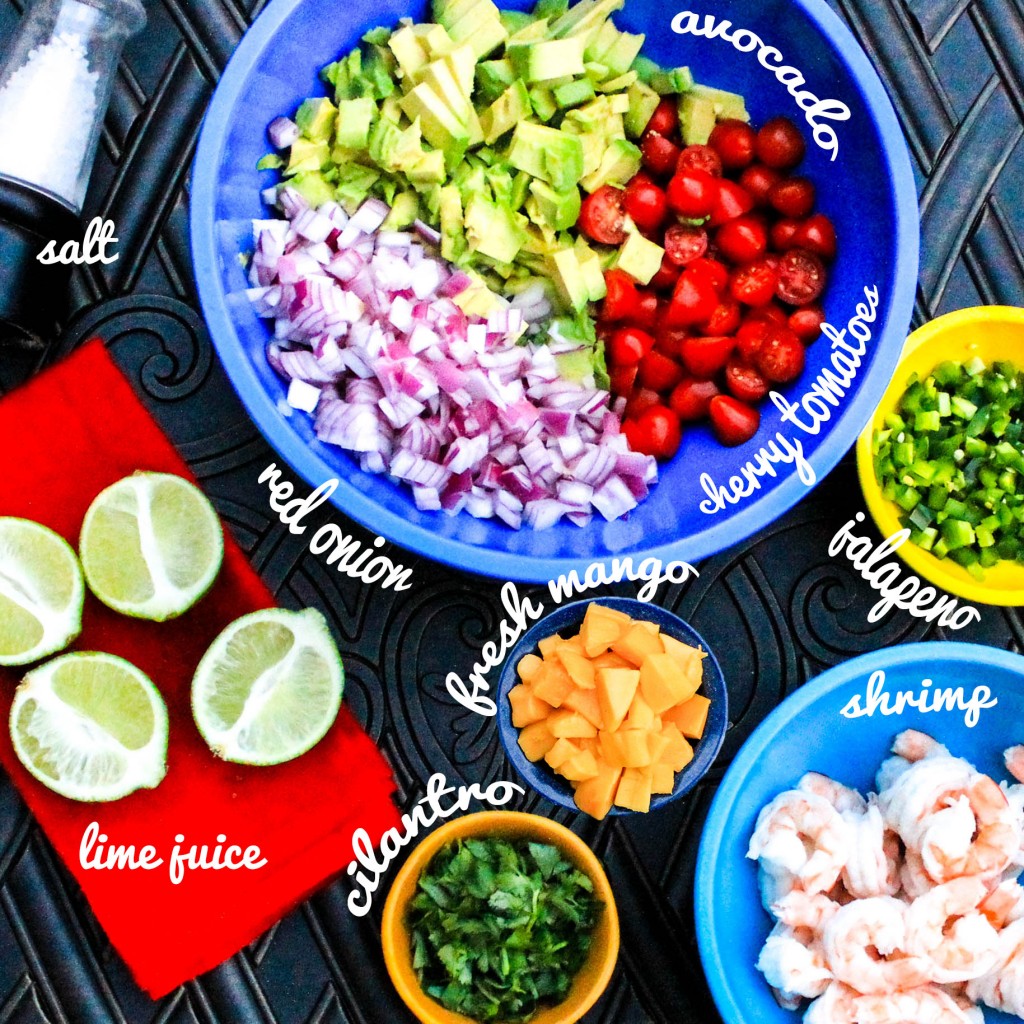
Since it’s the middle of the work week and I can’t satisfy my craving to relax in a tropical paradise (or the pool at my apartment) I decided to create a tropical dish in my kitchen instead. Nine ingredients later, I was chowing down on the final product; a tropical shrimp salad, with flavors so fresh I actually thought I was in the Caribbean for a minute or two! The spiciness from the jalapeños and sweetness from the mangos pair extremely well together, satisfying every last taste bud. That’s not all. The best part about this Tropical Shrimp Salad recipe? No cooking required.  
 
Yes, you read that correctly. Nine ingredients. No cooking. 
 
Tropical Shrimp Ingredients
 
Chop. Mix. Done. 
 
 
Tropical Shrimp Salad
 
Its literally as easy as one, two, three. All you have to do is cut everything up according to the directions below, combine all ingredients in a large bowl, and refrigerate until you’re ready to serve this tropical masterpiece. Just make sure you buy the pre-cooked cocktail shrimp from the fish counter at the grocery store of your choice. 
 
[yumprint-recipe id=’16’]
 
Fabulous recipes by Mandi at godsavethequinoa.com