Category: By meal

Recipe filter group: breakfast, lunch and dinner, snacks, sweets, sauces and staples.

  • Pesto Pasta with Veggies

    Pesto Pasta with Veggies

    Pesto Pasta with Veggies

    Pasta is always one of my go to recipes when I want to make something quick and easy. If you love pasta, you’re not alone! Did you know that the average American consumes about 20 pounds of noodles each year? Unfortunately, the majority of these consumed carbs tend to be your traditional, refined “white” noodles. So, if this statistic applies to you, make a goal to be one of the “average Americans” that eats 20 pounds of whole-wheat noodles per year. Now, don’t freak out and start googling “what’s going to happen to me if I ate 20 pounds of white noodles last year”. Nothing is wrong with you and you’re going to be fine, I promise.

    So why should you eat whole-wheat noodles instead of their white counterparts? Well, white pasta is made from refined flour and during the refinement process the germ and bran are removed from the kernel, leaving only the endosperm, which is grinded up and used to make the white noodles we all know and love. This causes a problem because the majority of the nutrients in grains come from the germ and bran. Since the germ and bran are removed during the refinement process white noodle eaters are missing out on the nutrients and health benefits associated with eating whole-wheat noodles. We’re talking natural fibers, iron, B vitamins, protein, and micronutrients such as magnesium, potassium, and selenium. To put it simply fiber will fill you up so you won’t overeat, B vitamins help speed up your metabolism, Magnesium helps strengthen bones and promote muscle function, and Selenium helps protect your immune system. Need I say more?

    pesto-pasta-2-

    Now that you know the health benefits whole-wheat pasta provides, here’s a little FYI. If you’ve never cooked with whole-wheat pasta be aware that it usually takes a little longer to cook and depending on the brand you buy can have a weird texture. Don’t worry, as long as you don’t over cook your pasta, the texture should not be an issue. If you’re not sure which “whole-wheat” version to buy (beware of impostors) one of my favorites brands is Healthy Harvest. In fact, it’s the brand I used in this recipe, which I’m sure you’re dying to know about. Moving on. 🙂

    This is a great on-the-go recipe! This dish can be made in 30 minutes or less, and what’s even better is its chock full of veggies. This recipe calls for basil pesto, and I usually make my basil pesto at home. If you want to take a stab at it, it’s extremely easy to make as long as you have a food processor. If you don’t have one I highly suggest getting one! The big ones can be pretty expensive, but you don’t need a big one, well not for my recipes at least! I have a small 4-cup Cuisinart one that I bought for $39! It works like a charm and I guarantee you that its money well spent!

    Basil pesto

    If you want to make basil pesto at home (pictured above) all you have to do is chop 2 cups fresh basil in the food processor, then add 5 TBS EVOO, ¼ cup grated parmesan cheese, 2 TBS pine nuts, 2 tsp minced garlic, and ¼ tsp salt and combine until reaching desired consistency. Voila! Now you have fresh homemade basil pesto!

    Roasted Asparagus

    Like I mentioned, this recipe can be made in under 30 minutes. Timesaving tip: While the asparagus is roasting in the oven cook the pasta and make the basil pesto (if you decide to go the homemade route) so that when your asparagus is done cooking, you’ll be over halfway finished! All you’ll have left to do is combine the mozzarella, basil, asparagus pieces, and sun dried tomatoes with the pasta and fry an egg or two to place on top! 


    Pesto Pasta with Veggies
    Serves 4
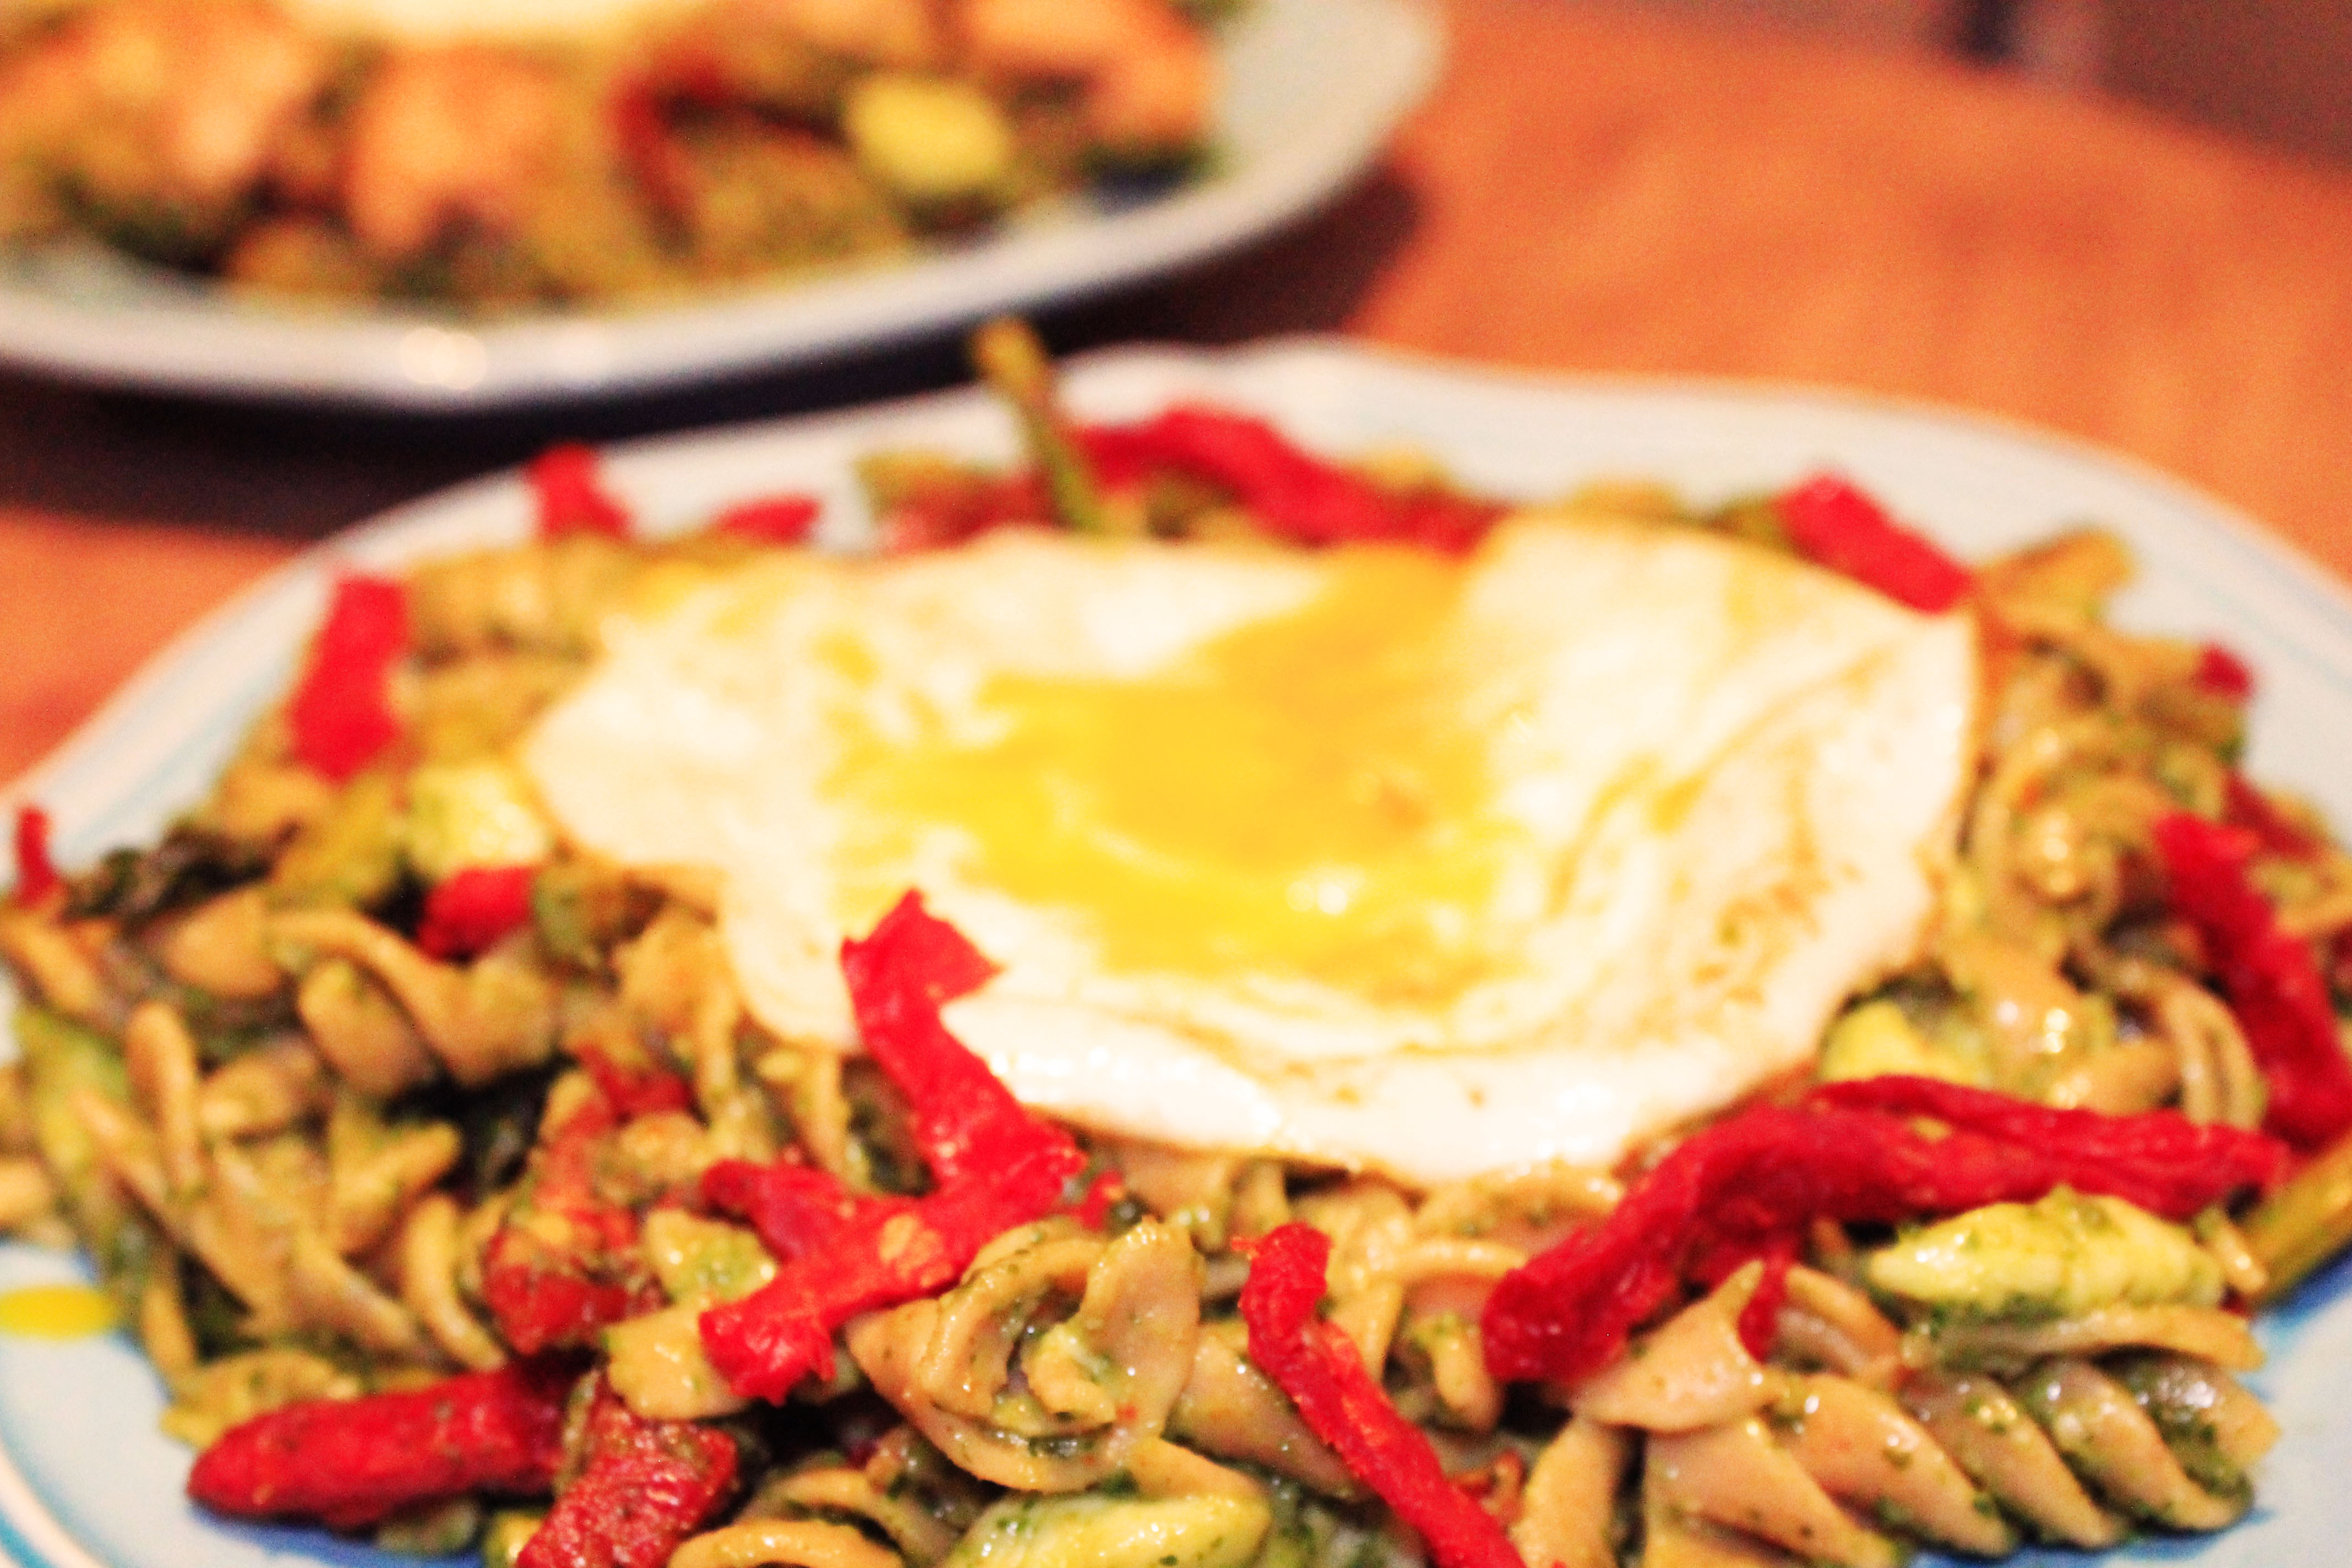
    Whole wheat noodles mixed with fresh basil pesto, roasted lemon asparagus, sun dried tomatoes, mozzarella with a fried egg on top.
    Write a review
    Print
    Prep Time
    10 min
    Cook Time
    15 min
    Total Time
    25 min
    Prep Time
    10 min
    Cook Time
    15 min
    Total Time
    25 min
    Ingredients
    1. · 2 cups of dry Rotini whole wheat pasta
    2. · 1 pound of fresh asparagus, trimmed
    3. · 2 Tbsp Extra Virgin Olive Oil (EVOO)
    4. · Salt, pepper, and lemon juice to taste
    5. · 1 /2 cup of basil pesto
    6. · 1/3 cup sliced sun dried tomatoes
    7. · 1/3 cup diced mozzarella cubes
    8. · Fried egg for garnish
    9. · (optional chicken breast)
    Instructions
    1. · Preheat oven to 450 degrees and line a baking sheet with foil.
    2. · Cook pasta in a large pot of boiling water according to directions on package. Drain water once pasta is cooked and let cool.
    3. · Snap the root end of the asparagus off using your thumb and forefinger, or a knife and line rootless asparagus side by side on foil covered baking sheet. Wipe or spray asparagus with EVOO and sprinkle with salt, pepper, and lemon juice to taste.
    4. · Roast asparagus in oven for 8 – 12 minutes. You want your asparagus to be tender but crisp. Remove from oven to cool then cut into one inch pieces.
    5. · If you would like to add chicken, cook your chicken breast now.
    6. · Once pasta has cooled, in a large pot combine pasta with sun dried tomatoes, mozzarella cubes, asparagus, and chicken (if applicable). Stir in basil pesto so that all ingredients are well coated. Place pasta in serving bowls.
    7. · For each bowl you plan on serving, fry one egg sunny side up, place on top of pasta and enjoy!
    Notes
    1. If you would like to add chicken: Slice chicken breast into thin thin strips. Season with 1 tsp salt, 1 Tbs thyme, 1 Tbs oregano, 2 Tbs lemon juice, 1 tsp montreal steak seasoning. Heat 2 Tbs olive oil in pan and saute chicken until cooked all the way through and add to cooked pasta. (1 chicken breast = 2 servings)
    2. Timesaving tip: Make homemade basil pesto ahead of time and add to pasta!
    God Save the Quinoa https://www.godsavethequinoa.com/
    Fabulous recipes by Mandi at godsavethequinoa.com

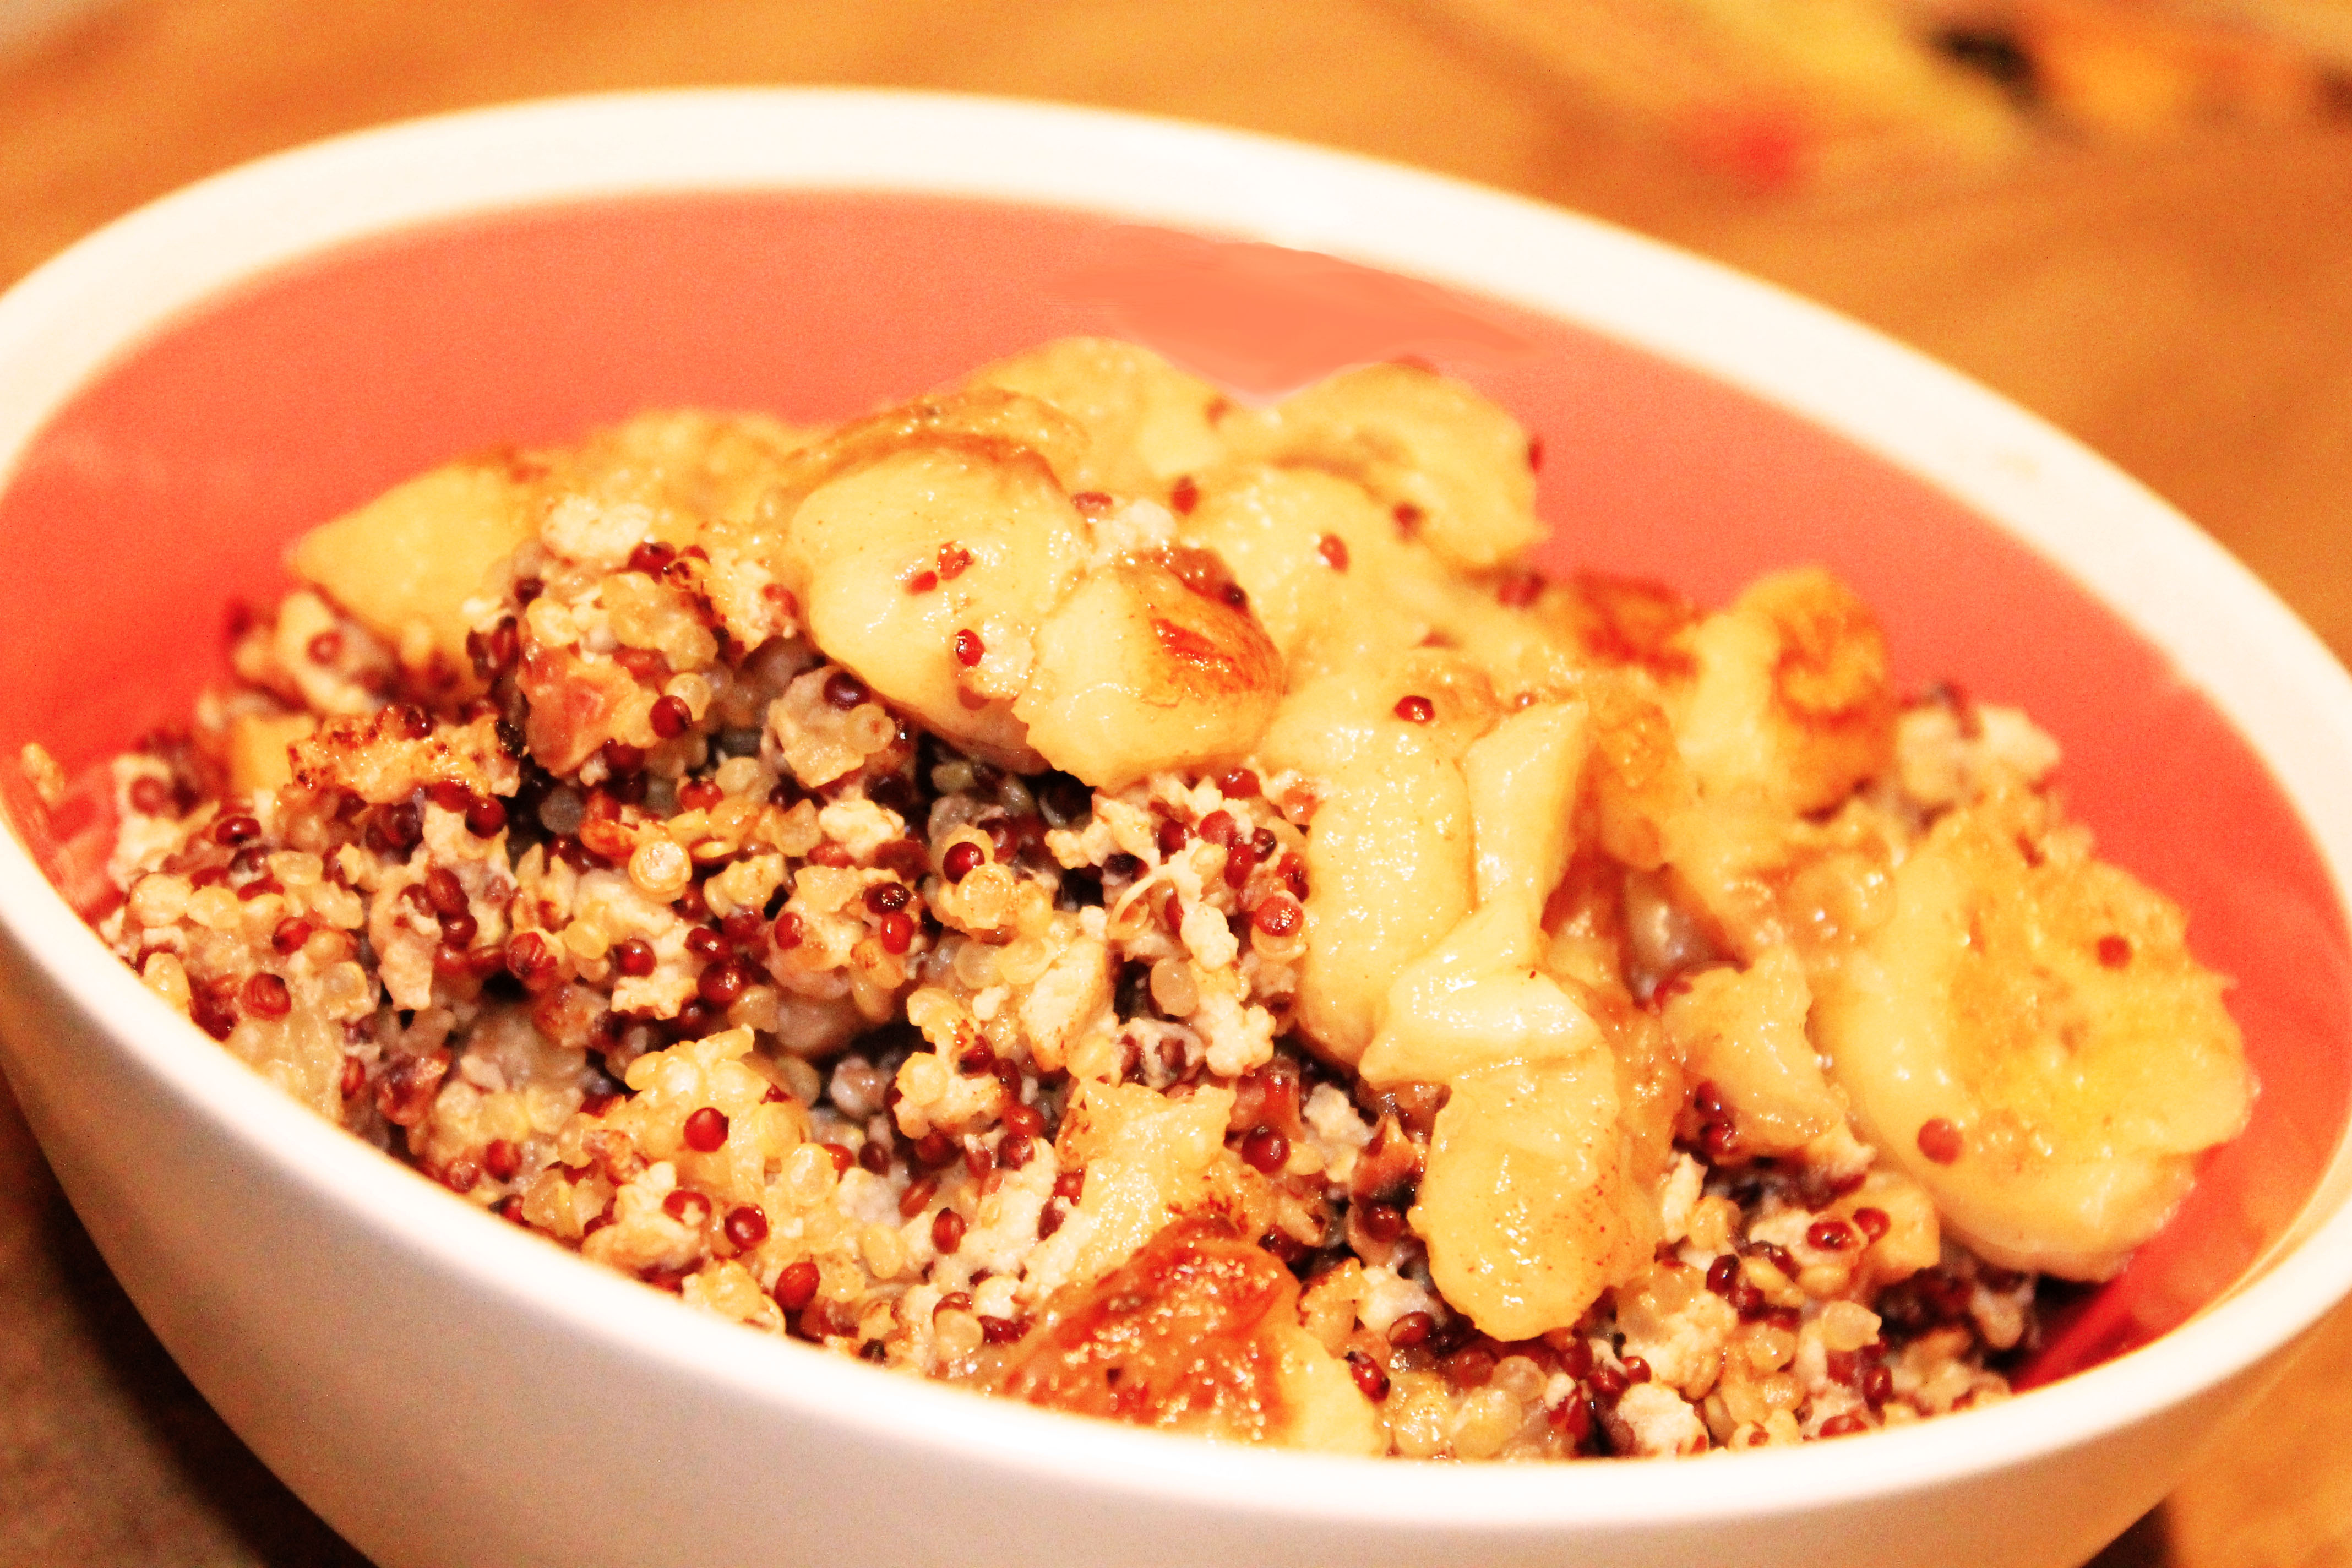
  • Caramelized Quinoa Banana Nut Scramble

    Caramelized Quinoa Banana Nut Scramble


    Caramelized Quinoa Banana Nut Scramble_close up

    I love breakfast in the morning, for lunch (aka brunch), and for dinner. I especially love breakfast for dinner, and last night was a breakfast for dinner kind of night. I had to work late, got stuck in a ton of traffic on the way home, it was raining outside, I hadn’t made a grocery list for the week and therefore had not gone to the grocery store…as you can tell I was obviously full of excuses to be lazy. But what can I say? It was just one of those days!

    Once I was hungry enough to get up off the couch, I went to examine {the lack of} contents in my fridge, then my pantry, then went back to my fridge,  and continued going back and forth between the two until I realized the only edible food I had was quinoa, half a bag of walnuts, an almost empty gallon of milk, a carton of egg whites, and a left over banana from a half marathon I had ran two days earlier. I stood, absent-mindedly staring at these ingredients, wondering what on earth I was going to concoct for dinner. After standing there for 10 minutes or so trying to recall quinoa breakfast recipes I had made in the past, the hunger pains started kicking in. Exhausted from running through my mental recipe book and hungry from my procrastination, I gave up and decided to improvise.

    Caramelized Quinoa Banana Nut Scramble

    Low and behold, I created this Quinoa Breakfast Scramble. I do have to admit that the results weren’t half bad! If you’re a breakfast for dinner, quinoa loving gal like myself, lucky for you, I wrote down how I made this as I went along.  It took ALL of my energy (and self-control) to photograph my freshly concocted masterpiece before gobbling it down! Maybe I’ll get around to going to the grocery store tomorrow… maybe! Until then, ENJOY! 

    Caramelized Quinoa Banana Nut Scramble
    Serves 1
    Write a review
    Print
    Prep Time
    15 min
    Cook Time
    10 min
    Total Time
    25 min
    Prep Time
    15 min
    Cook Time
    10 min
    Total Time
    25 min
    Ingredients
    1. • 1/2 cup cooked quinoa
    2. • 2 Tbs raw chopped walnuts
    3. • 2 egg whites
    4. • 1/3 cup skim milk
    5. • 1 banana sliced in small circular pieces (save half to caramelize)
    6. • 1/4 tsp vanilla extract
    7. • 4 tsp cinnamon, divided
    8. • 1 tsp of truvia/sugar
    9. • 1 tsp butter
    Instructions
    1. • Toast walnuts in pan on medium heat until golden brown ( 5 – 10 minutes)
    2. • Whisk cooked quinoa, egg whites, milk, half of the sliced banana, vanilla, 2 tsp of cinnamon, and truvia/sugar in a bowl then add toasted walnuts to the mix.
    3. • Spray a pan with cooking spray, pour mixture into pan, and place on top of stove on high heat.
    4. • Scramble quinoa egg mixture until eggs are cooked and quinoa turns golden brown. When cooked, remove from heat and place quinoa scramble in a bowl.
    5. • To caramelize remaining banana slices, heat butter in a separate pan. Right before butter melts, add remainder of banana slices and cinnamon. Sauté on med-high heat until banana softens and turns golden brown. Place caramelized banana on top of scramble and enjoy!
    Notes
    1. This recipe calls for COOKED quinoa. Please cook your quinoa before using it in this recipe. Add additional bananas for more flavor.
    God Save the Quinoa https://www.godsavethequinoa.com/
     Fabulous recipes by Mandi at godsavethequinoa.com

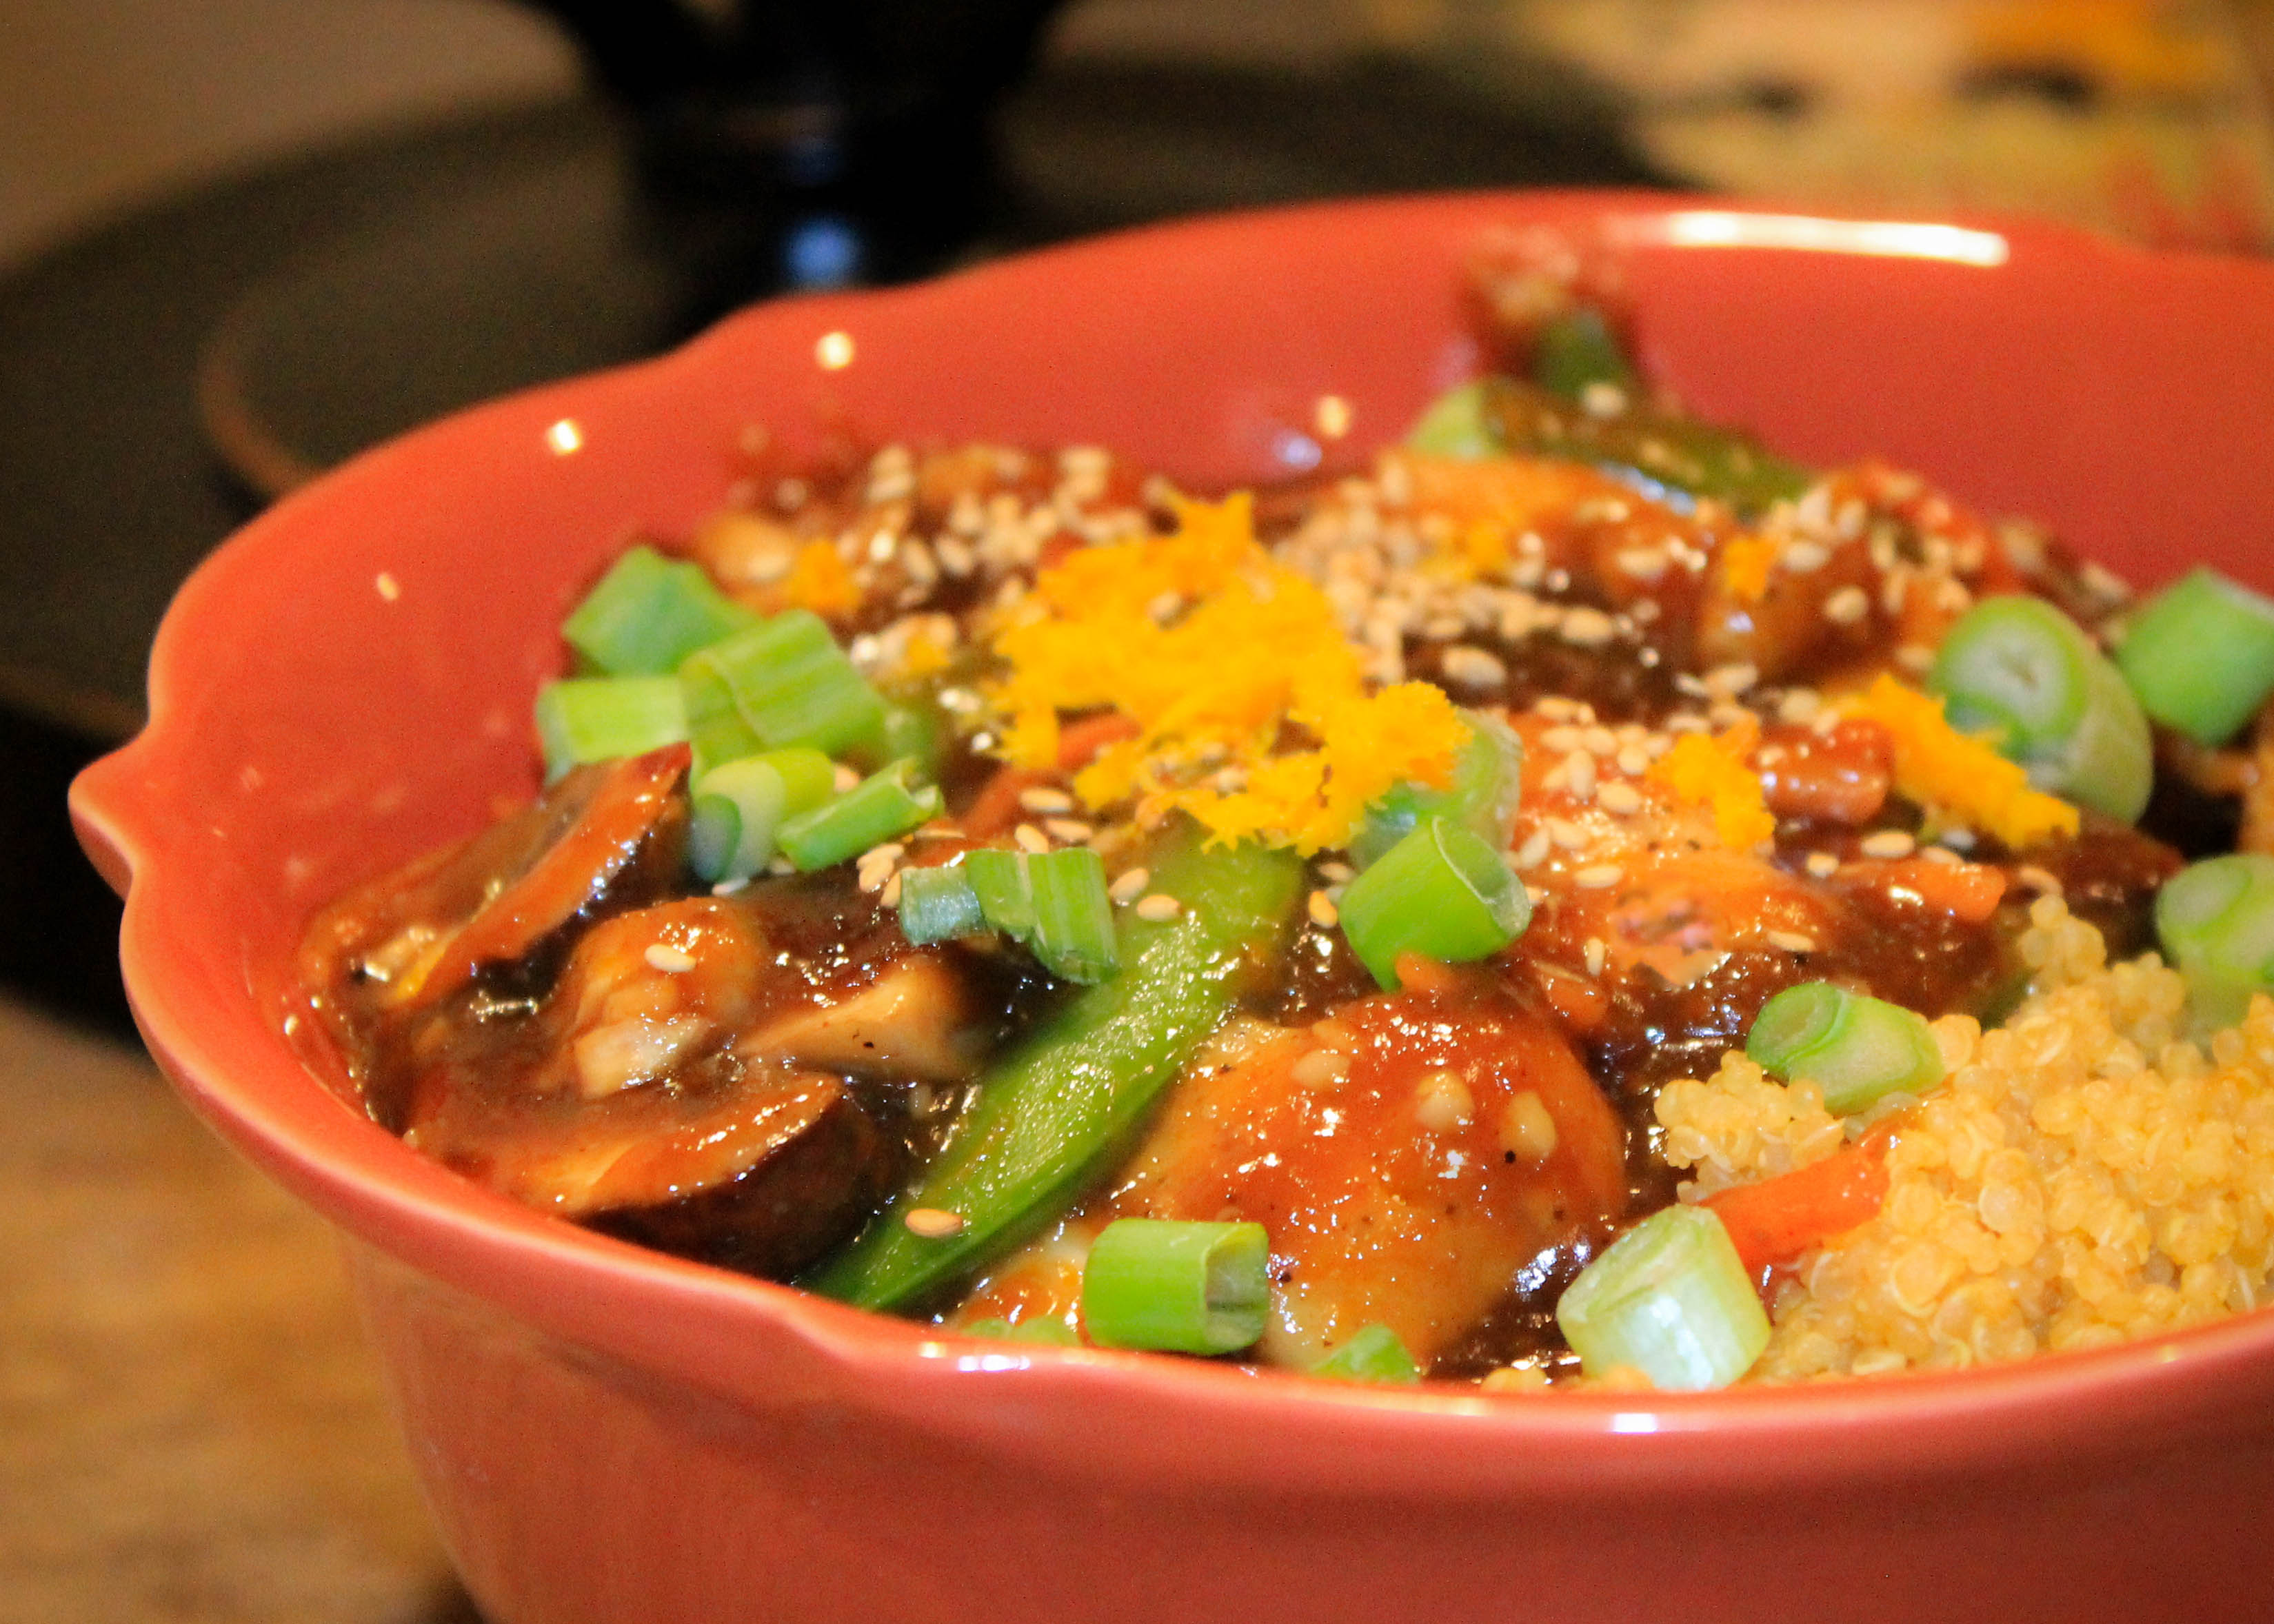
  • Skinny Orange Chicken (or tofu)

    Skinny Orange Chicken (or tofu)

    Skinny Orange Chicken

    I don’t know about you, but this week has been c r a w l i n g by. For some reason I keep thinking today is Wednesday, when in reality its only Tuesday… Don’t you hate when that happens? I sure do! Anyways, if your week seems to be inch worming by the way mine is and you want something to look forward to, check out my skinny orange chicken recipe! Yes, the title says it all… SKINNY! This recipe allows your tastebuds to enjoy the satisfaction of one of the most popular Asian dishes, but with a THIRD of the calories so your waistline can rejoice!

    If you’re confused by the title “skinny orange chicken (or tofu)” and are wondering if this dish is vegetarian friendly the answer is YES! I would never let my fellow veggies down! 😉 You can definitely sub the chicken for tofu. The directions are included in the recipe below. Just remember, if you’re cooking half chicken and half tofu, be sure to cook the TOFU FIRST to avoid cross contamination. (I sound like my mother!) 

    Skinny Orange Chicken recipe

    This recipe makes about 4 servings and can be stored for 4-5 days in an airtight container. If you’re trying to be on your best healthy-eating behavior at the office, you should highly consider bringing your leftovers to work to enjoy for lunch. I bring my lunch to work 99% of the time not only because its cheaper for me since I go to the grocery store on a regular basis, but it helps me maintain my healthy eating habits. What’s that you say? Someone is catering greasy pizza down the hall? No thanks, I’ll enjoy my skinny orange chicken (or tofu) bowl! 

    Skinny Orange Chicken (or tofu)
    Serves 4
    Write a review
    Print
    Prep Time
    15 min
    Cook Time
    15 min
    Total Time
    30 min
    Prep Time
    15 min
    Cook Time
    15 min
    Total Time
    30 min
    Ingredients
    1. If cooking all chicken: 2 lbs. chicken breast
    2. If cooking all tofu: 1 container of tofu, drained
    3. If cooking half chicken, half tofu: ½ container of tofu, drained, 1 chicken breast
    4. •1 cup of dry quinoa
    5. •1 cup of water
    6. •1 cup of low sodium veggie broth
    7. •2 Tbsp Olive Oil
    8. •1 container sliced mushrooms
    9. •1 ½ cups of snap peas
    10. •1 ½ cups of shredded carrots
    11. •3 gloves of garlic, minced
    12. •1/2 cup orange juice
    13. •1/2 cup honey
    14. •1/3 cup of light soy sauce
    15. •1/3 cup rice wine vinegar
    16. •3 Tbsp cornstarch
    17. •1 tsp ground ginger
    18. •1 tsp black pepper
    19. •1 tsp crushed red pepper flakes
    20. •Zest of one orange
    21. •Sesame seeds
    22. •Green onions, chopped
    Instructions
    1. •Cook quinoa in pot using water and veggie broth then set aside.
    For sauce
    1. •In a large bowl whisk together garlic, orange juice, honey, soy sauce, rice wine vinegar, cornstarch, ginger, pepper, red pepper flakes and orange zest until cornstarch is dissolved. (To make sauce sweeter add extra 2 – 4 Tbsp. of honey)
    For Tofu
    1. •Heat olive oil in a large pan and sauté tofu, mushrooms, snap peas, and carrots until tofu turns golden brown.
    2. •Pour sauce into pan and stir to combine. (If making half chicken half tofu pour half of the sauce into pan).
    3. •Let sauce come to a boil and stir until sauce thickens until reaching desired consistency and remove from heat.
    For chicken
    1. •Cut chicken breast into cubes and generously salt chicken breast with salt and pepper
    2. •Heat olive oil in large pan and sauté chicken until center is light pink then add in mushrooms, snap peas, and carrots. Continue to sauté until chicken is cooked all the way through.
    3. •Pour sauce into pan and stir to combine.
    4. •Let sauce come to a boil and stir until sauce thickens until reaching desired consistency and remove from heat.
    5. •Place orange chicken/tofu in bowl along with cooked quinoa. Top with sesame seeds, green onions, orange zest, and enjoy!
    Notes
    1. If sauce is not thickening, add cornstarch in tsp increments.
    2. If cooking half chicken, half tofu be sure to cook tofu first to avoid cross contamination.
    God Save the Quinoa https://www.godsavethequinoa.com/
    Fabulous recipes by Mandi at godsavethequinoa.com

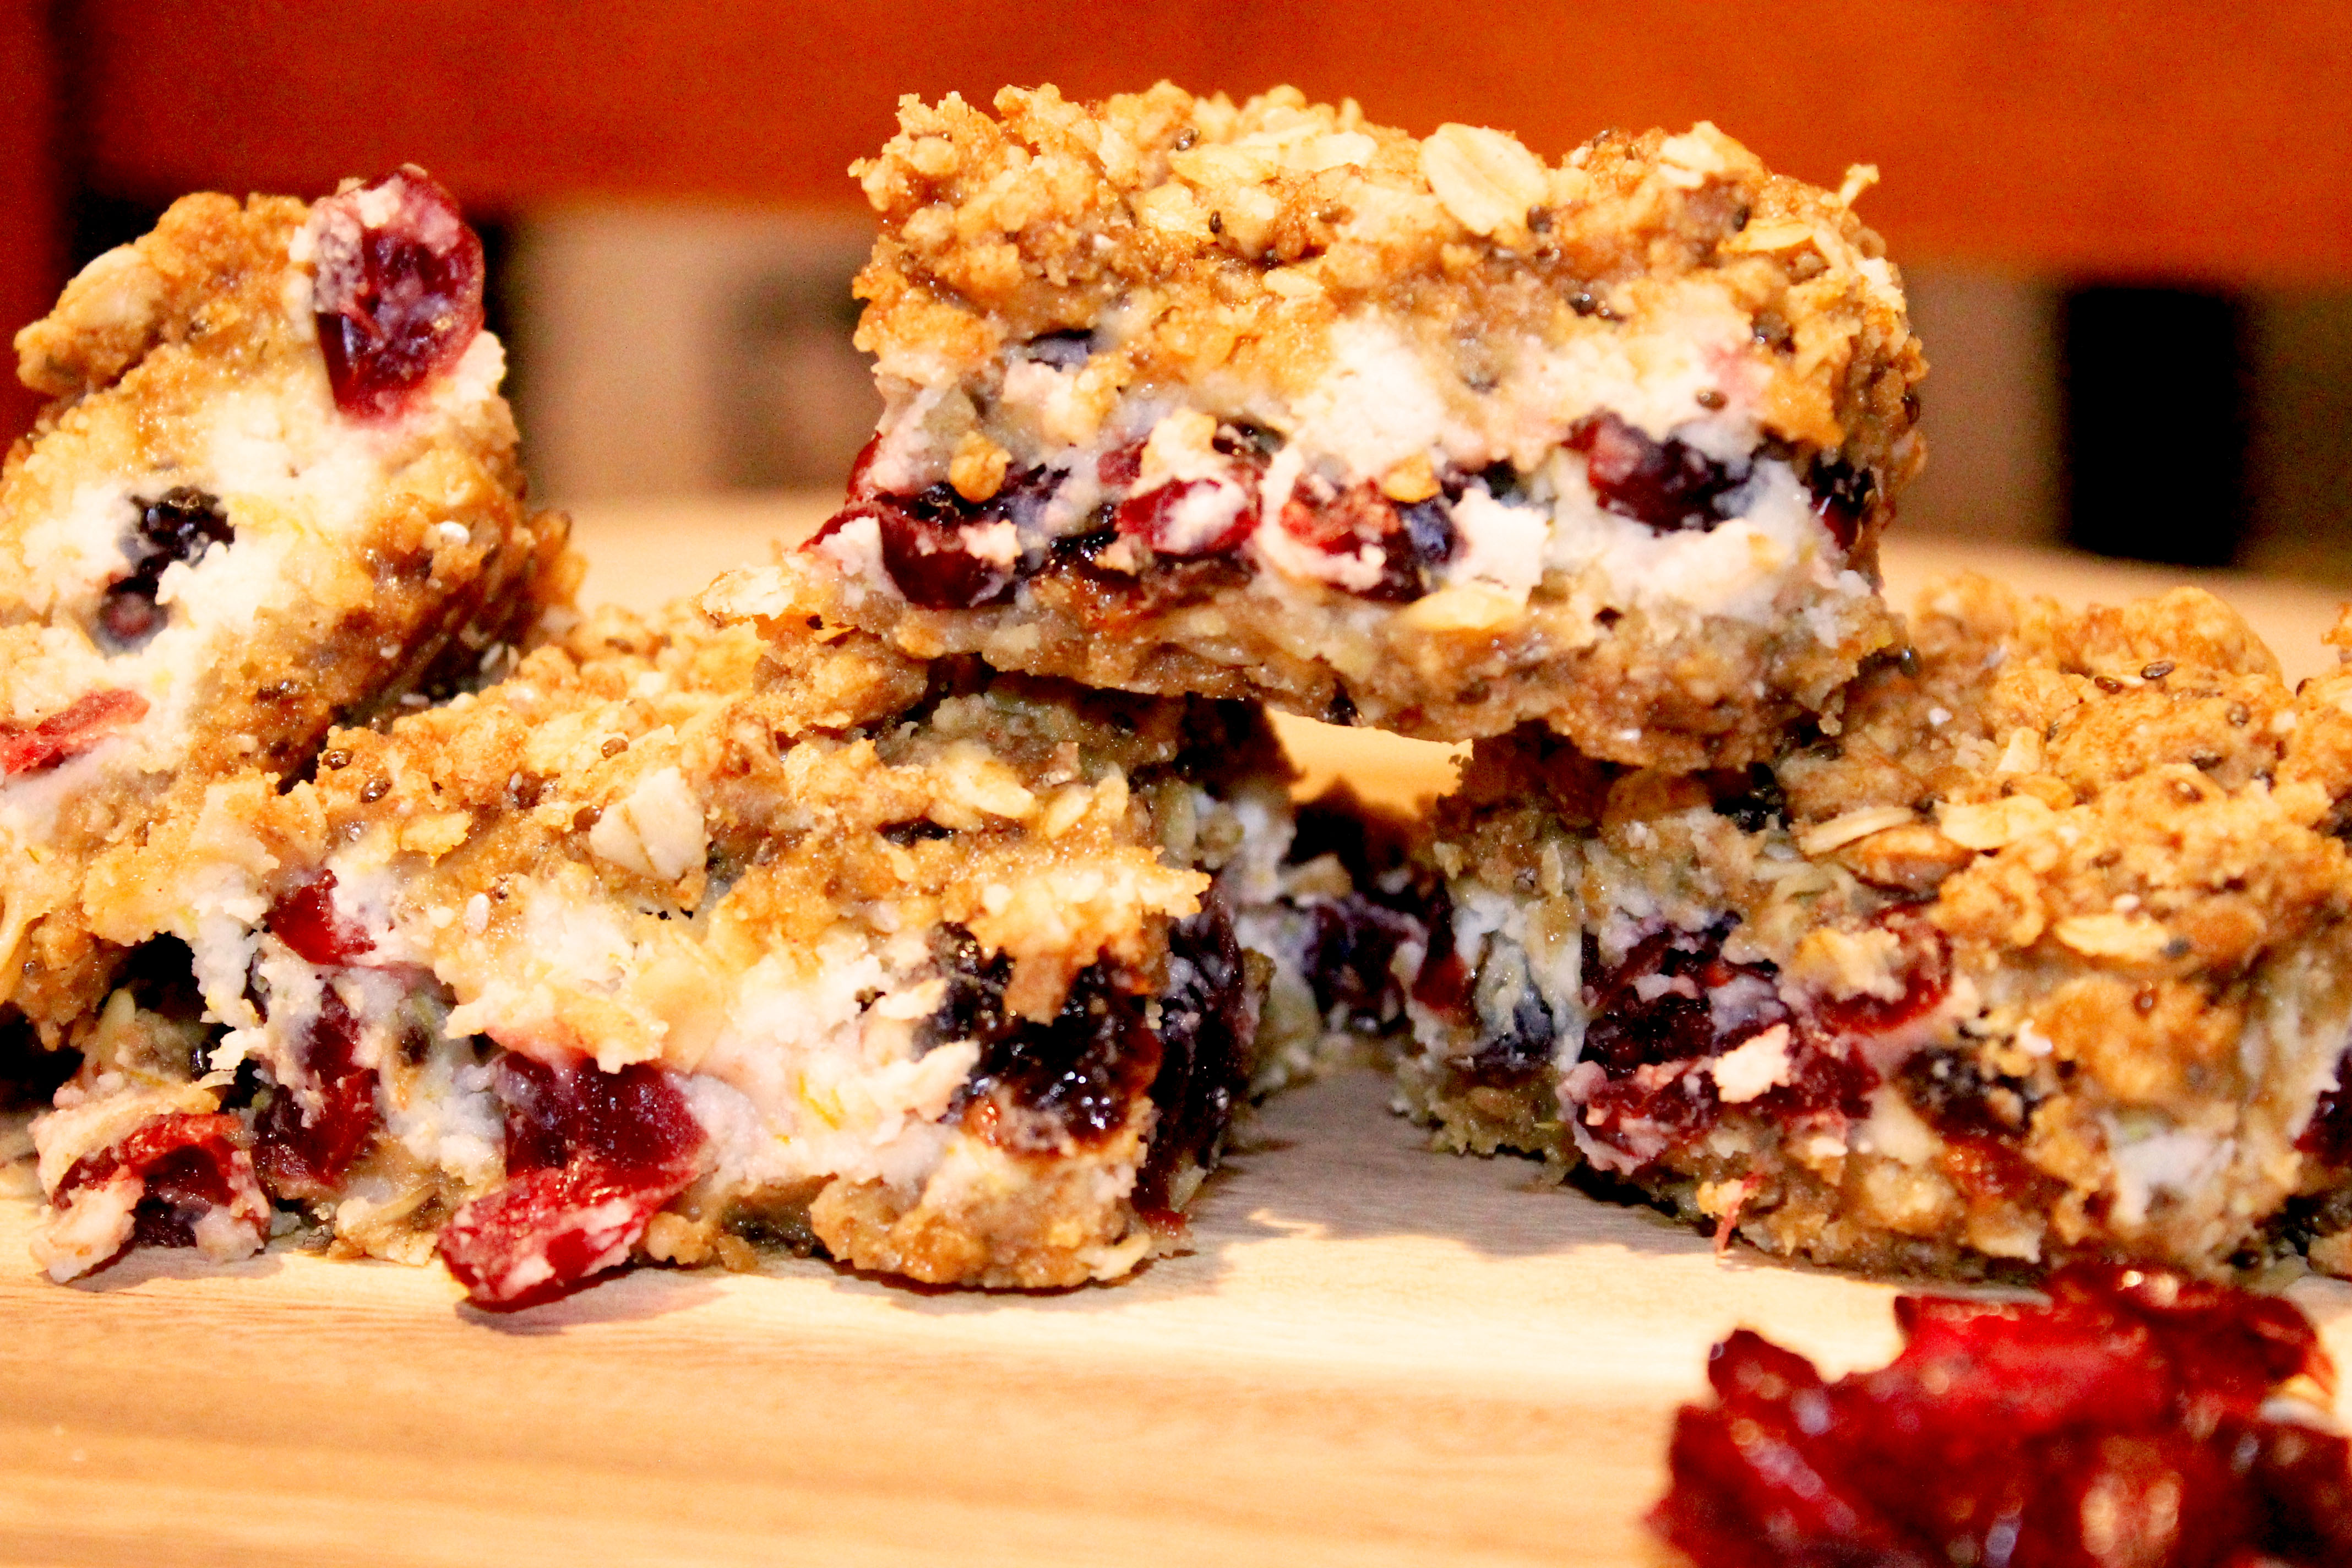
  • Cranberry Oatmeal breakfast bars

    Cranberry Oatmeal breakfast bars

    Canberry YOatmeal Bars

    Happy Friday! Friday mornings at my office mean one thing… breakfast club! Every Friday my co-workers and I take turns bringing food for our weekly breakfast club get togethers. It’s a great way to ring in the weekend and socialize with one another before conquering the last few {hundred} items on our to-do lists. I don’t know about you, but there’s just something so satisfying about crossing off every item on my to-do list before heading out the door on a Friday afternoon knowing I’ll have the entire weekend to kick back and relax… until it starts all over again on Monday.  

    Anyways, this week it was my turn to serve breakfast club and I decided to crowd please the co-workers with these DELICIOUS Cranberry Oatmeal Breakfast Bars. One of the great things about them is they are surprisingly healthy!  I know the filling looks like cream cheese, but the rumors are true and as the “YOatmeal” in the title suggests, the filling is actually 100% Greek Yogurt but tastes like 100% cream cheese. I used one individual, small container of 0% Vanilla Chobani Greek Yogurt and added 1/4 cup 0% plain Greek Gods Greek Yogurt to thicken it up. Mix that together with a soft granola-like crust, orange zest, and juicy cranberries…you’ve got yourself one hell of a breakfast bar!

    Cranberry YOatmeal Bars Close Up

    Just thinking about these leaves me wanting more! Seriously though, I had to restrain myself from eating the entire pan at home….and in the car…and at my desk before breakfast club…and at breakfast club…you get the point. My co-workers, on the other hand, had no problem scarfing these right up. Within 5 minutes every single one had been consumed. I guess I’ll have to bring double (or triple) the amount next time!

    When you make these, be sure to let them cool completely before digging in. I know it will be hard to resist, but I promise its worth the wait! If you try to cut them before they’ve had time to cool completely they will turn into crumbles rather than bars. Also, you can store these in the refrigerator or on the counter-top, just make sure you cover them with a lid to preserve freshness. If you have any left, they also make a great dessert. Simply pop them in the microwave for 20 seconds and serve with vanilla ice cream. YUM!

    Let’s get started! 

    Cranberry YOatmeal Bars
    Serves 16
    Write a review
    Print
    Prep Time
    10 min
    Cook Time
    40 min
    Total Time
    50 min
    Prep Time
    10 min
    Cook Time
    40 min
    Total Time
    50 min
    Ingredients
    1. • 1 yogurt cup (3/4 cup) of 0% Chobani Vanilla Greek Yogurt
    2. • 1/4 cup of plain nonfat greek yogurt (I used Greek Gods 0% plain Greek Yogurt because of how thick it is)
    3. • 1 cup + 2 Tbsp all-purpose flower, divided
    4. • 1 cup Quaker instant oats
    5. • 1/2 cup brown sugar
    6. • 1 tsp cinnamon
    7. • 1/4 tsp baking soda
    8. • 1/4 tsp salt
    9. • 2 Tbsp chia seeds
    10. • 3 Tbsp unsalted butter, melted
    11. • 3 Tbsp coconut oil
    12. • 3 Tbsp orange juice
    13. • 1/4 cup Truvia
    14. • 1/4 cup granulated sugar
    15. • 4 Tbsp egg whites
    16. • 1 1/2 cups of dried cranberries
    17. • Zest from 1/2 fresh orange
    Instructions
    1. • Pre-heat oven to 325 degrees.
    2. • Generously spray an 8 x8 baking dish with cooking spray.
    3. • In a large bowl combine 1 cup flour, oats, brown sugar, cinnamon, baking soda, salt and chia seeds.
    4. • In a small bowl whisk together butter, coconut oil, and orange juice.
    5. • Add juice mixture to flower mixture and combine using a stand mixer. Stir until crumbly.
    6. • Set aside 1/2 cup of crumble mixture for later use. Using a spatula, press remaining crumble mixture into the bottom of an 8×8 baking dish, slightly pressing up the sides to form crust.
    7. • Whisk Chobani yogurt, Greek Gods yogurt, 2 Tbsp flour, egg whites, vanilla extract, truvia, and sugar in a medium bowl.
    8. • Stir in cranberries and orange zest.
    9. • Pour yogurt mixture over crust, spreading evenly and sprinkle reserved crumble mixture on top.
    10. • Bake for 30 – 40 minutes or until edges and top are golden brown.
    11. • Let cool completely before slicing and enjoy!
    Notes
    1. Keep sealed in airtight container to preserve freshness. Store on countertops or in refrigerator.
    God Save the Quinoa https://www.godsavethequinoa.com/
    Fabulous recipes by Mandi at godsavethequinoa.com

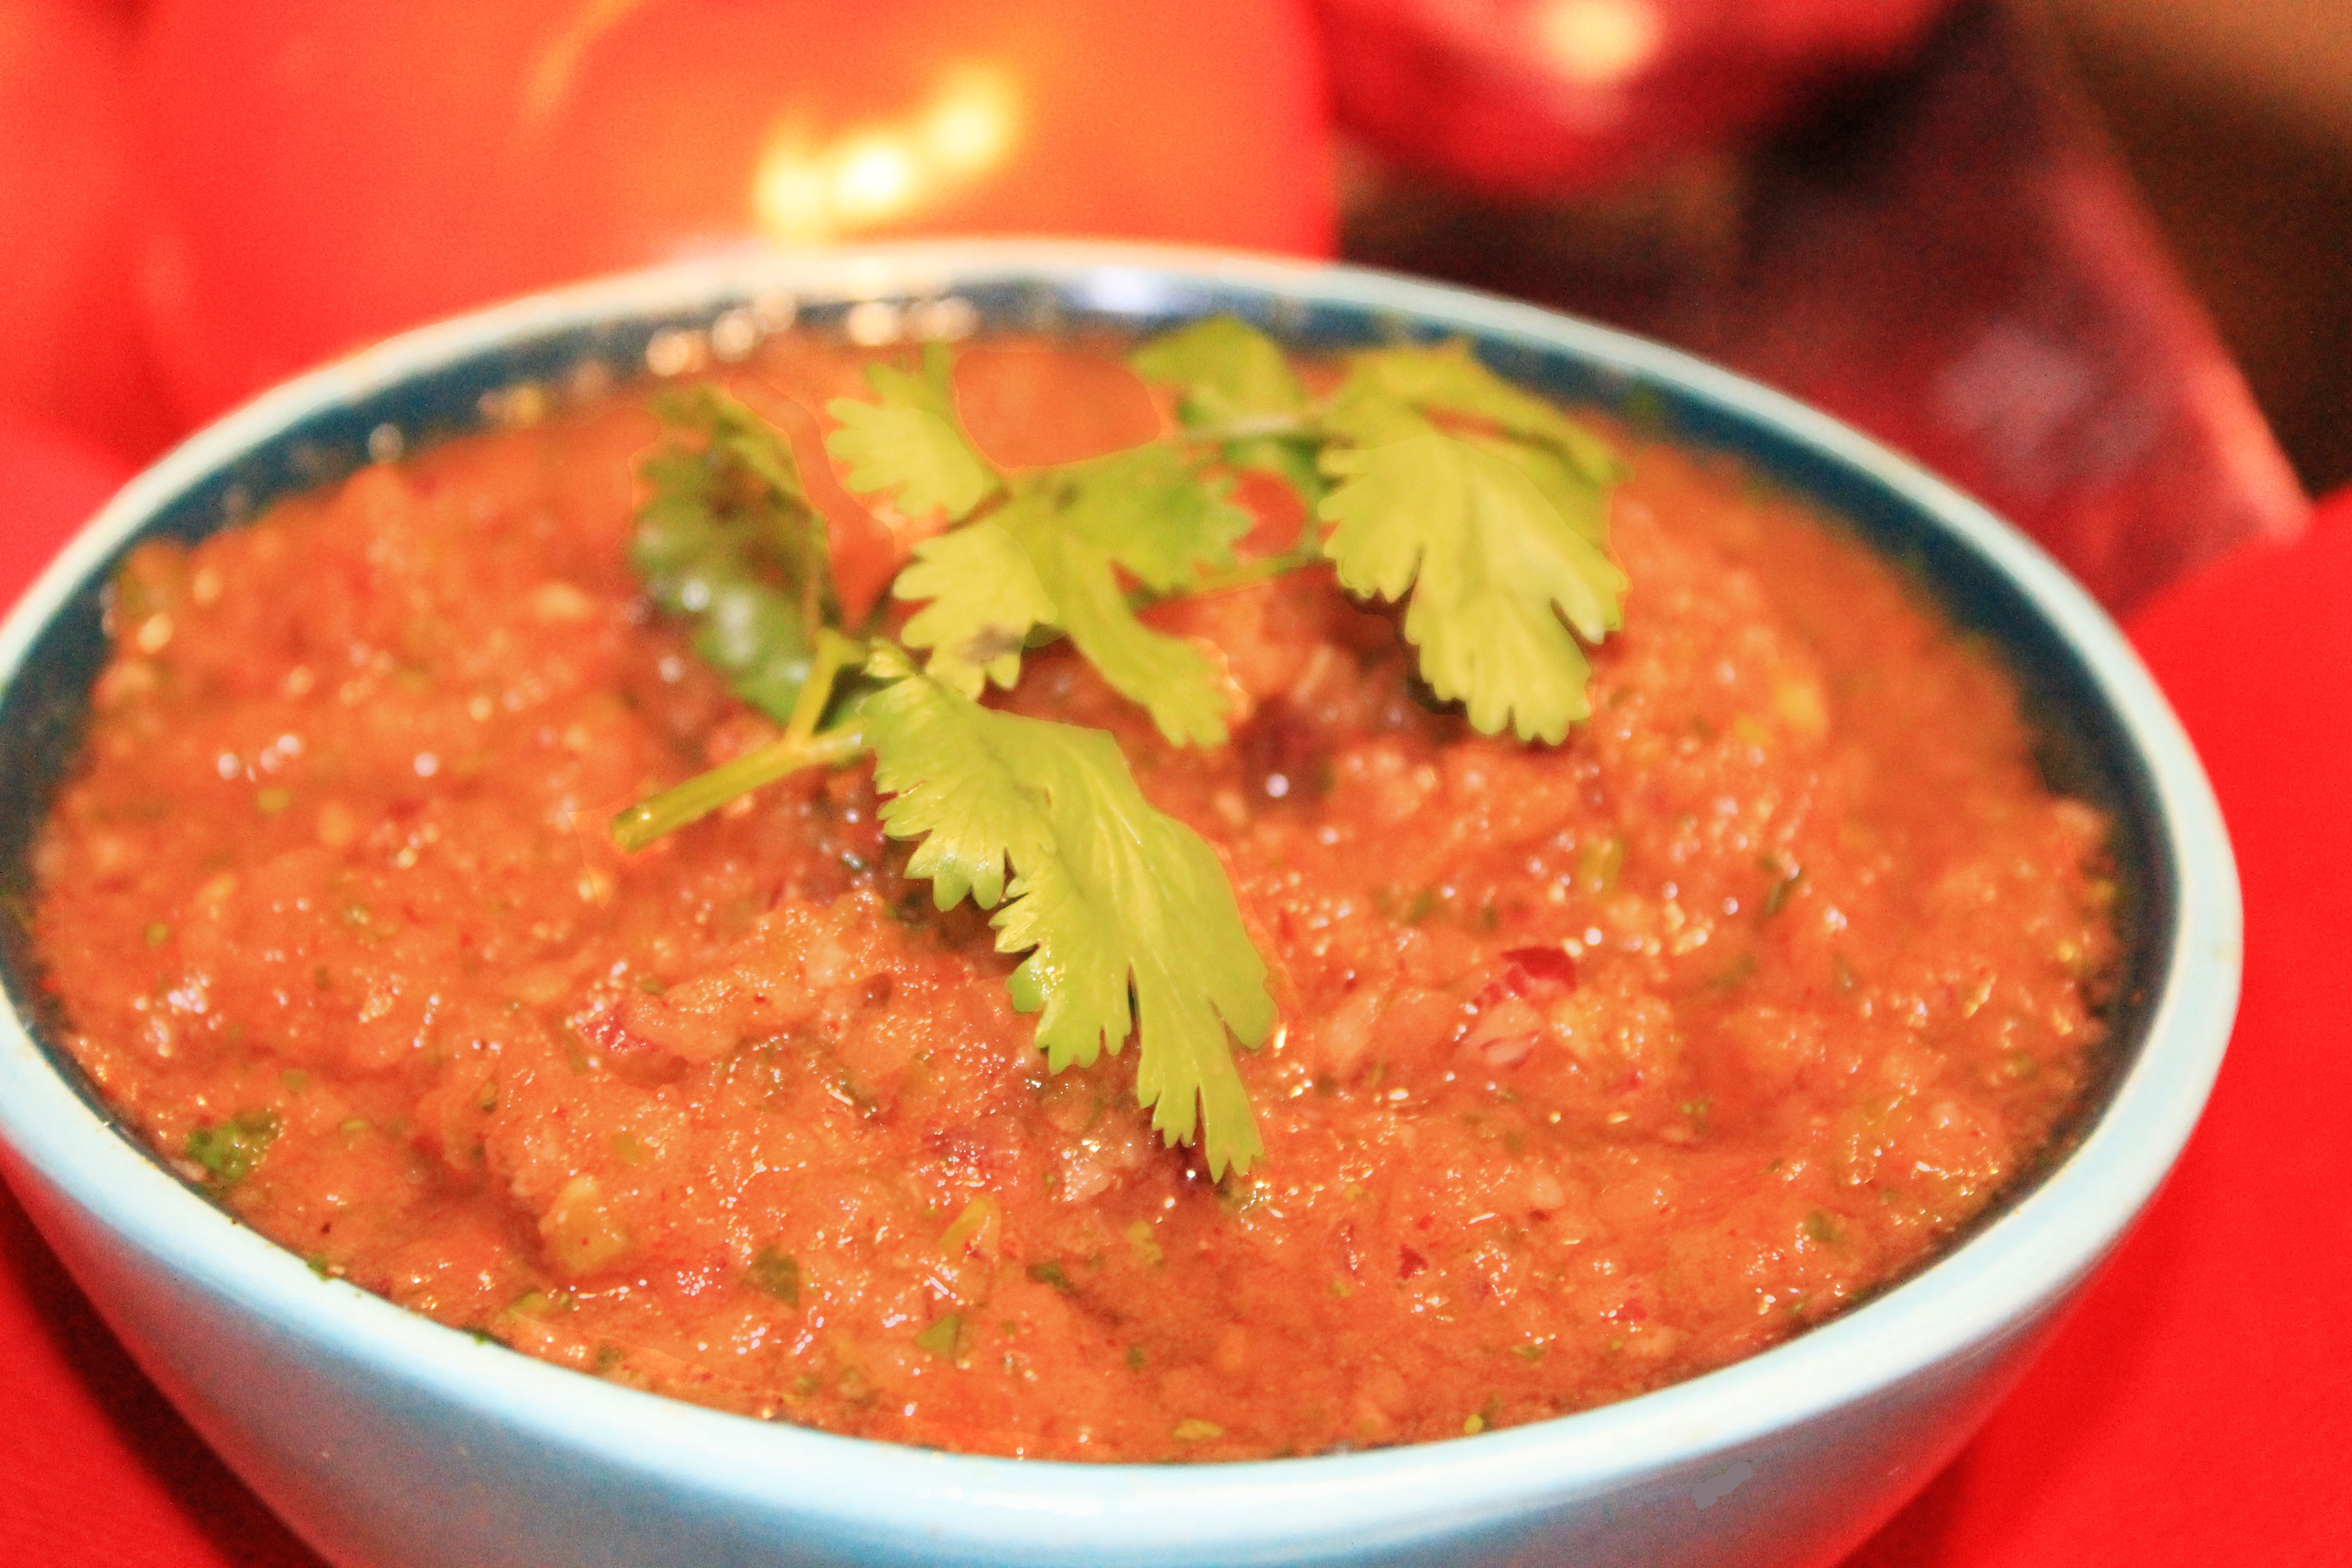
  • Garden Fresh Salsa

    Garden Fresh Salsa

    Homemade salsa

    I’ve said it before and I’ll say it again, I’m a Texas girl and therefore I love me some Tex-Mex. As you can probably guess from the picture above, this includes chips and salsa! YUM! My favorite Tex-Mex restaurants are the ones that make their own salsa in-house. There’s just something about wholesome, fresh, homemade salsa that always seems to hit the spot!
    My frequent cravings for fresh, wholesome salsa inspired me to make an in-house salsa of my own. Not only is homemade salsa delicious and refreshing, its MUCH healthier for you than the vast majority of the store bought options lining the shelves of the chip aisle. I don’t know if you’ve noticed, but your stereotypical store bought salsa has an INSANE amount of sodium. Think about this, if you’re like most people and enjoy your salsa with {salted} tortilla chips, don’t be surprised if you’re feeling a little {or a lot} bloated the next day. I know this feeling too well and let me tell you, it is not a fun feeling. Luckily, making homemade salsa can help alleviate this aftermath.

    Homemade salsa godsavethequinoa

    One of the great things about homemade anything is that you can see exactly what, and how much of a certain ingredient you put in. Don’t you just love being in control? I do. And I’ll take my salsa sans the 1100 mg of sodium! Having this type of control over what you eat is the best way to enjoy the foods you love without killing your diet! I’m sure you’re eager to read the recipe, but I wanted to mention that there are countless ways to enjoy your salsa other than with tortilla chips. Pair your salsa with fresh veggies, or drizzle it over salmon, chicken, or an omelette to get an extra kick! 

    Garden Fresh Salsa
    Yields 1 large cup.
    Write a review
    Print
    Ingredients
    1. • 2 heirloom tomatoes
    2. • 1 jalapeño, diced (keep seeds)
    3. • 1/2 red onion, diced
    4. • 1 garlic clove
    5. • Handful of cilantro
    6. • 1 Tbsp honey
    7. • 1 tsp salt
    8. • 1 tsp ground cumin
    9. • 2 tsp cayenne
    10. • 2 tsp chili powder
    11. • 1 splenda or sugar packet
    Instructions
    1. • Slice the tomato, jalapeño (keep the jalapeño seeds), and red onion and place in food processor.
    2. • Combine garlic clove, cilantro, honey, spices, and sugar with ingredients in food processor.
    3. • Pulse until reaching desired consistency and enjoy!
    Notes
    1. To adjust how spicy or mild your salsa is, adjust the amount of jalapeño seeds you use. To make your salsa more spicy add more jalapeño seeds. Use less jalapeño seeds if you want your salsa to be mild.
    2. BE CAREFUL not to touch your eyes or other sensitive areas after cutting your jalapeño. Doing so will result in painful burning. To alleviate burning pain from jalapeños, soak the affected area in milk.
    God Save the Quinoa https://www.godsavethequinoa.com/
    What’s your favorite way to enjoy salsa? Comment below to let me know! 

    Fabulous recipes by Mandi at godsavethequinoa.com


  • Sweet Potato Quinoa Chili Kale Salad

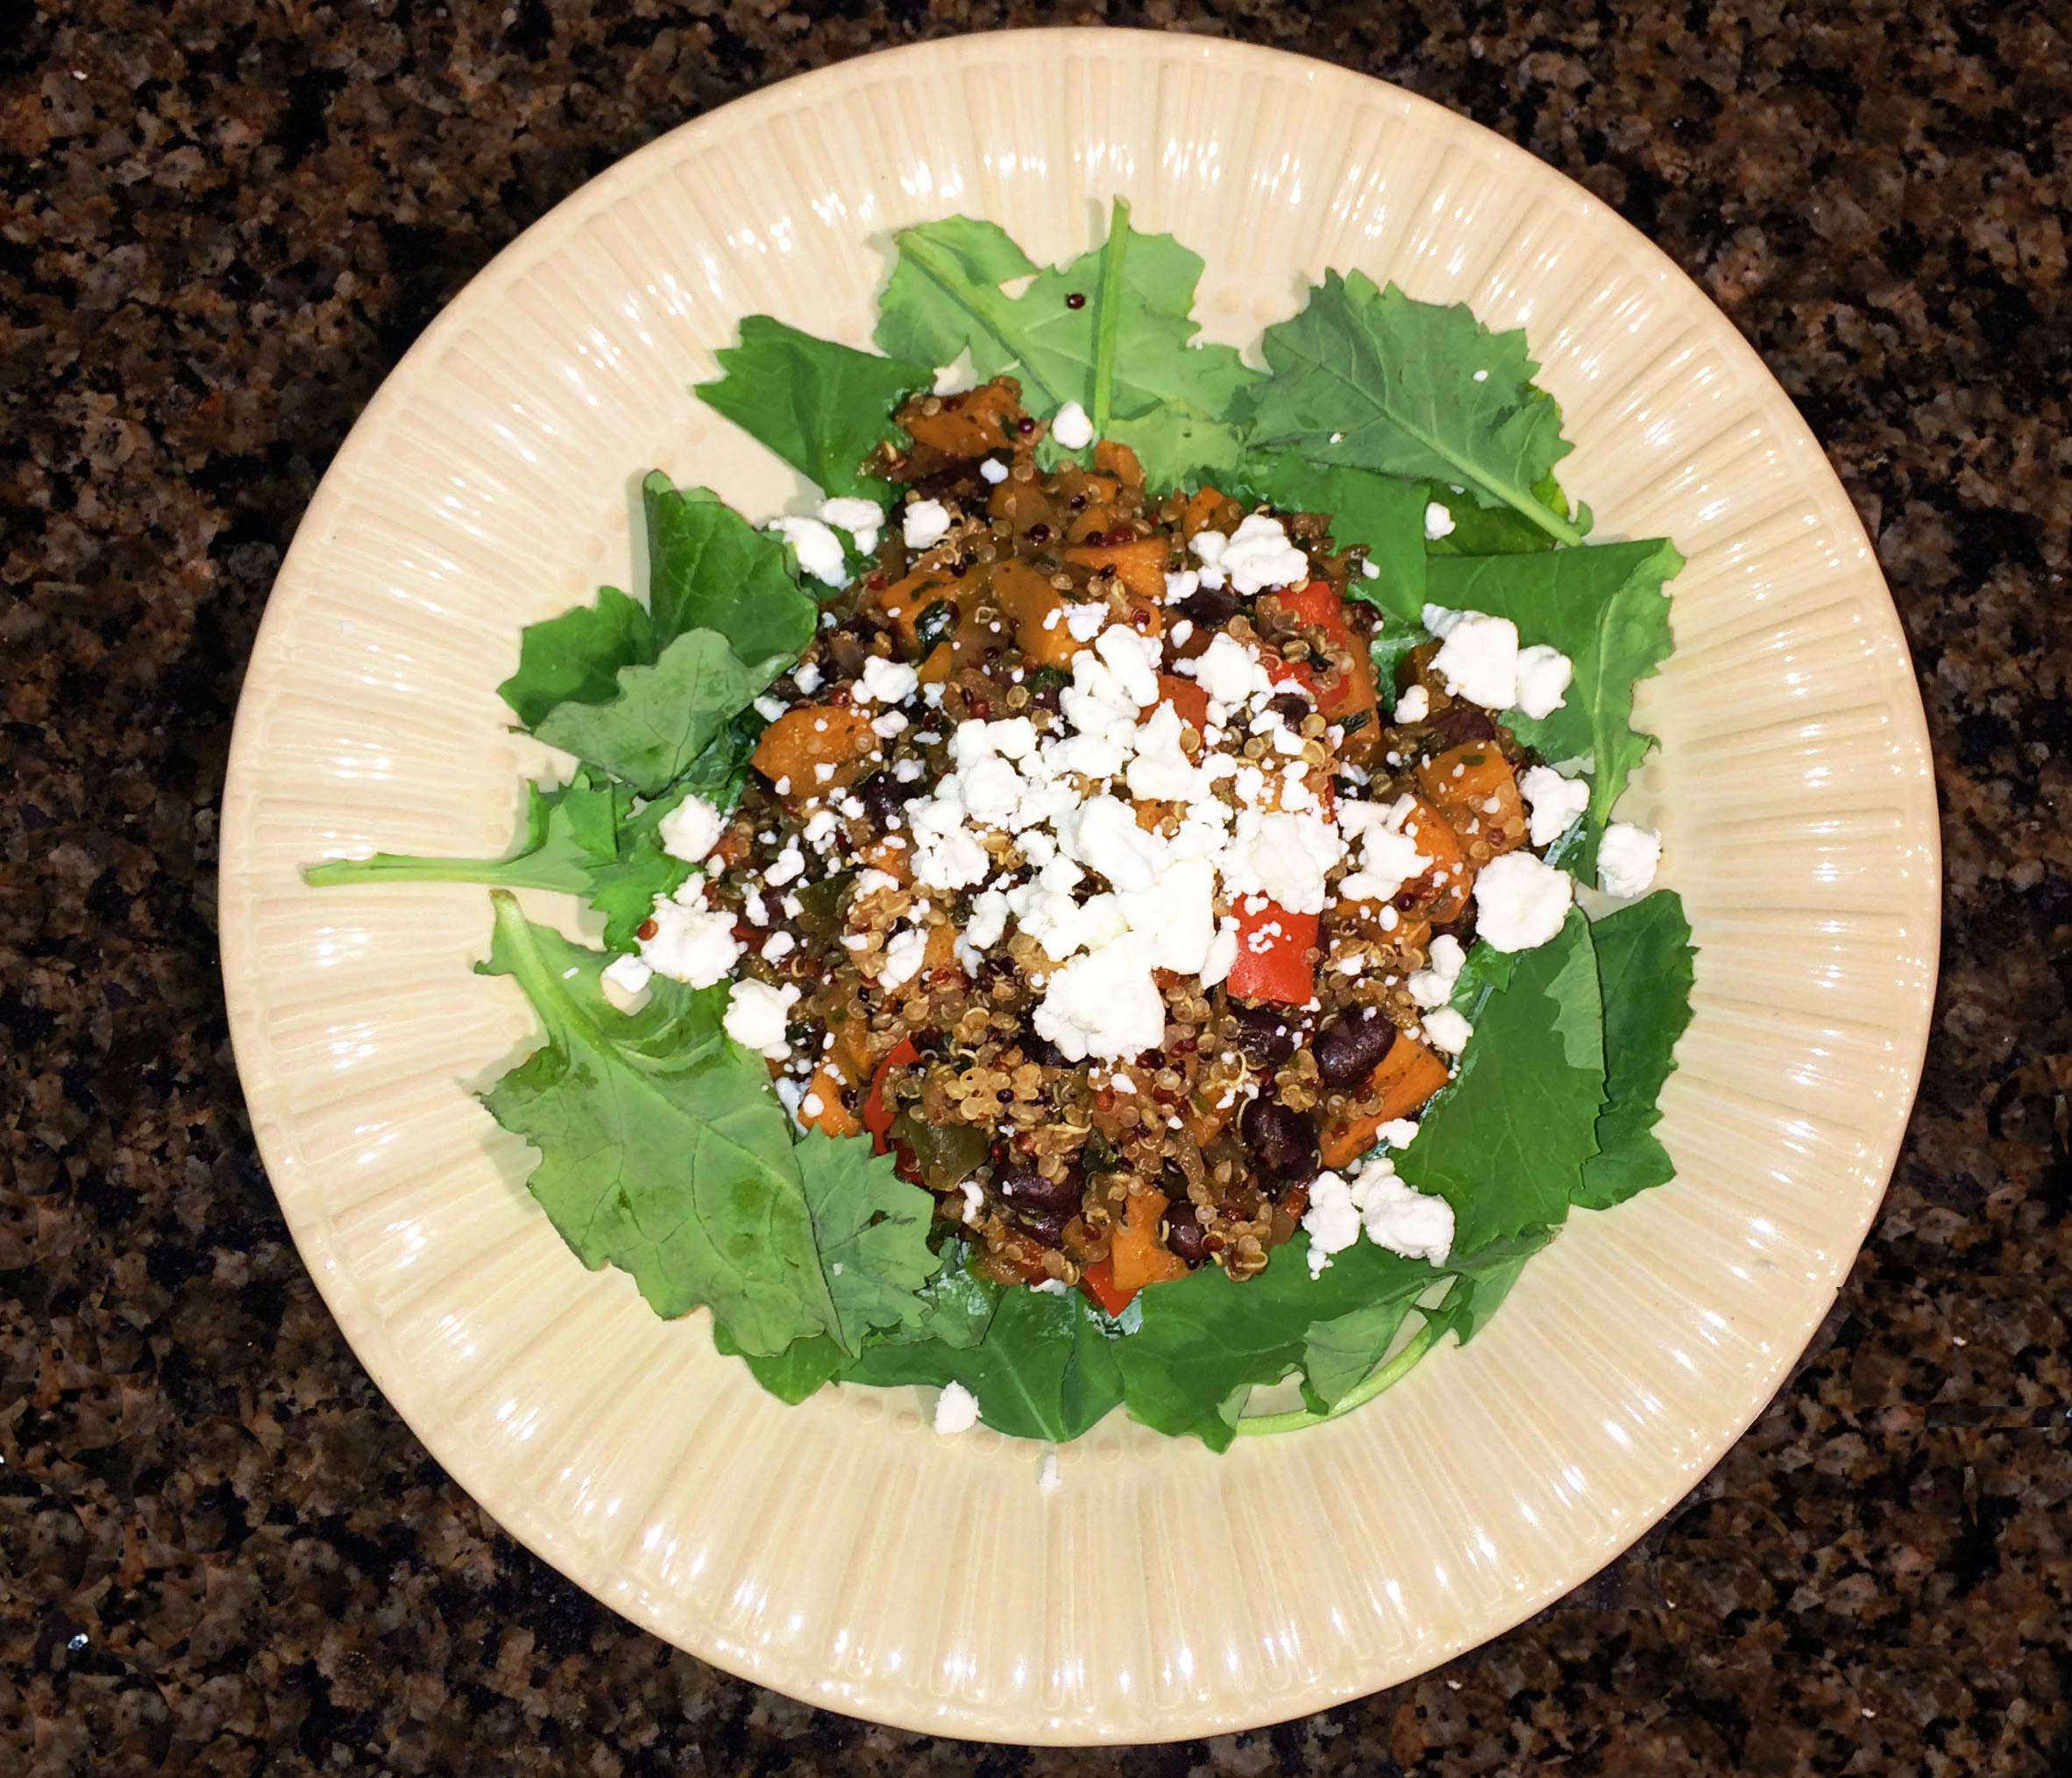
    Sweet Potato Quinoa Chili Kale Salad

    Kale & Roasted sweet potatoes

    As I have mentioned before, I try to cook things I can easily incorporate into other dishes throughout the week. In an attempt to save money, I try not to be wasteful with the food I cook. Since I usually cook for two (myself and one other person) this can sometimes be tricky. No one wants to eat the same thing 3 nights in a row!

    Now, if you’re staring at the screen and scratching your head wondering how to “ingredient share” amongst recipes, wonder no more. This recipe is a perfect example of how to do this! For those of you who do not want to “ingredient share”, no worries! This recipe can easily be made to feed up to 6 people.

    Those of you who want to know how to “recipe share” read this: Earlier this week I shared my recipe for roasted sweet potato black bean pitas. I made 4 pitas with this recipe and had about 2 servings of the veggie mix left over. I didn’t want to throw the left-overs away, so I decided to leverage the ingredients I already had to concoct a new dish with a different taste.

    Since I had already cooked the veggie mix, all I had to do was cook enough quinoa for two people,  rinse my kale, and heat up the veggies. I don’t know about you, but as the week progresses there aren’t many things better than cooking a quickie meal and using the extra time to relax!

    If you’re using the left over veggie mix from the roasted sweet potato black bean pitas, all you have to do is make enough quinoa to go with the left-over veggie mix:

    • 2 servings of leftover veggie mix = 1 1/2 cups cooked quinoa (I use a little less than 1/4 cup red quinoa and 1/3 cup white quinoa)
    • 4 servings of leftover veggie mix = 3 cups cooked quinoa (I use 1/3 cup red quinoa, and 2/3 cup white quinoa)

    Use the chart below as a reference for how to cook the correct amount of quinoa. Feel free to use any color combination of quinoa you prefer.

    Uncooked Quinoa Amount of Water/liquid Cooked Quinoa
    1/4 cup 1/2 cup 3/4 cup
    1/3 cup 2/3 cup 1 cup
    2/3 cup 1 1/3 cup 2 cups
    1 cup 2 cups 3 cups

     For tips on how to cook the perfect quinoa, check out my tips and tricks page.

    Once the quinoa is made, all you have to do is heat up your leftover veggies and mix in the cooked quinoa. Place the veggie quinoa mixture over a bed of kale, top with goat cheese, and (ding! ding!) dinner is served!

    Roasted Sweet potato black bean Quinoa chili over Kale

    Those of you who want to know how to make the full recipe read here: This recipe is super simple and easy to make! We will start by cutting our sweet potatoes and veggies and roasting them in the oven. While the veggies are roasting we will cook our quinoa on the stove and rinse the kale. We will add one can of drained black beans to the veggie mixture after removing from the oven. Finally, we will stir the cooked quinoa into the veggie mix, place over a bed of kale, top with goat cheese and serve! See, I told you it was simple! 

    Sweet Potato Quinoa Chili Kale Salad
    Serves 6
    Write a review
    Print
    Ingredients
    1. • 2 sweet potatoes, peeled and diced
    2. • 2 jalapenos, diced
    3. • 1 red bell pepper, diced
    4. • 1 red onion, diced
    5. • 1 (15 oz) can black beans, drained
    6. • 1/2 cup fresh cilantro, chopped
    7. • Juice of 1 lime
    8. • 1/2 cup goat cheese crumbles
    9. • 2/3 cup red quinoa
    10. • 2/3 cup white quinoa
    11. • 1 1/3 cup veggie broth
    12. • 1 1/3 cup water
    13. • Salt to taste
    14. • Bag of kale (or baby spinach)
    15. • 1/2 cup goat cheese crumbles
    Instructions
    1. • Pre-heat oven to 425 degrees
    2. • Peel and dice sweet potatoes, jalapenos, onion, and red bell pepper.
    3. • In Casserole dish, combine veggies with olive oil and spices. Mix well so that veggies are evenly coated with olive oil and spices.
    4. • Roast veggies at 425 degrees for 20 minutes, tossing about halfway through.
    5. • While veggies are roasting combine quinoa, water, and veggie broth into pot over the stove on high heat. When quinoa starts to boil, reduce heat, cover with a lid, and let quinoa sit until cooked. When done, fluff with a fork and remove from heat.
    6. • When veggies are done roasting, remove from oven and let cool.
    7. • Add cilantro, black beans, and lime juice to roasted veggies. Mix gently.
    8. • Combine roasted veggies and cooked quinoa. Mix well and place over a bed of kale.
    9. • Top with goat cheese and enjoy!
    Notes
    1. Swap baby spinach for kale if desired.
    God Save the Quinoa https://www.godsavethequinoa.com/
    Fabulous recipes by Mandi at godsavethequinoa.com

  • Super Simple Guacamole

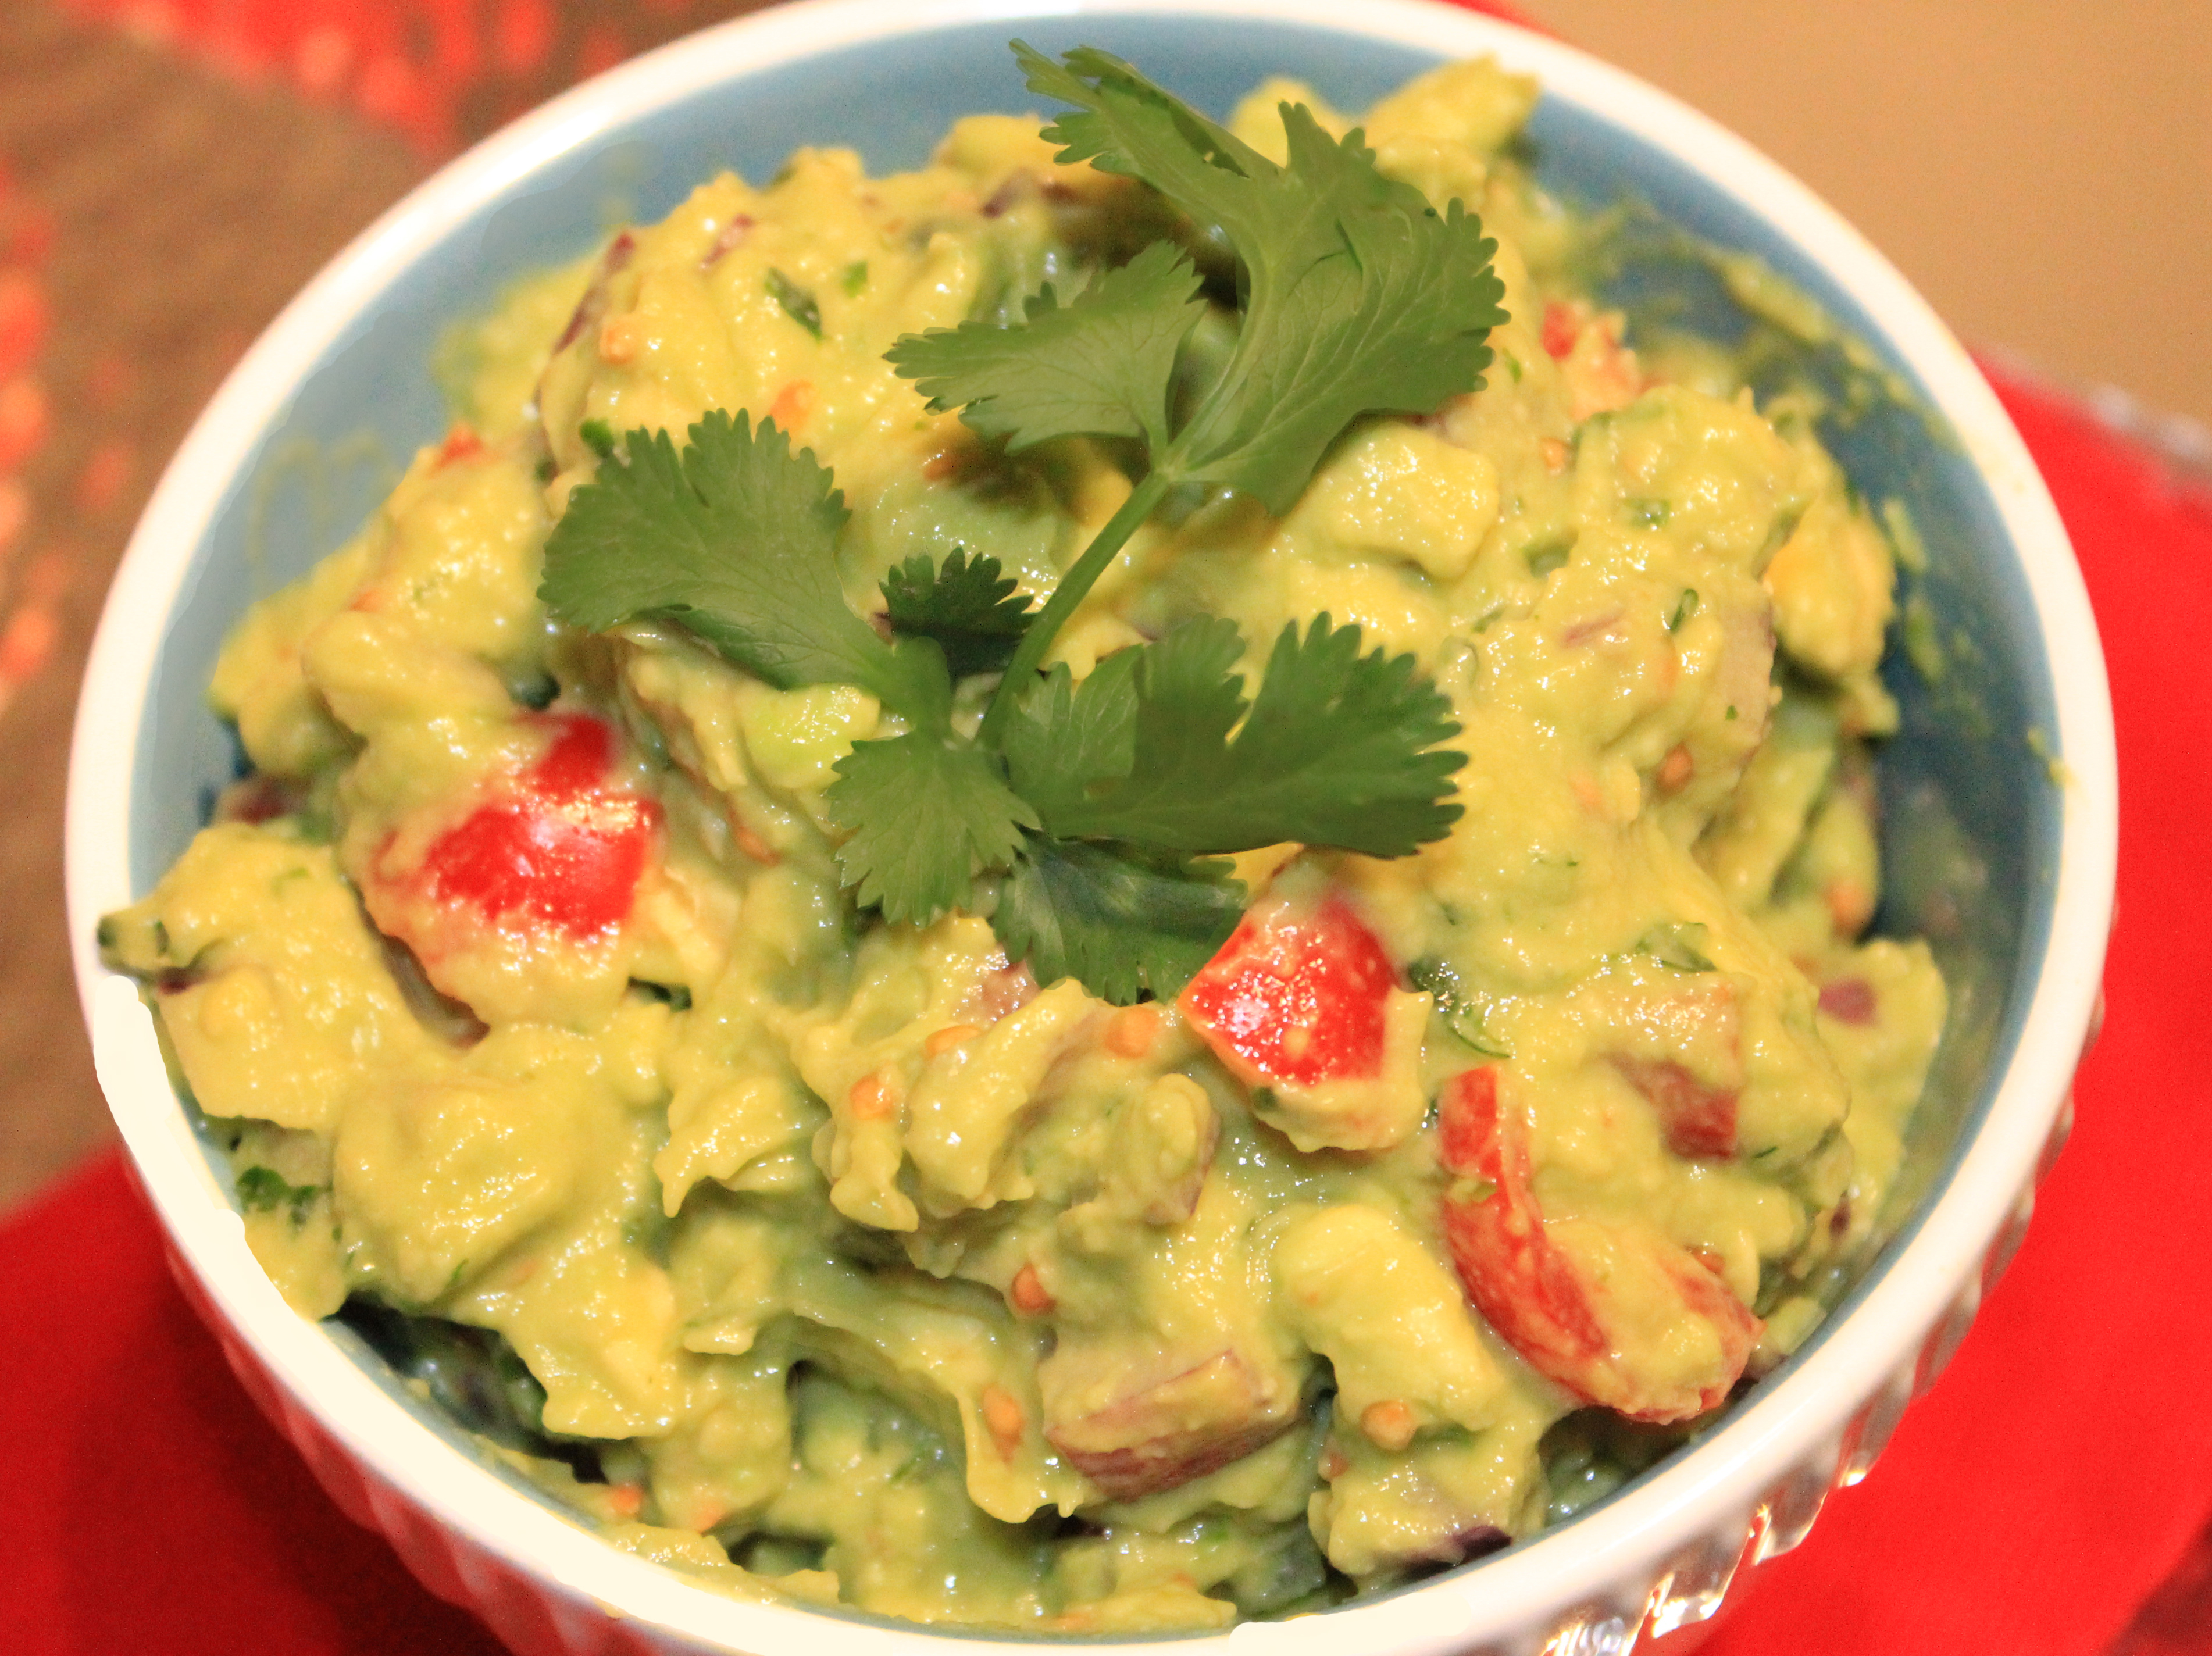
    Super Simple Guacamole

    Homemade Guacamole godsavethequinoa

    Being a Texas girl, I can’t help that I loooove me some Tex-Mex! I swear Mexican food is just not the same once you leave Texas! What could possibly be better than happy hour spent on a patio during “patio-perfect weather” sipping skinny margaritas and snacking on homemade guacamole? I’ll give you a minute to think.

    While you’re thinking, let me share my super simple guacamole recipe with you! This recipe is super simple (hence the name) and I suggest you keep it handy.

    …Why you ask? Well, when the guac is running low and your friends are hungry, don’t you want to be the hero who can run inside and whip up another serving of {deliciously good} guacamole in less than 5 minutes? Sure you do!

    Guacamole_godsavethequinoa_

    Psst- Be sure to check out my guacamole making tips & tricks for pointers on the easiest way to cut an avocado to make the avocado mashing part of guacamole-making seamless and more ways to keep your guacamole fresh! 

    Super Simple Guacamole
    Effortless guacamole that will leave your guests wanting more!
    Write a review
    Print
    Ingredients
    1. • 2 large Haas Avocados
    2. • 1/2 red onion, diced
    3. • 1 cup cherry tomatoes cut into quarters
    4. • Juice of one lime
    5. • Salt to taste
    6. •1/4 cup fresh cilantro
    Instructions
    1. • Slice avocado in half (lengthwise) and remove pit
    2. • Dice avocado in shell (see guacamole making tips & tricks) place in large bowl and mash until reaching desired consistency
    3. • Add red onions, cherry tomatoes, lime juice, and cilantro
    4. • Mix well and add additional salt to taste
    5. • Top with cilantro and enjoy!
    Notes
    1. Takes approx. 5-10 minutes to prepare
    2. Yields 2 cups based on size of avocados
    3. Add additional lime juice to preserve freshness
    God Save the Quinoa https://www.godsavethequinoa.com/
     Fabulous recipes by Mandi at godsavethequinoa.com

  • Roasted Sweet Potato Black Bean Pitas

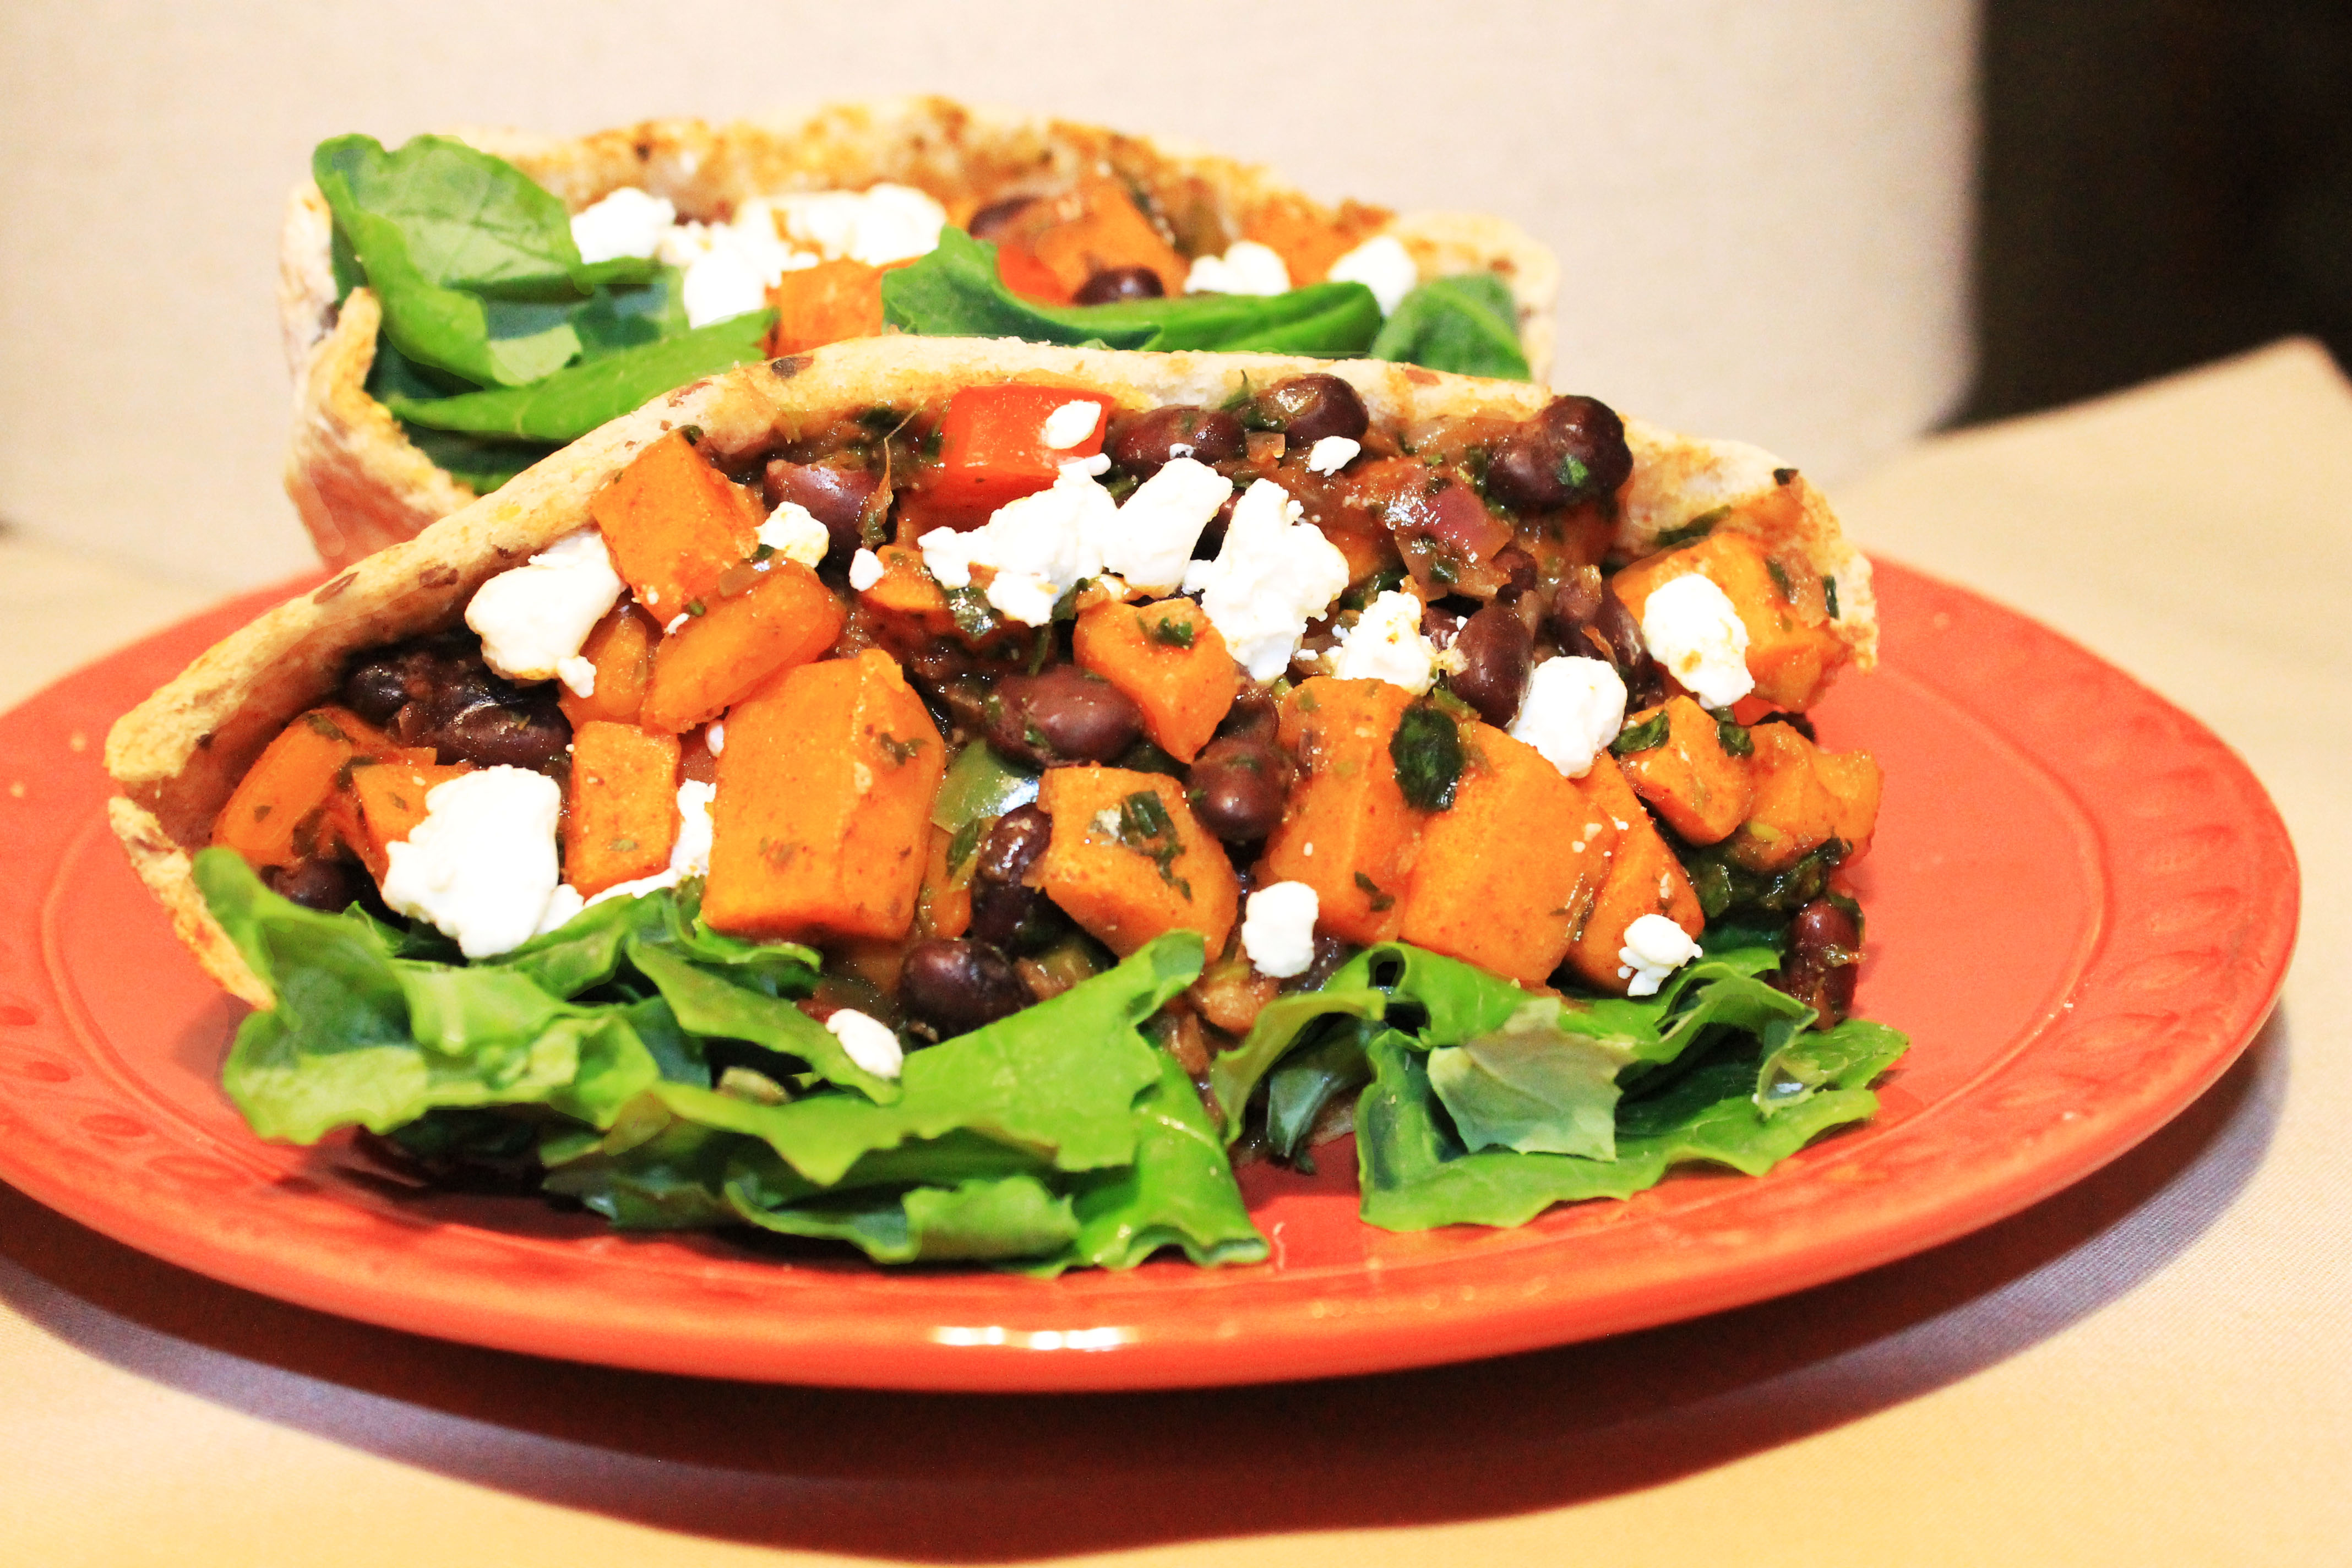
    Roasted Sweet Potato Black Bean Pitas

    Roasted Sweet Potato black bean pita_cropped

    These roasted sweet potato black bean pitas are delicious and are guaranteed to satisfy anyone’s appetite.  I’m a HUGE fan of sweet potatoes because they are oh-so-yummy and are full of vitamins and nutrients. Plus, with so many different ways to enjoy them (as you will soon discover) its almost impossible to get bored with them!

    I always try and cook meals with ingredients that I can incorporate into other recipes during the week. I HATE wasting groceries. In my opinion, throwing un-used produce in the trash is like throwing money out the window or kissing that new pair of shoes I want good-bye.  Since I usually only cook for myself and one other person, incorporating ingredients into other dishes I plan on cooking throughout the week is a high priority. At the beginning of the week I always sit down and make a recipe or grocery list to help keep my grocery runs organized and help prevent me from over-buying. This habit  helps keep my belly (and my wallet) full. I have to admit that it took me a while to master this trick because let’s be honest, no one wants to eat the same thing for dinner Monday, and Tuesday, and Wednesday, and Thursday…at least I don’t. 

    Let’s talk about this recipe.

    NOTE: Before you get started or go on your grocery run, make sure you have enough non-stick foil to wrap as many pitas (up to 6) as you plan on making. We will roast our sweet potatoes and veggies in a 9 x 13 inch casserole dish and add a can of black beans into the mixture after removing from the oven. We will then stuff our pita halves with kale or baby spinach (whichever you prefer), goat cheese, the sweet potato black bean mix, and wrap the pitas with foil.

    Roasted Sweet Potato and black bean pita_2

    A great thing about this recipe is that you can store the left over veggie mix in the fridge for about 5 days, OR you can store your foil wrapped ready-to-go pitas in the fridge for about 3 days. When you’re ready to eat your foil wrapped ready-to-go pitas, all you have to do it pop them in the oven for 15 minutes and ta-da dinner is served. I tend to buy the prepackaged whole-wheat kangaroo brand pita halves. Each half is only 100 calories AND they’re pre-cut which makes stuffing them quick and simple.

    I love this recipe because its super healthy and makes a lot of food… 6 servings to be exact! When I make this recipe I usually cook 4 pitas (storing 2 in the fridge to eat later on in the week) and use the leftover veggie mix to make a sweet potato-black bean quinoa chili. I will be posting this recipe within the next week, so be on the lookout for it!

    So, regardless of if you’re attempting to feed a large group or trying to figure out how to consume all of the food you cook without eating the same meal 3 days in a row, this dish is perfect for you! 

    Roasted Sweet Potato Black Bean Pitas
    Serves 6
    Write a review
    Print
    Prep Time
    20 min
    Cook Time
    35 min
    Total Time
    55 min
    Prep Time
    20 min
    Cook Time
    35 min
    Total Time
    55 min
    Ingredients
    1. • 2 sweet potatoes, peeled and diced
    2. • 2 jalapenos, diced
    3. • 1 red bell pepper, diced
    4. • 1 red onion, diced
    5. • 2 Tbs olive oil
    6. • 2 tsp cumin
    7. • 2 tsp chili powder
    8. • 1 tsp paprika
    9. • 1 tsp salt
    10. • 1 (15 oz) can black beans, drained
    11. • 1/2 cup fresh cilantro, chopped
    12. • Juice of 1 lime
    13. • 2 cups of baby kale or baby spinach
    14. • 1/2 cup goat cheese crumbles
    15. • Whole wheat pita pocket halves
    16. • Non-stick cooking spray
    Supplies
    1. • 9 x 13 Casserole dish
    2. • Foil
    Instructions
    1. • Pre-heat oven to 425 degrees
    2. • Peel and dice sweet potatoes, jalapenos, onion, and red bell pepper.
    3. • In Casserole dish, combine veggies with olive oil and spices. Mix well so that veggies are evenly coated with olive oil and spices.
    4. • Roast veggies at 425 degrees for 20 minutes, tossing about halfway through.
    5. • When veggies are done roasting, remove from oven and let cool.
    6. • Reduce oven temperature to 375 degrees.
    7. • Add cilantro, black beans, and lime juice to roasted veggies. Mix gently. (At this point veggie mixture can be stored for later use).
    8. • Lightly spray PAM or non-stick cooking spray on the outside of the pita and place a handful of kale or spinach inside the pita along with 1 tablespoon of goat cheese.
    9. • Scoop veggie mix into pita until and wrap with foil.
    10. • Place the foil wrapped pita in a clean oven safe baking dish.
    11. • Once all pitas have been stuffed and are wrapped in foil, align side by side in the baking dish and spray tops of foil with non-stick spray.
    12. • Bake pitas in oven at 375 degrees and bake for 15 minutes.
    13. • When finished, remove from heat and let cool for 5 minutes.
    14. • Remove foil and top pitas with remainder of goat cheese and enjoy!
    Notes
    1. Pre-make your pitas and wrap them in foil. They can be stored in the refrigerator for 3-4 days. When you’re ready to eat them, follow the directions above and bake them in the oven at 375 degrees for 15 minutes.
    God Save the Quinoa https://www.godsavethequinoa.com/
    Fabulous recipes by Mandi at godsavethequinoa.com

  • Quinoa Pad-Thai

    Quinoa Pad-Thai

    Quinoa Pad Thai-home

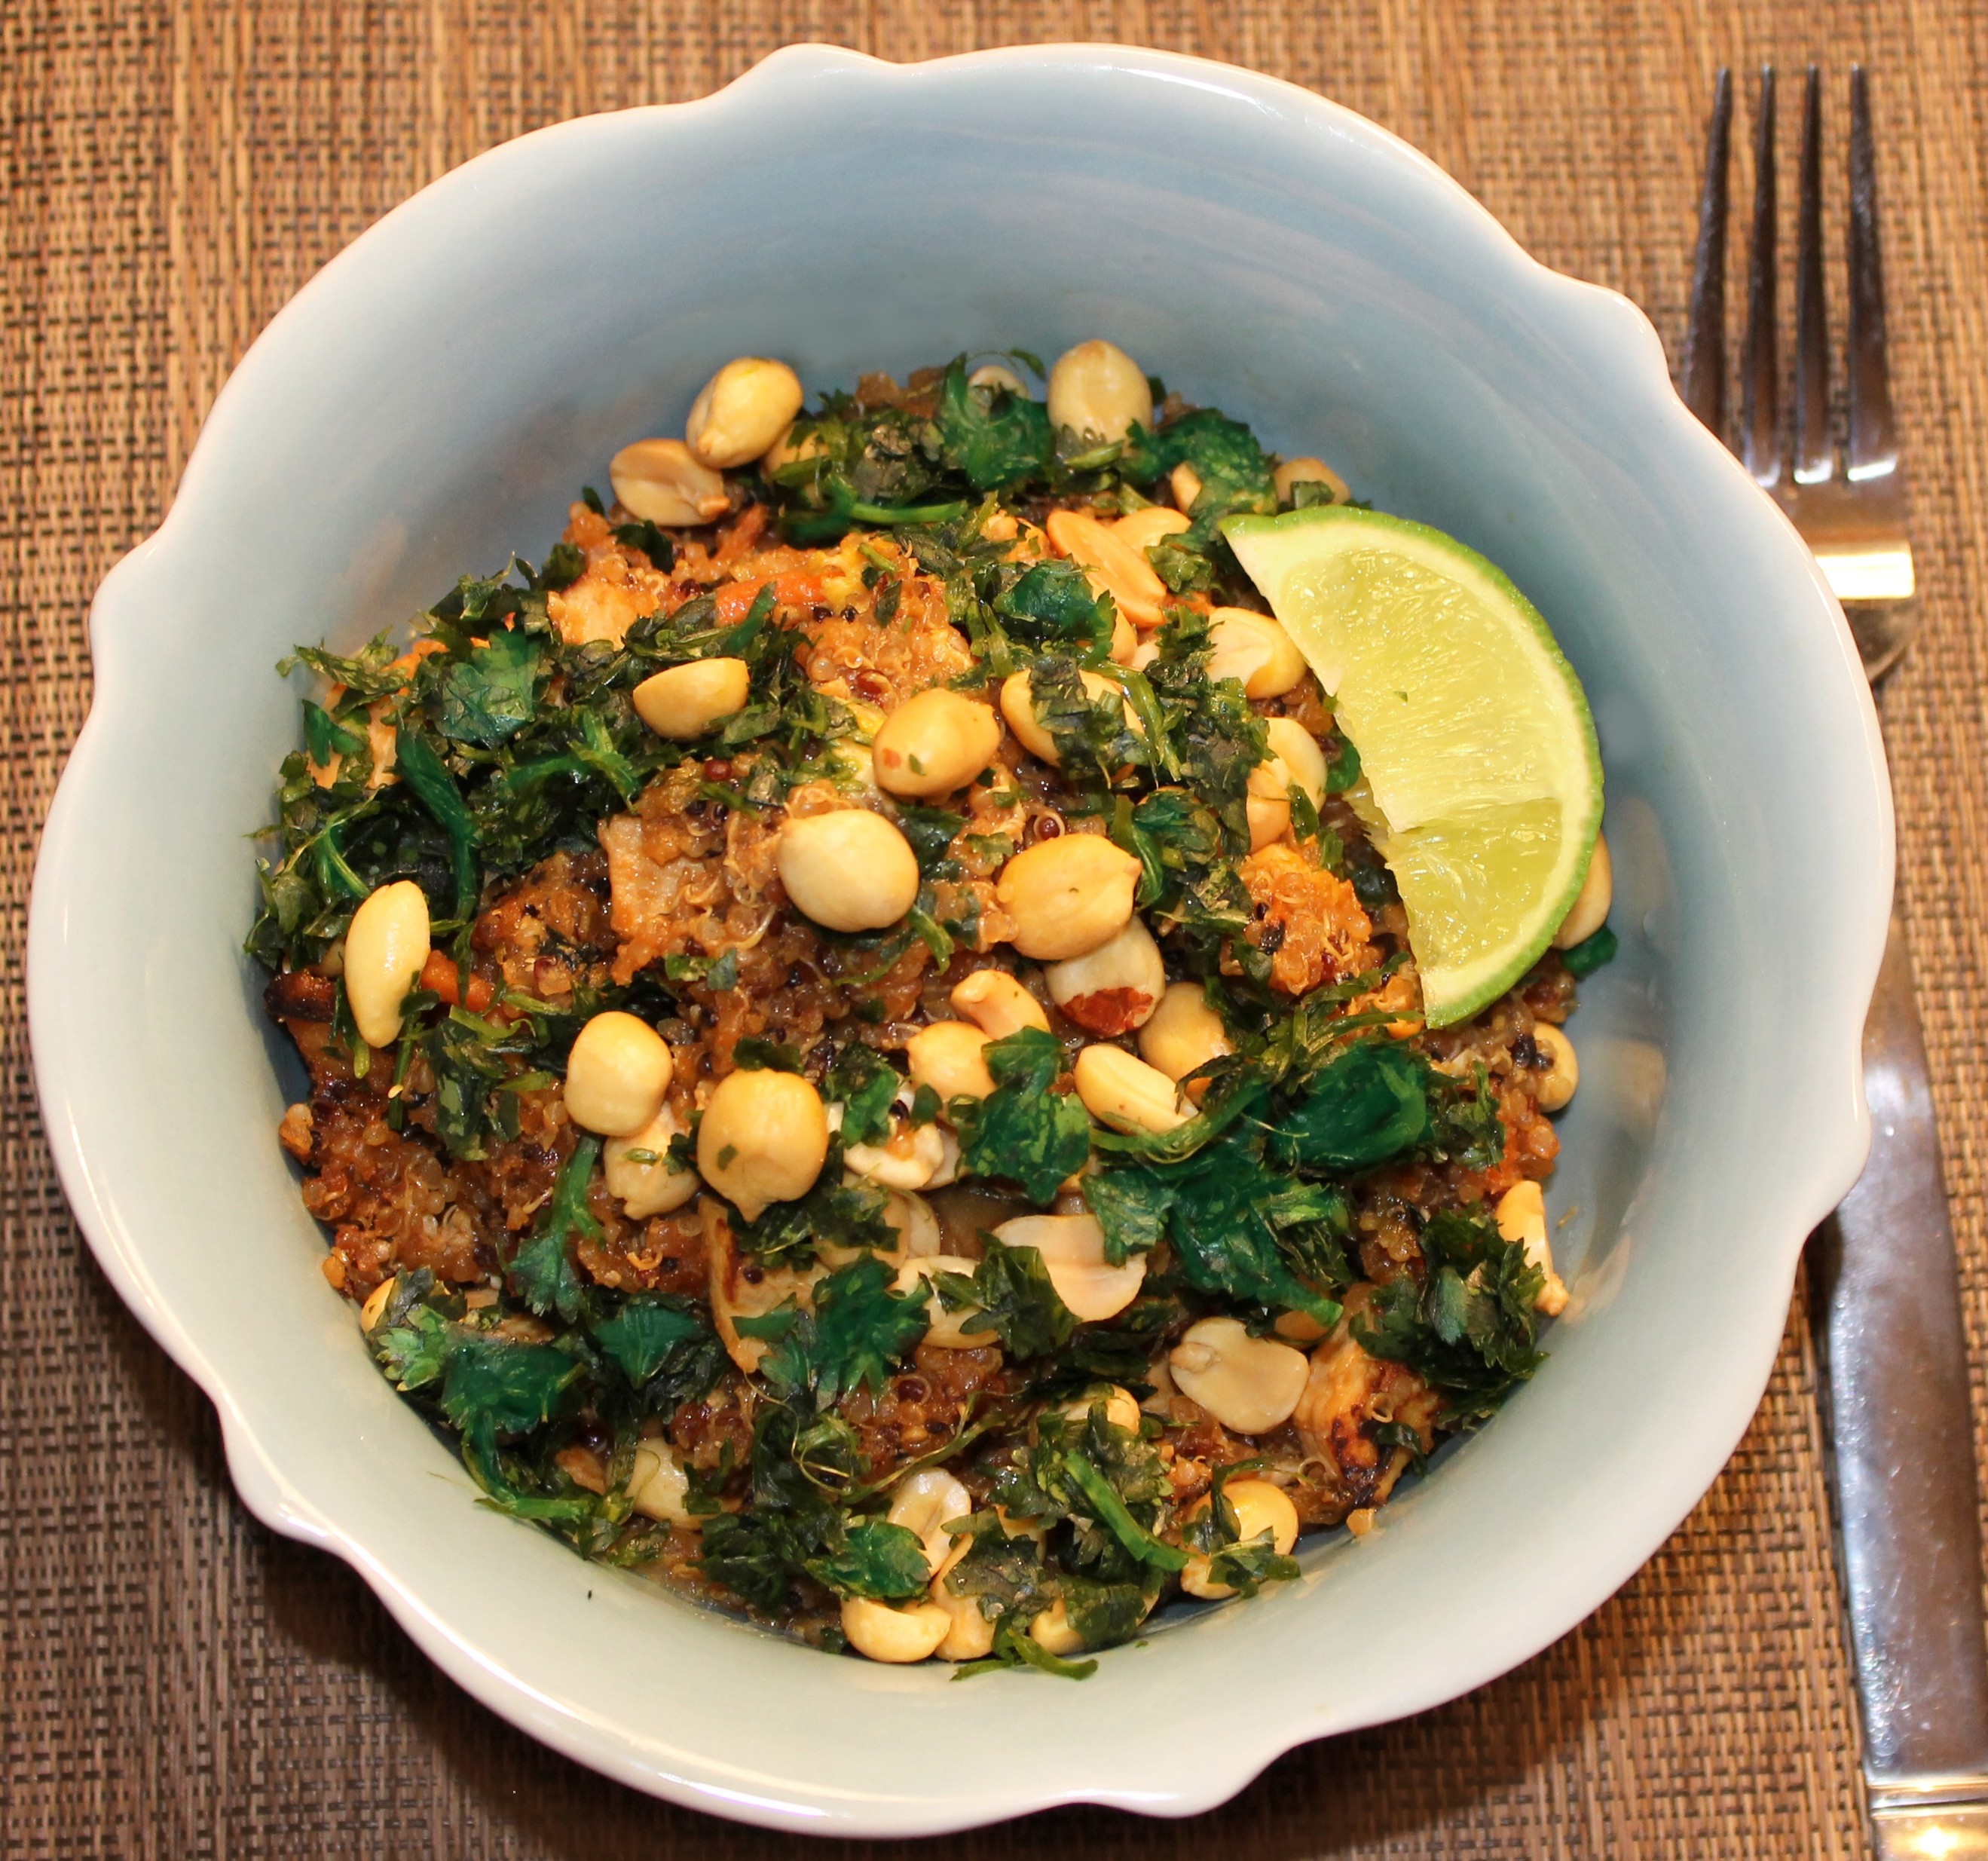
    I LOVE Pad Thai but I don’t love all of the calories and sodium that accompany my Pad Thai takeout orders {sigh}. I was craving a Pad Thai dish that was both delicious AND nutritious. After doing a lot of research and a little grocery shopping, I ended up concocting a healthier version of my beloved Pad Thai take-out,- Quinoa Pad Thai- which I guarantee does NOT disappoint!

    As you can probably guess from the title, this Pad Thai recipe uses quinoa instead of noodles. I know you’re probably thinking “you can’t have Pad Thai without noodles”, and this was the EXACT reaction I got from Greg the first time I made this. I promised him that he would like it and agreed that if he didn’t I would buy Pad Thai takeout for both of us. The pressure was on! But, sure enough after he took this first bite, I think the words that came out of his mouth were something along the lines of “I don’t like it…I LOVE it“. It was hard to tell because hardly stopped to breathe until he had finished his entire bowl! Success! 

    Quinoa Pad-Thai up close

    This recipe generously serves 4 people, meaning that depending on how hungry you are, you will probably have leftovers. This is one of my go-to recipes for when I know I’m going to have a hectic week because it reheats very well and lasts for about 5 days sealed in a Tupperware container. I like to make it towards the beginning of the week, usually on Sunday, and eat the leftovers on those days when I’m exhausted and/or get home from work too late to cook.

    FYI, this is one of my FAVORITE recipes, and I’m excited to share it with all of you!

    Before you get started, I want you to know that I designed this recipe to be made three ways. You can elect to make this recipe using 1) only chicken, 2) only tofu, or 3) half chicken, half tofu. I usually make half chicken and half tofu version. Be sure to pay close attention to the instructions for “all chicken or all tofu” or “half chicken, half tofu” highlighted in the recipe for serving sizes and directions so that you can confidently make the rendition of this dish that you prefer!

    I would like to mention that regardless of the version you are making, you will cook the Quinoa and sauce FIRST. Once the Quinoa and Sauce are finished, you will cook your stir-fry, which you will add the Quinoa and sauce into later. If you are making the “half chicken, half tofu” version, please note that you will cook the tofu version first using half of the veggie mix, quinoa, and sauce.

    Let’s get started!


    Quinoa Pad-Thai
    Serves 4
    Write a review
    Print
    Prep Time
    25 min
    Cook Time
    20 min
    Total Time
    45 min
    Prep Time
    25 min
    Cook Time
    20 min
    Total Time
    45 min
    Ingredients
    1. **If cooking only chicken- 2 chicken breasts
    2. **If cooking only tofu-2 (12 oz.)containers of cubed tofu, drained
    3. **If cooking half chicken, half tofu- 1 chicken breast & 1 (12 oz.) container cubed tofu
    4. For Quinoa-
    5. • 1 cup dry red Quinoa
    6. • 1 1/4 cup dry white Quinoa
    7. • 2 cups of low sodium Veggie Broth
    8. •3 cups of water
    9. For Sauce-
    10. • 4 Tbs light soy sauce
    11. • 1/2 cup brown sugar
    12. • 4 Tbs fish sauce
    13. • 4 Tbs water
    14. • 1/4 cup creamy peanut butter
    15. • 3 Tbs Sriracha
    16. For Stir Fry-
    17. • 2 Tbs extra virgin olive oil
    18. • 1 zucchini, thinly sliced or julienned
    19. • 1 cup shredded carrots
    20. • 3 cups of napa cabbage or pre-packaged Asian lettuce mix
    21. • 1/2 cup chopped green onions
    22. • 2 eggs
    23. For Garnish-
    24. • 3/4 cup chopped peanuts
    25. • 3/4 cup chopped fresh cilantro
    1. Cook the Quinoa
    1. • Add quinoa, water and low-sodium veggie broth in a large pot and place on high heat. When quinoa comes to a rolling boil, stir with a wooden spoon, place lid on top and reduce to a low heat. Let sit until cooked.
    2. While Quinoa is cooking, make the sauce
    1. • Combine soy sauce, brown sugar, fish sauce, water, peanut butter, and Sriracha into a small saucepan
    2. • Place saucepan over medium heat and whisk all ingredients together. Heat until peanut butter is melted and brown sugar is dissolved, set aside.
    3. Cook the stir fry
    1. IMPORTANT: If you are making a tofu/chicken combo you will be using the same skillet for both. Cook the tofu first. Cooking raw chicken before the tofu, in the same dish will cause cross-contamination and possibly spread salmonella.
    2. · Combine carrots, zucchini, cabbage, and green onions into a large bowl
    3. NOTE: You will cook the tofu from start to finish and repeat the same process using chicken.
    4. **If cooking all chicken or all tofu use entire bowl of veggie mix // If cooking half chicken and half tofu divide the veggie mix evenly so that equal proportions are used for each**
    5. • Heat 1 Tbs EVOO in a large skillet and add veggie mix
    6. • Stir-fry veggies for about 3-5 minutes or until veggies soften and begin to turn translucent.
    4. Add in tofu/chicken
    1. For TOFU
    2. • Add 1 Tbs EVOO and tofu cubes into veggie mix. Stir-fry until sides of tofu begin to turn golden brown, reducing heat if needed or veggies start to burn.
    3. For CHICKEN
    4. • Add 1 TBS EVOO and chicken breast slices into veggie mix. stir-fry until chicken cooks all the way through, reducing heat if needed or veggies start to burn.
    5. Spoon cooked Quinoa into stir-fry
    1. **If cooking all chicken or all tofu, spoon in 6 cups of cooked Quinoa // If cooking half chicken and half tofu, spoon 3 cups of cooked Quinoa into each**
    2. • Stir Quinoa into veggie mixture for 1-2 minutes
    6. Stir sauce into stir-fry mixture
    1. **If cooking all chicken or all tofu, stir in 2 cups of sauce // If cooking half chicken and half tofu, stir 1 cup of sauce into each**
    2. • Stir sauce until evenly dispersed amongst ingredients and absorbed by Quinoa
    3. • Create a circular well in the center of the stir fry mix so that the bottom of the pan is exposed.
    7. Crack egg(s) in the circular well
    1. **If cooking all chicken or all tofu, crack 2 eggs in center of well // If cooking half chicken and half tofu, crack 1 egg into each**
    2. • Mix egg into mixture until fully cooked and remove from heat
    3. • Top with cilantro and chopped peanuts
    4. Enjoy!
    God Save the Quinoa https://www.godsavethequinoa.com/
     CHeers_turquoise and grey

    Follow my blog with Bloglovin