Category: By diet

Recipe filter group: pescatarian, vegetarian, vegan, has a meat option.

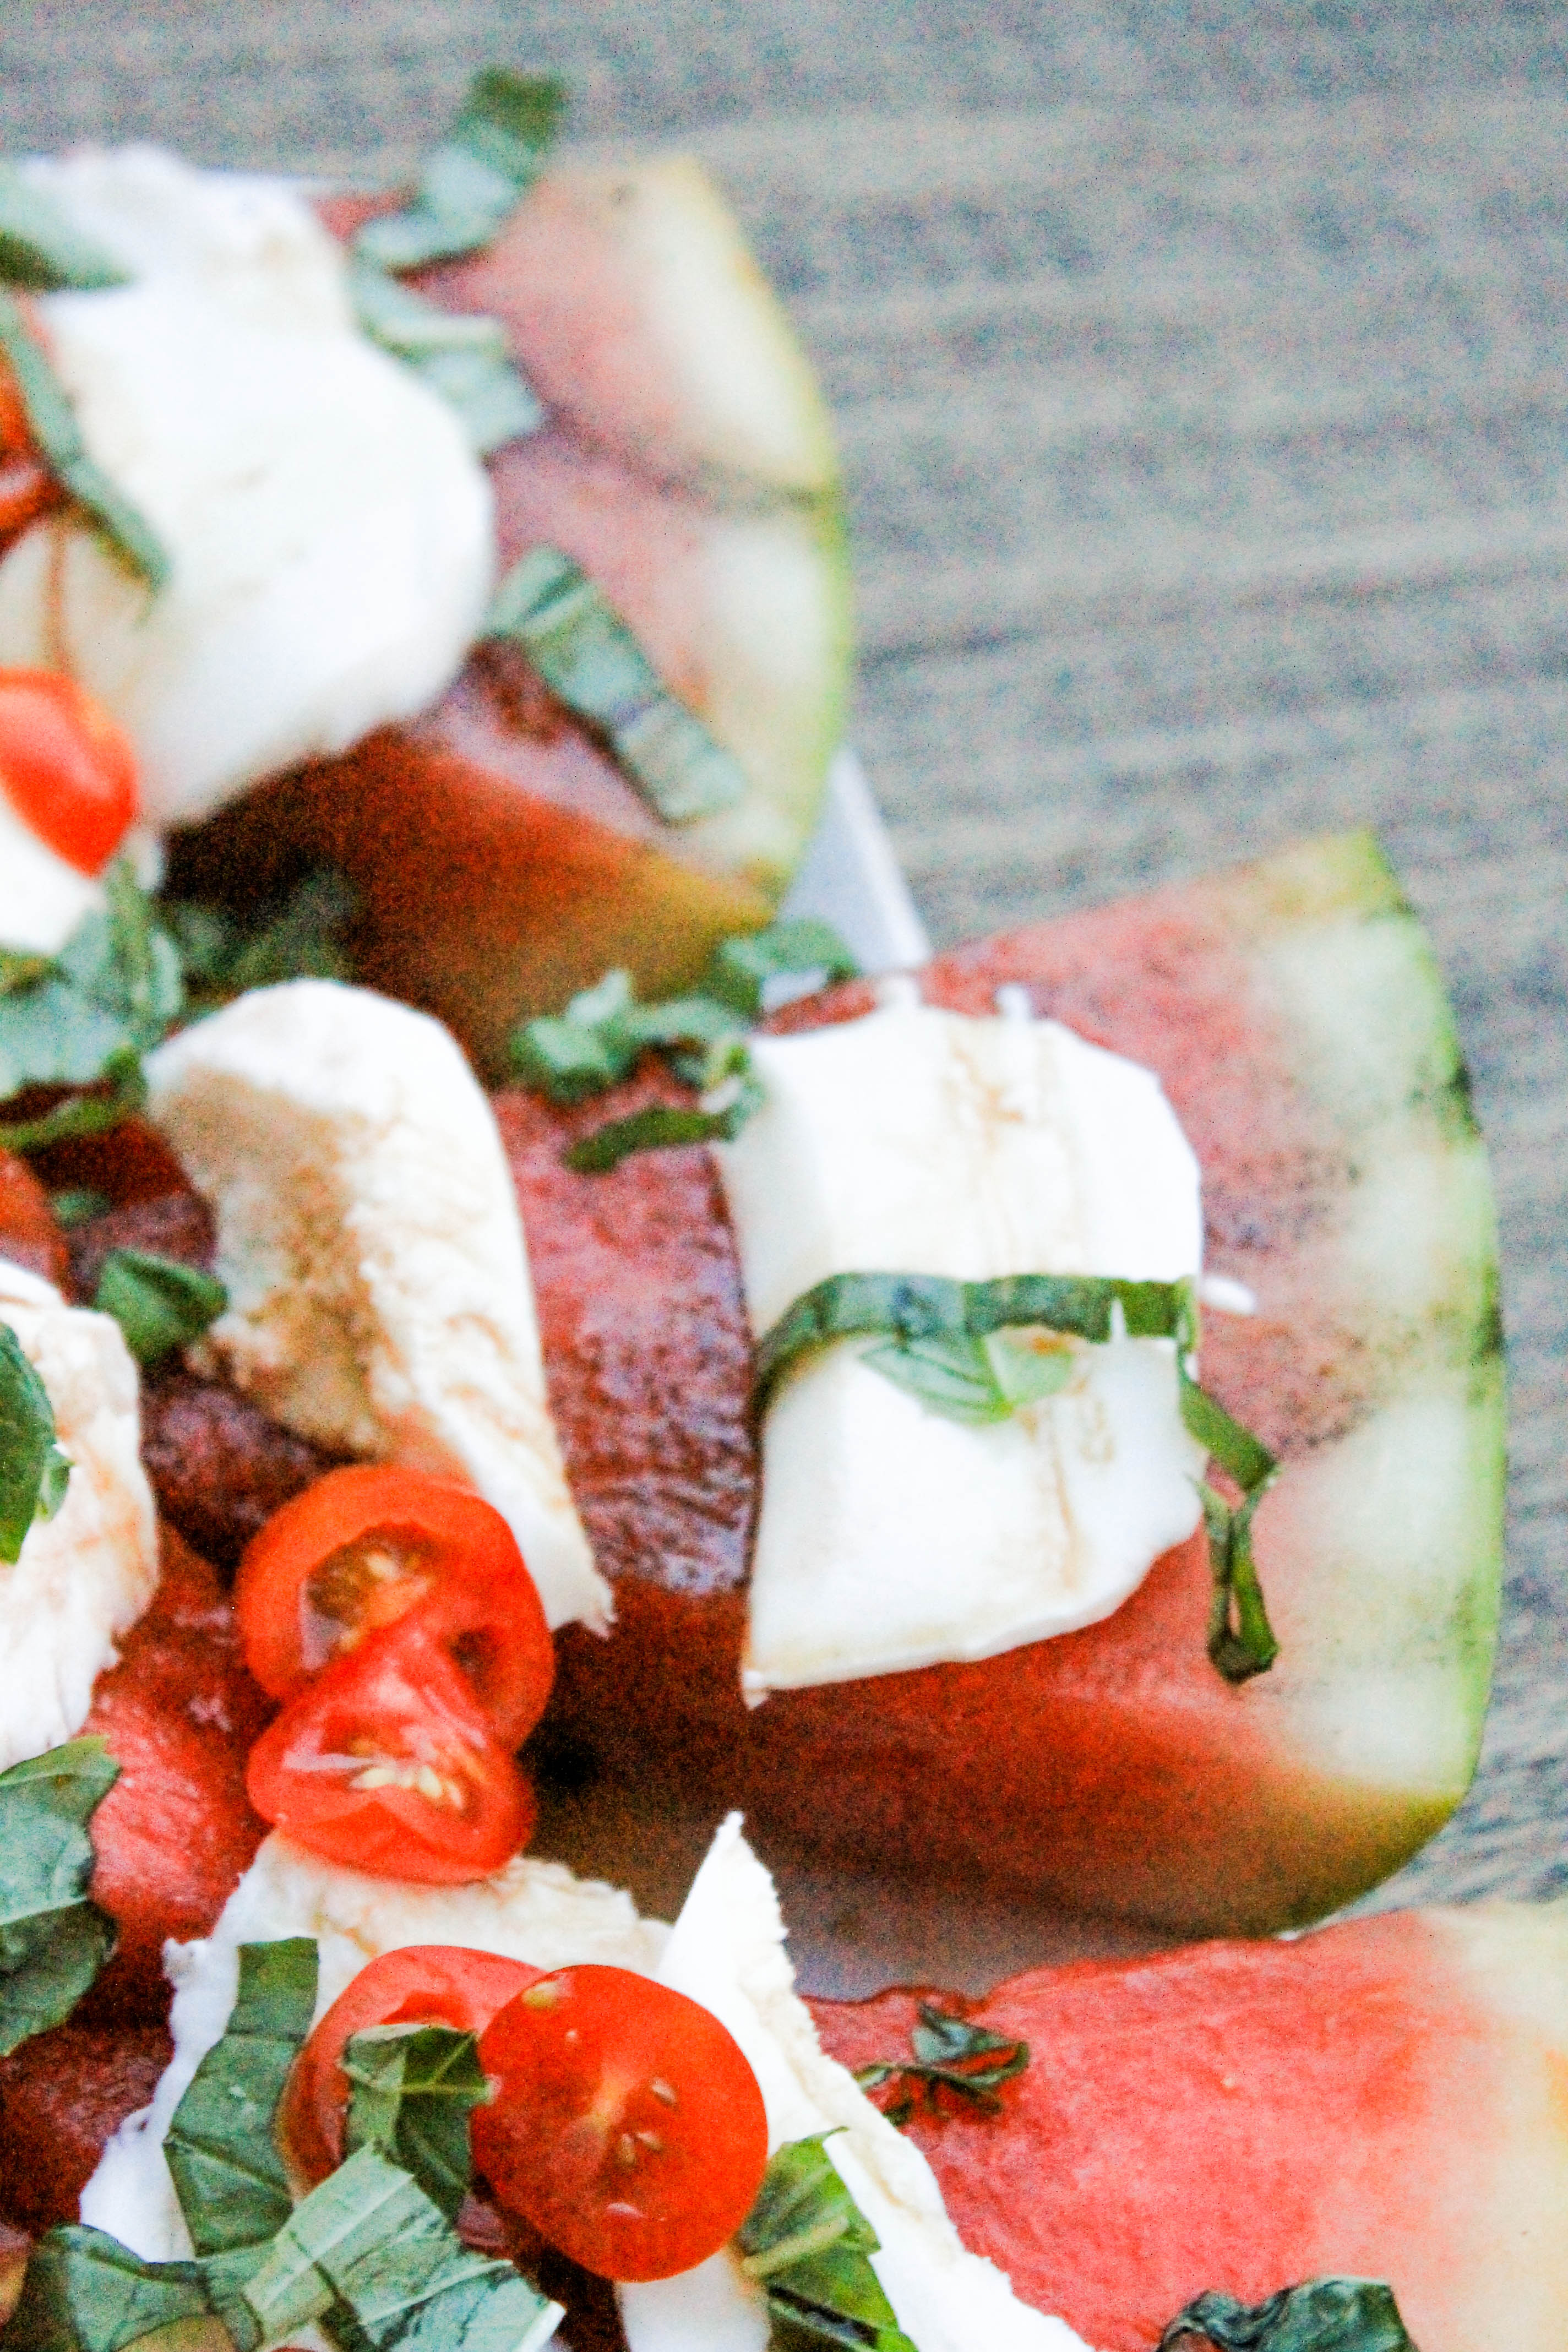
  • Honey Grilled Watermelon Caprese Salad

    Honey Grilled Watermelon Caprese Salad

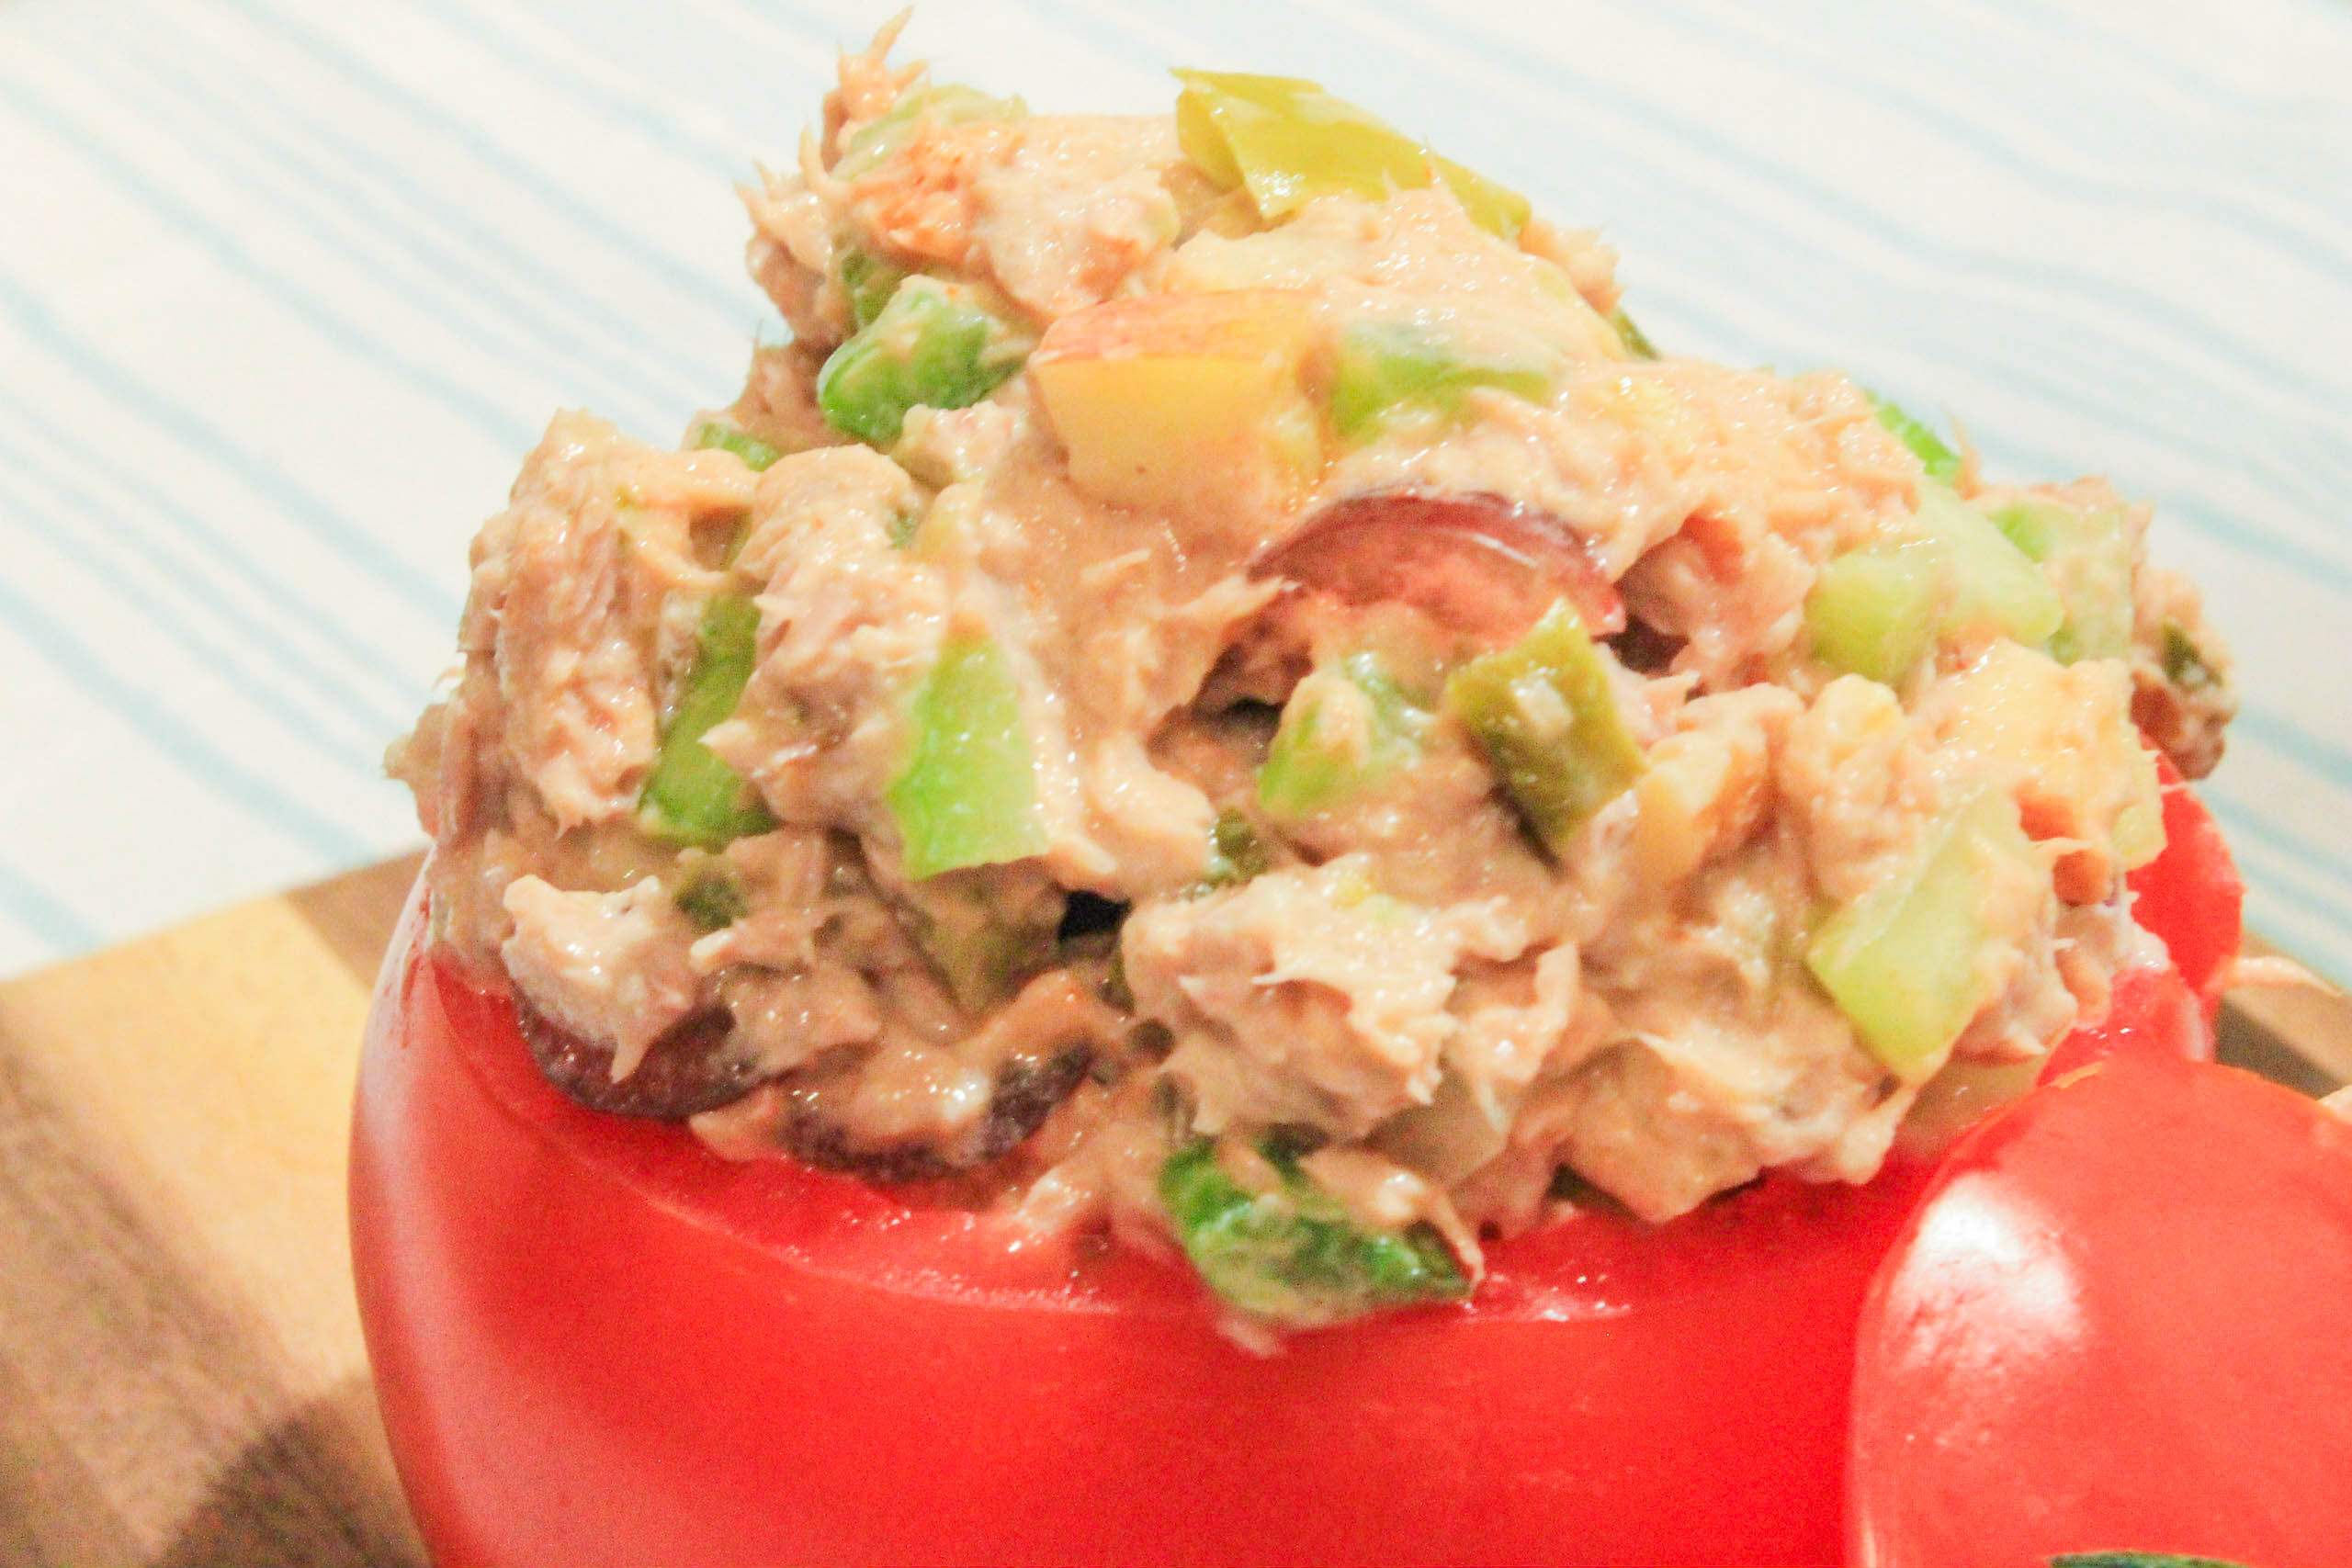
    Tuna salad stuffed tomato cups (6 of 9)

     Happy Memorial Day weekend! I don’t know about you, but I sure am looking forward to a much needed three day weekend!

    As you know, this time of year its popular to have cookouts or BBQ’s in the backyard or out by the pool with friends and family. I’m personally a huge fan of potlucks- where each person brings a different dish to share with the group. Its such a fun way to taste new things and discover new recipes. Not to mention, it makes the hostess’s life much easier! 

    If you’re looking for a fun summer dish to bring along to a Memorial Day potluck, or serve at your own outing, my honey grilled watermelon caprese salad is a guaranteed crowd pleaser.  

    Honey Grilled Watermelon Caprese Salad

    I know honey grilled watermelon and mozzarella sounds like a funny combination, but trust me, once you taste it you won’t be able to get enough! The creamy mozzarella pairs perfectly with the sweetness in the watermelon, creating a perfect and refreshing party food!

    Watermelon, olive oil, honey, fresh mozzarella, basil, cherry tomatoes, and balsamic vinegar. Thats all you need. So. Simple. 

    Simply cut the watermelon into triangular slices, mix the olive oil and honey together in a bowl until well combined- adding some salt and pepper as desired. Brush each side of the watermelon slices with the olive oil honey mix and grill each side of the watermelon on medium heat for 2 minutes. 

    Arrange grilled watermelon slices on a plate and place fresh mozzarella slices, chopped cherry tomatoes, and fresh basil shreds on top. Drizzle plate with balsamic vinegar and serve! 

    Honey Grilled Watermelon Caprese Salad

     See, I told you it was simple! Be prepared to make seconds and thirds. 

    Happy Memorial Day, everyone! Remember to thank our troops! 

    Honey Grilled Watermelon Caprese Salad
    Serves 4
    A refreshing summer dish filled with the fresh flavors of watermelon, basil, honey, and mozzarella.
    Write a review
    Print
    Ingredients
    1. • 6 large triangular watermelon slices
    2. • 2 Tbs EVOO
    3. • 1/2 tsp salt
    4. • 1/2 tsp pepper
    5. • 2 Tbs honey
    6. • 2 cups of chopped cherry tomatoes
    7. • 4 oz. sliced mozzarella
    8. • 1/4 cup fresh basil, sliced
    9. • Balsamic vinegar for drizzle
    Instructions
    1. • Pre-heat grill to medium heat
    2. • Slice watermelon
    3. • In a small bowl, combine EVOO (extra virgin olive oil), honey, and slat & pepper. Mix until well combined.
    4. • Using a large spoon, generously brush each side of watermelon with honey olive oil mix. Make sure entire watermelon is covered.
    5. • Grill each side of watermelon over medium heat for 2 minutes.
    6. • Arrange watermelon slices on plate and top with sliced mozzarella, cherry tomatoes, and fresh basil. Drizzle Balsamic vinegar over plate. (I used about 2 lid-fulls) Serve and enjoy!
    Notes
    1. Double or triple recipe to make more servings in one sitting.
    2. Store in an airtight container in refrigerator for up to 3 days.
    God Save the Quinoa https://www.godsavethequinoa.com/
    Fabulous recipes by Mandi at godsavethequinoa.com


  • Tuna Salad in Tomato Cups

    Tuna Salad in Tomato Cups

    Tuna salad stuffed tomato cups (10 of 12)

    Ever since I was a child, I’ve loved tuna salad! My mom used to always make tuna sandwiches to put in my lunch or would serve tuna salad with crackers as a snack. Yum! As I got older and started eating out on my own at those deliciously cute little bakeries, I noticed the ridiculously high calorie count in tuna salad. I’m talking 600-900 calories. At least. For ONE SANDWICH?!?! Uhhh no thanks.

    Because of this, I would (and still do) avoid tuna sandwiches at those cute little bakeries like the plague! But I just couldn’t say goodbye to my beloved tuna salad forever, so I figured out how to make a tuna salad of my own. A tuna salad that is healthy and tastes just as good at the unhealthy kind, with 198 calories to be exact! So, attention all cute little bakeries with un-healthy tuna salad, serve this recipe and I’ll start eating your tuna salad again! 

    How do I make my tuna salad healthy you ask? Well, let’s start with what makes tuna salad so unhealthy in the first place. There’s one word for it, and that word is mayonnaise. And lots of it. In my recipe, I’ll admit that I do use a mere 2 teaspoons of mayonnaise…but that’s much healthier for you than 2 cups of it!

    To make this Healthy Tuna Salad Recipe, I used plain nonfat greek yogurt in lieu of mayo, added lots of fruit (apples and grapes), nuts (chopped walnuts), veggies (celery and white onion shreds), and a hard boiled egg for extra protein. These additions give the tuna salad a great texture and make it more filing for you! I spiced it up with sweet relish, spicy dijon mustard, and even added some sriracha to give it a little extra kick! If spicier foods aren’t your cup of tea- opt out of using the sriracha! 

    Now back to those cute little bakeries. I just love how “cute” everything is! If you don’t know what I’m talking about, next time you go into one of these places look around at the pictures decorating the walls, the table linens, the plates, the menus, and the cute little old ladies brunching together in the corner. All of these elements really contribute to the overall atmosphere. In an attempt to recreate this atmosphere at home, I decided to serve my tuna salad in tomato cups! 

    Creating these tomato cups is very simple to do! To learn how, simply follow the step by step directions below:

    1. Cut off the top of the tomato near the stem. Remove the stem and set aside. (This will be used as your lid later on.)

    Tuna salad stuffed tomato cups (1 of 12)


     2. Use a knife to “trace” around the edges of the tomato as if you are trying to separate the “core” of the tomato from the “wall”. Be careful not to cut all the way through the skin! You want your tomato to hold the tuna salad- not leak everywhere! 

    Tuna salad stuffed tomato cups (2 of 12)


     3. Using a large spoon, gently scoop out the insides of the tomato. Re-trace the path you carved out with your knife to continue separating the tomato “core” from the “walls”. Don’t be afraid to use a little force if you get stuck! Continue tracing the path with the spoon until you can insert the spoon all the way to the bottom of the tomato (without puncturing the tomato of course!)  

    Tuna salad stuffed tomato cups (4 of 12)


    4. By now you should be able to fit the spoon all the way around the core of the tomato and lift it up. To continue, simply lift the core out of the tomato and throw it away. You’re almost done! 

    Tuna salad stuffed tomato cups (5 of 12)


    5. Now that you have removed the core, your tomato should look like a bowl or a cup. Use your spoon to scrape the sides of the walls to remove any excess tomato insides remaining. When you’re satisfied with how your tomato looks, put your spoon down! You’re finished! 

    Tuna salad stuffed tomato cups (6 of 12)


    See, that wasn’t so bad!

    Now all you have to do is mix all of the tuna salad ingredients together, stuff the tuna salad in the tomato, out it on a plate and voila! you’re done in less than 15 minutes! NOTE: Don’t forget to hard boil the egg! I ALWAYS forget to do this! 

    Tuna salad stuffed tomato cups (7 of 12)


    Tuna Salad in Tomato Cups
    Serves 4
    A lighter version of tuna salad full of fruit and veggies made with greek yogurt, stuffed in a delicious tomato cup. It takes 15 minutes to whip up and will only cost you 198 calories!
    Write a review
    Print
    Prep Time
    15 min
    Total Time
    15 min
    Prep Time
    15 min
    Total Time
    15 min
    Ingredients
    1. • 1 (12 oz.) can chunk light tuna in water, drained
    2. • 1 cup celery, diced
    3. • 1 cup red or pink apple, diced
    4. • 1 cup of red grapes, quartered
    5. • 1/2 cup of raw unsalted walnuts, chopped
    6. • 1/4 yellow onion, shredded using cheese grater
    7. • 2 Tbs sweet relish
    8. • 1 hard boiled egg, chopped
    9. • 3 Tbs spicy Dijon mustard
    10. • 2 tsp olive oil mayonnaise
    11. • 1/2 cup non-fat greek yogurt
    12. • 2 tsp sriracha (for some extra kick- optional)
    13. • 4 heirloom or roma tomatoes
    Instructions
    1. • Hard boil one egg
    2. • While egg is boiling, hollow out tomatoes so they can be used as bowls.
    3. • When egg is done boiling, remove shell and chop.
    4. • In a bowl, combine tuna, celery, apples, grapes, walnuts, onion, relish, hard boiled egg, mustard, mayonnaise, greek yougurt, and sriracha (if desired). Mix well.
    5. • Scoop tuna mixture into tomato cups and enjoy!
    Notes
    1. 198 calories per tuna stuffed tomato cup.
    2. Store leftover tuna in refrigerator in an airtight container for up to 3 days. Serve leftover tuna in tomatoes or over lettuce.
    God Save the Quinoa https://www.godsavethequinoa.com/
    Fabulous recipes by Mandi at godsavethequinoa.com

  • Spinach and Artichoke Stuffed Mushrooms

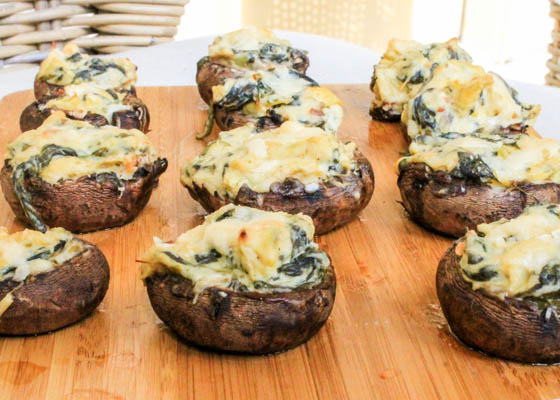
    Spinach and Artichoke Stuffed Mushrooms

    Spinach and Artichoke Stuffed Mushrooms

    Looking for a fun appetizer to serve at your next pool party or get together? Look no further! These spinach and artichoke stuffed mushrooms are an exciting (and healthy) way for you and your compadres to enjoy spinach and artichoke dip, which in my opinion is one of the most crowd pleasing appetizers out there! Did I mention that each mushroom only has 35 calories? if you didn’t have an excuse to throw a party, now you do! 

    Like many of my recipes, I used non-fat greek yogurt and weight watchers cream cheese instead of heavy whipping cream, sour cream, mayonnaise, and other high fat dairy products traditional spinach and artichoke recipes call for. I did use ONE tablespoon of olive oil mayonnaise for taste, but I didn’t think anyone would mind since all 45 calories of this mayo is divided between twenty servings, which brings me to my next point: portobello mushrooms. 

    This recipe calls for 20 baby portobello mushrooms (hence the “twenty servings” mentioned above). You’ll start by rinsing and hollowing out each of the mushrooms, and lining them hollow-side-up on a foil-covered baking sheet (pictured below). Be gentle when hollowing out your mushrooms. Portobellos tend to be more delicate than other mushrooms with thicker, more round, bulb-like caps.

    Hold the mushroom stem side up and use a small pairing knife to cut the stem out of the mushroom. Cut off the entire stem, but be very careful not to cut into the bulb (walls) of the mushroom since the mushroom. It will be more difficult for the mushroom to take on the bowl-like shape needed to hold the spinach and artichoke dip if it has no walls! Next, with a small spoon, carefully scoop out as much of the “gills” or “insides” of the mushroom as possible.  Once your mushrooms are nice and hollow, arrange them on a foil lined baking sheet. Make sure you spray the foil with plenty of PAM or non-stick spray before arranging your mushrooms. 

    Hollowed out baby portobello mushrooms

    Important note: your hollowed out mushrooms do not need to (and probably will not) be perfect. Mine, as you can tell from the picture above, most certainly were not perfect. If you come across a mushroom that just won’t seem to cooperate, don’t be alarmed! Simply try your best to hollow it out as much as possible. I promise the finished product will taste great…even if your mushroom still has some insides! 

    Now that the mushrooms are ready to go, you need to make the spinach and artichoke dip to stuff the mushroom caps with. To do this, fill a pot with water and place your fresh spinach and drained artichoke hearts in the pot on top of the stove and raise temperature until water starts to boil. Once water reaches a rolling boil, reduce heat and simmer for about 5 minutes until spinach begins to wilt and artichoke hearts turn very soft. Remove pot from heat and drain the water.

    Place the spinach and artichokes back in the same pot on low heat. Stir in the weight watchers (or fat-free) cream cheese, greek yogurt, all 45 calories of the olive oil mayo, red pepper flakes, salt, pepper, and continue stirring until all ingredients are well combined.

    The spinach and artichoke mix should be thick and goopy. However, depending on the type of greek yogurt used, your mix could be fairly runny. If it is, do not worry! This is completely normal! To thicken up your mix, simply add flour in 1/2 teaspoon (teaspoon NOT tablespoon) increments until mix thickens. You should not exceed more than 2 teaspoons of flour during this process. Once your mix becomes thick and goopy fold in the parmesan cheese and you’re ready to fill the mushroom caps! 

    Spinach and artichoke stuffed mushrooms (1 of 1)-3

    Using a large spoon, place a heaping spoonful of the spinach and artichoke mix into each mushroom cap, sprinkle remaining parmesan cheese on top and pop them in the oven for 15 – 20 minutes at 350 degrees. You’ll know they’re finished when the tops begin to turn a light golden brown color, but don’t take them out just yet! Turn the oven to broil and cook mushrooms for another 2 minutes, until cheese on top starts to melt. 

    Congratulations! You’re done! Remove your mushrooms from the oven to cool for about 3 minutes before serving. It might just be the longest 3 minutes of your life but I promise its worth the wait! 


    Spinach and Artichoke Stuffed Mushrooms
    Yields 20
    Baby portobello mushrooms stuffed with a healthy yet creamy spinach and artichoke dip. Only 35 calories per mushroom!
    Write a review
    Print
    Prep Time
    20 min
    Total Time
    45 min
    Prep Time
    20 min
    Total Time
    45 min
    Ingredients
    1. • About 20 baby Portobello mushrooms
    2. • 1 cup canned artichoke hearts, drained
    3. • 2 cups fresh baby spinach
    4. • 1/4 cup (about 3 oz.) non-fat cream cheese
    5. • 1 Tbs Olive Oil Mayonnaise
    6. • 1/4 cup plain non-fat greek yogurt
    7. • 1 tsp red pepper flakes
    8. • 1 tsp salt
    9. • 1 tsp pepper
    10. • 2/3 cup shredded parmesan cheese
    11. • 2 tsp flour, as needed
    Instructions
    1. • Pre-heat oven to 350 degrees F.
    2. • Remove stems and carve out insides of mushrooms so that they are hollow. Line a baking sheet with foil, spray with non-stick cooking spray, and line mushroom tops on top.
    3. • Place spinach and artichoke hearts in a pot with 1/2 cup of water and bring to a rolling boil. After reaching a rolling boil, reduce heat and simmer for about 5 minutes until spinach wilts and remove from heat and drain.
    4. • Add spinach and artichokes back into same pot on low heat. Add cream cheese, greek yogurt, mayo, red pepper flakes, salt and pepper. Stir until well combined.
    5. • If mix is runny, stir in flour in 1/2 teaspoon increments to thicken it up. You should not use more than 2 tsp of flour.
    6. • Once mix is thick and goopy, fold in 1/4 cup of parmesan cheese.
    7. • Spoon mix into mushroom tops, sprinkle remaining parmesan cheese on top and bake for 15-20 minutes at 350 degrees. When tops begin to turn golden brown, turn oven on broil. Leave tops in oven for 2 minutes, until cheese on top melts.
    8. • Remove from oven, let cool for 3 minutes, and enjoy!
    Notes
    1. 35 calories per mushroom cap
    2. Add flour in 1/2 tsp increments if dip is too runny before filling mushroom caps.
    3. Store in refrigerator in airtight container for 3-4 days. Microwave to re-heat.
    God Save the Quinoa https://www.godsavethequinoa.com/

     Fabulous recipes by Mandi at godsavethequinoa.com

  • Tropical Shrimp Salad

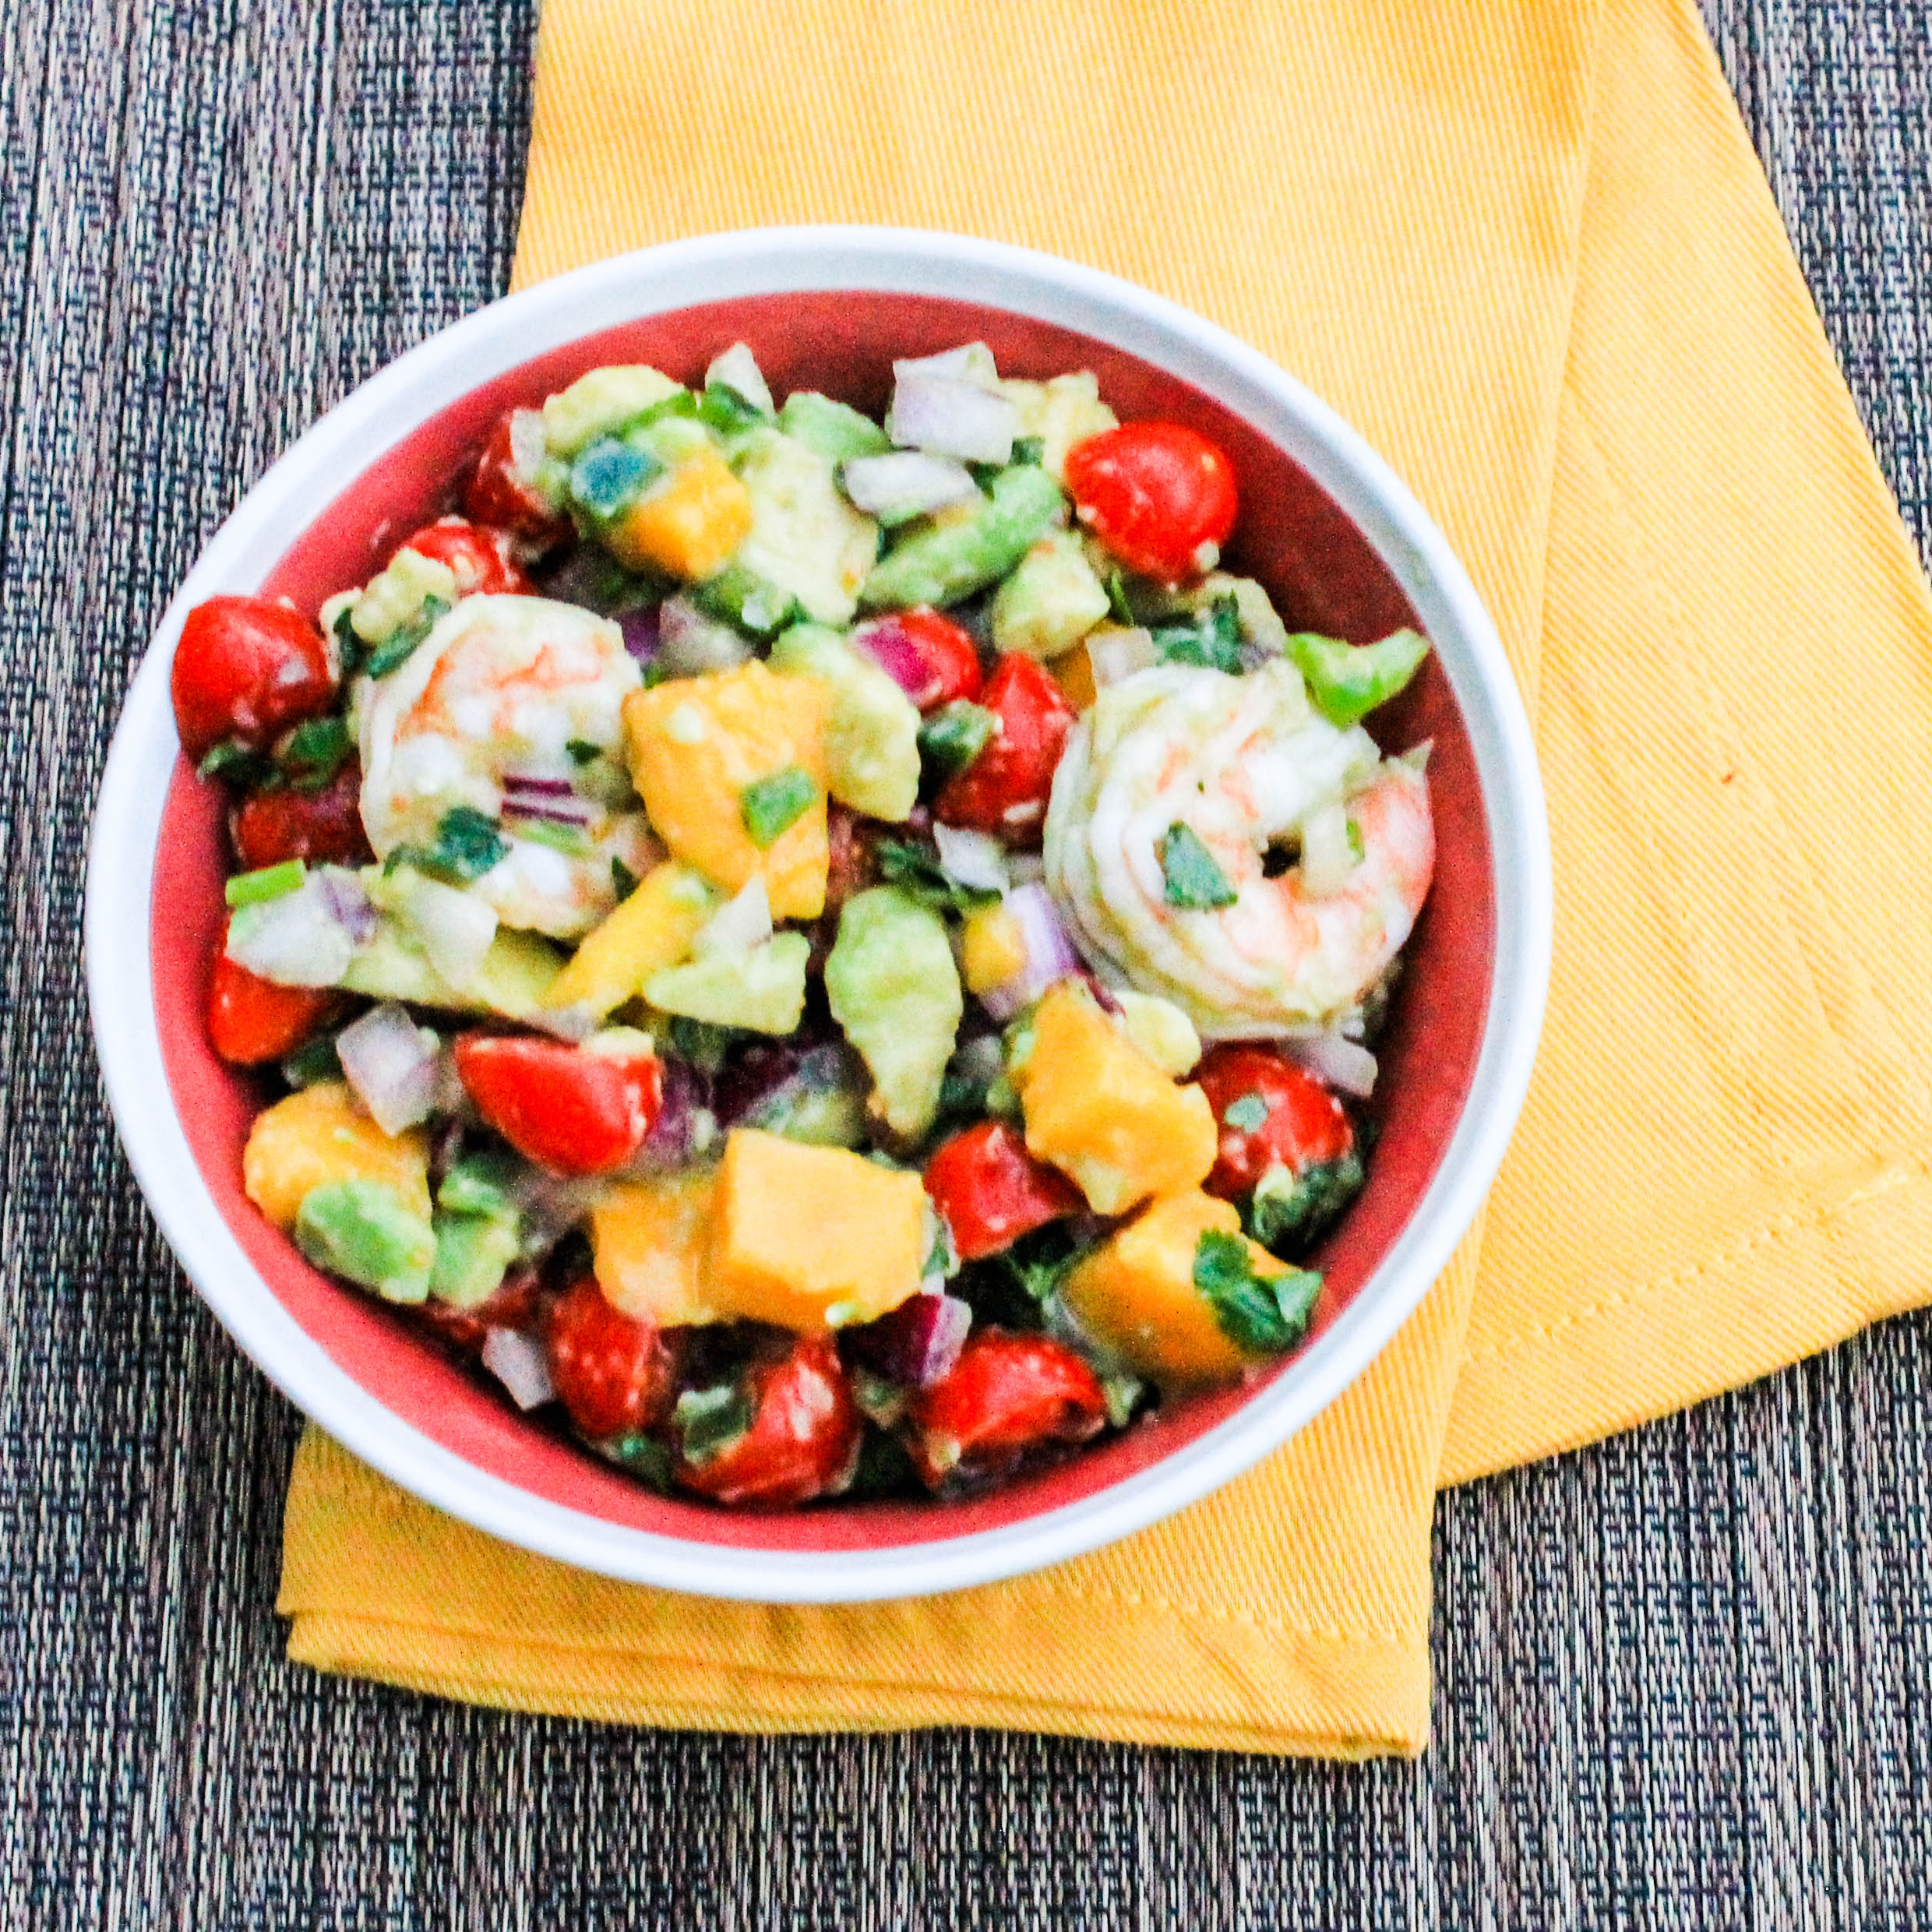
    Tropical Shrimp Salad

    A light and fresh, spicy and sweet salad so tropical, you'll think you're in the Caribbean.

    Lately I’ve been craving something light and fresh with a tropical flare. After all, summer is right around the corner and I can’t stop day dreaming about spending my weekends laying out and relaxing next to the pool, getting a tan, and pretending I’m in a fabulous tropical paradise drinking some fruity drink with an umbrella sticking out of the top. If Dallas was closer to a beach, perhaps this daydream would come true! Unfortunately its not so I guess its time for me to come back to reality…{sigh}.
     
    Tropical Shrimp Salad
     
    Since it’s the middle of the work week and I can’t satisfy my craving to relax in a tropical paradise (or the pool at my apartment) I decided to create a tropical dish in my kitchen instead. Nine ingredients later, I was chowing down on the final product; a tropical shrimp salad, with flavors so fresh I actually thought I was in the Caribbean for a minute or two! The spiciness from the jalapeños and sweetness from the mangos pair extremely well together, satisfying every last taste bud. That’s not all. The best part about this Tropical Shrimp Salad recipe? No cooking required.  
     
    Yes, you read that correctly. Nine ingredients. No cooking. 
     
    Tropical Shrimp Ingredients
     
    Chop. Mix. Done. 
     
     
    Tropical Shrimp Salad
     
    Its literally as easy as one, two, three. All you have to do is cut everything up according to the directions below, combine all ingredients in a large bowl, and refrigerate until you’re ready to serve this tropical masterpiece. Just make sure you buy the pre-cooked cocktail shrimp from the fish counter at the grocery store of your choice. 
     
    Tropical Shrimp Salad
    Serves 6
    A light and fresh, spicy and sweet salad so tropical, you’ll think you’re in the Caribbean instead of your kitchen!
    Write a review
    Print
    Total Time
    15 min
    Total Time
    15 min
    Ingredients
    1. • 1 lb. of pre-cooked cocktail shrimp
    2. • 2 avocados, diced
    3. • 1 large jalapeño, diced
    4. • 1 red onion, diced
    5. • 1 mango, diced
    6. • 1 cup of cilantro, finely chopped
    7. • Juice of 2 limes
    8. • 1 pint of cherry tomatoes, halved
    9. • 1 Tbs salt
    Instructions
    1. • Combine all ingredients in a bowl and stir until combined. Store in refrigerator until ready to serve and enjoy!
    Notes
    1. Calories per serving: 310
    2. Buy pre-cooked cocktail shrimp at grocery store, make sure shrimp are peeled and de-veined.
    3. To cook your own shrimp: Peel and devein all shrimp. Sauté in saucepan using olive oil or coconut oil until shrimp turns pink. Remove from heat and let cool in refrigerator before combining with other ingredients.
    4. Store in airtight container for up to 3 days.
    God Save the Quinoa https://www.godsavethequinoa.com/
     
    Fabulous recipes by Mandi at godsavethequinoa.com
  • Mediterranean Quinoa Salad

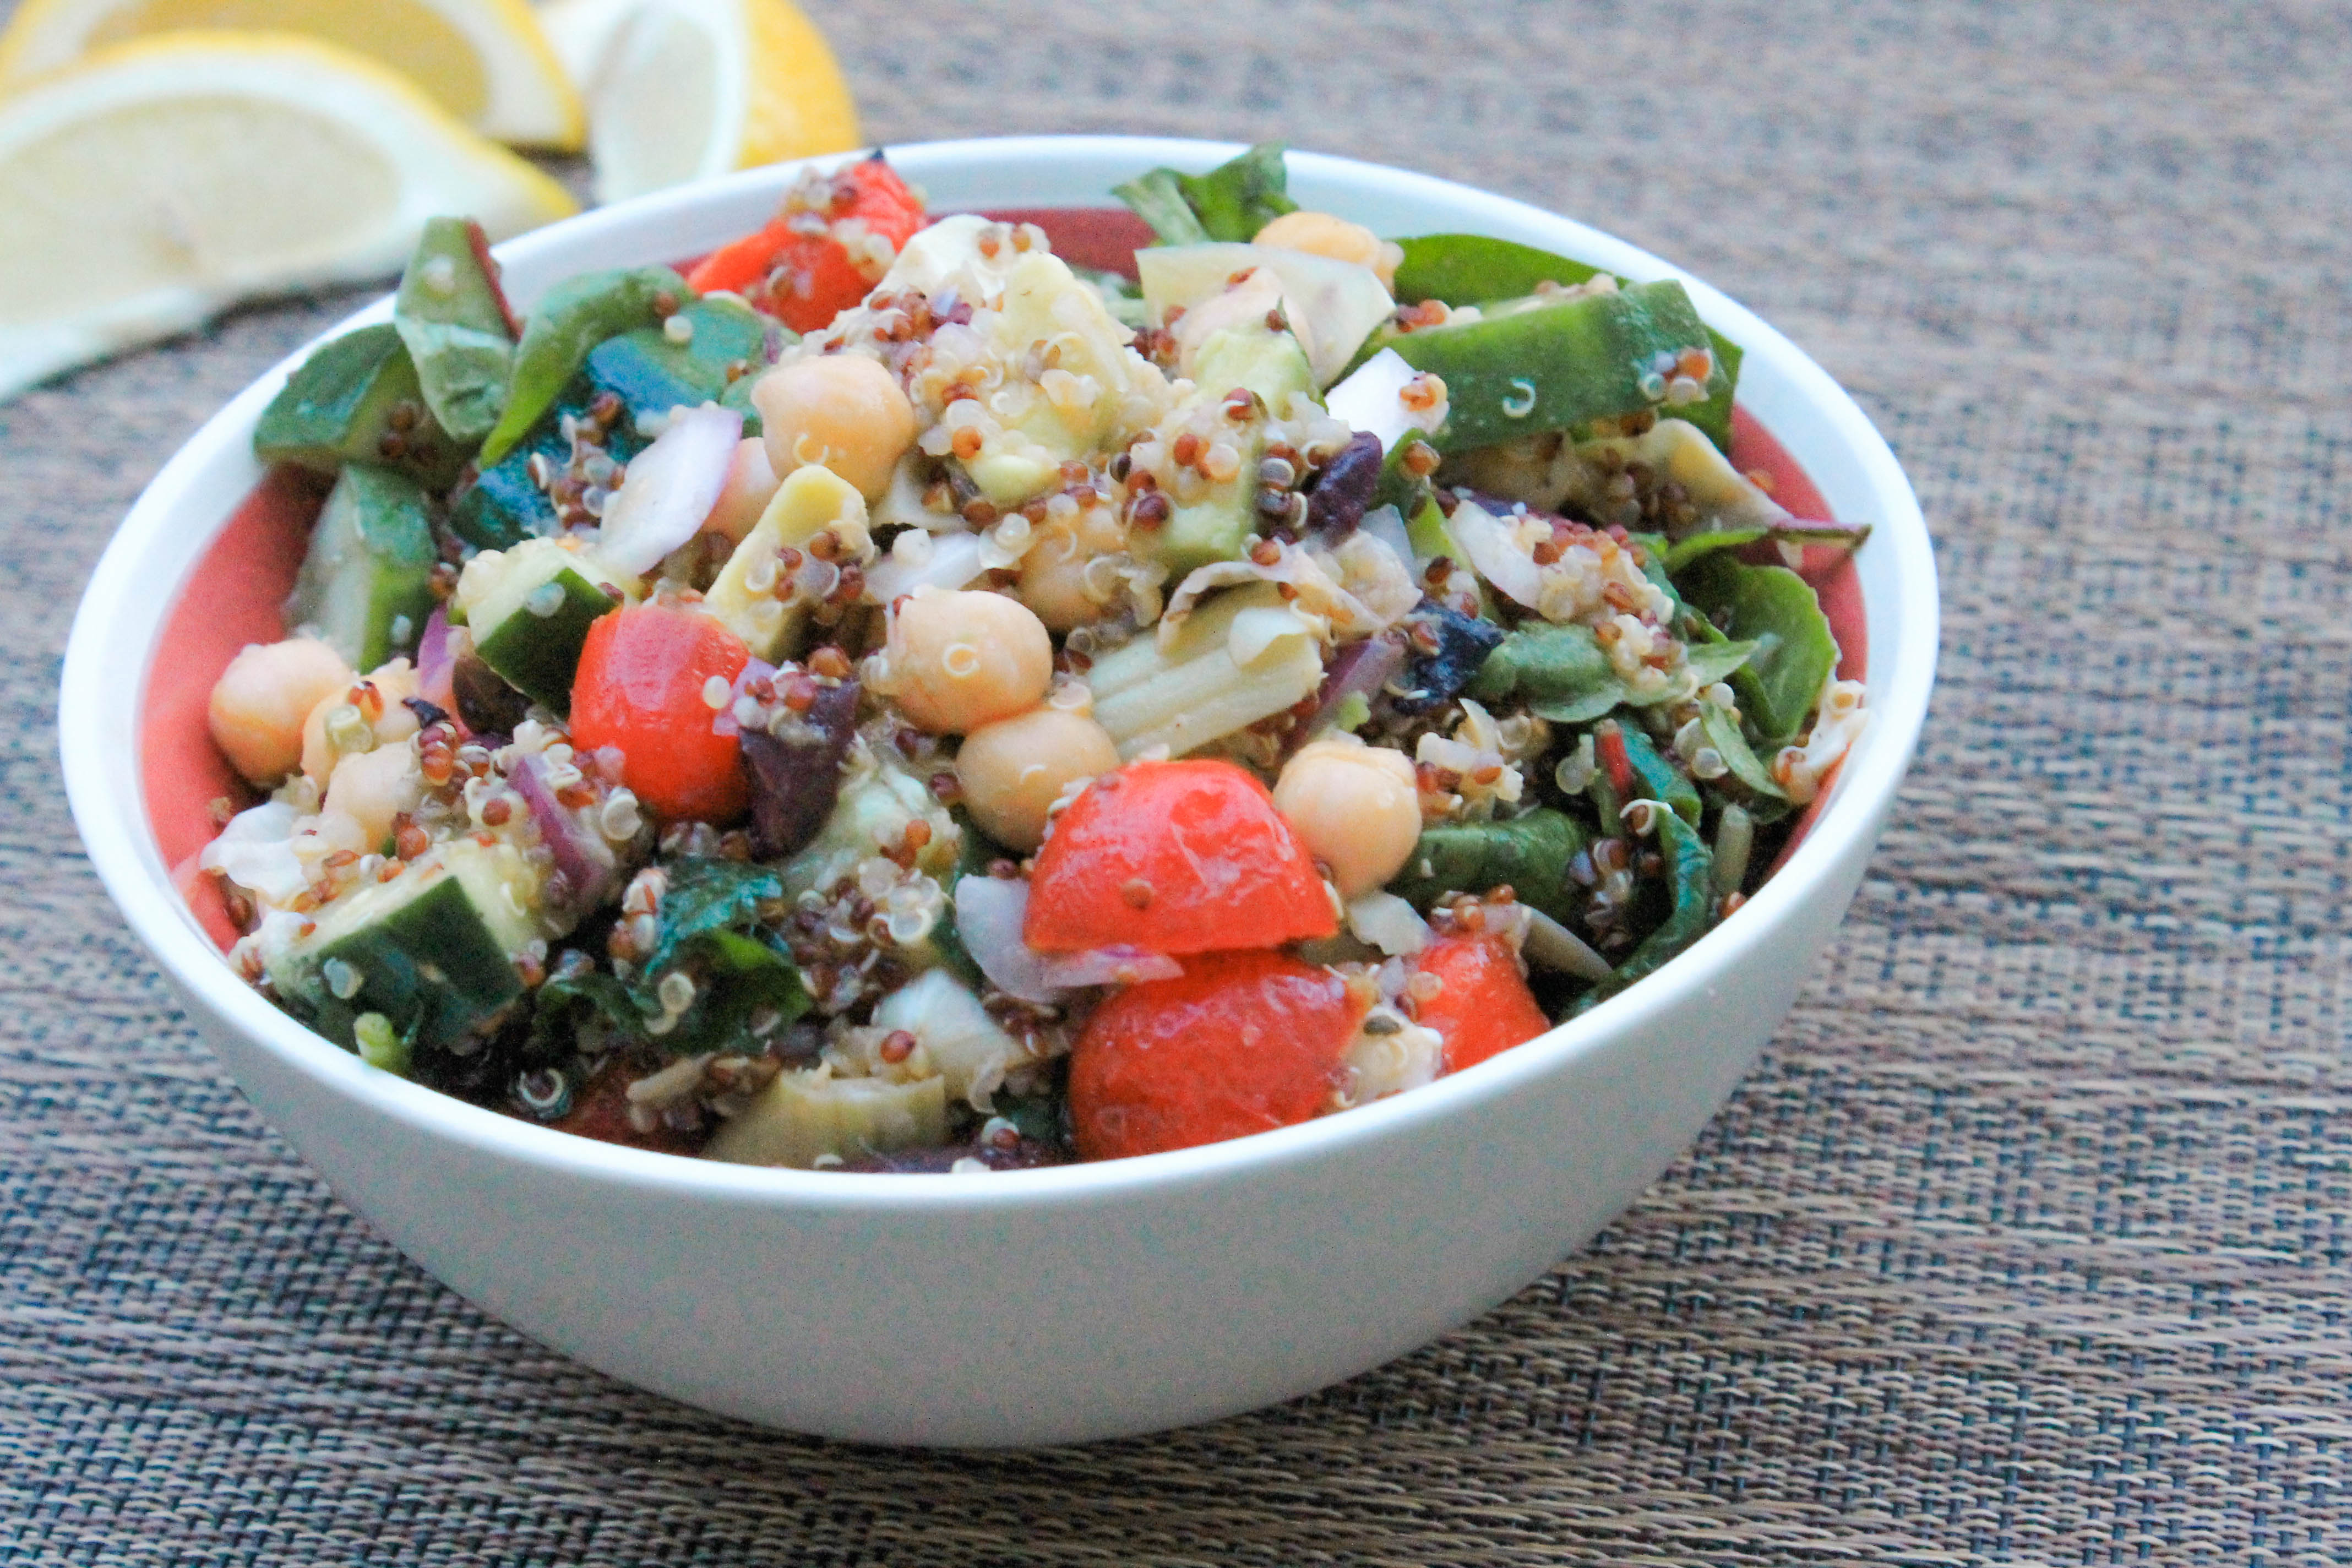
    Mediterranean Quinoa Salad

    Mediterranean Quinoa Salad (1 of 1)

    I absolutely love everything about Mediterranean/Greek food! I mean, how could you not love this vivacious culture that takes pride in “celebrating” meals with  food, drinks, family and friends? If you’ve seen “My Big Fat Greek Wedding” you definitely know what I’m talking about! Despite the fact that I am half Greek, I promise there is no bias here!
     
    Anyways, the reason I said “Mediterranean/Greek” instead of one or the other is because there is a lot of overlap between these two cuisines. You see, Greek cuisine is technically  a “Mediterranean cuisine” due to its geographical origin and is often cited as a picture perfect example of the Mediterranean diet. 
     

    Mediterranean Quinoa Salad_lemon wedges blur (1 of 1)

    Maybe you’ve heard of the Mediterranean diet and maybe you haven’t. Over the past couple of weeks, I’ve noticed  more and more articles from health and fitness websites and magazines ranting and raving about this latest “fad”.  And what’s there not to rave about? The Mediterranean diet is largely plant-based with a strong emphasis on fruits and vegetables, nuts, grains, seeds, beans and olive oil;  very similar to the food consumed by the Greek culture (hence the overlap between “Mediterranean” and “Greek” cuisine.  Eggs, dairy, poultry, and fish are consumed regularly, just in smaller portions than what us Americans are used to. Meat is usually eaten once a month and refined sugars, flour, butter, and fats other than olive oil are rarely consumed. If you’re a visual person like me, this is better illustrated in the food pyramid below. 
     
     meddiet
     
    This concept might seem strange, but think of it like this: In America, we generally consider meat the “main dish” and veggies as “sides”. The Mediterranean diet is the complete opposite of this. Veggies are considered the “main dish” and meat is considered a “side”.  I know you’re probably thinking, well of course you think this “diet” is all the rage, you vegetarian, you, but hear me out. Mediterranean meal time is treated as a social event where food is leisurely consumed  and enjoyed with family and friends.
     
    Key word enjoyed. 
     
    The Mediterranean diet’s philosophy is don’t stop eating what you enjoy. Eat it! Just in smaller portions, and take the time to enjoy your food. 
     

    Mediterranean Quinoa Salad_lemon wedges long (1 of 1)

    Bottom line: Eat more of the foods that are good for you. Do not deprive yourself of the foods you enjoy. You can still have that chocolate cake or fried chicken, just eat these things in moderation and enjoy them. Meaning, don’t inhale them so quickly that you go into a food coma 10 minutes later. Use fresh ingredients, spend time with your family and friends, and raise a glass and say “OPA” at every meal!  


    Mediterranean Quinoa Salad
    Serves 6
    This Mediterranean inspired dish, full of flavor, colorful veggies and fresh greens- just like the Greeks like it, will have you yelling “OPA” at the top of your lungs!
    Write a review
    Print
    Prep Time
    20 min
    Prep Time
    20 min
    Ingredients
    1. • 1 cup quinoa
    2. • 1 cup water
    3. • 1 cup low sodium veggie broth
    4. • 1 container of cherry tomatoes, halved
    5. • 2 cucumbers, quartered
    6. • 3/4 red onion, diced
    7. • 1/2 cup kalamata olives
    8. • 1 avocado, diced
    9. • 1 (15oz.) can chickpeas, drained
    10. • 1 cup artichoke hearts, drained and diced
    11. • 1 (8oz.) can roasted red peppers, drained and sliced
    12. • 1/3 cup feta cheese, crumbled
    Dressing
    1. • 5 Tbs lemon juice
    2. • 1 Tbs minced garlic
    3. • 1 tsp oregano
    4. • 2 Tbs red wine vinegar
    5. • 4 Tbs EVOO
    6. • Salt and pepper to taste
    Instructions
    1. • Cook quinoa in water and veggie broth. Set aside to cool when done.
    2. • In a large bowl, combine tomatoes, cucumbers, red onion, olives, avocado, chickpeas, artichoke hearts, roasted red peppers, and feta. When quinoa has somewhat cooled, add to ingredients and mix well.
    3. • To make the dressing, in a separate bowl, combine lemon juice, minced garlic, oregano, and red wine vinegar. In a slow, steady stream, gently pour the 4 Tbs of oilve oil into the lemon juice mixture, continuously mixing with a whisk or fork to create an emulsion. Olive oil and lemon juice will not mix correctly if you do not mix slowly and well. Add salt and pepper to taste.
    4. • Fold dressing into quinoa and veggie mixture then mix well, coating all ingredients and enjoy!
    Notes
    1. Add Salmon or lamb for additional protein.
    2. Store in airtight container and refrigerate for up to 5 days.
    God Save the Quinoa https://www.godsavethequinoa.com/
    Fabulous recipes by Mandi at godsavethequinoa.com

  • Lemon Strawberry French Toast Casserole

    Lemon Strawberry French Toast Casserole

    Lemon Strawberry French Toast Casserole

    As I mentioned in my previous post Easter Bunny Blondie Bars, I spent Easter weekend in Galveston with Greg’s family. There were 12 of us and to satisfy everyone’s appetite, Greg’s mom split all 12 of us into groups and announced that each group was responsible for making one meal for the weekend. In case you’re wondering, this worked out perfectly since there were a total of 6 meals; 2 dinners, 2 lunches, and 2 breakfasts. 12 people, 6 meals, you’ve got yourself six groups of two!

    If you haven’t already guessed by the title of this post, I (I as in me and Greg, although the only thing Greg did was the taste testing) was in charge of breakfast. Just kidding, Greg is a great sous chef! I knew I needed to cook something big enough to feed everyone in our large group, and because we were celebrating Easter I wanted to make something colorful and fresh. For some reason “colorful” and “fresh” are two of the words that automatically pop into my mind when I hear the word “Easter”, so I decided to go with it.

    I’ve made several French toast casseroles before, but none quite like this. You see, I’m what I like to call an improviser in the kitchen, meaning that some of the time (okay, a lot of the time) I say screw the recipe, I’m going to do it my way! Sometimes this works out to my advantage and sometimes it does not. Luckily for me, my improvising with this recipe worked out to my advantage. Thank God…otherwise I would’ve had 12 hungry people to feed!

    I love this Lemon Strawberry French Toast Casserole because they’re SO easy to make, and at 177 calories per serving, how on Earth can you resist? If you’re a newbie in the kitchen, don’t let the long list of ingredients scare you away! (Many of these ingredients are spices of some sort.) There are really only four parts to this recipe; bread, egg mixture, topping, oven. Pretty simple, right? 

    Lemon Strawberry French Toast Recipe

     First start by cutting your bread into cubes. I suggest using Mrs. Bairds bread (yes, the kind you would use on a PB&J sandwich). Obviously the healthier option would be to use whole wheat bread, but if you have some picky eaters (or you’re one yourself) you can most certainly use white or “whole grain white” bread. You’ll hardly taste the difference once your casserole is cooked.

    Cut each slice of bread into cubes. I know this is hard to visualize with “sandwich” bread because its not eaxactly big and “fluffly” like french or chibata bread, but hear me out. The goal is to cut each slice of bread into 9 as-close-to-equal-as-possible sized pieces, or as I said earlier “cubes”.

    With a sharp knife, make the shape of a “tic-tac-toe” board on your bread. Two vertical lines with two horizontal lines running through the center. You know that childhood game you use X’s and O”s to challenge your opponent with? Well, the tic-tac-toe board has 9 equally sized boxes, and guess what? Each slice of bread should be cut into 9 pieces! Coincidence? Who knows! But you get what I’m saying, right?

    Once your bread has been cut into cube-like pieces, place them in a greased baking dish. I highly recommend using an 11×7, or similar size baking dish. You want to add enough bread to pack and fill the baking dish (think very minimal empty spaces when looking straight down at your casserole-in-progress), but you do not want your dish to be overflowing with bread. You should be able to cover your casserole with foil without having to squish your bread down. Its probably safe to say you probably won’t use the entire load of bread, dependnig on what size you get, but keep in mind you will be adding the egg mixture to your bread cubes. If you find out you need to remove or add some pieces of bread after adding the egg mixture, I definitely suggest doing so. 

    Next you will make your egg mixture. Although the list of ingredients looks cumbersome, I assure you that this is the easiest part! Crack seven eggs into a bowl. Add in the greek yogurt, skim milk, salt, 2 tablespoons of brown sugar, the pumpkin pie spice, vanilla extract, 2 tablespoons of sugar or truvia, and beat together with a whisk. If you don’t have a whisk, use a fork. You want to make sure the egg yolks are no longer intact when you’re done mixing. All ingredients should appear to be “liquefied”  and smooth. Once they look like this, simply pour the egg mixture over your bread “cubes”, and adjust, add, or remove bread cubes as needed. If you’re up for it, sprinkle some more pumpkin pie spice over the top of your casserole. Then cover it with foil and tuck it into bed in the refrigerator for the night (or at least a 6 hour nap) and leave it there until the morning. 

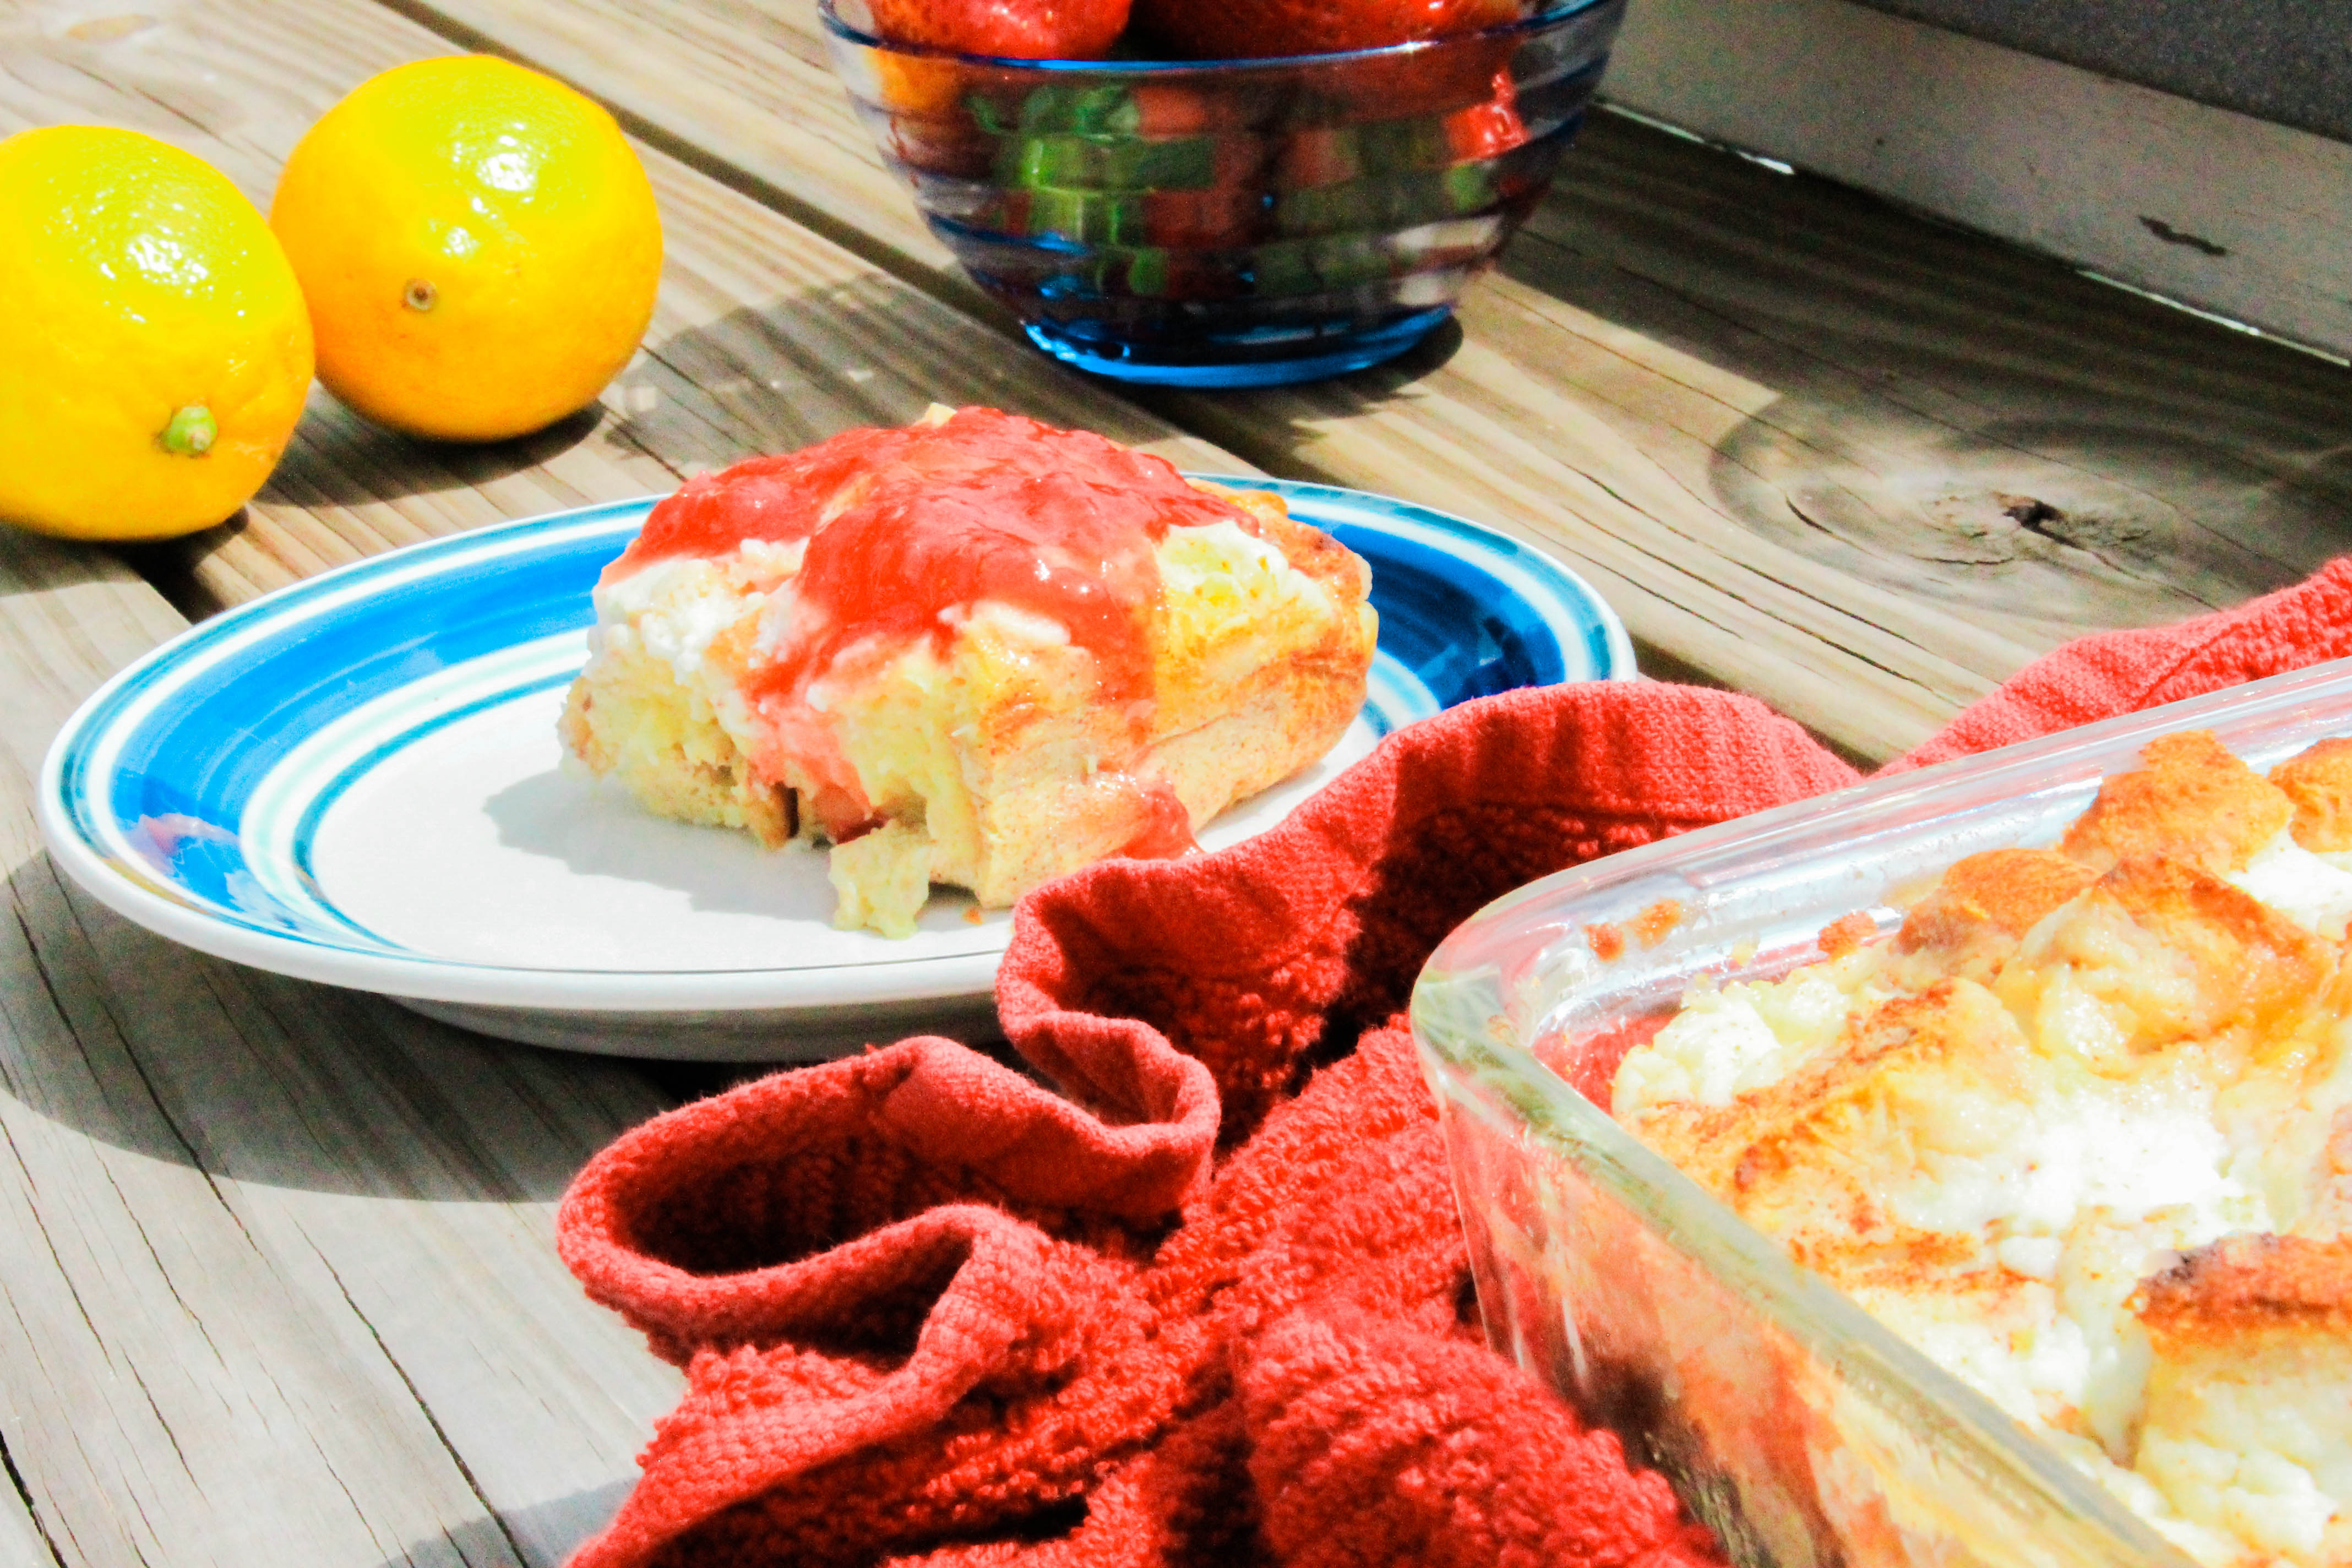
    In the morning you will untuck your casserole and pre-heat the oven to 350 degrees Fahrenheit. In a bowl, whisk together ricotta cheese, the juice of two lemons, and 2 teaspoons (or more if desired) of lemon zest. A word to the wise, its a lot easier to zest your lemons before you juice them. Once these three ingredients appear to be “well combined”, pour on top of casserole and sprinkle additional brown sugar on top. Use a spatula or the back of a large spoon to spread evenly across casserole, as if you were icing a sheet cake. Once you’re satisfied, pop that sucker in the oven for 40 – 45 minutes. You’ll begin to notice that the ricotta will begin to look custardy. This is a good thing; its supposed to look this way! In the oven, the lemon juice and ricotta will combine together with your casserole to give it a cheese-cake-like appearance and taste with way less calories. Mmmm! See the finished product, fresh out of the oven in the picture below:

    Lemon Strawberry French Toast Casserole

    You will know your casserole is done cooking when the ricotta begins to look hard and custardy, and the tops of the visible bread “cubes” are golden brown. When the timer goes off, remove your casserole from the oven and place on the countertop to cool.

    WAIT! You’re not off the hook yet, you still need to make the strawberry syrup sauce to place on top of the casserole. You can either make this the night before and store in an airtight container in the refrigerator, or you can make it while your casserole is baking in the oven. The decision is yours! In case you’re wondering, the strawberry syrup sauce is used in lieu of traditional maple syrup.

    Strawberry Syrup

    You only need three simple ingredients to make the sauce; water, sliced strawberries, and sugar or truvia. All you need to do is bring the water and sugar to a rolling boil in a sauce pan, add sliced strawberries and continuously stir (at a rolling boil) for 2 minutes. It’s very important to constantly stir the water and sugar until it reaches a rolling boil so that the sugar does not stick to the bottom of the pan. After 2 minutes, reduce heat and stop stirring, allowing strawberries to simmer. This will allow the sauce to thicken and take on a jelly-like appearance. Let your strawberries simmer for about 10 minutes, stirring every now and then. Once you are satisfied with the way your sauce tastes and looks, remove from heat. 

    Lemon Strawberry French Toast Casserole

     Congratulations, you’re done and its time to dig into your casserole! You can either place the strawberry sauce on top of the casserole before serving, or add the desired amount of sauce to each serving. I chose to allow my guests to add their own sauce, but feel free to serve your casserole however you like!

    Lemon Strawberry French Toast Casserole
    Serves 8
    A light and refreshing french toast casserole recipe that combines the flavors of fresh lemons and strawberries with the flavors of traditional french toast.
    Write a review
    Print
    Prep Time
    15 min
    Cook Time
    45 min
    Prep Time
    15 min
    Cook Time
    45 min
    Ingredients
    1. • Whole Wheat loaf of bread cut into cubes (I used Mrs. Bairds and cut each slice into 9 pieces)
    2. • 7 eggs
    3. • 2 cups of plain non-fat greek yogurt
    4. • 1 cup skim milk
    5. • 1 tsp salt
    6. • 2 Tbs brown sugar + additional brown sugar for sprinkling on top
    7. • 1 Tbs pumpkin pie spice
    8. • 1 tsp vanilla extract
    9. • 2 Tbs sugar or truvia
    10. • 2/3 cup fat-free ricotta cheese
    11. • Juice of 2 lemons
    12. • 2 tsp lemon zest
    For Strawberry syrup
    1. • 1 container of fresh strawberries, sliced
    2. • 1/2 cup sugar or truvia
    3. •1/2 cup water
    Instructions
    1. • Generously spray 11 x 7 baking dish with PAM or non-stick cooking spray.
    2. • Cut sliced bread into cube size pieces and place in baking dish until full. Be sure to pack bread into corners of dish, and make sure bread is not “overflowing” from dish. (You should be able to cover dish in foil without smashing bread).
    3. • In a large bowl whisk together eggs, greek yogurt, milk, salt, 2 Tbs brown sugar, pumpkin pie spice, vanilla, and sugar/truvia. Pour egg mixture over bread so that it is evenly dispersed. Sprinkle additional pumpkin pie spice on top of casserole, cover with foil, and place in refrigerator overnight. You must refrigerate casserole for at least 6 hours so bread can absorb egg mixture.
    4. • In the morning, pre-heat oven to 350 degrees and remove dish from refrigerator and remove foil.
    5. • Combine ricotta, lemon juice, and lemon zest in a bowl and whisk together until smooth and combined. Pour ricotta mixture over top of casserole. Sprinkle top with additional brown sugar and spatula or back of a large spoon to evenly spread ricotta & brown sugar mixture across top of casserole.
    6. • Place in oven and bake for 40 – 45 minutes, or until cheese looks custardy and tops of bread turn golden brown. When finished, remove from oven and let cool before serving.
    7. • While casserole is baking, in a saucepan, bring water and sugar/truvia to a rolling boil on high heat, stirring constantly. When sugar water comes to constant boil, add in sliced strawberries and stir for 2 minutes. Reduce heat and let strawberries simmer for about 10 minutes or until sauce thickens, stirring sporadically. Once strawberry sauce is thick and gooey, remove from heat and place desired amount on top of casserole servings. Enjoy!
    Notes
    1. • Make strawberry sauce the night before and store in an airtight container in refrigerator.
    2. • Pour strawberry sauce on top of casserole either before or after serving- whatever you prefer!
    3. Calories per serving: 177
    God Save the Quinoa https://www.godsavethequinoa.com/
     Fabulous recipes by Mandi at godsavethequinoa.com

  • Pimento Cheese Jalapeño Poppers

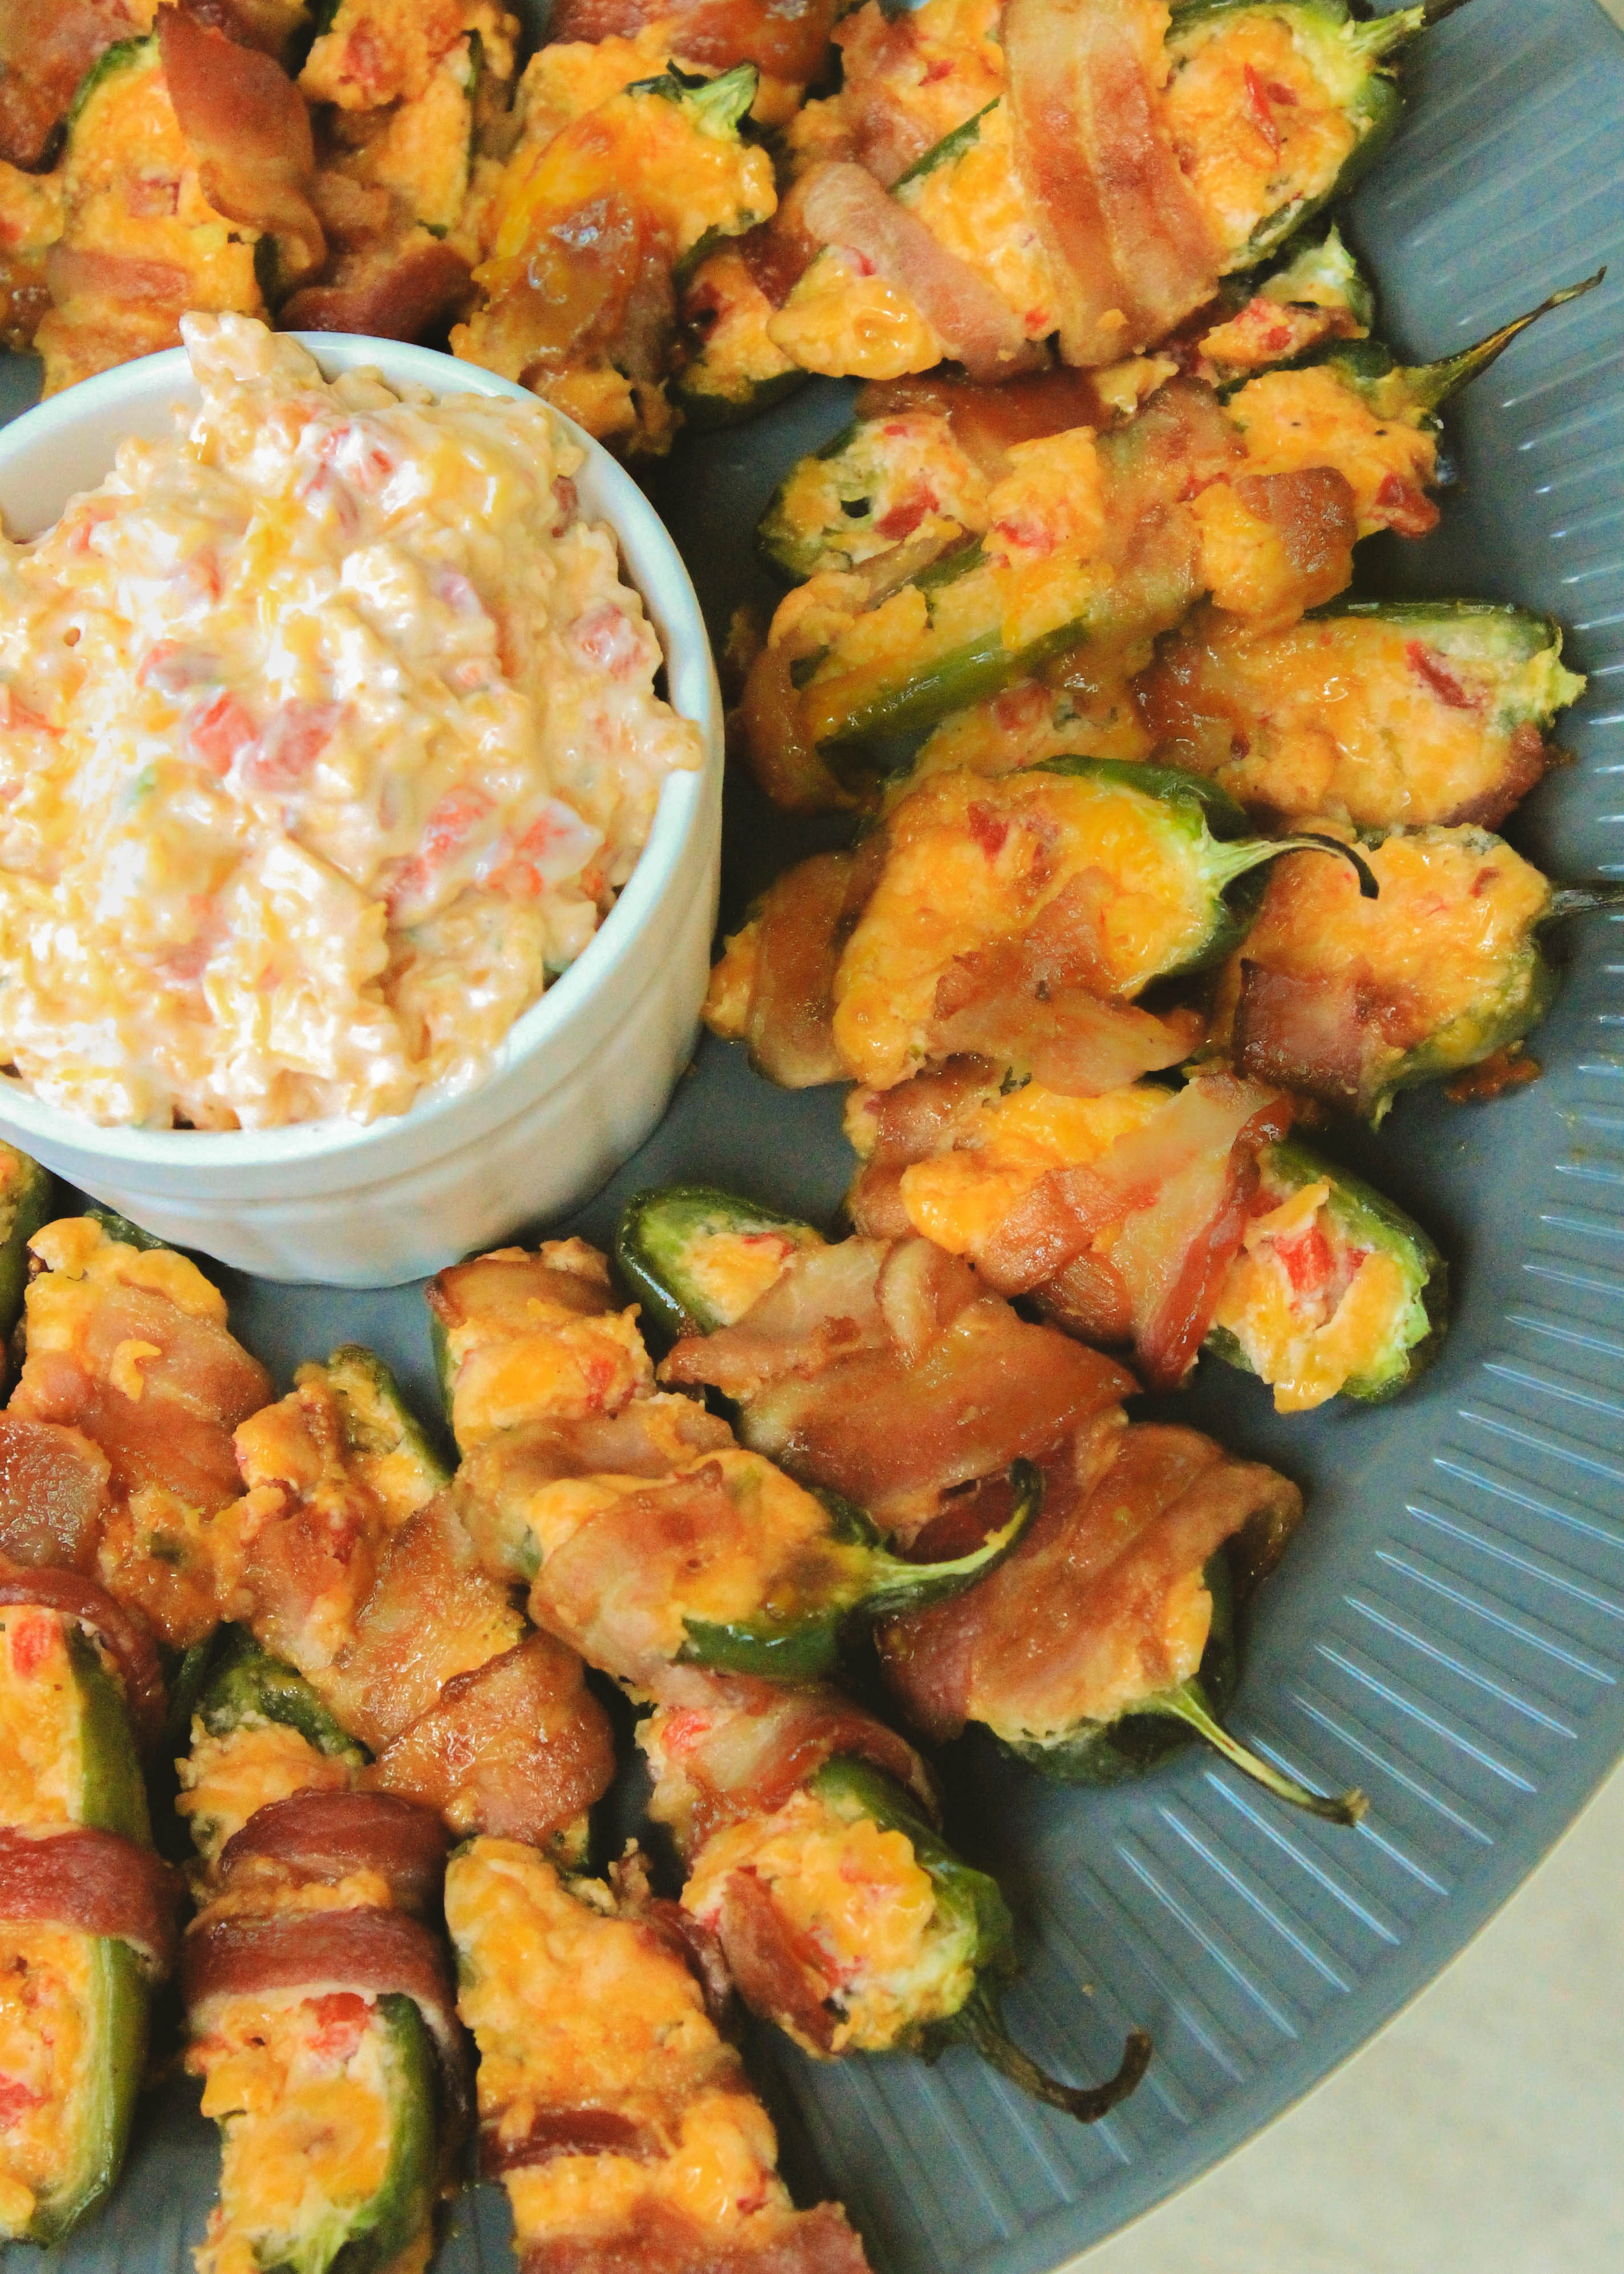
    Pimento Cheese Jalapeño Poppers

    Pimento Cheese Jalapeno Poppers

    In the spirit of The Masters, I spent my Sunday afternoon munching on pimento cheese and sipping Arnold Palmers. If I owned a green blazer I would’ve totally been wearing it… but green has never really been my color and truth be told, golf has never really been my thing. This is ironic because I grew up on a golf course- my parent’s house backs up to a tee box. In my adult age, the only “golf” I ever play is Top Golf. For those of you who don’t know what Top Golf is, let me explain. Top Golf is a multi-story (most of them are 3 stories tall) driving range that doubles as a bar. Needless to say, if there’s one in your town and you haven’t been, go!…But not until AFTER you make this recipe!

    I’ve never really been a huge golf fan. I usually only watch it because either a) there’s nothing else on or b) Greg makes me and I have nothing else better to do. I try to pay attention to the game but usually end up focusing on the players looks, their outfits, or both. Well, since the Master’s is like the “super bowl of golf”  {and to keep myself entertained during Greg’s watch party} I promised I’d be on food making duty.

    The Master's Pimento Poppers

    Did you know that pimento cheese sandwiches are famous at The Masters? Random, I know, but rumor has it this dish has been a Master’s favorite since the late 1940’s. Each year spectators at the Master’s flock to the concession stands to taste a piece of Master’s history, and at the price of $1.50 per sandwich how could anyone resist? I don’t know about you, but I don’t think I’ve ever been to a professional sporting event that sells sandwiches (or anything for that matter) for a mere $1.50!

    Because of this, I thought that a pimento cheese dish was the only thing that would suffice. Since all boys love bacon, and the boys I was cooking for loved the Master’s, I decided to put a spin on the Master’s traditional pimento cheese sandwiches and opted to make pimento cheese jalapeño poppers instead.

    Pimento Cheese Jalepeno Poppers, the Master's

    This recipe makes about two cups of pimento cheese as well as 24 pimento poppers. We ate the pimento cheese with crackers, but it can be used to make sandwiches, or placed on burgers. PS- did I mention that this is a lighter version of the classic pimento cheese you can buy pre-packaged at the store? By using weight watchers cream cheese and non-fat greek yogurt, my version only has about 115 calories per serving. That being said, please raise your Arnold Palmer and let’s toast to that!

    Pimento Cheese Jalepeno Poppers_Arnold Palmer (1 of 1)

    Pimento Poppers
    Serves 10
    A lighter version of traditional Southern pimento cheese stuffed in jalapenos wrapped in bacon coated with brown sugar.
    Write a review
    Print
    Prep Time
    20 min
    Cook Time
    20 min
    Total Time
    40 min
    Prep Time
    20 min
    Cook Time
    20 min
    Total Time
    40 min
    For Pimento Cheese
    1. • 2 cups sharp cheddar cheese, shredded
    2. • 1.5 cups fat free cheddar cheese, shredded
    3. • 1 Tbs chives, diced
    4. • 5 oz. fat free cream cheese (I used weight watchers cream cheese)
    5. • 3/4 cup plain, non-fat Greek Yogurt (I used Greek Gods 0% plain greek yogurt)
    6. • 8 oz. jarred pimentos, drained
    7. • 1 tsp lemon juice
    8. • 1/2 tsp crushed red pepper
    9. • 1/4 tsp cayenne
    10. • Salt & pepper to taste
    11. • Jalapeño seeds for additional spice
    For poppers
    1. • 12 jalapenos, sliced in half lengthwise
    2. • 10 – 12 pieces of bacon
    3. • 1/4 cup of dark brown sugar
    Instructions
    1. • To make pimento cheese, mix all ingredients in a bowl until combined. Place finished product in an airtight container and store in refrigerator until needed.
    2. • Pre-heat oven to 400 degrees.
    3. • Slice jalapenos in half lengthwise and remove seeds. (Place jalapeño seeds in pimento cheese mixture to add additional spice). You should have 24 jalapeño halves after slicing.
    4. • Line baking sheet with foil and spray with non-stick spray.
    5. • Remove pimento cheese from fridge and scoop 1 heaping teaspoon of pimento cheese into each jalapeño half. (Use more or less pimento cheese depending on size of jalapeño).
    6. • Cut bacon strips in half, wrap tightly around cheese stuffed jalapeños and arrange on baking sheet face side up.
    7. • Once all jalapeños have been placed on baking sheet, sprinkle 1/4 cup of dark brown sugar over jalapeños, generously covering bacon.
    8. • Place in oven and bake for 20 minutes, or until bacon is crisped to your liking.
    9. • When done, remove from oven and serve immediately.
    Notes
    1. Pimento cheese recipe above yields 2 cups + amount needed to stuff jalapeños. Enjoy pimento cheese dip with crackers or on sandwiches.
    2. 2 cups Pimento cheese: Servings: 6, Serving size 1/3 cup, Calories per serving: 115
    3. Make poppers vegetarian friendly by removing bacon. Cook for same amount of time.
    God Save the Quinoa https://www.godsavethequinoa.com/
    Fabulous recipes by Mandi at godsavethequinoa.com

  • Pesto Pasta with Veggies

    Pesto Pasta with Veggies

    Pesto Pasta with Veggies

    Pasta is always one of my go to recipes when I want to make something quick and easy. If you love pasta, you’re not alone! Did you know that the average American consumes about 20 pounds of noodles each year? Unfortunately, the majority of these consumed carbs tend to be your traditional, refined “white” noodles. So, if this statistic applies to you, make a goal to be one of the “average Americans” that eats 20 pounds of whole-wheat noodles per year. Now, don’t freak out and start googling “what’s going to happen to me if I ate 20 pounds of white noodles last year”. Nothing is wrong with you and you’re going to be fine, I promise.

    So why should you eat whole-wheat noodles instead of their white counterparts? Well, white pasta is made from refined flour and during the refinement process the germ and bran are removed from the kernel, leaving only the endosperm, which is grinded up and used to make the white noodles we all know and love. This causes a problem because the majority of the nutrients in grains come from the germ and bran. Since the germ and bran are removed during the refinement process white noodle eaters are missing out on the nutrients and health benefits associated with eating whole-wheat noodles. We’re talking natural fibers, iron, B vitamins, protein, and micronutrients such as magnesium, potassium, and selenium. To put it simply fiber will fill you up so you won’t overeat, B vitamins help speed up your metabolism, Magnesium helps strengthen bones and promote muscle function, and Selenium helps protect your immune system. Need I say more?

    pesto-pasta-2-

    Now that you know the health benefits whole-wheat pasta provides, here’s a little FYI. If you’ve never cooked with whole-wheat pasta be aware that it usually takes a little longer to cook and depending on the brand you buy can have a weird texture. Don’t worry, as long as you don’t over cook your pasta, the texture should not be an issue. If you’re not sure which “whole-wheat” version to buy (beware of impostors) one of my favorites brands is Healthy Harvest. In fact, it’s the brand I used in this recipe, which I’m sure you’re dying to know about. Moving on. 🙂

    This is a great on-the-go recipe! This dish can be made in 30 minutes or less, and what’s even better is its chock full of veggies. This recipe calls for basil pesto, and I usually make my basil pesto at home. If you want to take a stab at it, it’s extremely easy to make as long as you have a food processor. If you don’t have one I highly suggest getting one! The big ones can be pretty expensive, but you don’t need a big one, well not for my recipes at least! I have a small 4-cup Cuisinart one that I bought for $39! It works like a charm and I guarantee you that its money well spent!

    Basil pesto

    If you want to make basil pesto at home (pictured above) all you have to do is chop 2 cups fresh basil in the food processor, then add 5 TBS EVOO, ¼ cup grated parmesan cheese, 2 TBS pine nuts, 2 tsp minced garlic, and ¼ tsp salt and combine until reaching desired consistency. Voila! Now you have fresh homemade basil pesto!

    Roasted Asparagus

    Like I mentioned, this recipe can be made in under 30 minutes. Timesaving tip: While the asparagus is roasting in the oven cook the pasta and make the basil pesto (if you decide to go the homemade route) so that when your asparagus is done cooking, you’ll be over halfway finished! All you’ll have left to do is combine the mozzarella, basil, asparagus pieces, and sun dried tomatoes with the pasta and fry an egg or two to place on top! 


    Pesto Pasta with Veggies
    Serves 4
    Whole wheat noodles mixed with fresh basil pesto, roasted lemon asparagus, sun dried tomatoes, mozzarella with a fried egg on top.
    Write a review
    Print
    Prep Time
    10 min
    Cook Time
    15 min
    Total Time
    25 min
    Prep Time
    10 min
    Cook Time
    15 min
    Total Time
    25 min
    Ingredients
    1. · 2 cups of dry Rotini whole wheat pasta
    2. · 1 pound of fresh asparagus, trimmed
    3. · 2 Tbsp Extra Virgin Olive Oil (EVOO)
    4. · Salt, pepper, and lemon juice to taste
    5. · 1 /2 cup of basil pesto
    6. · 1/3 cup sliced sun dried tomatoes
    7. · 1/3 cup diced mozzarella cubes
    8. · Fried egg for garnish
    9. · (optional chicken breast)
    Instructions
    1. · Preheat oven to 450 degrees and line a baking sheet with foil.
    2. · Cook pasta in a large pot of boiling water according to directions on package. Drain water once pasta is cooked and let cool.
    3. · Snap the root end of the asparagus off using your thumb and forefinger, or a knife and line rootless asparagus side by side on foil covered baking sheet. Wipe or spray asparagus with EVOO and sprinkle with salt, pepper, and lemon juice to taste.
    4. · Roast asparagus in oven for 8 – 12 minutes. You want your asparagus to be tender but crisp. Remove from oven to cool then cut into one inch pieces.
    5. · If you would like to add chicken, cook your chicken breast now.
    6. · Once pasta has cooled, in a large pot combine pasta with sun dried tomatoes, mozzarella cubes, asparagus, and chicken (if applicable). Stir in basil pesto so that all ingredients are well coated. Place pasta in serving bowls.
    7. · For each bowl you plan on serving, fry one egg sunny side up, place on top of pasta and enjoy!
    Notes
    1. If you would like to add chicken: Slice chicken breast into thin thin strips. Season with 1 tsp salt, 1 Tbs thyme, 1 Tbs oregano, 2 Tbs lemon juice, 1 tsp montreal steak seasoning. Heat 2 Tbs olive oil in pan and saute chicken until cooked all the way through and add to cooked pasta. (1 chicken breast = 2 servings)
    2. Timesaving tip: Make homemade basil pesto ahead of time and add to pasta!
    God Save the Quinoa https://www.godsavethequinoa.com/
    Fabulous recipes by Mandi at godsavethequinoa.com

  • Caramelized Quinoa Banana Nut Scramble

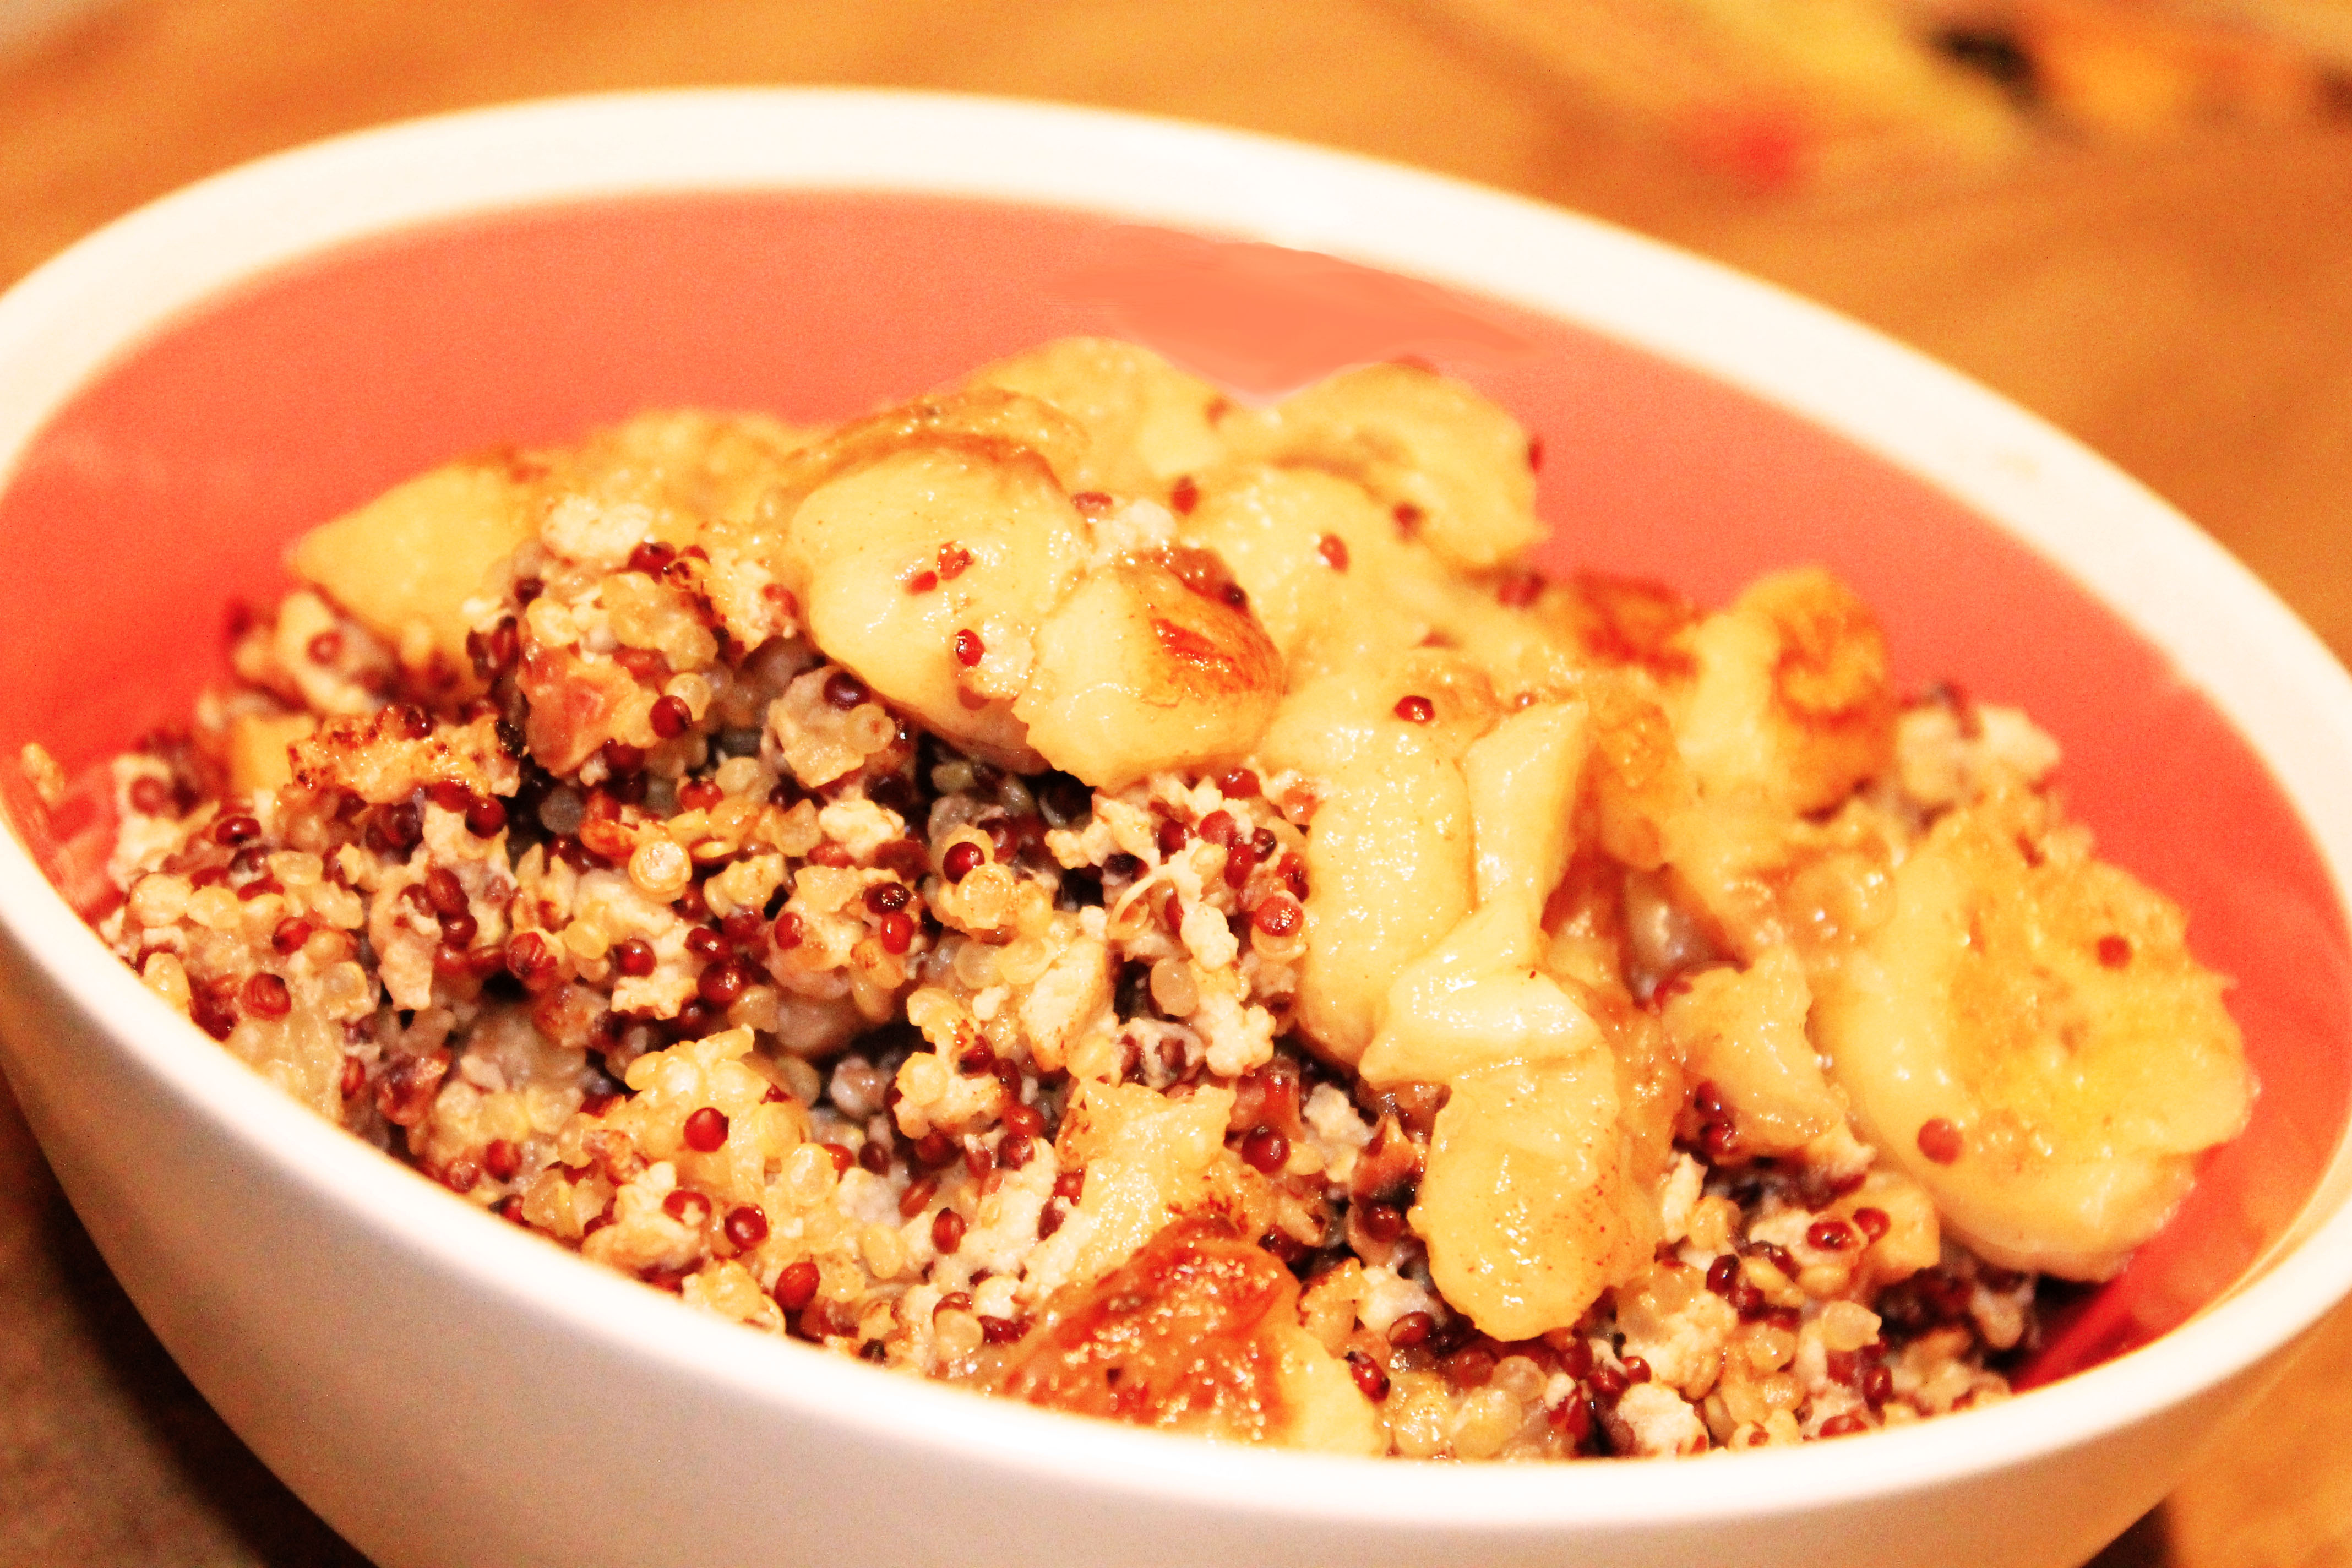
    Caramelized Quinoa Banana Nut Scramble


    Caramelized Quinoa Banana Nut Scramble_close up

    I love breakfast in the morning, for lunch (aka brunch), and for dinner. I especially love breakfast for dinner, and last night was a breakfast for dinner kind of night. I had to work late, got stuck in a ton of traffic on the way home, it was raining outside, I hadn’t made a grocery list for the week and therefore had not gone to the grocery store…as you can tell I was obviously full of excuses to be lazy. But what can I say? It was just one of those days!

    Once I was hungry enough to get up off the couch, I went to examine {the lack of} contents in my fridge, then my pantry, then went back to my fridge,  and continued going back and forth between the two until I realized the only edible food I had was quinoa, half a bag of walnuts, an almost empty gallon of milk, a carton of egg whites, and a left over banana from a half marathon I had ran two days earlier. I stood, absent-mindedly staring at these ingredients, wondering what on earth I was going to concoct for dinner. After standing there for 10 minutes or so trying to recall quinoa breakfast recipes I had made in the past, the hunger pains started kicking in. Exhausted from running through my mental recipe book and hungry from my procrastination, I gave up and decided to improvise.

    Caramelized Quinoa Banana Nut Scramble

    Low and behold, I created this Quinoa Breakfast Scramble. I do have to admit that the results weren’t half bad! If you’re a breakfast for dinner, quinoa loving gal like myself, lucky for you, I wrote down how I made this as I went along.  It took ALL of my energy (and self-control) to photograph my freshly concocted masterpiece before gobbling it down! Maybe I’ll get around to going to the grocery store tomorrow… maybe! Until then, ENJOY! 

    Caramelized Quinoa Banana Nut Scramble
    Serves 1
    Write a review
    Print
    Prep Time
    15 min
    Cook Time
    10 min
    Total Time
    25 min
    Prep Time
    15 min
    Cook Time
    10 min
    Total Time
    25 min
    Ingredients
    1. • 1/2 cup cooked quinoa
    2. • 2 Tbs raw chopped walnuts
    3. • 2 egg whites
    4. • 1/3 cup skim milk
    5. • 1 banana sliced in small circular pieces (save half to caramelize)
    6. • 1/4 tsp vanilla extract
    7. • 4 tsp cinnamon, divided
    8. • 1 tsp of truvia/sugar
    9. • 1 tsp butter
    Instructions
    1. • Toast walnuts in pan on medium heat until golden brown ( 5 – 10 minutes)
    2. • Whisk cooked quinoa, egg whites, milk, half of the sliced banana, vanilla, 2 tsp of cinnamon, and truvia/sugar in a bowl then add toasted walnuts to the mix.
    3. • Spray a pan with cooking spray, pour mixture into pan, and place on top of stove on high heat.
    4. • Scramble quinoa egg mixture until eggs are cooked and quinoa turns golden brown. When cooked, remove from heat and place quinoa scramble in a bowl.
    5. • To caramelize remaining banana slices, heat butter in a separate pan. Right before butter melts, add remainder of banana slices and cinnamon. Sauté on med-high heat until banana softens and turns golden brown. Place caramelized banana on top of scramble and enjoy!
    Notes
    1. This recipe calls for COOKED quinoa. Please cook your quinoa before using it in this recipe. Add additional bananas for more flavor.
    God Save the Quinoa https://www.godsavethequinoa.com/
     Fabulous recipes by Mandi at godsavethequinoa.com

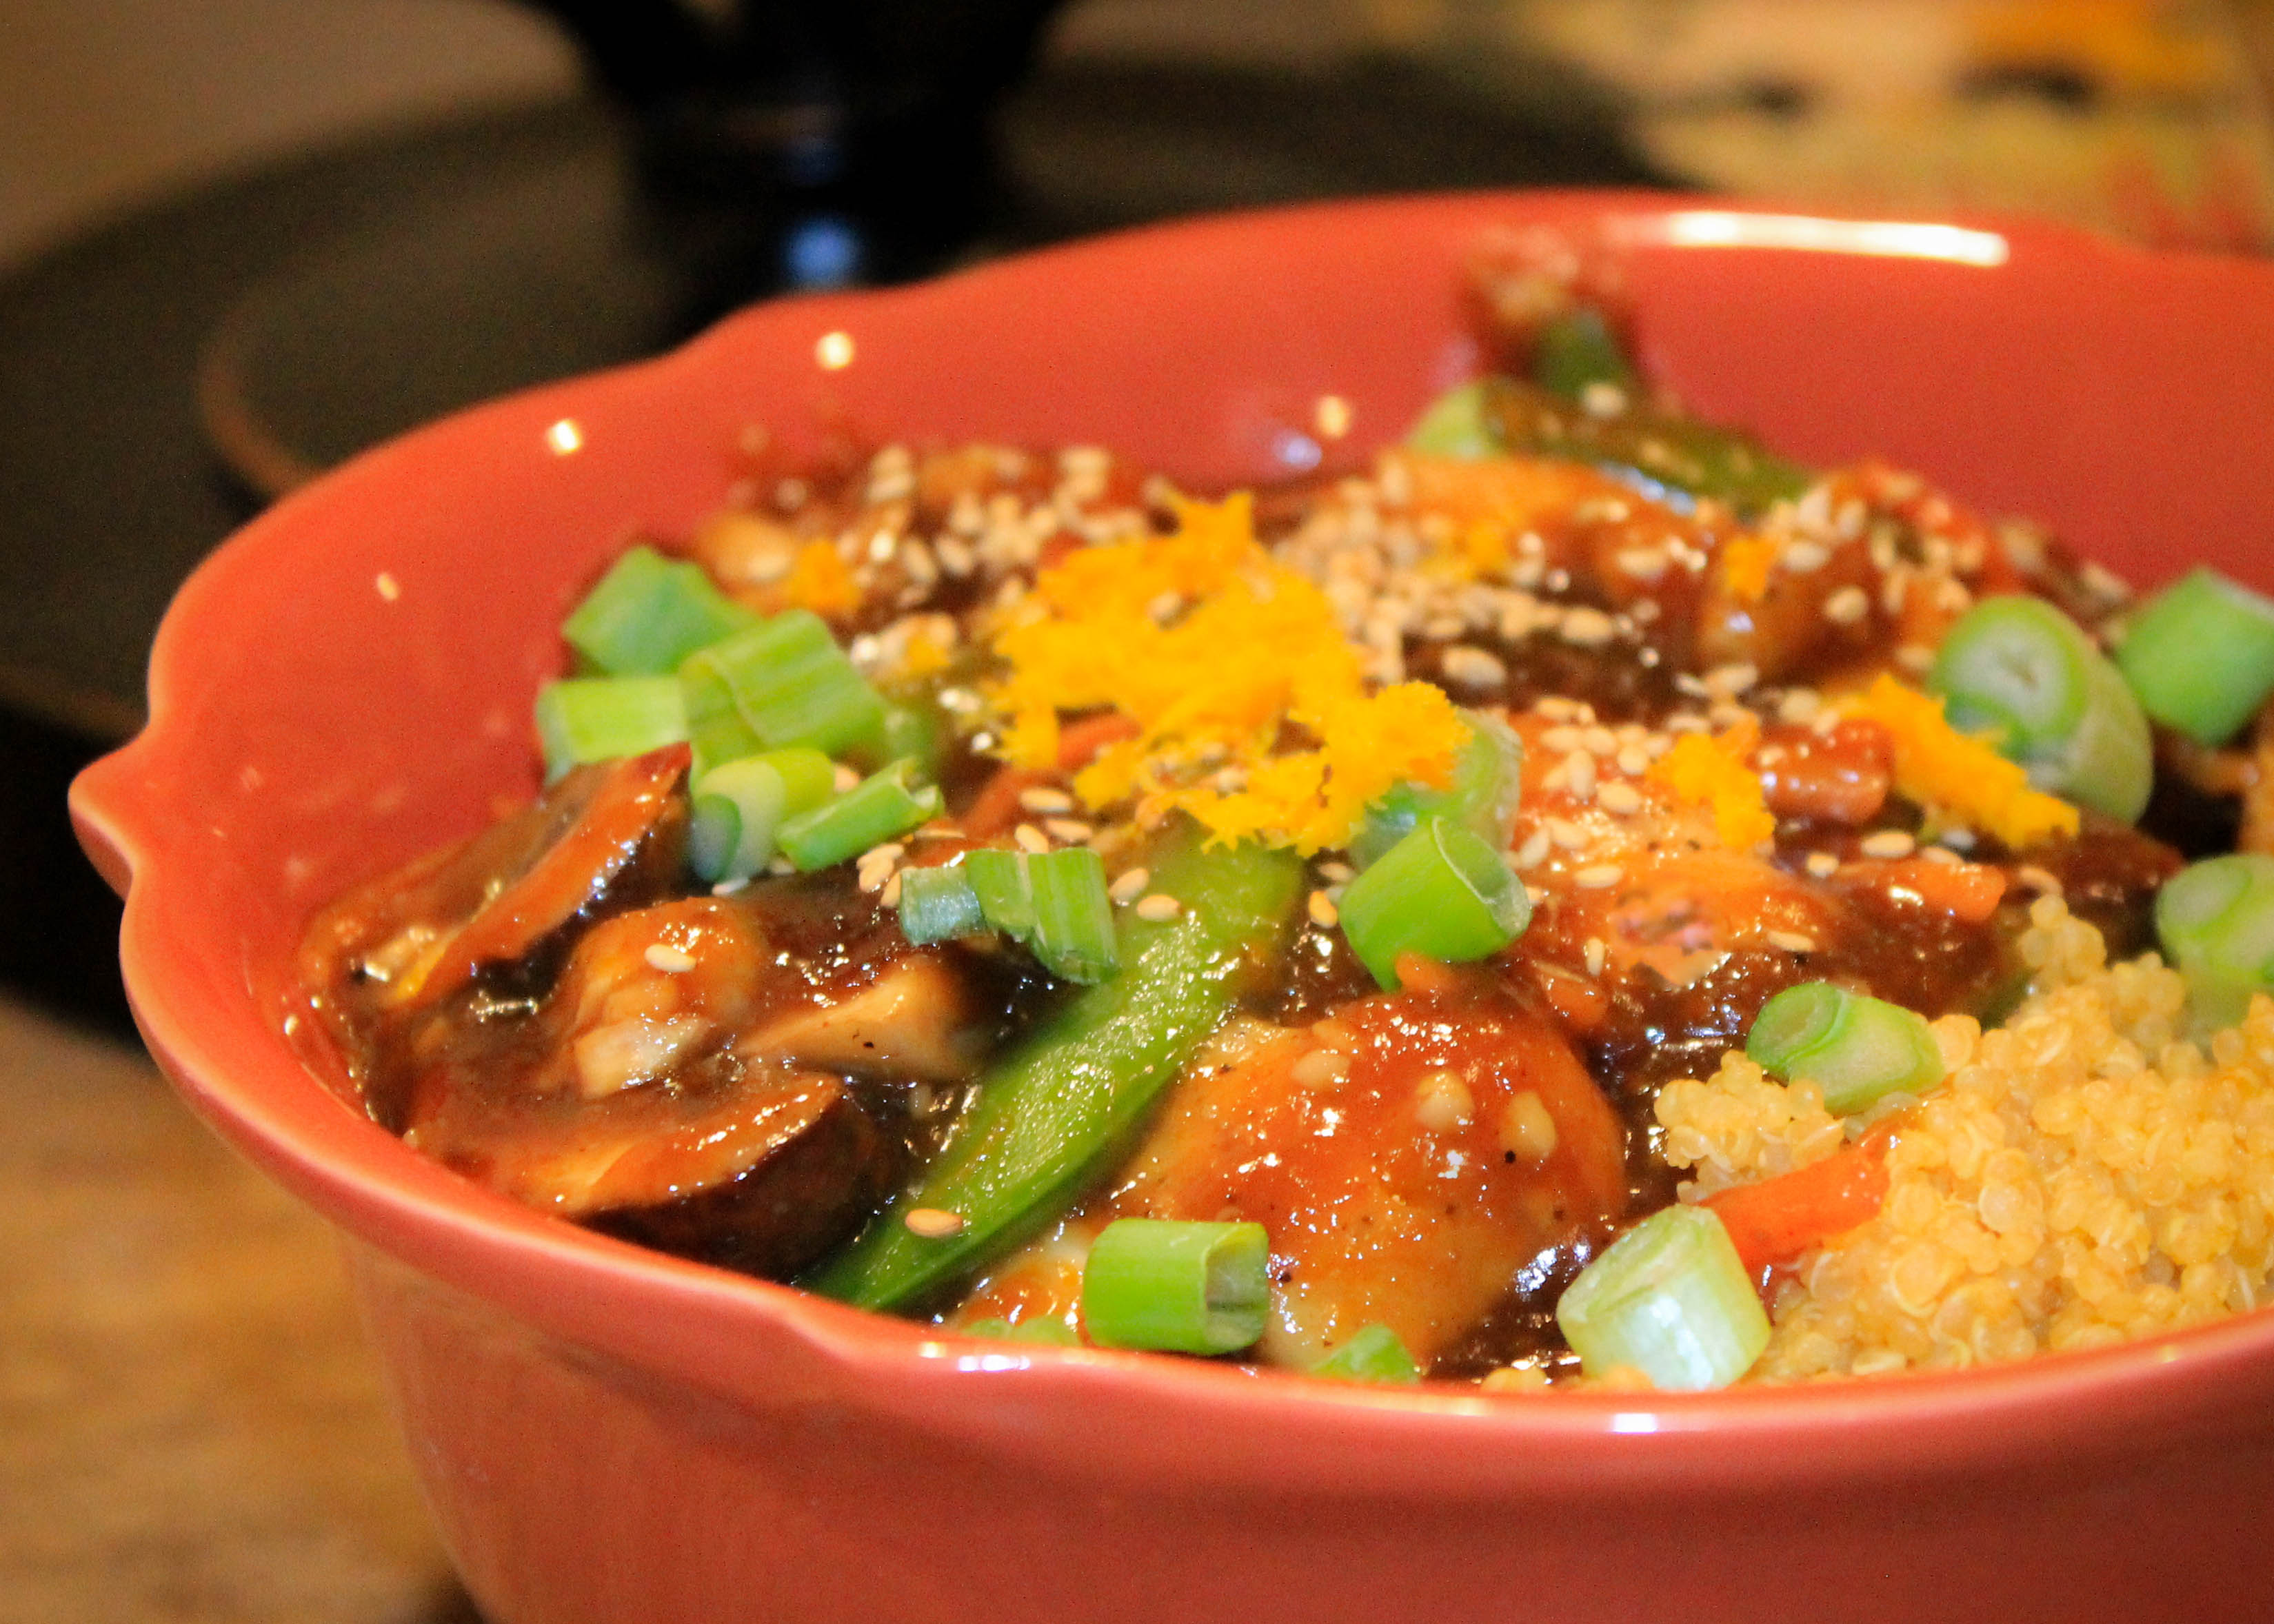
  • Skinny Orange Chicken (or tofu)

    Skinny Orange Chicken (or tofu)

    Skinny Orange Chicken

    I don’t know about you, but this week has been c r a w l i n g by. For some reason I keep thinking today is Wednesday, when in reality its only Tuesday… Don’t you hate when that happens? I sure do! Anyways, if your week seems to be inch worming by the way mine is and you want something to look forward to, check out my skinny orange chicken recipe! Yes, the title says it all… SKINNY! This recipe allows your tastebuds to enjoy the satisfaction of one of the most popular Asian dishes, but with a THIRD of the calories so your waistline can rejoice!

    If you’re confused by the title “skinny orange chicken (or tofu)” and are wondering if this dish is vegetarian friendly the answer is YES! I would never let my fellow veggies down! 😉 You can definitely sub the chicken for tofu. The directions are included in the recipe below. Just remember, if you’re cooking half chicken and half tofu, be sure to cook the TOFU FIRST to avoid cross contamination. (I sound like my mother!) 

    Skinny Orange Chicken recipe

    This recipe makes about 4 servings and can be stored for 4-5 days in an airtight container. If you’re trying to be on your best healthy-eating behavior at the office, you should highly consider bringing your leftovers to work to enjoy for lunch. I bring my lunch to work 99% of the time not only because its cheaper for me since I go to the grocery store on a regular basis, but it helps me maintain my healthy eating habits. What’s that you say? Someone is catering greasy pizza down the hall? No thanks, I’ll enjoy my skinny orange chicken (or tofu) bowl! 

    Skinny Orange Chicken (or tofu)
    Serves 4
    Write a review
    Print
    Prep Time
    15 min
    Cook Time
    15 min
    Total Time
    30 min
    Prep Time
    15 min
    Cook Time
    15 min
    Total Time
    30 min
    Ingredients
    1. If cooking all chicken: 2 lbs. chicken breast
    2. If cooking all tofu: 1 container of tofu, drained
    3. If cooking half chicken, half tofu: ½ container of tofu, drained, 1 chicken breast
    4. •1 cup of dry quinoa
    5. •1 cup of water
    6. •1 cup of low sodium veggie broth
    7. •2 Tbsp Olive Oil
    8. •1 container sliced mushrooms
    9. •1 ½ cups of snap peas
    10. •1 ½ cups of shredded carrots
    11. •3 gloves of garlic, minced
    12. •1/2 cup orange juice
    13. •1/2 cup honey
    14. •1/3 cup of light soy sauce
    15. •1/3 cup rice wine vinegar
    16. •3 Tbsp cornstarch
    17. •1 tsp ground ginger
    18. •1 tsp black pepper
    19. •1 tsp crushed red pepper flakes
    20. •Zest of one orange
    21. •Sesame seeds
    22. •Green onions, chopped
    Instructions
    1. •Cook quinoa in pot using water and veggie broth then set aside.
    For sauce
    1. •In a large bowl whisk together garlic, orange juice, honey, soy sauce, rice wine vinegar, cornstarch, ginger, pepper, red pepper flakes and orange zest until cornstarch is dissolved. (To make sauce sweeter add extra 2 – 4 Tbsp. of honey)
    For Tofu
    1. •Heat olive oil in a large pan and sauté tofu, mushrooms, snap peas, and carrots until tofu turns golden brown.
    2. •Pour sauce into pan and stir to combine. (If making half chicken half tofu pour half of the sauce into pan).
    3. •Let sauce come to a boil and stir until sauce thickens until reaching desired consistency and remove from heat.
    For chicken
    1. •Cut chicken breast into cubes and generously salt chicken breast with salt and pepper
    2. •Heat olive oil in large pan and sauté chicken until center is light pink then add in mushrooms, snap peas, and carrots. Continue to sauté until chicken is cooked all the way through.
    3. •Pour sauce into pan and stir to combine.
    4. •Let sauce come to a boil and stir until sauce thickens until reaching desired consistency and remove from heat.
    5. •Place orange chicken/tofu in bowl along with cooked quinoa. Top with sesame seeds, green onions, orange zest, and enjoy!
    Notes
    1. If sauce is not thickening, add cornstarch in tsp increments.
    2. If cooking half chicken, half tofu be sure to cook tofu first to avoid cross contamination.
    God Save the Quinoa https://www.godsavethequinoa.com/
    Fabulous recipes by Mandi at godsavethequinoa.com