Category: Make ahead

  • Blueberry Lemon Mini-Bundt Muffins

    Blueberry Lemon Mini-Bundt Muffins

    Blueberry lemon mini-bundt muffins

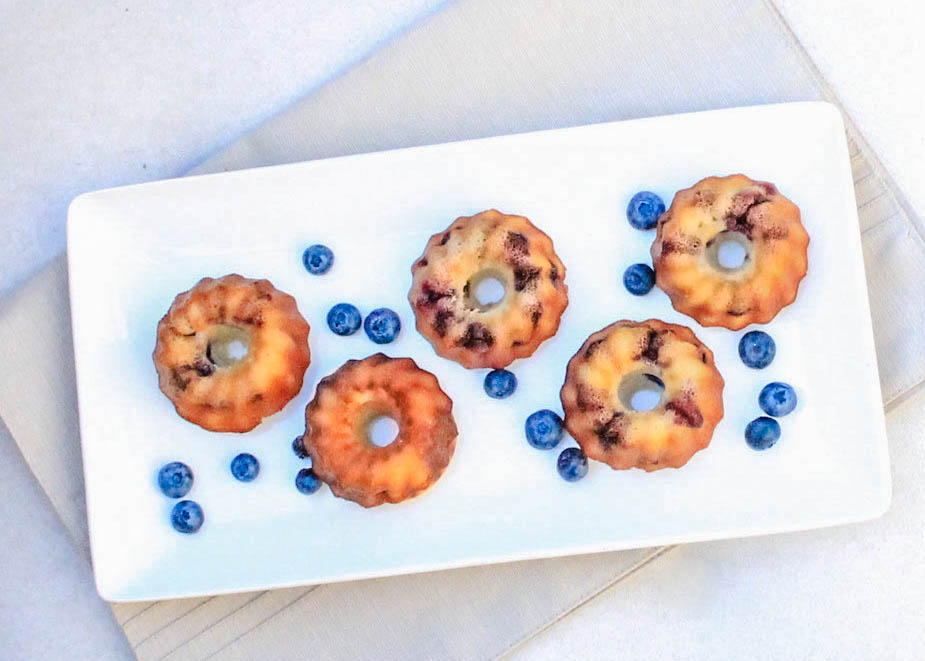
    I just can’t get enough of these blueberry lemon muffins! Not only are they adorable (they’re made in mini-bunt muffin pans, and let’s face it, a miniature version of anything is just “the cutest thing ever”) but they’re also healthy! How can something so deliciously adorable also be healthy? Well, they’re made with Greek yogurt instead of butter and they’re filled with juicy blueberries! YUM! If you don’t have a mini-bundt pan, don’t worry! My recipe includes directions for how to make “muffin pan” versions of these little beauties…I’ve gotchya covered! 

    This recipe is super easy to make and doesn’t require a lot of time. The longest task (besides the whole baking part, but that’s the oven’s job) is zesting two large lemons. if you don’t have a zester, you can use a cheese grater to do this. A zester is just a skinnier version of a cheese grater anyways!  

    Blueberry lemon mini-bundts (6 of 6)

    After pre-heating the oven and spraying your muffin tins with non-stick spray, mix your “dry” ingredients (cake flour, baking powder, and salt) together and set aside.

    Another thing that makes these baby bundts so delicious is that they’re make with cake flour instead of normal flour. The main difference between cake flour and your normal non-bleached flour is that cake flour is extra finely ground, giving it a softer, finer texture. You can physically feel the difference, and these characteristics are reflected in the final product of your baked goods! Just pay attention to the expiration date on the box… no one wants to eat muffins made with stale cake flour. If you want to learn more about cake flour, the kitchn has some great information. 

    Blueberry lemon mini-bundts (2 of 6)

    Anyways, after mixing your dry ingredients, use an electric mister to beat the eggs and sugar together. It should look nice, thick, and yellow when you’re done. Next you’ll add in the lemon zest, Greek yogurt, canola oil, and lemon juice to complete your “wet” mixture.

    It doesn’t make a difference weather you zest the lemons before you start mixing the ingredients or if you stop halfway through to do this, just make sure to WASH your lemons before doing so! Lemons are some of the dirtiest fruits, which isn’t surprising because, who knows how many times they’ve fallen off the shelf and rolled around on the dirty grocery store floor. {ew}. Since you’ll be zesting the lemon rind (the part that touches the dirty grocery store floor) right into your muffin batter, I suggest you do everyone a favor and wash your lemons using warm water and soap before the zesting activities occur.   

    Blueberry lemon mini-bundts (4 of 6)

    Once your wet ingredients are mixed, complete the batter by adding the dry ingredients and mix until everything is perfectly combined. Before you pour the batter into your muffin tins you’ll need to add the frozen blueberries. Toss the blueberries in 2 tablespoons of cake flour the fold them into the muffin batter. 

    Make sure the oven is done pre-heating and spoon the mixture into your muffin tin. If you’re using a mini-bundt pan fill each tin up 3/4 full. If you’re using a muffin pan you need to fill each tin all the way to the top without overflowing. 

    Place your tin in the oven at 400 degrees F for 10 minutes. When the time goes off, leave your muffins in the oven and reduce the heat to 350 degrees. If you’re making mini bunts, cook them for 5 minutes at 350 degrees F. If you’re making muffins, cook them for 10-11 minutes at 350 degrees F.

     Blueberry lemon mini-bundts (3 of 6)

    When your mini bunts are done baking, remove them from the oven to cool so you can make the lemon glaze. All you have to do is mix together powdered sugar and lemon juice. I suggest using an electric mixer to do this. Glaze the muffins while they’re still warm. NOTE: you will NOT drench these in the lemon glaze. We want to very lightly glaze them. Dip the back of a large spoon into the glaze, and gently spread the glaze along the tops of your muffins. It won’t look like much is there, but I guarantee that it will taste delicious!  

    Blueberry lemon mini-bundts (5 of 6)

    Blueberry Lemon Mini-Bundt Muffins
    Yields 24
    description: Made with greek yogurt instead of butter, these blueberry lemon muffins are a healthy, light, and refreshing way to enjoy for breakfast or as an afternoon snack!
    Write a review
    Print
    Prep Time
    15 min
    Cook Time
    20 min
    Total Time
    35 min
    Prep Time
    15 min
    Cook Time
    20 min
    Total Time
    35 min
    Muffin batter
    1. • 1.5 cups + 2 Tbs cake flower
    2. • 2 tsp baking powder
    3. • 1 tsp salt
    4. • 1 cup non-fat Greek yogurt (I used Fage)
    5. • 1 cup granulated sugar
    6. • 3 large eggs
    7. • Zest of 2 large lemons
    8. • 1/2 cup canola oil
    9. • 2 Tbs fresh lemon juice
    10. • 1.5 cups frozen blueberries
    Lemon glaze
    1. • 3/4 powdered sugar
    2. • 2 Tbs fresh lemon juice
    Instructions
    1. • Pre-heat oven to 400 degrees F
    2. • Spray a mini-Bundt pan with non-stick spray. (If making cupcakes, spray cupcake pan with non-stick spray and line each tin with paper liners).
    3. • In a large bowl whisk together 1.5 cups cake flower, baking powder, and salt. Set aside.
    4. • Use an electric mixer to whip sugar and eggs together.
    5. • Next, zest 2 whole lemons then add lemon zest, Greek yogurt, canola oil, and fresh lemon juice to the egg and sugar mixture. Stir until well combined.
    6. • Add dry ingredients to the wet mixture and stir until all ingredients are well combined.
    7. • In a separate bowl toss frozen blueberries and 2 Tbs cake flower until blueberries are coated in flower, then fold blueberries into muffin batter.
    8. • Using a large spoon, scoop batter into each mini-Bundt cup so that each cup is 3/4 full. (If making cupcakes, fill each cup all the way to the top).
    9. • Bake in oven at 400 degrees F for 10 minutes. After 10 minutes, leave muffins in over and reduce heat to 350 degrees F. If cooking mini-Bundts, cook muffins for an additional 5 minutes. If making cupcakes, cook muffins for an additional 10-11 minutes. Remove from oven when tops turn golden brown and toothpick comes out clean. Set aside.
    10. • While muffins are cooling make the lemon glaze. To do this, use an electric mixer to combine powdered sugar and fresh lemon juice. Mix until fully combined and no lumps of powdered sugar exist.
    11. • Remove muffins from trays. (Be careful when doing this because muffins and tins will still be warm). Using the back of a large spoon, gently brush lemon glaze over the top of each muffin and spread evenly. NOTE: you will lightly glaze each muffin. (You will use less than half of the lemon glaze).
    12. • Serve immediately and enjoy!
    Notes
    1. Store in an airtight container for up to 4 days. Serve at room temperature or re-heat in microwave for 20 seconds.
    God Save the Quinoa https://www.godsavethequinoa.com/
    I had a ton of blueberries left over after making this and I didn’t want to just throw away three perfectly good post-zest lemons, so I juiced them. What’s a girl to do with lots of lemon juice and blueberries? Add some coconut water and make popsicles. See the recipe here! 

    Fabulous recipes by Mandi at godsavethequinoa.com

  • Mediterranean Quinoa Salad

    Mediterranean Quinoa Salad

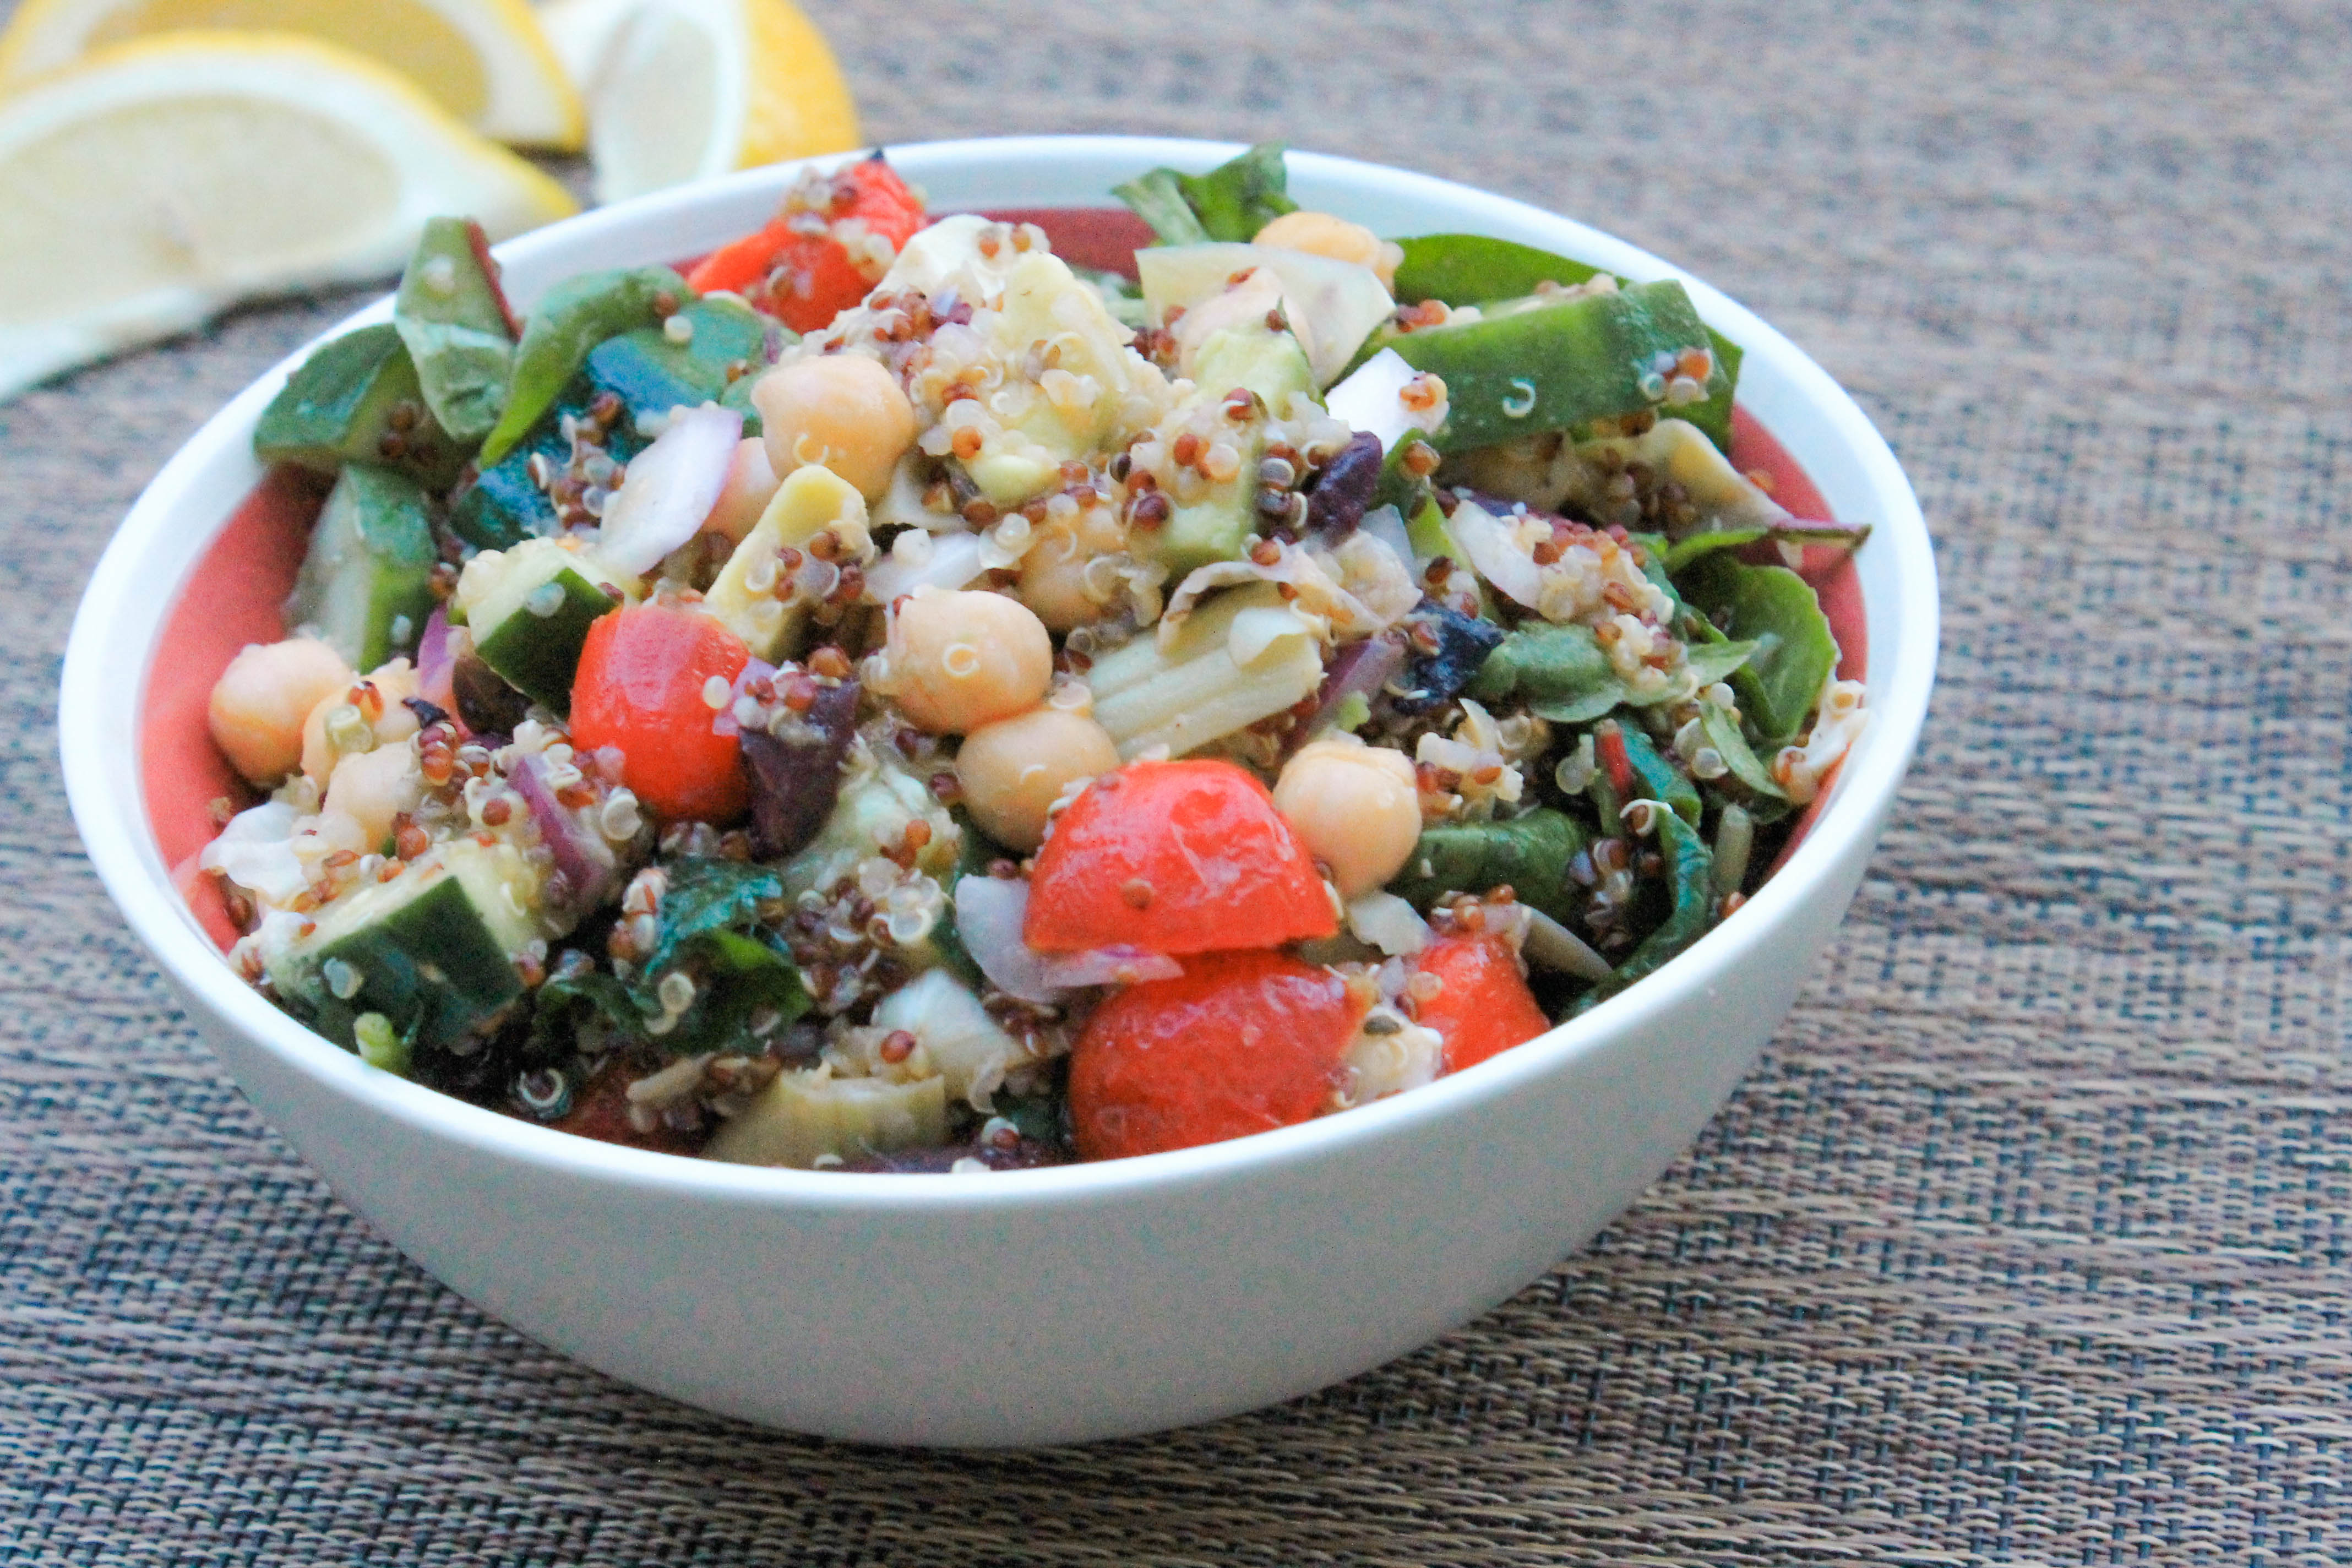
    Mediterranean Quinoa Salad (1 of 1)

    I absolutely love everything about Mediterranean/Greek food! I mean, how could you not love this vivacious culture that takes pride in “celebrating” meals with  food, drinks, family and friends? If you’ve seen “My Big Fat Greek Wedding” you definitely know what I’m talking about! Despite the fact that I am half Greek, I promise there is no bias here!
     
    Anyways, the reason I said “Mediterranean/Greek” instead of one or the other is because there is a lot of overlap between these two cuisines. You see, Greek cuisine is technically  a “Mediterranean cuisine” due to its geographical origin and is often cited as a picture perfect example of the Mediterranean diet. 
     

    Mediterranean Quinoa Salad_lemon wedges blur (1 of 1)

    Maybe you’ve heard of the Mediterranean diet and maybe you haven’t. Over the past couple of weeks, I’ve noticed  more and more articles from health and fitness websites and magazines ranting and raving about this latest “fad”.  And what’s there not to rave about? The Mediterranean diet is largely plant-based with a strong emphasis on fruits and vegetables, nuts, grains, seeds, beans and olive oil;  very similar to the food consumed by the Greek culture (hence the overlap between “Mediterranean” and “Greek” cuisine.  Eggs, dairy, poultry, and fish are consumed regularly, just in smaller portions than what us Americans are used to. Meat is usually eaten once a month and refined sugars, flour, butter, and fats other than olive oil are rarely consumed. If you’re a visual person like me, this is better illustrated in the food pyramid below. 
     
     meddiet
     
    This concept might seem strange, but think of it like this: In America, we generally consider meat the “main dish” and veggies as “sides”. The Mediterranean diet is the complete opposite of this. Veggies are considered the “main dish” and meat is considered a “side”.  I know you’re probably thinking, well of course you think this “diet” is all the rage, you vegetarian, you, but hear me out. Mediterranean meal time is treated as a social event where food is leisurely consumed  and enjoyed with family and friends.
     
    Key word enjoyed. 
     
    The Mediterranean diet’s philosophy is don’t stop eating what you enjoy. Eat it! Just in smaller portions, and take the time to enjoy your food. 
     

    Mediterranean Quinoa Salad_lemon wedges long (1 of 1)

    Bottom line: Eat more of the foods that are good for you. Do not deprive yourself of the foods you enjoy. You can still have that chocolate cake or fried chicken, just eat these things in moderation and enjoy them. Meaning, don’t inhale them so quickly that you go into a food coma 10 minutes later. Use fresh ingredients, spend time with your family and friends, and raise a glass and say “OPA” at every meal!  


    Mediterranean Quinoa Salad
    Serves 6
    This Mediterranean inspired dish, full of flavor, colorful veggies and fresh greens- just like the Greeks like it, will have you yelling “OPA” at the top of your lungs!
    Write a review
    Print
    Prep Time
    20 min
    Prep Time
    20 min
    Ingredients
    1. • 1 cup quinoa
    2. • 1 cup water
    3. • 1 cup low sodium veggie broth
    4. • 1 container of cherry tomatoes, halved
    5. • 2 cucumbers, quartered
    6. • 3/4 red onion, diced
    7. • 1/2 cup kalamata olives
    8. • 1 avocado, diced
    9. • 1 (15oz.) can chickpeas, drained
    10. • 1 cup artichoke hearts, drained and diced
    11. • 1 (8oz.) can roasted red peppers, drained and sliced
    12. • 1/3 cup feta cheese, crumbled
    Dressing
    1. • 5 Tbs lemon juice
    2. • 1 Tbs minced garlic
    3. • 1 tsp oregano
    4. • 2 Tbs red wine vinegar
    5. • 4 Tbs EVOO
    6. • Salt and pepper to taste
    Instructions
    1. • Cook quinoa in water and veggie broth. Set aside to cool when done.
    2. • In a large bowl, combine tomatoes, cucumbers, red onion, olives, avocado, chickpeas, artichoke hearts, roasted red peppers, and feta. When quinoa has somewhat cooled, add to ingredients and mix well.
    3. • To make the dressing, in a separate bowl, combine lemon juice, minced garlic, oregano, and red wine vinegar. In a slow, steady stream, gently pour the 4 Tbs of oilve oil into the lemon juice mixture, continuously mixing with a whisk or fork to create an emulsion. Olive oil and lemon juice will not mix correctly if you do not mix slowly and well. Add salt and pepper to taste.
    4. • Fold dressing into quinoa and veggie mixture then mix well, coating all ingredients and enjoy!
    Notes
    1. Add Salmon or lamb for additional protein.
    2. Store in airtight container and refrigerate for up to 5 days.
    God Save the Quinoa https://www.godsavethequinoa.com/
    Fabulous recipes by Mandi at godsavethequinoa.com

  • Lemon Strawberry French Toast Casserole

    Lemon Strawberry French Toast Casserole

    Lemon Strawberry French Toast Casserole

    As I mentioned in my previous post Easter Bunny Blondie Bars, I spent Easter weekend in Galveston with Greg’s family. There were 12 of us and to satisfy everyone’s appetite, Greg’s mom split all 12 of us into groups and announced that each group was responsible for making one meal for the weekend. In case you’re wondering, this worked out perfectly since there were a total of 6 meals; 2 dinners, 2 lunches, and 2 breakfasts. 12 people, 6 meals, you’ve got yourself six groups of two!

    If you haven’t already guessed by the title of this post, I (I as in me and Greg, although the only thing Greg did was the taste testing) was in charge of breakfast. Just kidding, Greg is a great sous chef! I knew I needed to cook something big enough to feed everyone in our large group, and because we were celebrating Easter I wanted to make something colorful and fresh. For some reason “colorful” and “fresh” are two of the words that automatically pop into my mind when I hear the word “Easter”, so I decided to go with it.

    I’ve made several French toast casseroles before, but none quite like this. You see, I’m what I like to call an improviser in the kitchen, meaning that some of the time (okay, a lot of the time) I say screw the recipe, I’m going to do it my way! Sometimes this works out to my advantage and sometimes it does not. Luckily for me, my improvising with this recipe worked out to my advantage. Thank God…otherwise I would’ve had 12 hungry people to feed!

    I love this Lemon Strawberry French Toast Casserole because they’re SO easy to make, and at 177 calories per serving, how on Earth can you resist? If you’re a newbie in the kitchen, don’t let the long list of ingredients scare you away! (Many of these ingredients are spices of some sort.) There are really only four parts to this recipe; bread, egg mixture, topping, oven. Pretty simple, right? 

    Lemon Strawberry French Toast Recipe

     First start by cutting your bread into cubes. I suggest using Mrs. Bairds bread (yes, the kind you would use on a PB&J sandwich). Obviously the healthier option would be to use whole wheat bread, but if you have some picky eaters (or you’re one yourself) you can most certainly use white or “whole grain white” bread. You’ll hardly taste the difference once your casserole is cooked.

    Cut each slice of bread into cubes. I know this is hard to visualize with “sandwich” bread because its not eaxactly big and “fluffly” like french or chibata bread, but hear me out. The goal is to cut each slice of bread into 9 as-close-to-equal-as-possible sized pieces, or as I said earlier “cubes”.

    With a sharp knife, make the shape of a “tic-tac-toe” board on your bread. Two vertical lines with two horizontal lines running through the center. You know that childhood game you use X’s and O”s to challenge your opponent with? Well, the tic-tac-toe board has 9 equally sized boxes, and guess what? Each slice of bread should be cut into 9 pieces! Coincidence? Who knows! But you get what I’m saying, right?

    Once your bread has been cut into cube-like pieces, place them in a greased baking dish. I highly recommend using an 11×7, or similar size baking dish. You want to add enough bread to pack and fill the baking dish (think very minimal empty spaces when looking straight down at your casserole-in-progress), but you do not want your dish to be overflowing with bread. You should be able to cover your casserole with foil without having to squish your bread down. Its probably safe to say you probably won’t use the entire load of bread, dependnig on what size you get, but keep in mind you will be adding the egg mixture to your bread cubes. If you find out you need to remove or add some pieces of bread after adding the egg mixture, I definitely suggest doing so. 

    Next you will make your egg mixture. Although the list of ingredients looks cumbersome, I assure you that this is the easiest part! Crack seven eggs into a bowl. Add in the greek yogurt, skim milk, salt, 2 tablespoons of brown sugar, the pumpkin pie spice, vanilla extract, 2 tablespoons of sugar or truvia, and beat together with a whisk. If you don’t have a whisk, use a fork. You want to make sure the egg yolks are no longer intact when you’re done mixing. All ingredients should appear to be “liquefied”  and smooth. Once they look like this, simply pour the egg mixture over your bread “cubes”, and adjust, add, or remove bread cubes as needed. If you’re up for it, sprinkle some more pumpkin pie spice over the top of your casserole. Then cover it with foil and tuck it into bed in the refrigerator for the night (or at least a 6 hour nap) and leave it there until the morning. 

    In the morning you will untuck your casserole and pre-heat the oven to 350 degrees Fahrenheit. In a bowl, whisk together ricotta cheese, the juice of two lemons, and 2 teaspoons (or more if desired) of lemon zest. A word to the wise, its a lot easier to zest your lemons before you juice them. Once these three ingredients appear to be “well combined”, pour on top of casserole and sprinkle additional brown sugar on top. Use a spatula or the back of a large spoon to spread evenly across casserole, as if you were icing a sheet cake. Once you’re satisfied, pop that sucker in the oven for 40 – 45 minutes. You’ll begin to notice that the ricotta will begin to look custardy. This is a good thing; its supposed to look this way! In the oven, the lemon juice and ricotta will combine together with your casserole to give it a cheese-cake-like appearance and taste with way less calories. Mmmm! See the finished product, fresh out of the oven in the picture below:

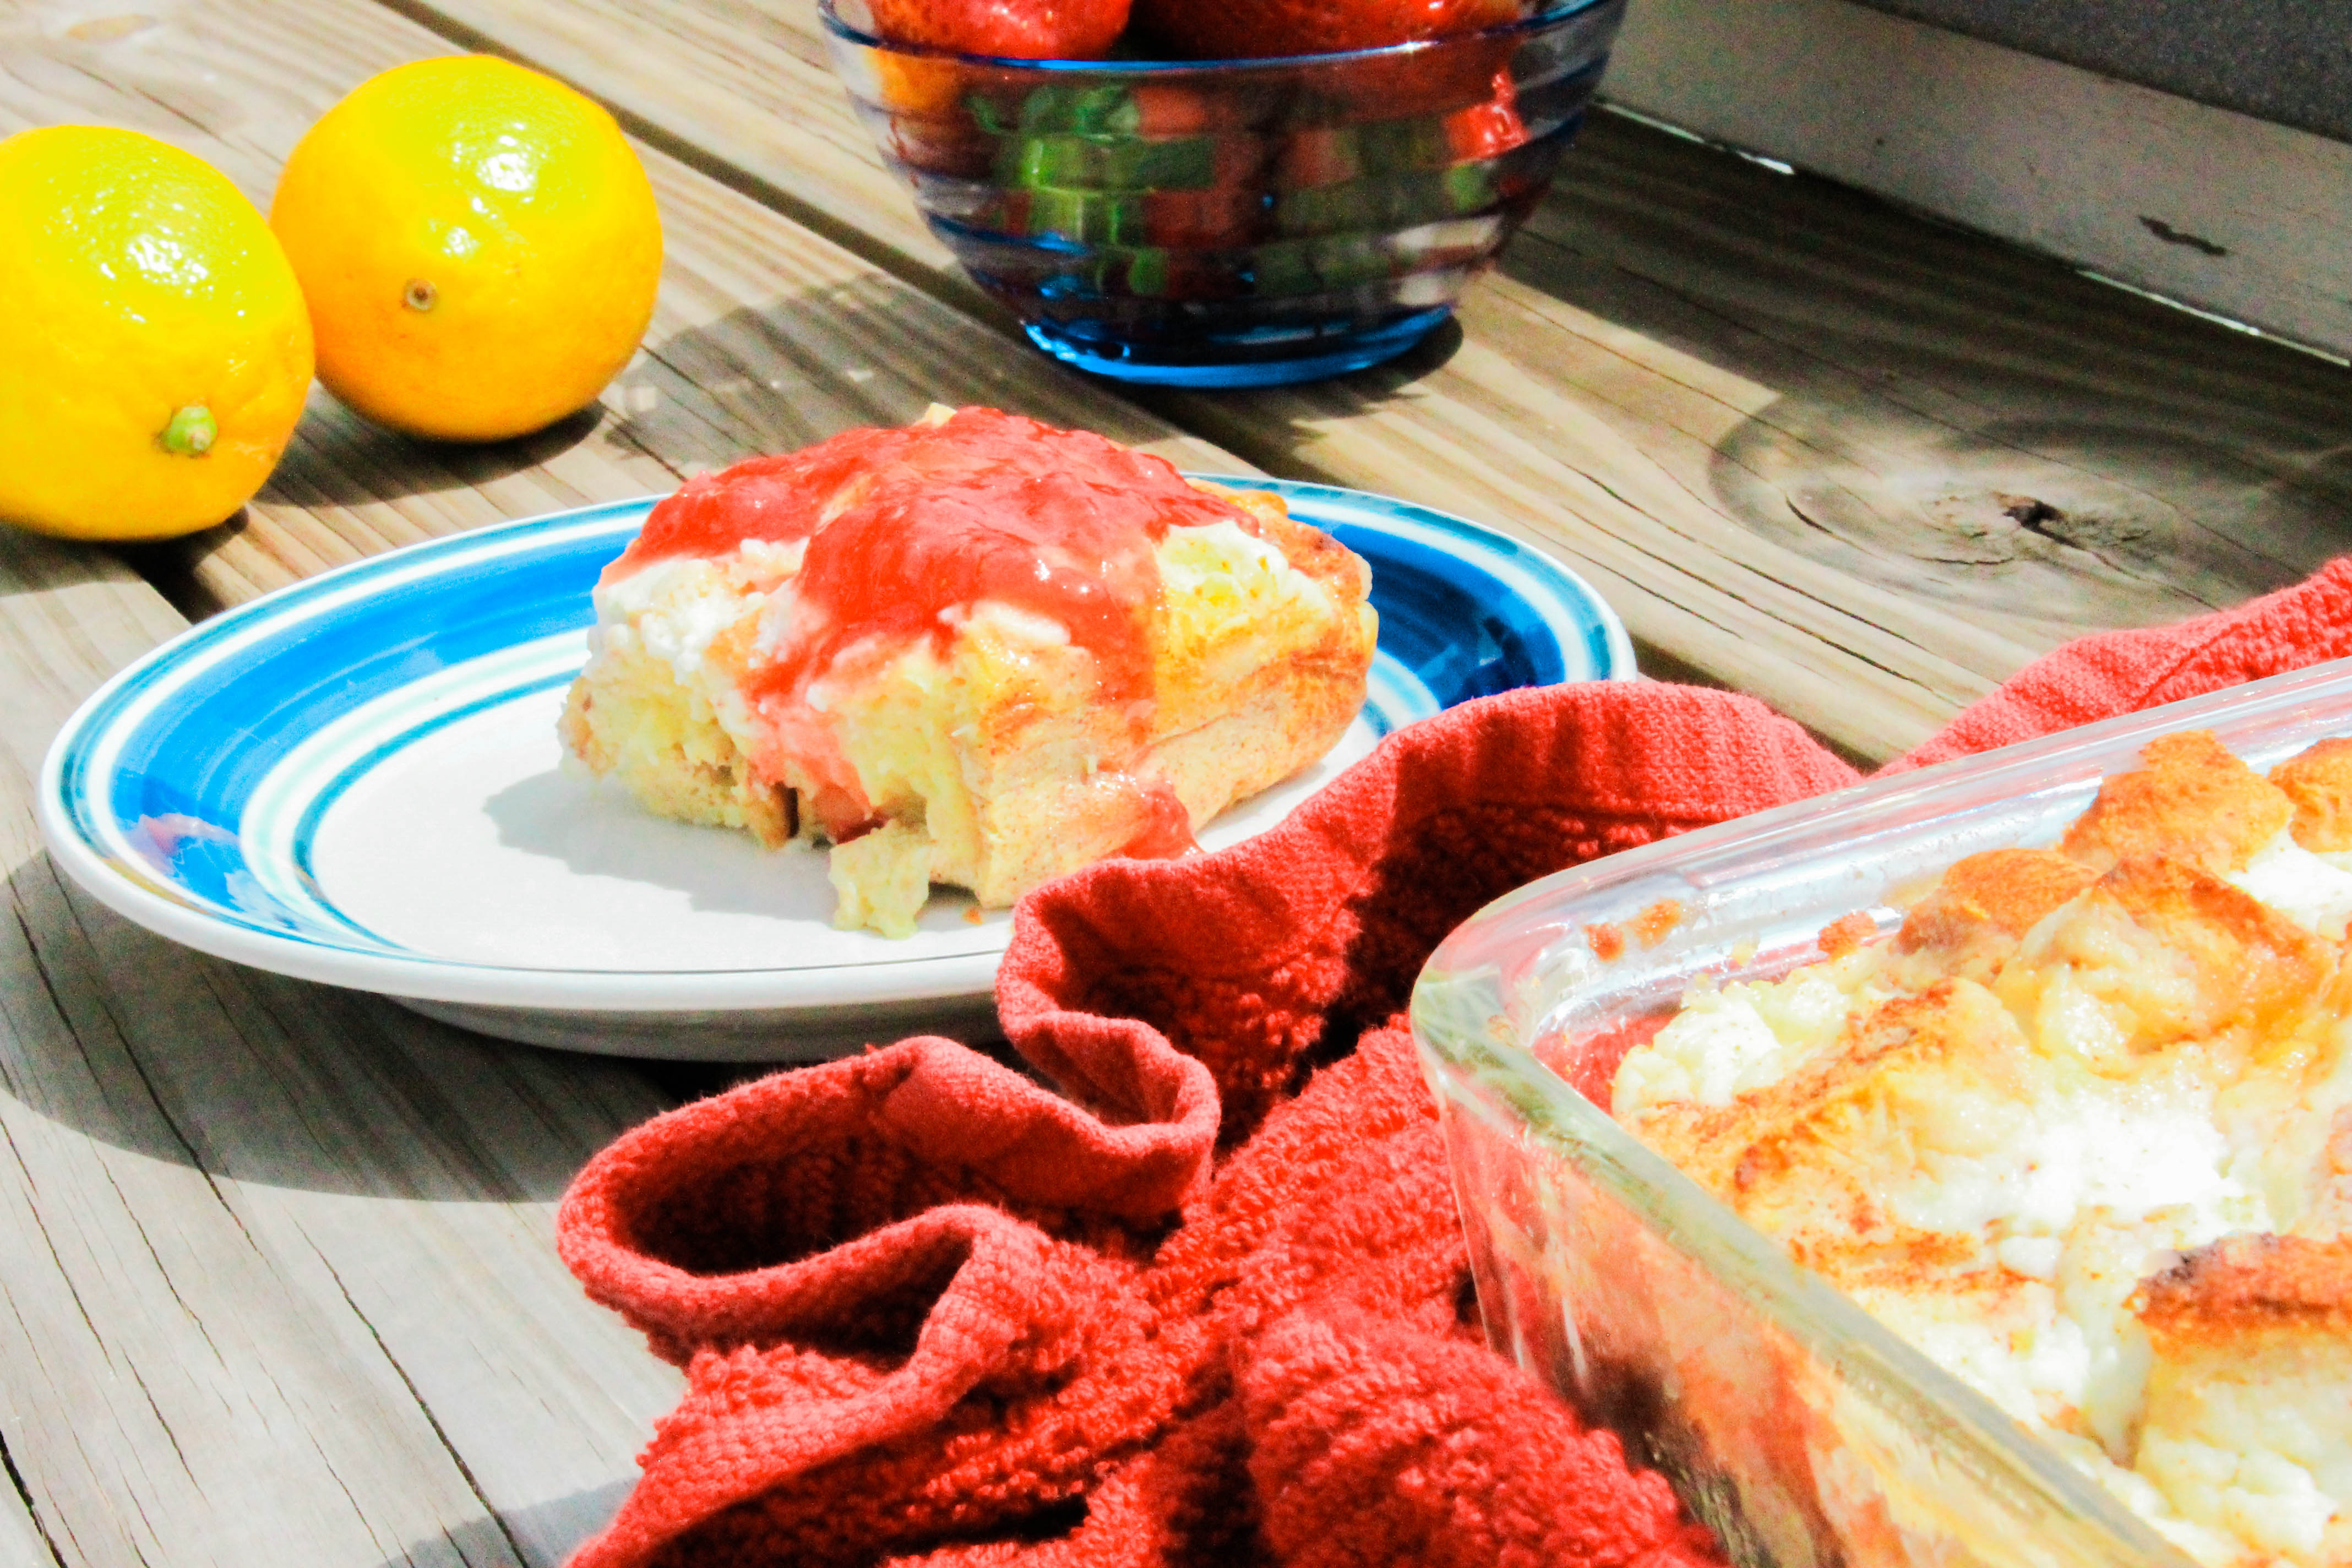
    Lemon Strawberry French Toast Casserole

    You will know your casserole is done cooking when the ricotta begins to look hard and custardy, and the tops of the visible bread “cubes” are golden brown. When the timer goes off, remove your casserole from the oven and place on the countertop to cool.

    WAIT! You’re not off the hook yet, you still need to make the strawberry syrup sauce to place on top of the casserole. You can either make this the night before and store in an airtight container in the refrigerator, or you can make it while your casserole is baking in the oven. The decision is yours! In case you’re wondering, the strawberry syrup sauce is used in lieu of traditional maple syrup.

    Strawberry Syrup

    You only need three simple ingredients to make the sauce; water, sliced strawberries, and sugar or truvia. All you need to do is bring the water and sugar to a rolling boil in a sauce pan, add sliced strawberries and continuously stir (at a rolling boil) for 2 minutes. It’s very important to constantly stir the water and sugar until it reaches a rolling boil so that the sugar does not stick to the bottom of the pan. After 2 minutes, reduce heat and stop stirring, allowing strawberries to simmer. This will allow the sauce to thicken and take on a jelly-like appearance. Let your strawberries simmer for about 10 minutes, stirring every now and then. Once you are satisfied with the way your sauce tastes and looks, remove from heat. 

    Lemon Strawberry French Toast Casserole

     Congratulations, you’re done and its time to dig into your casserole! You can either place the strawberry sauce on top of the casserole before serving, or add the desired amount of sauce to each serving. I chose to allow my guests to add their own sauce, but feel free to serve your casserole however you like!

    Lemon Strawberry French Toast Casserole
    Serves 8
    A light and refreshing french toast casserole recipe that combines the flavors of fresh lemons and strawberries with the flavors of traditional french toast.
    Write a review
    Print
    Prep Time
    15 min
    Cook Time
    45 min
    Prep Time
    15 min
    Cook Time
    45 min
    Ingredients
    1. • Whole Wheat loaf of bread cut into cubes (I used Mrs. Bairds and cut each slice into 9 pieces)
    2. • 7 eggs
    3. • 2 cups of plain non-fat greek yogurt
    4. • 1 cup skim milk
    5. • 1 tsp salt
    6. • 2 Tbs brown sugar + additional brown sugar for sprinkling on top
    7. • 1 Tbs pumpkin pie spice
    8. • 1 tsp vanilla extract
    9. • 2 Tbs sugar or truvia
    10. • 2/3 cup fat-free ricotta cheese
    11. • Juice of 2 lemons
    12. • 2 tsp lemon zest
    For Strawberry syrup
    1. • 1 container of fresh strawberries, sliced
    2. • 1/2 cup sugar or truvia
    3. •1/2 cup water
    Instructions
    1. • Generously spray 11 x 7 baking dish with PAM or non-stick cooking spray.
    2. • Cut sliced bread into cube size pieces and place in baking dish until full. Be sure to pack bread into corners of dish, and make sure bread is not “overflowing” from dish. (You should be able to cover dish in foil without smashing bread).
    3. • In a large bowl whisk together eggs, greek yogurt, milk, salt, 2 Tbs brown sugar, pumpkin pie spice, vanilla, and sugar/truvia. Pour egg mixture over bread so that it is evenly dispersed. Sprinkle additional pumpkin pie spice on top of casserole, cover with foil, and place in refrigerator overnight. You must refrigerate casserole for at least 6 hours so bread can absorb egg mixture.
    4. • In the morning, pre-heat oven to 350 degrees and remove dish from refrigerator and remove foil.
    5. • Combine ricotta, lemon juice, and lemon zest in a bowl and whisk together until smooth and combined. Pour ricotta mixture over top of casserole. Sprinkle top with additional brown sugar and spatula or back of a large spoon to evenly spread ricotta & brown sugar mixture across top of casserole.
    6. • Place in oven and bake for 40 – 45 minutes, or until cheese looks custardy and tops of bread turn golden brown. When finished, remove from oven and let cool before serving.
    7. • While casserole is baking, in a saucepan, bring water and sugar/truvia to a rolling boil on high heat, stirring constantly. When sugar water comes to constant boil, add in sliced strawberries and stir for 2 minutes. Reduce heat and let strawberries simmer for about 10 minutes or until sauce thickens, stirring sporadically. Once strawberry sauce is thick and gooey, remove from heat and place desired amount on top of casserole servings. Enjoy!
    Notes
    1. • Make strawberry sauce the night before and store in an airtight container in refrigerator.
    2. • Pour strawberry sauce on top of casserole either before or after serving- whatever you prefer!
    3. Calories per serving: 177
    God Save the Quinoa https://www.godsavethequinoa.com/
     Fabulous recipes by Mandi at godsavethequinoa.com

  • Cranberry Oatmeal breakfast bars

    Cranberry Oatmeal breakfast bars

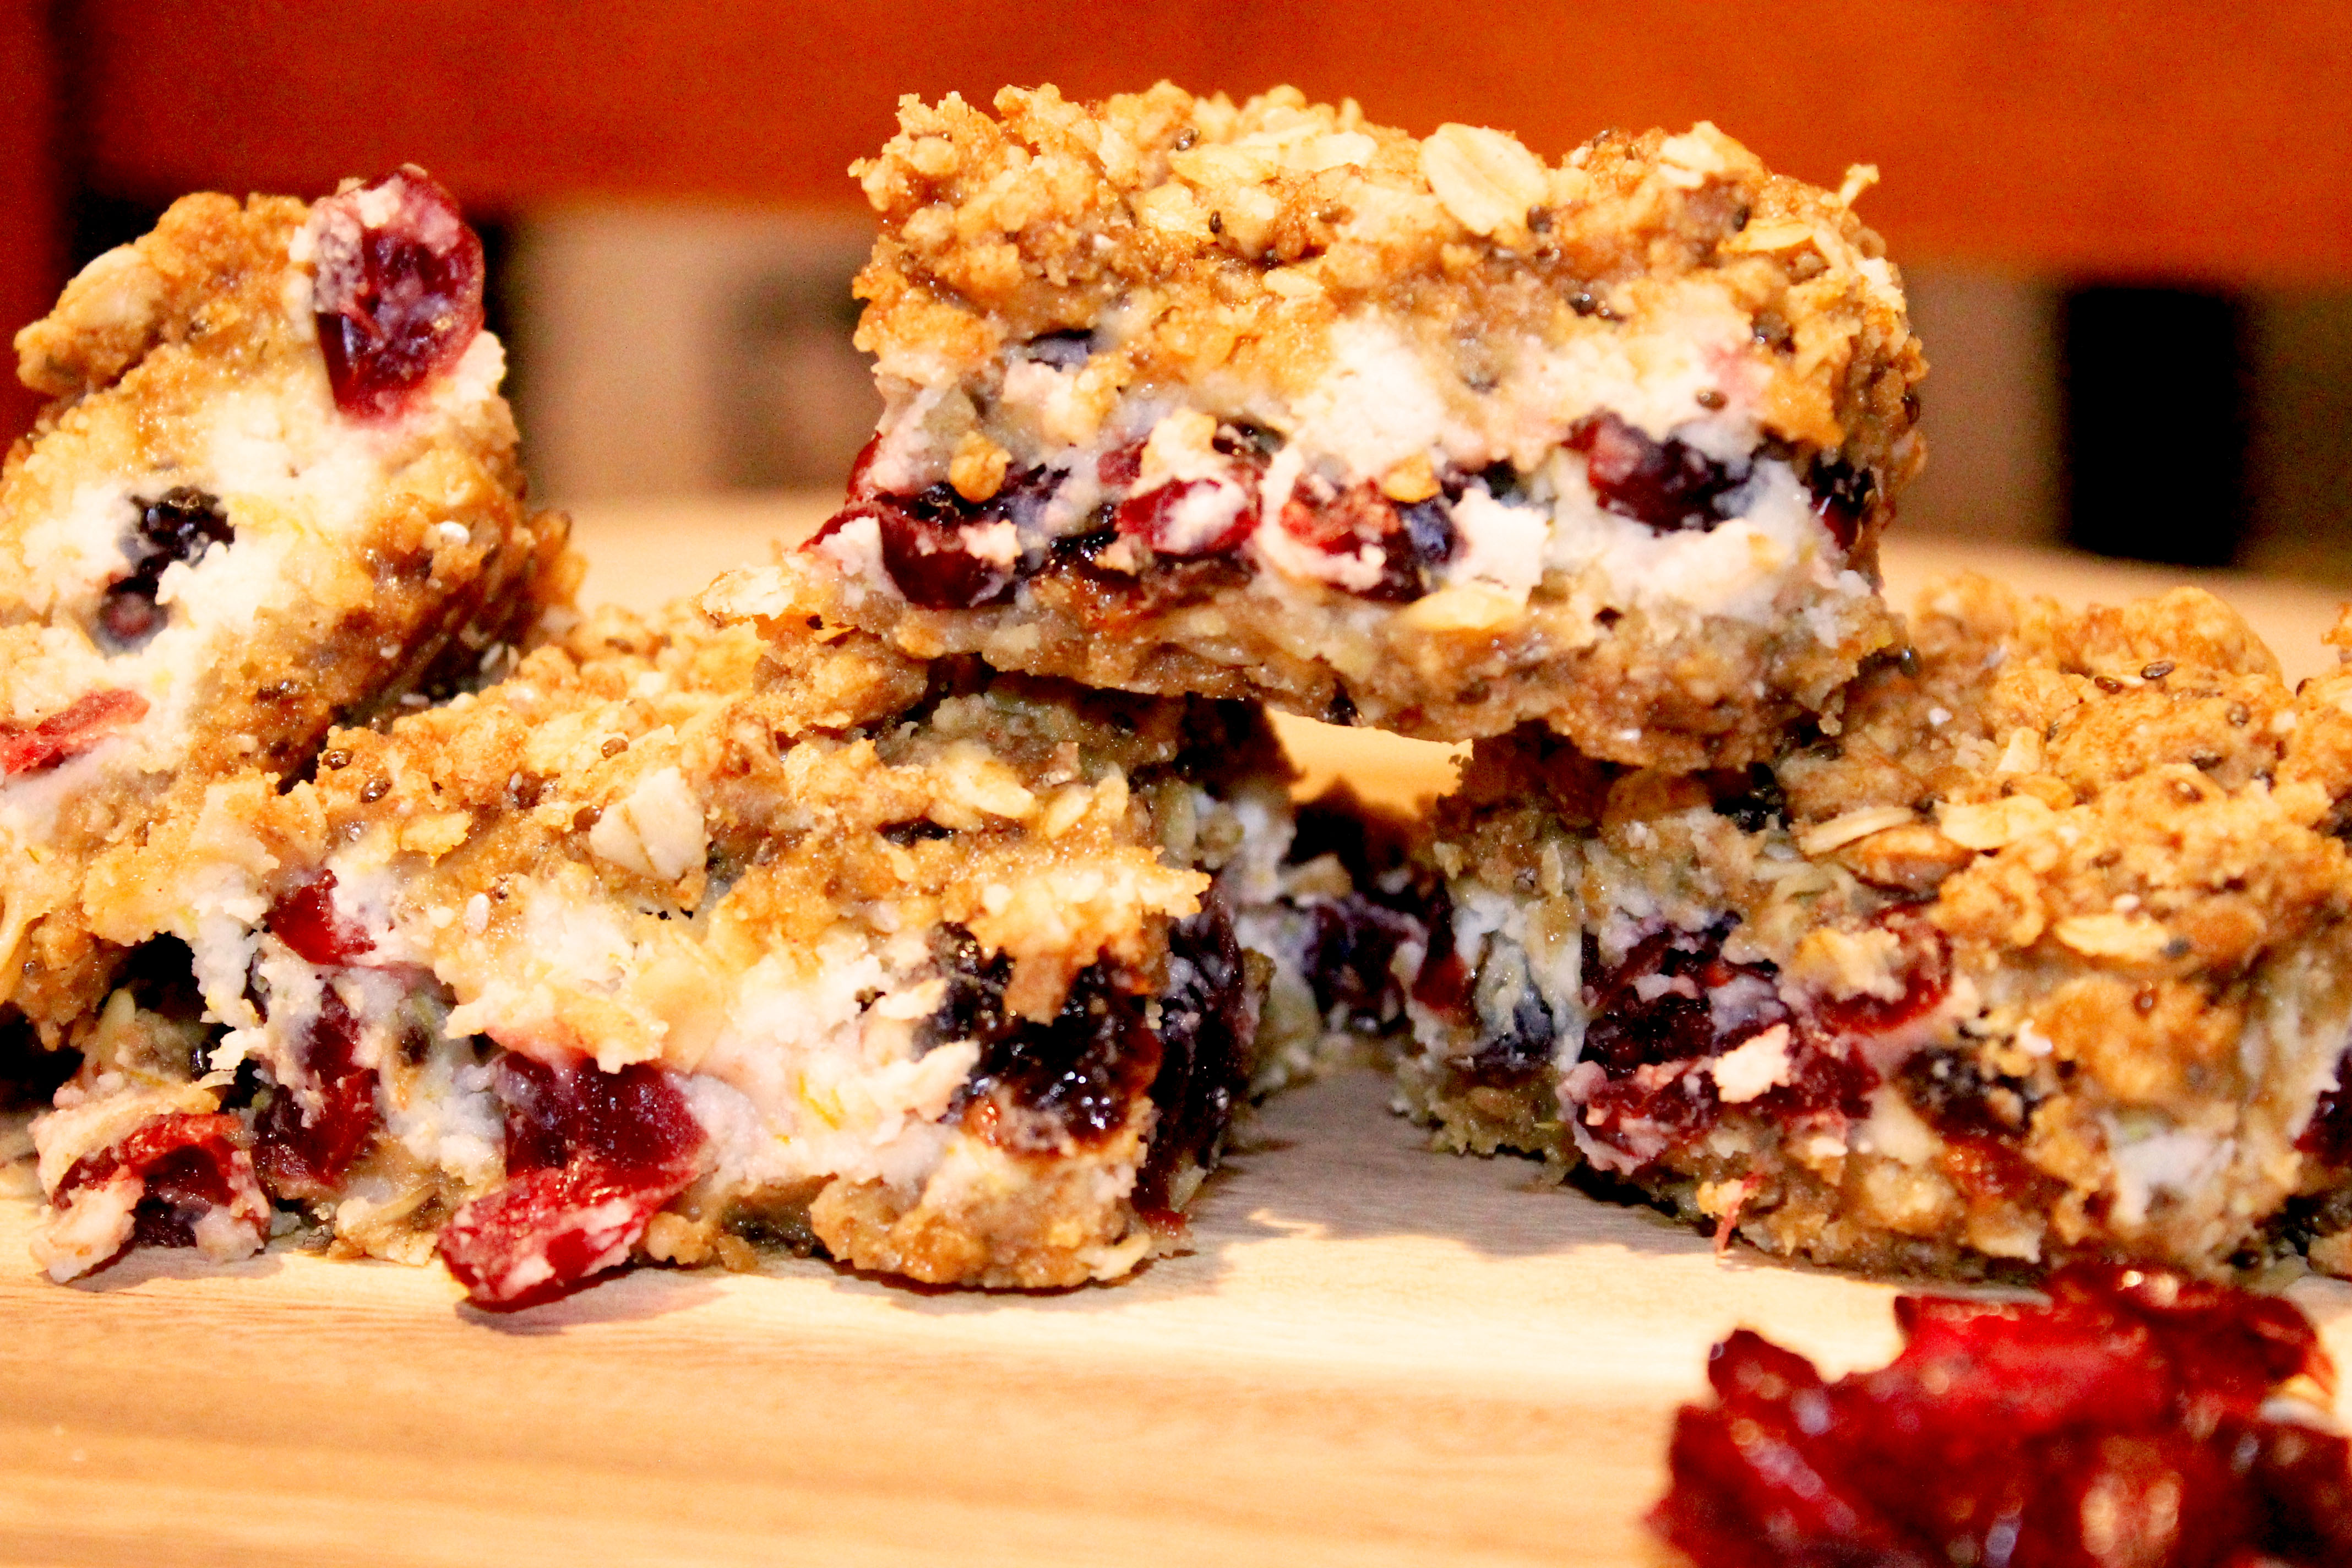
    Canberry YOatmeal Bars

    Happy Friday! Friday mornings at my office mean one thing… breakfast club! Every Friday my co-workers and I take turns bringing food for our weekly breakfast club get togethers. It’s a great way to ring in the weekend and socialize with one another before conquering the last few {hundred} items on our to-do lists. I don’t know about you, but there’s just something so satisfying about crossing off every item on my to-do list before heading out the door on a Friday afternoon knowing I’ll have the entire weekend to kick back and relax… until it starts all over again on Monday.  

    Anyways, this week it was my turn to serve breakfast club and I decided to crowd please the co-workers with these DELICIOUS Cranberry Oatmeal Breakfast Bars. One of the great things about them is they are surprisingly healthy!  I know the filling looks like cream cheese, but the rumors are true and as the “YOatmeal” in the title suggests, the filling is actually 100% Greek Yogurt but tastes like 100% cream cheese. I used one individual, small container of 0% Vanilla Chobani Greek Yogurt and added 1/4 cup 0% plain Greek Gods Greek Yogurt to thicken it up. Mix that together with a soft granola-like crust, orange zest, and juicy cranberries…you’ve got yourself one hell of a breakfast bar!

    Cranberry YOatmeal Bars Close Up

    Just thinking about these leaves me wanting more! Seriously though, I had to restrain myself from eating the entire pan at home….and in the car…and at my desk before breakfast club…and at breakfast club…you get the point. My co-workers, on the other hand, had no problem scarfing these right up. Within 5 minutes every single one had been consumed. I guess I’ll have to bring double (or triple) the amount next time!

    When you make these, be sure to let them cool completely before digging in. I know it will be hard to resist, but I promise its worth the wait! If you try to cut them before they’ve had time to cool completely they will turn into crumbles rather than bars. Also, you can store these in the refrigerator or on the counter-top, just make sure you cover them with a lid to preserve freshness. If you have any left, they also make a great dessert. Simply pop them in the microwave for 20 seconds and serve with vanilla ice cream. YUM!

    Let’s get started! 

    Cranberry YOatmeal Bars
    Serves 16
    Write a review
    Print
    Prep Time
    10 min
    Cook Time
    40 min
    Total Time
    50 min
    Prep Time
    10 min
    Cook Time
    40 min
    Total Time
    50 min
    Ingredients
    1. • 1 yogurt cup (3/4 cup) of 0% Chobani Vanilla Greek Yogurt
    2. • 1/4 cup of plain nonfat greek yogurt (I used Greek Gods 0% plain Greek Yogurt because of how thick it is)
    3. • 1 cup + 2 Tbsp all-purpose flower, divided
    4. • 1 cup Quaker instant oats
    5. • 1/2 cup brown sugar
    6. • 1 tsp cinnamon
    7. • 1/4 tsp baking soda
    8. • 1/4 tsp salt
    9. • 2 Tbsp chia seeds
    10. • 3 Tbsp unsalted butter, melted
    11. • 3 Tbsp coconut oil
    12. • 3 Tbsp orange juice
    13. • 1/4 cup Truvia
    14. • 1/4 cup granulated sugar
    15. • 4 Tbsp egg whites
    16. • 1 1/2 cups of dried cranberries
    17. • Zest from 1/2 fresh orange
    Instructions
    1. • Pre-heat oven to 325 degrees.
    2. • Generously spray an 8 x8 baking dish with cooking spray.
    3. • In a large bowl combine 1 cup flour, oats, brown sugar, cinnamon, baking soda, salt and chia seeds.
    4. • In a small bowl whisk together butter, coconut oil, and orange juice.
    5. • Add juice mixture to flower mixture and combine using a stand mixer. Stir until crumbly.
    6. • Set aside 1/2 cup of crumble mixture for later use. Using a spatula, press remaining crumble mixture into the bottom of an 8×8 baking dish, slightly pressing up the sides to form crust.
    7. • Whisk Chobani yogurt, Greek Gods yogurt, 2 Tbsp flour, egg whites, vanilla extract, truvia, and sugar in a medium bowl.
    8. • Stir in cranberries and orange zest.
    9. • Pour yogurt mixture over crust, spreading evenly and sprinkle reserved crumble mixture on top.
    10. • Bake for 30 – 40 minutes or until edges and top are golden brown.
    11. • Let cool completely before slicing and enjoy!
    Notes
    1. Keep sealed in airtight container to preserve freshness. Store on countertops or in refrigerator.
    God Save the Quinoa https://www.godsavethequinoa.com/
    Fabulous recipes by Mandi at godsavethequinoa.com

  • Sweet Potato Quinoa Chili Kale Salad

    Sweet Potato Quinoa Chili Kale Salad

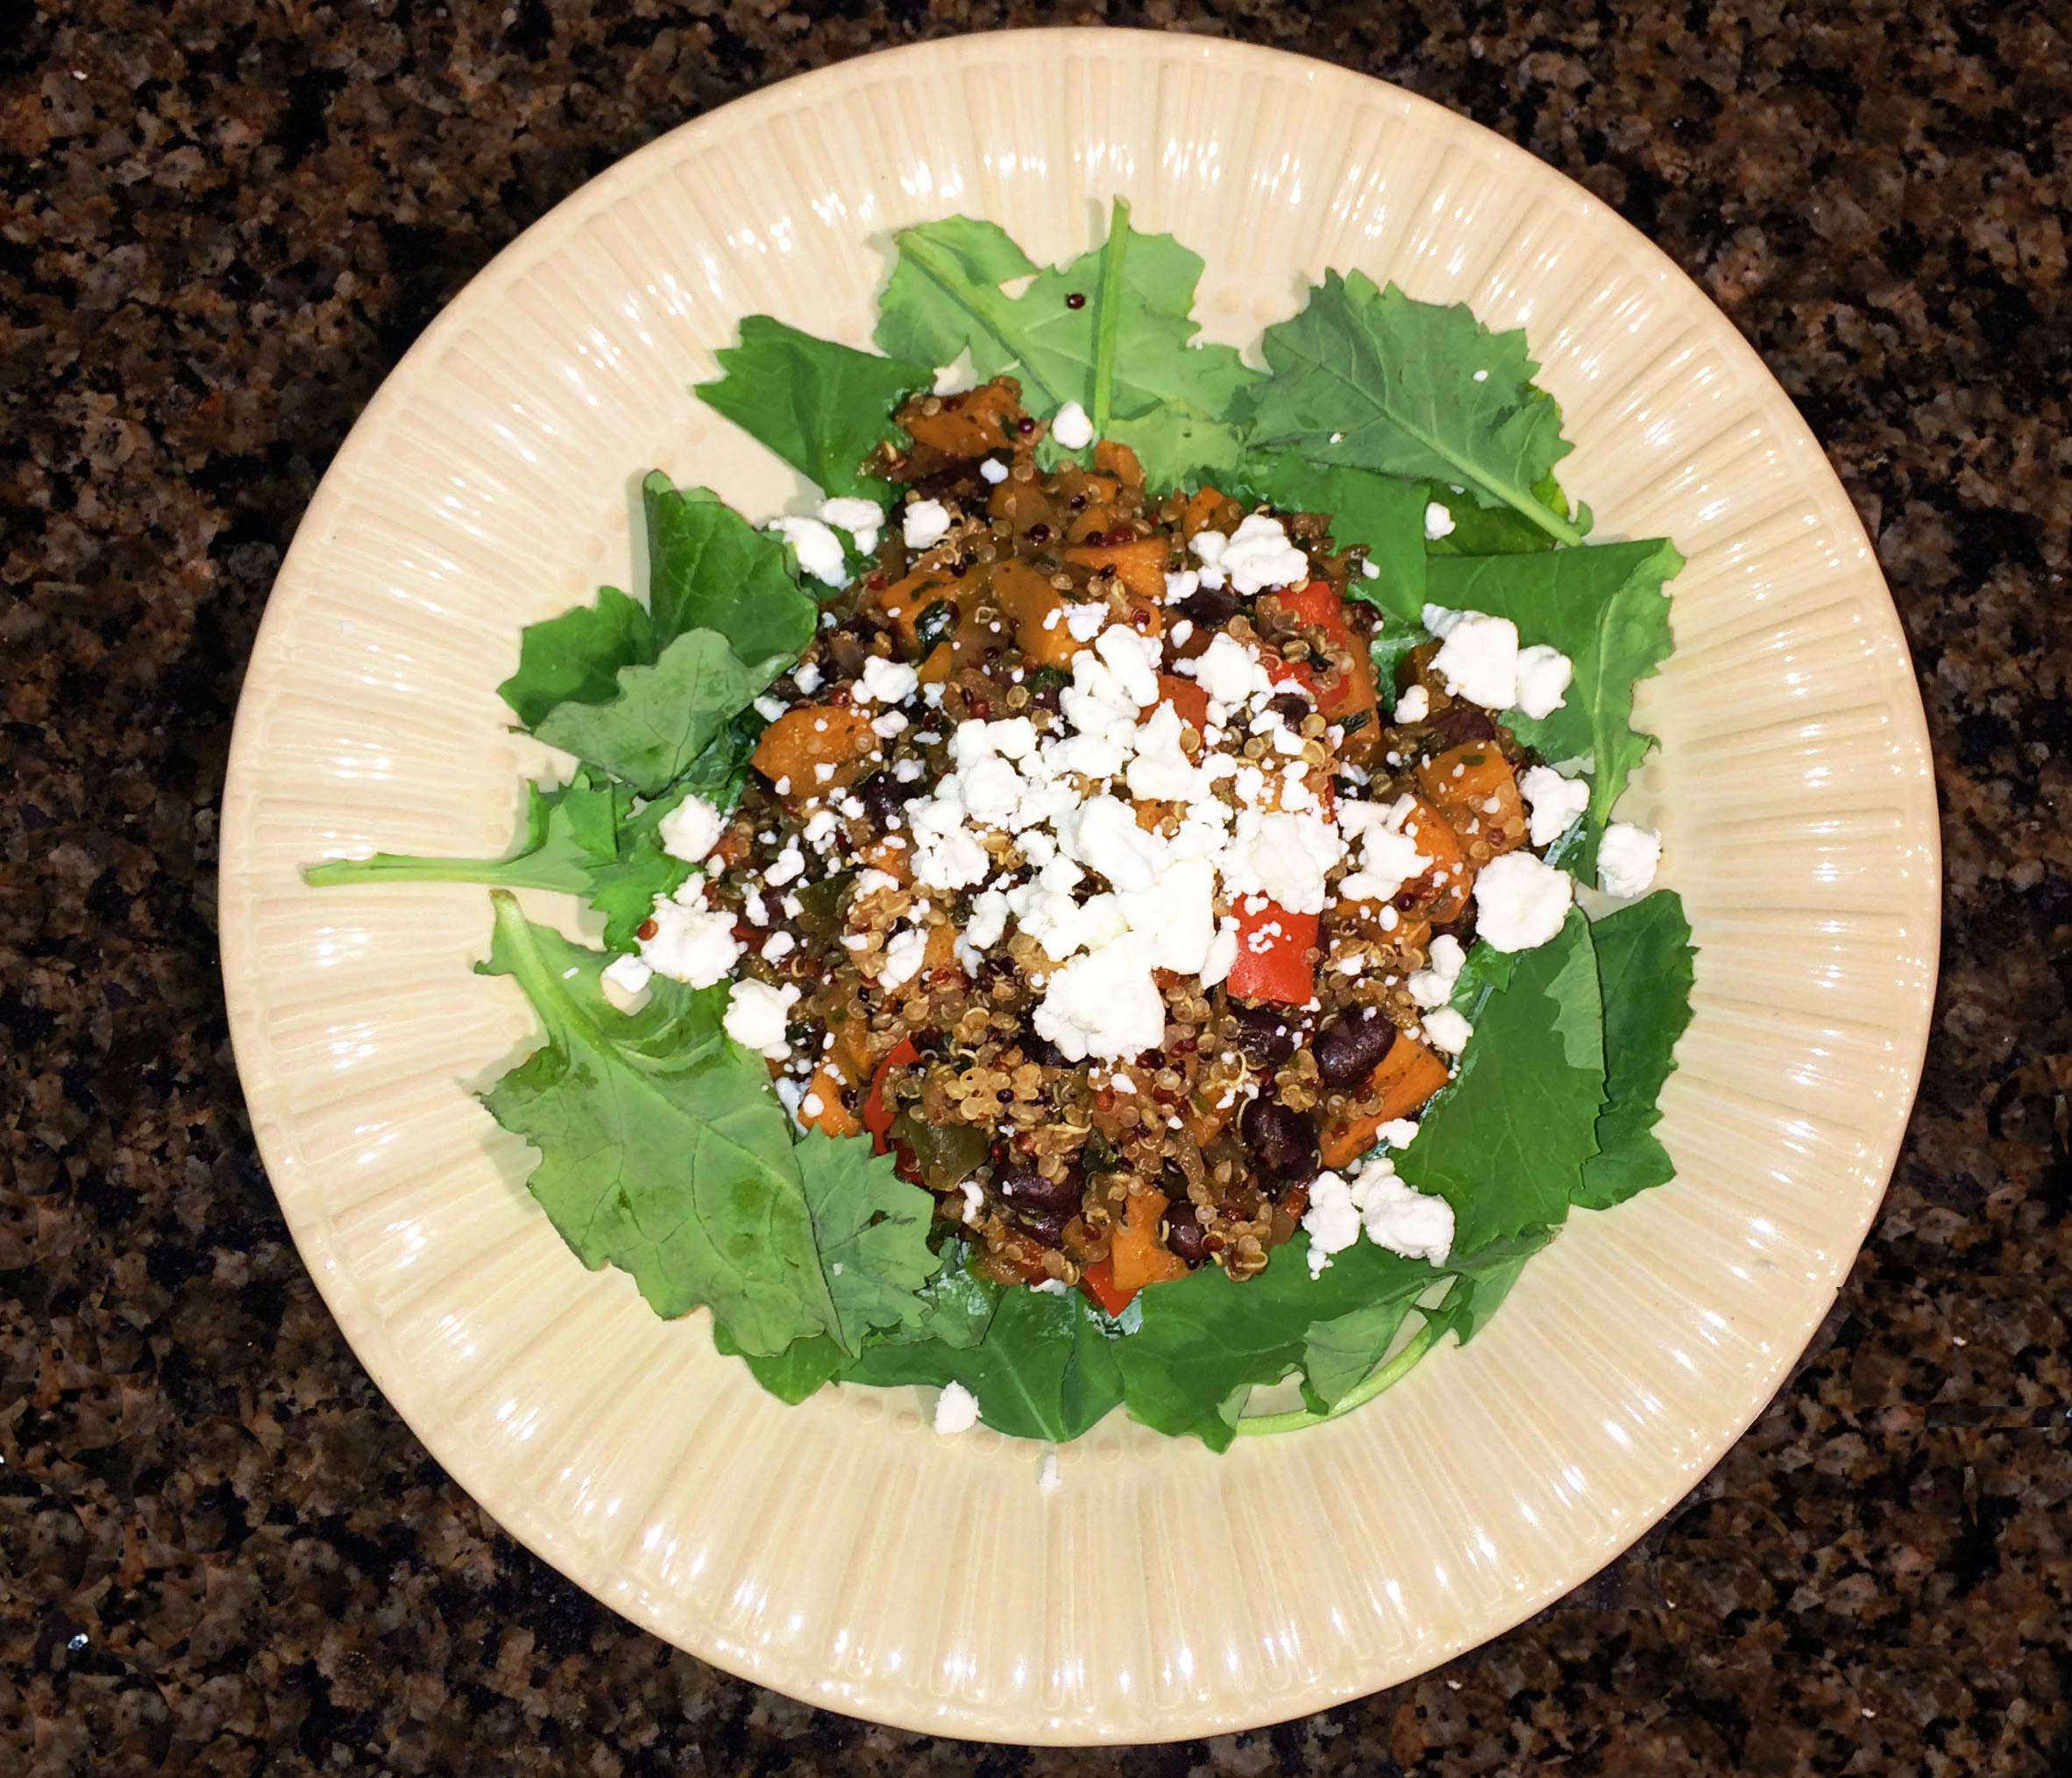
    Kale & Roasted sweet potatoes

    As I have mentioned before, I try to cook things I can easily incorporate into other dishes throughout the week. In an attempt to save money, I try not to be wasteful with the food I cook. Since I usually cook for two (myself and one other person) this can sometimes be tricky. No one wants to eat the same thing 3 nights in a row!

    Now, if you’re staring at the screen and scratching your head wondering how to “ingredient share” amongst recipes, wonder no more. This recipe is a perfect example of how to do this! For those of you who do not want to “ingredient share”, no worries! This recipe can easily be made to feed up to 6 people.

    Those of you who want to know how to “recipe share” read this: Earlier this week I shared my recipe for roasted sweet potato black bean pitas. I made 4 pitas with this recipe and had about 2 servings of the veggie mix left over. I didn’t want to throw the left-overs away, so I decided to leverage the ingredients I already had to concoct a new dish with a different taste.

    Since I had already cooked the veggie mix, all I had to do was cook enough quinoa for two people,  rinse my kale, and heat up the veggies. I don’t know about you, but as the week progresses there aren’t many things better than cooking a quickie meal and using the extra time to relax!

    If you’re using the left over veggie mix from the roasted sweet potato black bean pitas, all you have to do is make enough quinoa to go with the left-over veggie mix:

    • 2 servings of leftover veggie mix = 1 1/2 cups cooked quinoa (I use a little less than 1/4 cup red quinoa and 1/3 cup white quinoa)
    • 4 servings of leftover veggie mix = 3 cups cooked quinoa (I use 1/3 cup red quinoa, and 2/3 cup white quinoa)

    Use the chart below as a reference for how to cook the correct amount of quinoa. Feel free to use any color combination of quinoa you prefer.

    Uncooked Quinoa Amount of Water/liquid Cooked Quinoa
    1/4 cup 1/2 cup 3/4 cup
    1/3 cup 2/3 cup 1 cup
    2/3 cup 1 1/3 cup 2 cups
    1 cup 2 cups 3 cups

     For tips on how to cook the perfect quinoa, check out my tips and tricks page.

    Once the quinoa is made, all you have to do is heat up your leftover veggies and mix in the cooked quinoa. Place the veggie quinoa mixture over a bed of kale, top with goat cheese, and (ding! ding!) dinner is served!

    Roasted Sweet potato black bean Quinoa chili over Kale

    Those of you who want to know how to make the full recipe read here: This recipe is super simple and easy to make! We will start by cutting our sweet potatoes and veggies and roasting them in the oven. While the veggies are roasting we will cook our quinoa on the stove and rinse the kale. We will add one can of drained black beans to the veggie mixture after removing from the oven. Finally, we will stir the cooked quinoa into the veggie mix, place over a bed of kale, top with goat cheese and serve! See, I told you it was simple! 

    Sweet Potato Quinoa Chili Kale Salad
    Serves 6
    Write a review
    Print
    Ingredients
    1. • 2 sweet potatoes, peeled and diced
    2. • 2 jalapenos, diced
    3. • 1 red bell pepper, diced
    4. • 1 red onion, diced
    5. • 1 (15 oz) can black beans, drained
    6. • 1/2 cup fresh cilantro, chopped
    7. • Juice of 1 lime
    8. • 1/2 cup goat cheese crumbles
    9. • 2/3 cup red quinoa
    10. • 2/3 cup white quinoa
    11. • 1 1/3 cup veggie broth
    12. • 1 1/3 cup water
    13. • Salt to taste
    14. • Bag of kale (or baby spinach)
    15. • 1/2 cup goat cheese crumbles
    Instructions
    1. • Pre-heat oven to 425 degrees
    2. • Peel and dice sweet potatoes, jalapenos, onion, and red bell pepper.
    3. • In Casserole dish, combine veggies with olive oil and spices. Mix well so that veggies are evenly coated with olive oil and spices.
    4. • Roast veggies at 425 degrees for 20 minutes, tossing about halfway through.
    5. • While veggies are roasting combine quinoa, water, and veggie broth into pot over the stove on high heat. When quinoa starts to boil, reduce heat, cover with a lid, and let quinoa sit until cooked. When done, fluff with a fork and remove from heat.
    6. • When veggies are done roasting, remove from oven and let cool.
    7. • Add cilantro, black beans, and lime juice to roasted veggies. Mix gently.
    8. • Combine roasted veggies and cooked quinoa. Mix well and place over a bed of kale.
    9. • Top with goat cheese and enjoy!
    Notes
    1. Swap baby spinach for kale if desired.
    God Save the Quinoa https://www.godsavethequinoa.com/
    Fabulous recipes by Mandi at godsavethequinoa.com